2-Ingredient Pineapple Soft Serve Recipe

🍦 2-Ingredient Pineapple Soft Serve Recipe

🛒 Ingredients

  • Frozen Pineapple Chunks: 1 to 1.5 cups (Ensure they are completely frozen) 🧊

  • Liquid Base: 0.25 cup to 0.35 cup of your choice (e.g., coconut milk, regular milk, pineapple juice, or water) 🥛


📝 Step-by-Step Instructions

  1. Prep Your Blender: ➡️ Place your frozen pineapple chunks into a small blender or food processor. 🌪️

  2. Add the Liquid: ➡️ Pour in about 0.25 cup of your chosen liquid base. Tip: Start with less liquid to keep the texture thick and soft-serve-like. 🥥

  3. Blend and Blend: ➡️ Secure the lid and blend on high. You may need to stop the blender a few times to push down the pineapple chunks with a spatula so everything blends evenly. 🥄

  4. Adjust the Consistency: ➡️ If the blender is struggling or the mixture is too chunky, add an extra splash of liquid (around 1 tablespoon at a time) and blend again until smooth and creamy. 🔄

  5. Serve Immediately: ➡️ Scoop the smooth, velvety pineapple soft serve into a cup or bowl. Enjoy it right away before it melts! 🍍🍨


❓ Common Questions & Answers

Q: Can I make this ahead of time and store it in the freezer?

A: It is definitely best enjoyed immediately for that perfect “soft-serve” texture. If you freeze it for later, it will harden into a solid block. If that happens, just let it thaw on the counter for 10 to 15 minutes and give it a quick re-blend before serving! ⏳

Q: What is the best liquid to use?

A: Coconut milk gives it a rich, creamy, “Piña Colada” vibe. Pineapple juice or apple juice will make it sweeter and more intensely fruity. Regular milk or almond milk works perfectly fine too! 🥛

Q: My blender is getting stuck. What should I do?

A: Don’t worry! Since this is a smaller batch, a smaller blender cup or food processor works best. Just add a tiny bit more liquid to help the blades catch, or let the frozen pineapple sit on the counter for about 5 minutes to soften just a tiny bit before blending. 💡
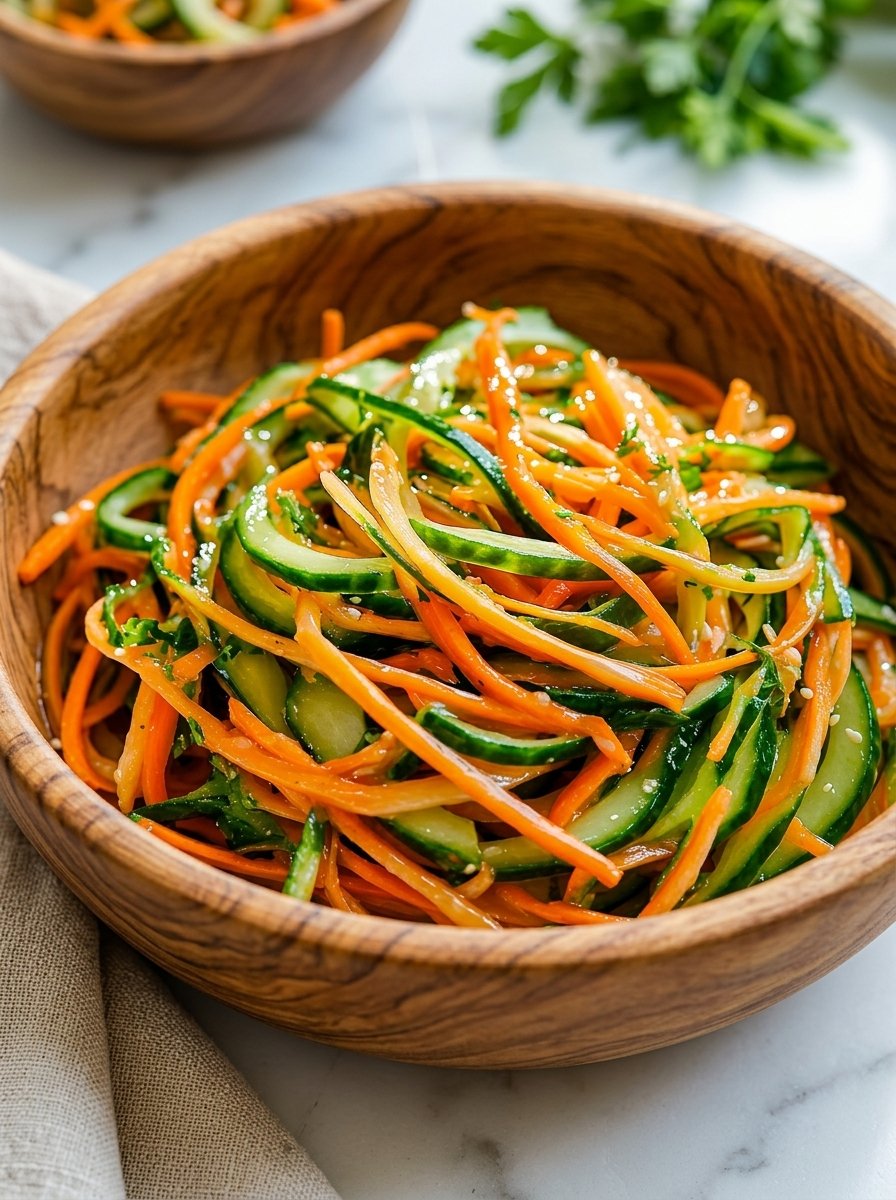

Spiralized Cucumber & Carrot Sesame Salad

Spiralized Cucumber & Carrot Sesame Salad

🛒 Ingredients

🥒 For the Salad

  • 2 large English cucumbers (or 4–5 Persian cucumbers)
  • 2 large carrots, peeled
  • 1 tbsp toasted sesame seeds
  • 2 green onions, thinly sliced (optional)
  • Fresh cilantro or parsley, chopped

🥣 For the Tangy Sesame Dressing

  • 2 tbsp rice vinegar (or apple cider vinegar)
  • 1 tbsp sesame oil
  • 1 tbsp olive oil
  • 1 tbsp low-sodium soy sauce (or tamari for gluten-free)
  • ½ tsp fresh ginger, finely grated
  • 1 small garlic clove, minced
  • Salt & black pepper to taste

👩‍🍳 Step-by-Step Instructions

Step 1: Prepare the Vegetables 🔪

➡️ Wash the cucumbers and carrots thoroughly.

➡️ Using a spiralizer, julienne peeler, or mandoline, turn the cucumbers and carrots into long thin ribbons or noodle-like strands.

➡️ If the cucumbers seem watery, place them in a colander with a tiny pinch of salt for 5–10 minutes.

➡️ Pat gently with paper towels to remove extra moisture for a crisp salad texture.

💡 Leaving the cucumber skin on adds beautiful color and extra crunch!


Step 2: Make the Sesame Dressing 🥣

➡️ In a small bowl or jar, combine:

  • Rice vinegar
  • Sesame oil
  • Olive oil
  • Soy sauce
  • Ginger
  • Garlic

➡️ Whisk well until smooth and combined.

➡️ Taste and adjust with salt and pepper if needed.

✨ The dressing should taste tangy, savory, and slightly nutty.


Step 3: Toss Everything Together 🥢

➡️ Add the cucumber and carrot ribbons to a large mixing bowl.

➡️ Pour the dressing over the vegetables.

➡️ Toss gently until every ribbon is lightly coated.

💡 Use tongs for easy mixing without breaking the veggie strands.


Step 4: Garnish & Serve ✨

➡️ Sprinkle toasted sesame seeds, sliced green onions, and fresh herbs over the top.

➡️ Serve immediately for maximum crunch or chill for 10–15 minutes for deeper flavor.

🥒 Best enjoyed fresh and cold!


🌟 Optional Add-Ins

Want to make it even more filling? Try adding:

  • 🥜 Crushed peanuts or cashews
  • 🫛 Edamame
  • 🍗 Grilled chicken
  • 🍤 Shrimp
  • 🍳 Soft-boiled egg
  • 🍜 Rice noodles
  • 🌶️ Chili flakes for heat

❓ Frequently Asked Questions

Q: Can I make this salad ahead of time?

➡️ Yes, but for the freshest texture, keep the dressing separate until serving. Cucumbers naturally release water over time.


Q: What can I use instead of sesame oil?

➡️ Sesame oil gives the salad its signature flavor, but you can reduce the amount and replace part of it with olive oil if preferred.


Q: Is this salad gluten-free?

➡️ Yes! Simply use tamari or coconut aminos instead of regular soy sauce.


Q: How long does it stay fresh?

➡️ It tastes best within 1 day. Store leftovers in an airtight container in the refrigerator.


🥢 Serving Ideas

This refreshing sesame salad pairs wonderfully with:

  • Grilled salmon 🐟
  • Teriyaki chicken 🍗
  • Stir-fried rice 🍚
  • Dumplings 🥟
  • Asian-inspired noodle bowls 🍜

Enjoy every crunchy, flavorful bite! 🥒🥕✨

Zucchini Ricotta Involtini Recipe

🍽️ Zucchini Ricotta Involtini Recipe

🛒 Ingredients

For the Zucchini & Filling:

  • 3 large zucchini (straight ones work best for slicing)

  • 15 oz (425g) ricotta cheese

  • 1 cup fresh spinach, finely chopped

  • 1/2 cup parmesan cheese, grated

  • 1 large egg (to bind the filling)

  • 1 clove garlic, minced

  • Salt and black pepper to taste

For the Assembly:

  • 2 cups marinara sauce (homemade or your favorite store-bought brand)

  • 1 cup mozzarella cheese, shredded

  • Fresh basil or parsley, chopped (for garnish)


👩‍🍳 Step-by-Step Instructions

Step 1: Prep the Zucchini Slices 🔪

  • Cut off the ends of the zucchini. Using a mandoline slicer or a very sharp knife, slice the zucchini lengthwise into thin, flexible strips (about 1/8-inch thick).

  • Pro Tip: Lay the slices on paper towels and sprinkle a pinch of salt over them. Let them sit for 10 minutes, then pat dry. This draws out excess moisture so your dish doesn’t get watery!

Step 2: Mix the Filling 🥣

  • In a medium bowl, combine the ricotta cheese, chopped spinach, grated parmesan, minced garlic, and the egg.

  • Season with a pinch of salt and black pepper. Stir everything together until smooth and well combined.

Step 3: Sauce the Pan 🍅

  • Preheat your oven to 375°F (190°C).

  • Spread about 1.5 cups of the marinara sauce evenly across the bottom of a large baking dish.

Step 4: Roll Them Up 🌀

  • Lay out a zucchini slice on a clean cutting board.

  • Spoon about 1 tablespoon of the ricotta mixture onto the slice, spreading it gently along the length.

  • Starting from one end, carefully roll the zucchini strip up tightly around the filling.

  • Place the roll-up seam-side down into the prepared baking dish on top of the sauce. Repeat with the remaining slices.

Step 5: Top and Bake 🔥

  • Spoon the remaining marinara sauce over the tops of the zucchini rolls.

  • Sprinkle the shredded mozzarella cheese generously over everything.

  • Bake in the preheated oven for 20 to 25 minutes, or until the cheese is melted, bubbling, and perfectly golden brown.

Step 6: Garnish and Serve ✨

  • Let the dish cool for about 5 minutes out of the oven. Garnish with fresh chopped basil or parsley, and enjoy!


❓ Frequently Asked Questions

Q: My zucchini rolls turned out a bit soggy. What went wrong? ➡️ A: Zucchini holds a lot of water! To prevent sogginess, make sure to do the salting step listed in Step 1. Letting them sweat on paper towels and patting them completely dry before rolling makes a massive difference.

Q: Can I make this dish ahead of time? ➡️ A: Absolutely! You can assemble the entire dish (up to Step 4), cover the baking dish tightly with foil, and keep it in the refrigerator for up to 24 hours. When you’re ready to eat, just top with cheese and bake—you may just need to add 5 extra minutes to the baking time since it’s starting cold.

Q: Can I add meat to this recipe? ➡️ A: Yes! If you want to add protein, you can brown some ground turkey, beef, or Italian sausage and mix it directly into the marinara sauce before layering it into the pan.

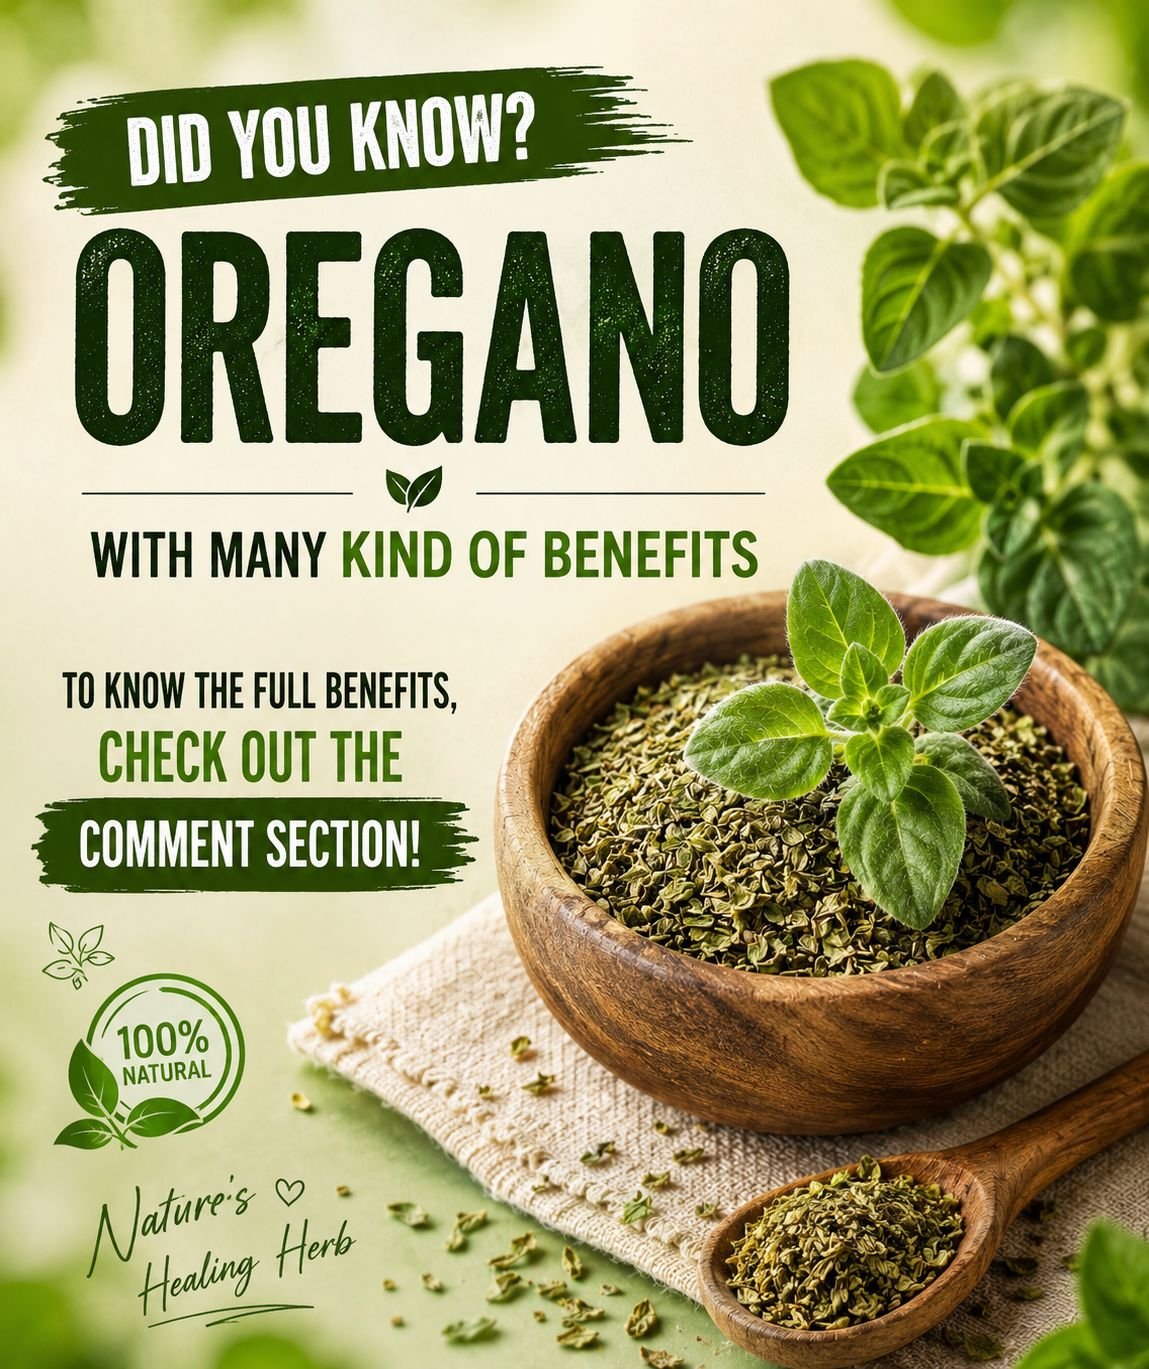
The Incredible Health Benefits of Oregano

The Incredible Health Benefits of Oregano

Oregano is a culinary staple, but it is also a powerhouse of health benefits. Packed with antioxidants and essential compounds, this natural healing herb has been used for centuries to support wellness.

1. Packed with Powerful Antioxidants

Oregano is rich in antioxidants like carvacrol and thymol. These compounds help fight off harmful free radicals in the body, protecting your cells from oxidative stress and supporting long-term health.

2. Natural Antibacterial Properties

Research shows that oregano contains compounds that can help fight against certain strains of bacteria. Adding it to your diet provides a natural shield to help keep your body defended.

3. Supports a Strong Immune System

Thanks to its high nutrient content and antiviral properties, oregano is an excellent herb for reinforcing your immune defense—especially during seasonal changes when your body needs an extra boost.

4. Helps Reduce Inflammation

Chronic inflammation can lead to various health issues. The active components in oregano, particularly carvacrol, have been shown to help reduce inflammation throughout the body.

5. Promotes Healthy Digestion

Oregano has traditionally been used to soothe the stomach. It helps stimulate bile flow, which aids the digestive process and can ease common discomforts like bloating or gas.

6. Easy to Add to a Healthy Diet

Whether you use fresh leaves, dried flakes, or a high-quality oil, oregano is incredibly versatile. It seamlessly fits into Mediterranean dishes, soups, roasted vegetables, and healthy dressings without adding extra calories or sugar.


Tip for Your Followers: To get the absolute most out of dried oregano, crush the leaves gently between your fingers just before adding them to your dish to release those potent, healthy essential oils!

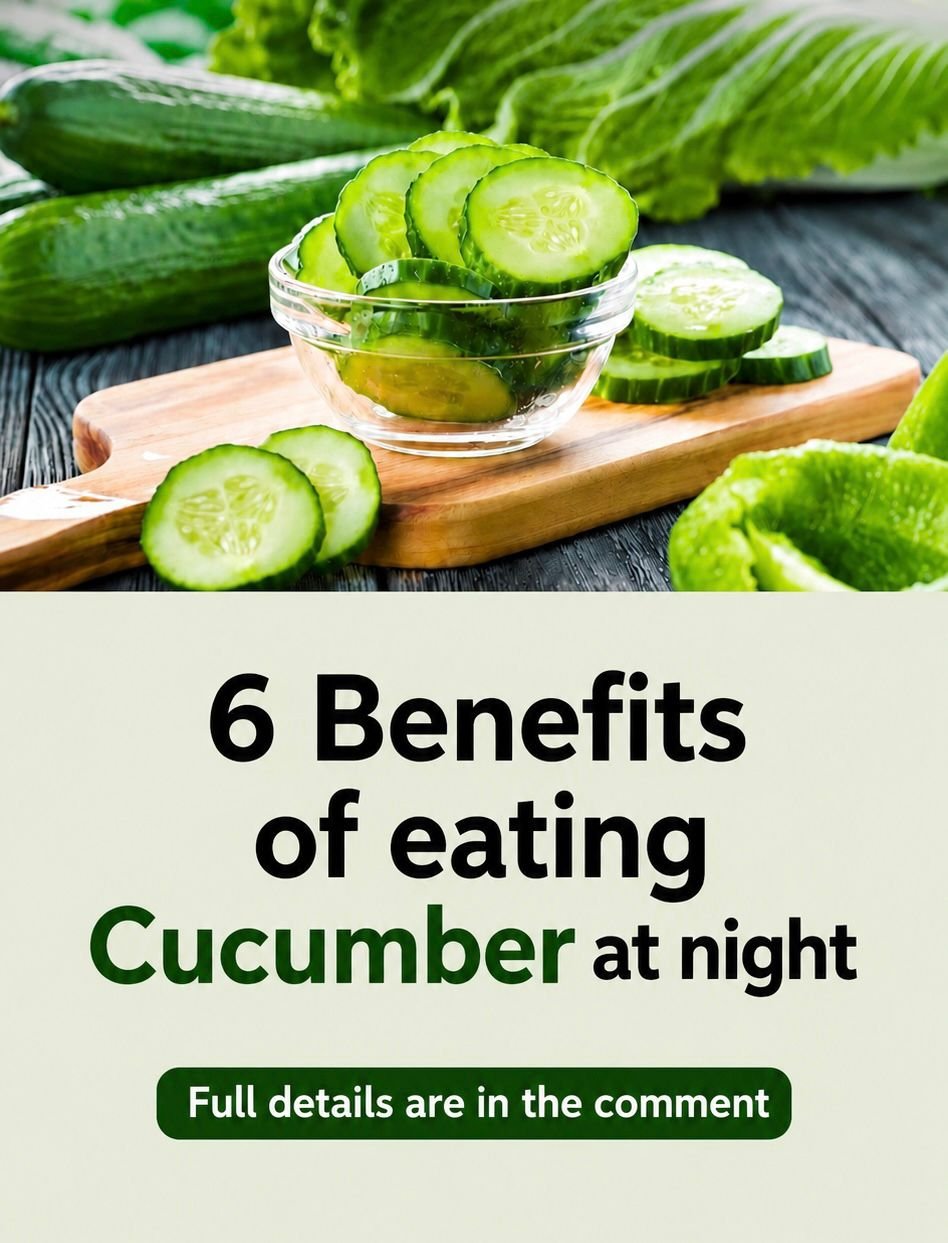
6 Benefits of Eating Cucumber at Night

6 Benefits of Eating Cucumber at Night

Cucumbers are incredibly low in calories but packed with essential vitamins, minerals, and water. Enjoying a few slices before bed can do wonders for your body while you sleep. Here is why it makes the perfect evening snack:

1. Promotes Deep Hydration

Cucumbers are made up of about 95% water. Eating them in the evening helps top off your hydration levels, ensuring your body stays refreshed and functions smoothly throughout the night.

2. Supports Better Digestion

Packed with soluble fiber and water, cucumbers help soothe the digestive tract. Eating them at night can promote regular bowel movements and help prevent that uncomfortable morning bloating.

3. Aids in Weight Management

If you get those late-night kitchen cravings, cucumbers are the ultimate guilt-free snack. They are extremely low in calories, meaning you can satisfy the urge to crunch without spiking your calorie intake or interrupting your health goals.

4. Flushes Out Toxins

The high water and potassium content in cucumbers acts as a natural diuretic. This helps your body flush out waste and excess sodium overnight, which can leave you feeling lighter and less puffy when you wake up.

5. Promotes Healthier, Glowing Skin

Cucumbers contain silica and antioxidants like vitamin C and beta-carotene. Nourishing your body with these nutrients before bed supports overnight skin cell rejuvenation, helping you wake up with a clearer, brighter complexion.

6. Helps Manage Blood Sugar Levels

Cucumbers have a very low glycemic index (GI), meaning they won’t cause a sudden spike in your blood sugar levels. Eating them at night helps keep your glucose stable, preventing late-night crashes and supporting overall metabolic health.


Quick Tip for Your Page: If you want to maximize the health benefits, encourage your followers to eat them with the peel on! Most of the fiber, vitamins, and minerals are packed right into that crisp green skin.

Golden Crispy Potato & Onion Cakes

🥔 Golden Crispy Potato & Onion Cakes ✨

These crispy potato cakes are golden on the outside, soft on the inside, and packed with savory onion flavor! Perfect as a snack, breakfast side, or cozy comfort meal. 😍🔥

🛒 Ingredients

  • 4 medium potatoes (boiled & mashed smoothly) 🥔
  • 1 large yellow onion (finely minced or grated) 🧅
  • 2 cloves garlic (minced) 🧄
  • 1 large egg 🥚
  • 3–4 tbsp cornstarch or almond flour
  • 2 tbsp fresh parsley or chives 🌿
  • 1 tsp salt 🧂
  • ½ tsp black pepper
  • ½ tsp paprika or onion powder ✨
  • 2–3 tbsp olive oil or butter (for frying) 🧈

👩‍🍳 Step-by-Step Instructions

🍳 Step 1: Sauté the Onion & Garlic

➡️ Heat a small splash of oil in a skillet over medium heat.

➡️ Add the minced onion and garlic.

➡️ Cook for 3–4 minutes until soft and lightly golden. ✨

😍 This step adds sweetness and removes extra moisture for crispier cakes!


🥣 Step 2: Make the Potato Mixture

➡️ In a large bowl, add:

  • mashed potatoes
  • sautéed onion & garlic
  • egg
  • cornstarch or almond flour
  • parsley
  • salt
  • pepper
  • paprika

➡️ Mix everything thoroughly until a thick, moldable mixture forms.

✨ The mixture should hold together easily when pressed.


✋ Step 3: Shape the Patties

➡️ Lightly grease your hands with oil.

➡️ Scoop a small portion of the mixture and roll into a ball.

➡️ Flatten gently into round or oval patties about ½-inch thick.

😍 Keeping them even helps them cook beautifully.


🔥 Step 4: Fry Until Crispy

➡️ Heat olive oil or butter in a skillet over medium-high heat.

➡️ Carefully place the patties into the hot pan without overcrowding.

➡️ Cook for 4–5 minutes on the first side until deeply golden and crispy.

➡️ Flip gently and cook another 3–4 minutes on the other side.

✨ Avoid moving them too early so a crispy crust can form!


🌿 Step 5: Garnish & Serve

➡️ Transfer the hot potato cakes to a serving plate.

➡️ Sprinkle with fresh parsley or chives. 🌿

➡️ Serve warm with:

  • sour cream
  • yogurt dip
  • ketchup
  • garlic sauce 😋

❓Q & A

❓How do I make them extra crispy?

➡️ Use medium-high heat and let them cook undisturbed for the first few minutes. This creates the perfect golden crust! 🔥

❓Can I add cheese?

➡️ Yes! Shredded cheddar or parmesan tastes amazing in these potato cakes. 🧀

❓What if the mixture feels too soft?

➡️ Add an extra tablespoon of cornstarch, almond flour, or breadcrumbs until easier to shape. 😊

❓Can I bake them instead of frying?

➡️ Absolutely! Bake at 400°F (200°C) for about 25–30 minutes, flipping halfway through. ✨