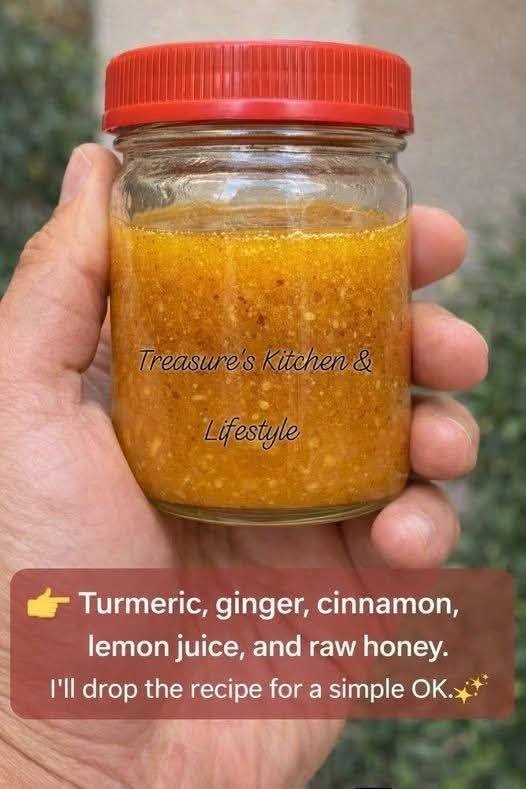
Turmeric Honey Bomb

Turmeric Honey Bomb

  • Prep time: 5 minutes

  • Servings: 1 small jar (approx. 10–12 servings)

  • Shelf Life: Indefinite (honey is a natural preservative)

Ingredients

  • Raw Honey: 1/2 cup (Manuka or local raw honey works best)

  • Turmeric Powder: 1.5 tablespoons (organic high-curcumin)

  • Black Pepper: 1/2 teaspoon (freshly ground is vital)

  • Ginger Powder: 1 teaspoon (optional, for extra zing)

  • Cinnamon: 1/2 teaspoon (optional, for blood sugar support)

  • Lemon Zest: 1 teaspoon (optional, for flavor)

  • Instructions

  1. Combine: In a small glass jar, add your turmeric, black pepper, and optional spices.

  2. Mix: Pour the honey over the spices.

  3. Incorporate: Use a small silicone spatula or a wooden spoon to stir slowly. Turmeric is a fine powder and can “poof” out of the jar if you stir too fast.

  4. Seal: Mix until the texture is a smooth, thick paste. Store at room temperature.

💡 Notes & Pro-Tips

  • The Pepper Rule: Never skip the black pepper! Turmeric contains curcumin, which is poorly absorbed by the body. The piperine in black pepper increases curcumin absorption by up to 2,000%.

  • Heat Warning: If you add this to tea, let the water cool slightly first. Boiling water can kill the beneficial enzymes in raw honey.

  • Stain Alert: Turmeric stains everything (counters, fingers, white spoons). Use glass containers and be careful with your favorite white dish towels!

📈 Nutritional Info & Benefits

Per 1 Tablespoon Serving (Approximate)

Nutrient Amount
Calories 65 kcal
Sugar 17g
Fiber 0.5g
Sodium 1mg

Key Benefits

  • Anti-Inflammatory: Curcumin helps manage joint pain and systemic inflammation.

  • Immune Support: Raw honey contains phytonutrients that provide antibacterial and antifungal perks.

  • Digestion: Ginger and turmeric together can help soothe an upset stomach and reduce bloating.

❓ Common Q&A

Q: How do I take it?

A: You can eat a teaspoon straight, stir it into warm (not boiling) water/milk, or spread it on a piece of sourdough toast.

Q: Does it expire?

A: Not really! Honey is a natural preservative. However, for the best potency of the spices, try to consume it within 2–3 months.

Q: Can I use fresh turmeric?

A: You can, but it changes the shelf life. Fresh turmeric contains water, which could cause the honey to ferment over time. If using fresh, keep it in the fridge and use it within 2 weeks.
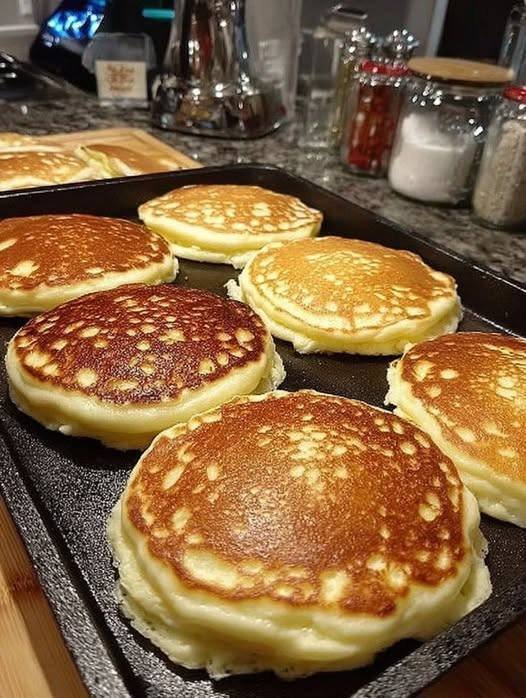
Classic Fluffy Pancakes Recipe

Classic Fluffy Pancakes Recipe

These pancakes are light, airy, and perfectly golden with a melt-in-your-mouth texture. Whether for a lazy weekend breakfast or a cozy brunch, these fluffy pancakes will quickly become a family favorite. Serve them with butter, maple syrup, fresh fruit, or even a dollop of whipped cream for the ultimate breakfast indulgence.

📋 Ingredients

  • 1 ½ cups (190 g) all-purpose flour
  • 3 ½ tsp baking powder
  • 1 tbsp sugar (adjust to taste)
  • ¼ tsp salt
  • 1 ¼ cups (300 ml) milk (room temperature)
  • 1 large egg (room temperature)
  • 3 tbsp unsalted butter, melted (plus extra for cooking)
  • 1 tsp vanilla extract (optional, but highly recommended)

👩‍🍳 Instructions

  1. Mix dry ingredients: In a large mixing bowl, whisk together flour, baking powder, sugar, and salt.
  2. Combine wet ingredients: In another bowl, whisk milk, egg, melted butter, and vanilla until smooth.
  3. Make the batter: Pour the wet ingredients into the dry mixture. Gently whisk until just combined. (Do not overmix—small lumps are okay; this keeps pancakes fluffy.)
  4. Heat the pan: Place a non-stick skillet or griddle over medium heat. Lightly grease with butter.
  5. Cook pancakes: Pour about ¼ cup of batter per pancake onto the skillet. Cook for 2–3 minutes, until bubbles form on the surface and edges look set. Flip and cook another 1–2 minutes until golden brown.
  6. Serve warm: Stack pancakes, top with butter, and drizzle with maple syrup or your favorite toppings.

🍴 Servings

Makes about 8 medium pancakes (serves 3–4 people).

📊 Nutritional Info (per pancake, without toppings)

  • Calories: ~130
  • Protein: 4g
  • Carbs: 16g
  • Fat: 5g
  • Fiber: 0.5g
  • Sugar: 2g

💡 Notes & Tips

  • Buttermilk option: Replace milk with buttermilk and reduce baking powder to 2 tsp for extra tang and tenderness.
  • Make-ahead: Cook pancakes, cool completely, and freeze. Reheat in a toaster or oven.
  • Flavor upgrades: Add chocolate chips, blueberries, or a pinch of cinnamon to the batter.
  • Pan temperature tip: If pancakes brown too quickly, lower the heat slightly to cook through without burning.
  • Extra fluffy hack: Separate the egg. Whip the egg white to soft peaks, then fold it into the batter before cooking.

🌟 Benefits

  • Quick and easy to prepare.
  • Fluffy texture with simple pantry ingredients.
  • Versatile—pairs well with both sweet and savory toppings.
  • Freezer-friendly for meal prep.
  • Family-pleasing comfort breakfast.

❓ Q & A

Q: Why are my pancakes flat instead of fluffy?
A: Overmixing the batter or expired baking powder can cause flat pancakes. Mix gently and check your leavening.

Q: Can I make them dairy-free?
A: Yes—use almond or oat milk and swap butter with coconut oil or vegan butter.

Q: How do I keep pancakes warm while cooking batches?
A: Place cooked pancakes on a baking sheet in a 200°F (95°C) oven until ready to serve.

Q: Can I make mini pancakes?
A: Absolutely—use 1–2 tbsp of batter per pancake for fun bite-sized “silver dollar” pancakes.

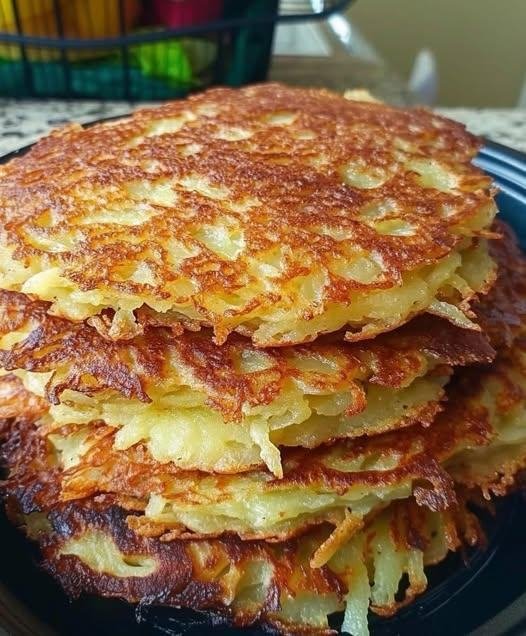
Old-Fashioned Crispy Potato Pancakes

Old-Fashioned Crispy Potato Pancakes

Prep time: 15 minutes

Cooking time: 20 minutes

Yields: 10–12 pancakes


Ingredients

  • 4 Large Russet Potatoes (peeled)

  • 1 Medium Onion (yellow or white)

  • 2 Large Eggs (lightly beaten)

  • 3 tablespoons All-Purpose Flour (or almond flour for a gluten-free version)

  • 1 teaspoon Salt

  • ½ teaspoon Black Pepper

  • Vegetable Oil (for frying)

  • Optional: A pinch of garlic powder or fresh chives.


Detailed Step-by-Step Instructions

  1. Grate the Vegetables: Using a box grater or a food processor with a grating attachment, grate the potatoes and the onion into a large bowl.

  2. Drain the Moisture: This is the most important step for crispiness! Place the grated mixture into a clean kitchen towel or cheesecloth. Squeeze out as much liquid as possible over the sink. The drier the potatoes, the crispier the pancakes.

  3. Mix the Batter: In a clean bowl, combine the squeezed potato and onion mixture with the beaten eggs, flour, salt, and pepper. Stir until everything is evenly coated.

  4. Heat the Pan: Pour enough oil into a large skillet to generously coat the bottom (about ¼ inch deep). Heat over medium-high heat until the oil shimmers.

  5. Fry the Pancakes: Carefully drop a large spoonful of the mixture into the hot oil. Use the back of the spoon to flatten it into a circle. Do not overcrowd the pan; fry 3–4 at a time.

  6. The Golden Flip: Fry for 3–4 minutes on the first side until deeply golden and crispy. Flip carefully and fry for another 3 minutes on the other side.

  7. Drain and Serve: Transfer the finished pancakes to a plate lined with paper towels to soak up any excess oil. Serve immediately while they are hot and crunchy.


Serving Suggestion

These are delicious when served the traditional way with a side of cold sour cream or chunky applesauce.

Classic Brazilian Pastel Recipe

Classic Brazilian Pastel Recipe

Ingredients

For the Dough:

• 3 cups All-purpose flour

• 1 cup Warm water

• 1 tbsp Vegetable oil

• 1 tbsp Cachaça (or white vinegar)

• 1 tsp Salt

For the Filling (Traditional Beef):

• 500g Ground beef

• 1 Small onion, finely diced

• 2 cloves Garlic, minced

• To taste: Salt, pepper, and chopped parsley

• Optional: Hard-boiled egg slices or green olives

Step-by-Step Instructions

1. Prepare the Dough: In a large bowl, mix the flour and salt. Create a well in the center and add the warm water, oil, and cachaça/vinegar. Mix until a dough forms.

2. Knead: Move the dough to a floured surface. Knead for about 10 minutes until it is smooth and elastic. Wrap in plastic and let it rest for at least 30 minutes.

3. Make the Filling: Brown the beef in a skillet. Add onions and garlic, sautéing until soft. Season with salt, pepper, and parsley. Let the filling cool completely before using (this prevents the dough from getting soggy).

4. Roll it Out: Roll the dough as thin as possible (about 1–2mm). This is crucial for the “bubbles.” Cut into rectangles or circles.

5. Assemble: Place a spoonful of filling in the center. Fold the dough over and press the edges firmly with a fork to seal them.

6. Fry: Heat vegetable oil to 180°C. Fry the pastéis until golden brown (usually 30–60 seconds per side). Use a slotted spoon to bathe the top with hot oil to help the bubbles form.

7. Drain: Place on paper towels to remove excess oil. Serve hot!

💡 Recipe Q&A

Q: Why do I need to add alcohol or vinegar to the dough?

A: The alcohol evaporates quickly during frying, creating those signature air bubbles and making the crust extra crispy and less greasy.

Q: Can I bake these instead of frying them?

A: You can, but they won’t have the same texture. Baked pastéis are more like empanadas. If you bake them, brush with egg wash and bake at 200°C until golden.

Q: My pastel opened up in the oil! What happened?

A: This usually happens if there is too much air trapped inside or if the edges weren’t sealed tightly enough. Make sure to press the fork tines hard into the dough.

Q: Can I use store-bought dough?

A: Yes! Look for “Wonton wrappers” or “Spring roll pastry” in the freezer section of Asian markets; they are very similar to authentic Pastel dough.

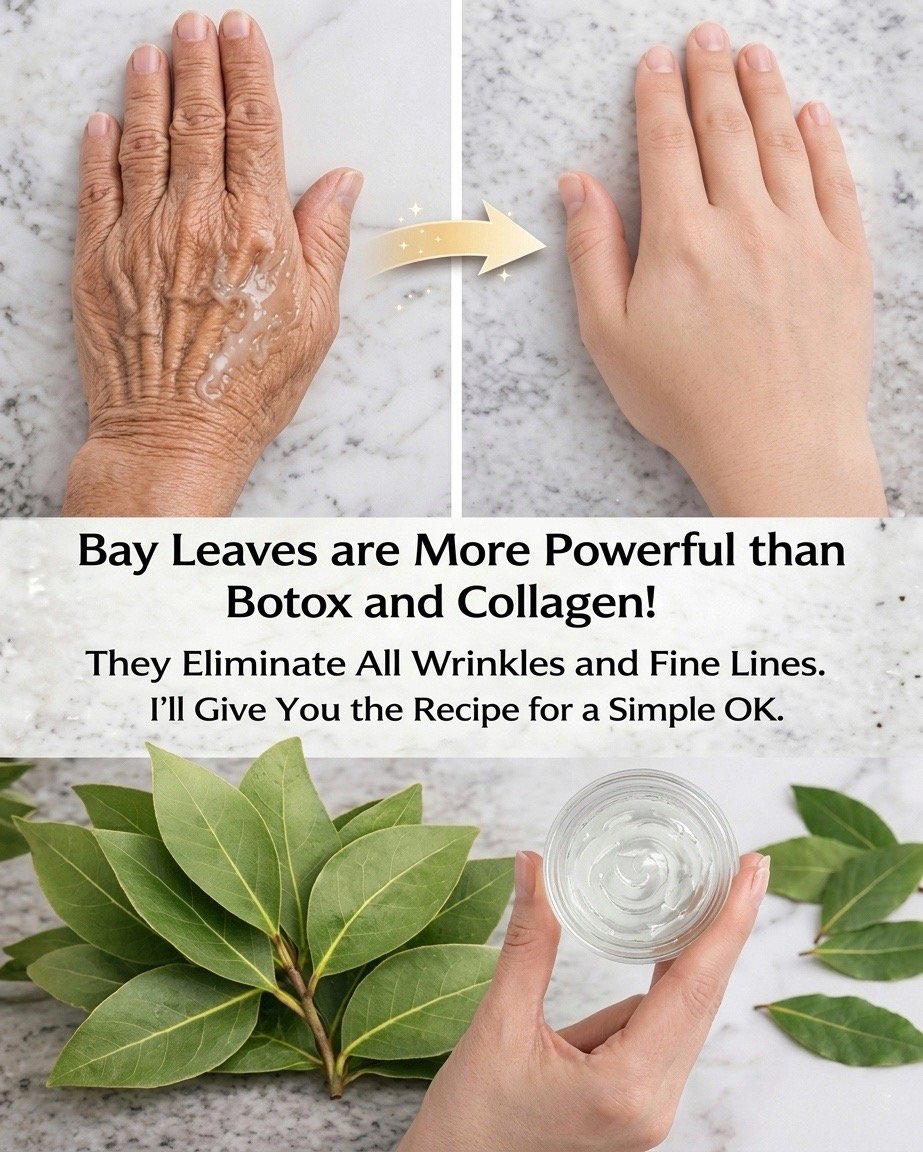
Bay Leaves Anti-Wrinkle Gel (Homemade)

Bay Leaves Anti-Wrinkle Gel (Homemade)

📝 Ingredients:

  • 5–6 dried bay leaves (tej patta)
  • 1 cup water
  • 1 tablespoon aloe vera gel (fresh or store-bought)
  • 1 teaspoon coconut oil or almond oil
  • 1 capsule vitamin E (optional)

👩‍🍳 Step-by-Step Method:

Step 1: Boil the Bay Leaves

  • Take a pan and add 1 cup water + bay leaves
  • Boil for 10–15 minutes until water reduces slightly
  • Let it cool completely

Step 2: Strain the Liquid

  • Strain the water and discard the leaves
  • You will get a light herbal liquid

Step 3: Make the Gel

  • In a bowl, add:
    • 1 tablespoon aloe vera gel
    • 1 teaspoon coconut/almond oil
  • Mix well

Step 4: Combine Everything

  • Add 2–3 tablespoons of bay leaf water into the gel
  • Mix until smooth and creamy

Step 5: Add Vitamin E (Optional)

  • Add 1 vitamin E capsule and mix

💆‍♀️ How to Use:

  • Apply a thin layer on clean face or hands
  • Gently massage for 2–3 minutes
  • Leave for 20 minutes OR overnight
  • Wash with normal water

📅 Frequency:

  • Use 3–4 times a week for best results

⚠️ Important Note:

  • This helps moisturize and improve skin texture, but it does NOT replace medical treatments like Botox
  • Always do a patch test before using

❓ Q/A (Helpful for your post)

Q1: Can this remove wrinkles completely?

👉 No, but it can help reduce dryness and improve skin appearance.

Q2: Can I store this gel?

👉 Yes, keep it in fridge for 3–5 days.

Q3: Is it suitable for all skin types?

👉 Yes, but sensitive skin should do a patch test first.

Q4: Can I use it daily?

👉 Yes, but 3–4 times a week is enough.

Natural Anti-Wrinkle Cream: The Simple Homemade Recipe That Helps Smooth Wrinkles and Rejuvenate Your Skin

The Natural Glow: Anti-Wrinkle Cream Guide

Making your own skincare is an empowering way to nourish your body. These recipes focus on deep hydration and antioxidant protection, which are the two most important factors for maintaining a smooth, radiant complexion.

1. The Essential Daily Blend

This recipe is lightweight and perfect for most skin types.

  • 2 tbsp Coconut Oil: Provides a protective moisture barrier.

  • 2 Vitamin E Capsules: A powerhouse for skin defense.

  • 3–4 drops Frankincense Oil: Traditionally used to support skin vitality.

Quick Instructions: Gently melt the coconut oil, stir in the Vitamin E and Frankincense, and store in a glass jar. Applying this to damp skin helps lock in extra moisture for a plumper look.


2. The Intensive Night Balm

For those with very dry skin or for use during colder months, this richer blend provides extra comfort.

Ingredient Purpose
Avocado Rich in healthy fats and Vitamin C.
Beeswax Acts as a natural “seal” to keep moisture in.
Coconut Oil Softens the skin surface.

Preparation Tip: Since this version contains fresh avocado, store it in the refrigerator and use it within 3–5 days to keep it fresh and effective.


Daily Habits for Healthier Skin

Natural beauty isn’t just about what you put on your skin; it’s about how you care for your whole body.

  1. Hydration: Drink plenty of water to keep skin cells hydrated from the inside out.

  2. Sun Protection: Wear a hat or natural mineral sunscreen to shield your skin from UV rays.

  3. Consistency: Natural remedies work best when used every single day.

  4. Patch Test: Always try a tiny bit on your inner wrist first to make sure your skin loves the ingredients.