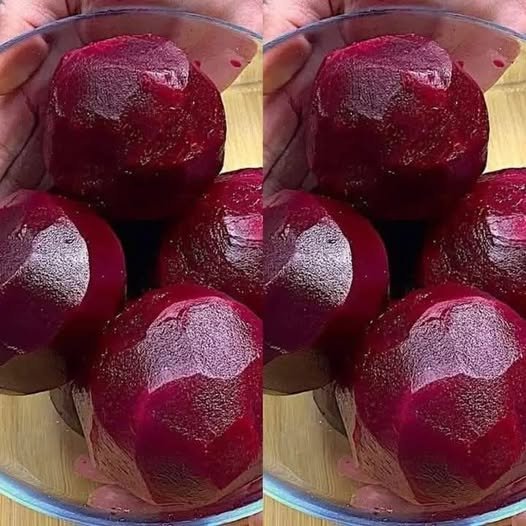
Healthy Pickled Beets Recipe

These refrigerator pickled beets are a masterclass in “set it and forget it” nutrition. The addition of apple cider vinegar doesn’t just provide that signature tang; it actually helps stabilize blood sugar levels when eaten alongside a meal.

Since you’re building your recipe collection, I’ve formatted this into a clean, full-recipe card for your records. I’ve also highlighted a “Pro-Tip” for peeling beets without the mess!


Healthy Refrigerator Pickled Beets

A vibrant, tangy, and antioxidant-rich staple for salads and snacks.

  • Prep time: 15 minutes

  • Cook time: 30–40 minutes

  • Yield: Approx. 2 pint jars

  • Shelf Life: Up to 3 weeks (refrigerated)

Ingredients

The Star:

  • 3 to 4 medium fresh beets, scrubbed and stems trimmed to 1 inch

The Pickling Brine:

  • 1 cup apple cider vinegar

  • 1 cup water

  • ½ cup honey (or adjust to taste for a lower-sugar version)

  • 1 tsp sea salt (or to taste)

  • ¼ tsp black pepper

Optional Aromatics (Choose your favorite):

  • 2 cloves garlic, smashed

  • 1 tsp mustard seeds

  • 1 tsp whole peppercorns

  • 2 sprigs fresh dill

  • ½ red onion, thinly sliced


Instructions

  1. Cook the Beets: Place beets in a large pot and cover with water. Bring to a boil, then reduce heat and simmer for 30–40 minutes (or until fork-tender). Alternatively, you can roast them in foil at 400°F (200°C) for 45–60 minutes for a deeper flavor.

  2. Peel and Slice: Drain the beets and run under cold water. Once cool enough to handle, slip the skins off with your thumbs. Slice into ¼-inch rounds or 1-inch cubes.

  3. Prepare the Brine: In a small saucepan, combine the apple cider vinegar, water, honey, salt, and pepper. Bring to a simmer over medium heat, stirring until the honey and salt are fully dissolved. Remove from heat.

  4. Jar It Up: Pack the sliced beets into clean, sterilized glass jars. If using aromatics (garlic, dill, etc.), tuck them into the sides of the jars amongst the beets.

  5. Submerge: Pour the hot brine over the beets, ensuring they are completely covered. Leave about ½ inch of headspace at the top of the jar.

  6. Chill: Let the jars sit at room temperature until cool. Seal with lids and refrigerate.

  7. The Wait: While you can eat them right away, the flavor peaks after 24 to 48 hours.


Health Benefits at a Glance

  • Heart Health: High in dietary nitrates which help dilate blood vessels and support healthy blood pressure.

  • Antioxidant Power: Rich in betalains, which provide the deep red color and offer anti-inflammatory benefits.

  • Low Calorie: Only 55–75 kcal per half-cup serving with zero fat.

Pro-Tips for Success

  • The Peel Trick: To avoid staining your hands, peel the cooked beets under a stream of cool running water or wear kitchen gloves. The skins should slide right off!

  • Sweetener Swap: If you want to make these even lower in points/calories, you can swap the honey for a heat-stable stevia or monk fruit sweetener (start with a small amount and taste as you go).

  • Safety First: Because this is a refrigerator recipe and not a pressure-canned recipe, always keep these stored in the fridge.

Low-Point Chicken Chili

Low-Point Chicken Chili

Prep time: 10 mins | Cook time: 20 mins | Serves: 4-6

Ingredients

  • 1 lb (approx. 450g) Ground Chicken Breast: (Ensure it is 98-99% fat-free for 0 points).

  • 1 can (15 oz) Black Beans: Drained and rinsed.

  • 1 can (15 oz) Chili Beans: Often pinto or kidney beans in a mild chili sauce.

  • 1 can (14.5 oz) Diced Tomatoes: Fire-roasted or plain.

  • 1 packet Low-Sodium Chili Seasoning: (Check the label; most are 1-2 points per packet).

  • 1/2 cup Water or Chicken Broth: For desired consistency.

  • Optional: 1 small onion and 1 bell pepper, diced (adds more bulk for 0 points).


Instructions

  1. Brown the Chicken: In a large pot or Dutch oven over medium-high heat, cook the ground chicken until fully browned and no longer pink. If the chicken sticks, use a tiny bit of non-stick cooking spray or a splash of broth.

  2. Add Seasoning: Stir in the low-sodium chili seasoning and a splash of water to coat the chicken evenly.

  3. Combine Ingredients: Add the diced tomatoes (with their juices), the black beans, and the chili beans. Stir well to combine.

  4. Simmer: Bring the mixture to a gentle boil, then reduce the heat to low. Cover and simmer for 15–20 minutes to allow the flavors to meld. If the chili is too thick, add a little more water or broth.

  5. Serve: Ladle into bowls. To keep the points low, garnish with fresh cilantro, chopped green onions, or a dollop of non-fat plain Greek yogurt (which tastes remarkably like sour cream!).


Point Breakdown (Estimated)

  • Ground Chicken Breast: 0 Points

  • Black Beans: 0 Points

  • Chili Beans: 0 Points (if not in a sugary/thick syrup)

  • Diced Tomatoes: 0-1 Point

  • Seasoning Packet: 1 Point

  • Total Per Serving: ~0–1 Point (depending on serving size)

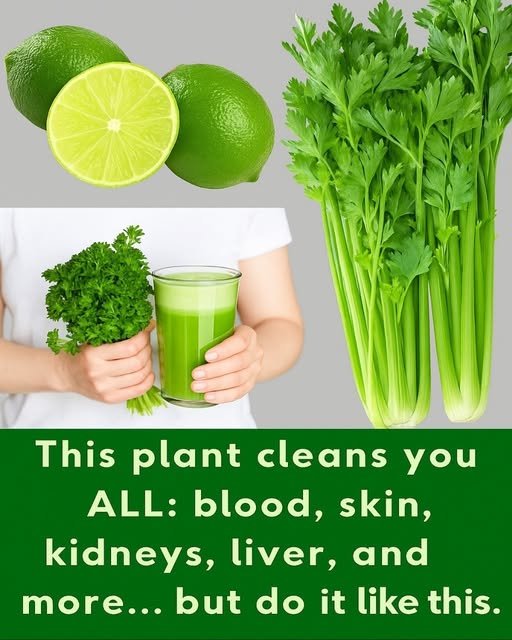
🌿 The “Cleansing” Green Juice Recipe

🌿 The “Cleansing” Green Juice Recipe

While no single plant can “purify” your blood or “regenerate” your skin in one dose (your liver and kidneys actually do that hard work 24/7!), this juice is incredibly hydrating and packed with Vitamin C and antioxidants.

Ingredients

  • Celery: 3–4 large stalks (rich in potassium and water).

  • Parsley: 1 small bunch (a great natural diuretic).

  • Lime: 1 whole lime, peeled (high in Vitamin C).

  • Water: ½ cup (if using a blender).

  • Optional: 1 green apple (to balance the earthy flavor with a bit of sweetness).

Instructions

  1. Wash Thoroughly: Clean the celery and parsley well to remove any grit.

  2. Juicer Method: Run the celery, parsley, and lime through your juicer. Serve immediately over ice.

  3. Blender Method: If you don’t have a juicer, toss everything into a high-speed blender with ½ cup of water. Blend until smooth.

  4. Strain: Use a nut milk bag or a fine-mesh sieve to strain out the pulp, leaving you with a smooth green liquid.

  5. Drink Fresh: It is best consumed immediately on an empty stomach in the morning for maximum hydration.


💡 A Note on “Detox” Claims

It’s easy to get excited about the idea of a “thorough cleanse” for the liver and pancreas, but it’s important to know that medical science doesn’t support the idea that juice can detoxify your organs. Your body is already an expert at this:

  • Your Liver: Filters toxins from your blood.

  • Your Kidneys: Constanty flush waste through urine.

  • Your Skin: Regenerates naturally over a 27-day cycle.

Drinking this juice is a wonderful healthy habit, but it works best as a supplement to a balanced diet, not a magical fix!

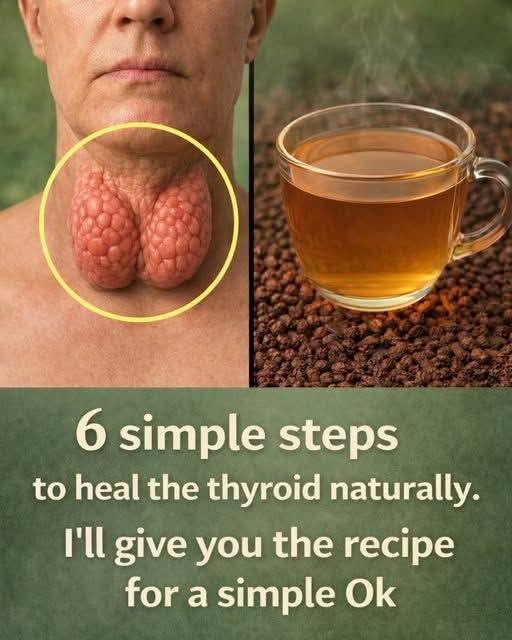
Thyroid-Support Herbal Tea (Supportive, Not Curative)

What This Recipe Can & Cannot Do

✔ May help with:

  • Reducing inflammation

  • Supporting digestion and metabolism

  • Providing antioxidants

  • Gentle stress support

✖ Will NOT:

  • Cure thyroid disease

  • Replace medication

  • Shrink goiters or nodules

  • “Fix” hormone levels on its own

Ingredients (1 serving)

  • 1 cup hot water

  • 1 tsp ginger root (fresh or dried)

  • 1 tsp turmeric powder or fresh turmeric

  • ½ tsp cinnamon

  • 1 tsp lemon juice

  • 1 tsp raw honey (optional)

Instructions

  1. Bring water to a gentle boil

  2. Add ginger, turmeric, and cinnamon

  3. Simmer for 5–7 minutes

  4. Strain into a cup

  5. Add lemon juice and honey (optional)

  6. Drink warm

Notes & Tips

  • Drink once daily, preferably in the morning

  • Avoid on an empty stomach if you’re sensitive

  • Stop if it causes heartburn or nausea

  • Not recommended if you’re pregnant without doctor approval

Servings

  • 1 cup per day
    More is not better.

Nutritional Info (Approx.)

  • Calories: 20–35

  • Sugar: 4–6g (with honey)

  • Rich in antioxidants and anti-inflammatory compounds

Potential Benefits (Evidence-Based)

  • Ginger & turmeric → anti-inflammatory support

  • Cinnamon → blood sugar regulation (important for thyroid balance)

  • Lemon → digestion and vitamin C support

 These benefits are general wellness effects, not thyroid treatment.

The “6 Simple Steps” — A Truthful Version

  1. Get proper thyroid testing (TSH, T3, T4, antibodies)

  2. Take prescribed medication consistently if needed

  3. Eat enough iodine—but not too much

  4. Support selenium & zinc intake (Brazil nuts, seafood, eggs)

  5. Reduce chronic stress (huge for thyroid health)

  6. Avoid miracle cures online 🚩

Q & A

Q: Can this tea cure hypothyroidism or hyperthyroidism?
A: No. Anyone claiming that is spreading misinformation.

Q: Can I drink this while on thyroid meds?
A: Usually yes, but not within 1 hour of medication.

Q: Can tea shrink thyroid swelling?
A: No. Swelling requires medical evaluation.

Q: Is coffee bad for thyroid?
A: Not inherently—but it should be taken at least 30–60 minutes after medication.

Triangle Toasted Sandwich (Sandwich Maker Style) – Step by Step

Triangle Toasted Sandwich (Sandwich Maker Style) – Step by Step

✅ Ingredients (for 2 sandwiches / 4 triangles)

Bread

  • 4 slices bread (white or brown)

Filling (you can choose)

Option A (like pizza style):

  • 2 tbsp pizza sauce / ketchup
  • 1 cup grated cheese (mozzarella or cheddar)
  • 1 small onion (chopped)
  • 1 small capsicum (chopped)
  • Chicken pieces / sausage / beef (optional)
  • Black pepper
  • Red chilli flakes
  • Salt (little)

Option B (simple spicy egg filling):

  • 2 boiled eggs mashed
  • Mayonnaise 2 tbsp
  • Salt + pepper
  • Chilli flakes

🍳 Step-by-Step Method (Exactly Like Picture)

Step 1: Prepare Filling

  1. Take a bowl.
  2. Add chopped onion + capsicum.
  3. Add chicken/sausage pieces (optional).
  4. Add pizza sauce or ketchup.
  5. Add black pepper + chilli flakes.
  6. Add grated cheese.
  7. Mix everything properly.

👉 Your filling should be thick, not watery.

Step 2: Preheat Sandwich Maker

  1. Plug in the sandwich maker.
  2. Let it heat for 2–3 minutes.

Step 3: Apply Butter

  1. Take bread slices.
  2. Apply butter on the outer side of bread (very important for golden color).

✅ Butter side must touch the sandwich maker plate.

Step 4: Place Bread in Maker

  1. Put 1 bread slice on the sandwich maker plate.
  2. Butter side should be down.

Step 5: Add Filling

  1. Put filling in the center.
  2. Spread evenly but don’t overfill.
  3. Leave edges empty a little, otherwise cheese comes out (like your pic 😅).

Step 6: Cover With Second Bread

  1. Place second bread slice on top.
  2. Butter side should be up.

Step 7: Close Sandwich Maker

  1. Close the lid slowly.
  2. Press lightly.

⏳ Cook for 4–6 minutes.

Step 8: Check Golden Color

  1. Open slightly and check.
  2. If bread is golden brown and crispy, it’s ready.

👉 If you want extra crispy, cook 1–2 minutes more.

Step 9: Remove Sandwich Carefully

  1. Use a spatula or spoon.
  2. Take out sandwich gently.
  3. Put on plate.

Step 10: Serve

  1. Your sandwich will automatically cut into 4 triangle pieces.
  2. Serve with:
  • ketchup
  • mayo garlic sauce
  • chilli sauce

⭐ Tips to Make It Perfect Like Your Picture

✅ Always butter outside bread

✅ Don’t add too much filling

✅ Use cheese for strong stickiness

✅ Cook on medium heat for crispy color

✅ Use thick sauce, not watery

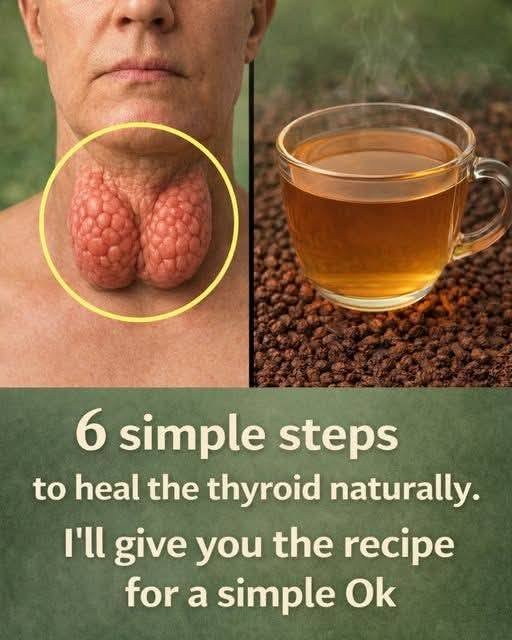
Thyroid-Support Herbal Tea (Supportive, Not Curative)

What This Recipe Can & Cannot Do

✔ May help with:

  • Reducing inflammation

  • Supporting digestion and metabolism

  • Providing antioxidants

  • Gentle stress support

✖ Will NOT:

  • Cure thyroid disease

  • Replace medication

  • Shrink goiters or nodules

  • “Fix” hormone levels on its own

Ingredients (1 serving)

  • 1 cup hot water

  • 1 tsp ginger root (fresh or dried)

  • 1 tsp turmeric powder or fresh turmeric

  • ½ tsp cinnamon

  • 1 tsp lemon juice

  • 1 tsp raw honey (optional)

Instructions

  1. Bring water to a gentle boil

  2. Add ginger, turmeric, and cinnamon

  3. Simmer for 5–7 minutes

  4. Strain into a cup

  5. Add lemon juice and honey (optional)

  6. Drink warm

Notes & Tips

  • Drink once daily, preferably in the morning

  • Avoid on an empty stomach if you’re sensitive

  • Stop if it causes heartburn or nausea

  • Not recommended if you’re pregnant without doctor approval

Servings

  • 1 cup per day
    More is not better.

Nutritional Info (Approx.)

  • Calories: 20–35

  • Sugar: 4–6g (with honey)

  • Rich in antioxidants and anti-inflammatory compounds

Potential Benefits (Evidence-Based)

  • Ginger & turmeric → anti-inflammatory support

  • Cinnamon → blood sugar regulation (important for thyroid balance)

  • Lemon → digestion and vitamin C support

 These benefits are general wellness effects, not thyroid treatment.

The “6 Simple Steps” — A Truthful Version

  1. Get proper thyroid testing (TSH, T3, T4, antibodies)

  2. Take prescribed medication consistently if needed

  3. Eat enough iodine—but not too much

  4. Support selenium & zinc intake (Brazil nuts, seafood, eggs)

  5. Reduce chronic stress (huge for thyroid health)

  6. Avoid miracle cures online 🚩

Q & A

Q: Can this tea cure hypothyroidism or hyperthyroidism?
A: No. Anyone claiming that is spreading misinformation.

Q: Can I drink this while on thyroid meds?
A: Usually yes, but not within 1 hour of medication.

Q: Can tea shrink thyroid swelling?
A: No. Swelling requires medical evaluation.

Q: Is coffee bad for thyroid?
A: Not inherently—but it should be taken at least 30–60 minutes after medication.