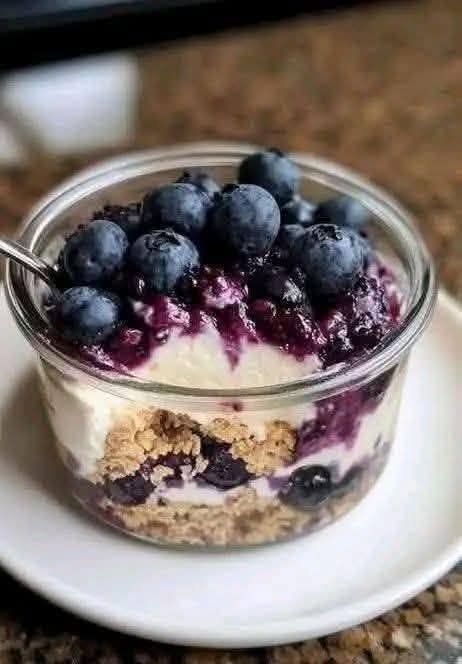
Protein Blueberry Breakfast Jar

Protein Blueberry Breakfast Jar (47g Protein)

Description

A creamy, crunchy, high-protein yogurt jar layered with blueberry compote, protein-packed Greek yogurt, and granola. Quick, refreshing, and perfect for grab-and-go mornings.

Ingredients (1 Jar)

Blueberry Layer

  • ½ cup blueberries

  • 1–2 tbsp water

  • ½–1 tsp lemon juice (optional)

  • Sweetener (optional)

Protein Yogurt

  • 1 cup (225g) Greek yogurt

  • 1 scoop vanilla protein powder

  • Splash of milk/water if needed

Crunch

  • ¼–⅓ cup high-protein granola

Topping

  • Extra blueberries

Instructions

1. Make Blueberry Compote
Heat blueberries + water in a pan until berries burst and become a sauce. Add lemon juice if you like. Cool.

2. Make Protein Yogurt
Mix Greek yogurt with protein powder until smooth (add 1–2 tbsp liquid if thick).

3. Build the Jar
Layer in a jar:

  1. Granola

  2. Half the protein yogurt

  3. Some compote

  4. Remaining yogurt

  5. Top with compote + fresh blueberries

Close the jar or enjoy immediately.

Nutrition (Approx.)

  • Protein: ~47g

  • Calories: 420–520

  • Carbs: 45–60g

  • Fat: 6–12g

Benefits

  • High-protein, long-lasting energy

  • Antioxidant-rich blueberries

  • Probiotic yogurt for healthy digestion

  • Quick 10-minute breakfast

  • Perfect for meal prep

Q&A

Q: Can this be prepped ahead?
Yes—keeps 2–3 days. For crunch, store granola separately.

Q: Can I use frozen blueberries?
Absolutely—they make even better compote.

Q: Can it be made dairy-free?
Yes—use coconut yogurt + plant protein powder (protein will vary).
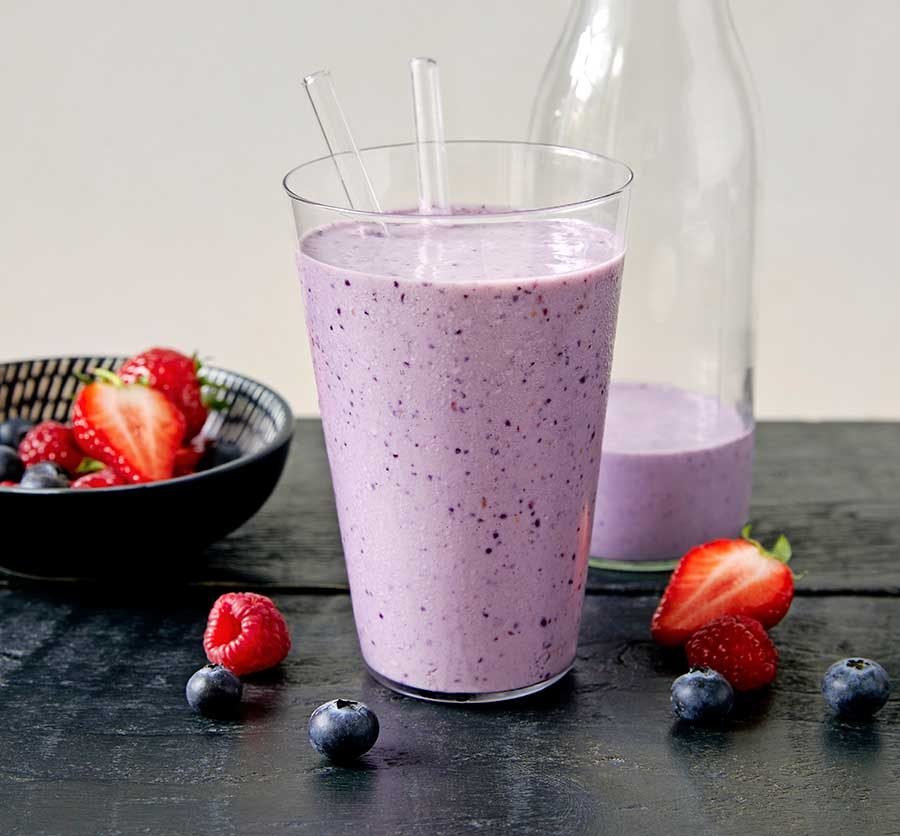
Triple Berry Cream Smoothie

Triple Berry Cream Smoothie

Ingredients

  • 1 cup frozen mixed berries (blueberries, raspberries, and strawberries)

  • 1 ripe banana (fresh or frozen for extra thickness)

  • 1 cup milk of your choice (dairy, almond, or oat milk work great)

  • 1/2 cup Greek yogurt (plain or vanilla)

  • 1 tbsp honey or maple syrup (optional, for added sweetness)

  • A splash of vanilla extract


Instructions

  1. Prep the Fruit: If you are using fresh berries instead of frozen, add 1/2 cup of ice to the blender to ensure you get that thick, chilled consistency seen in the photo.

  2. Combine: Add the milk and yogurt to the blender first. Adding liquids first helps the blades spin more freely and prevents sticking.

  3. Add Solids: Add the mixed berries, banana, and your sweetener of choice.

  4. Blend: Start the blender on a low setting and gradually increase to high. Blend for 45–60 seconds until completely smooth and the berry skins are finely incorporated.

  5. Serve: Pour into a tall glass. If you want to match the image perfectly, garnish with a few fresh berries on the side!


Tips for the Perfect Texture

  • For a Thicker Smoothie: Use a frozen banana. It acts like “healthy ice cream” and creates a much creamier texture than ice cubes.

  • For Extra Nutrition: Feel free to toss in a small handful of spinach (it won’t change the flavor much) or a tablespoon of chia seeds.

  • Adjusting Consistency: If it’s too thick, add a splash more milk. If it’s too thin, add more frozen fruit or a few ice cubes.

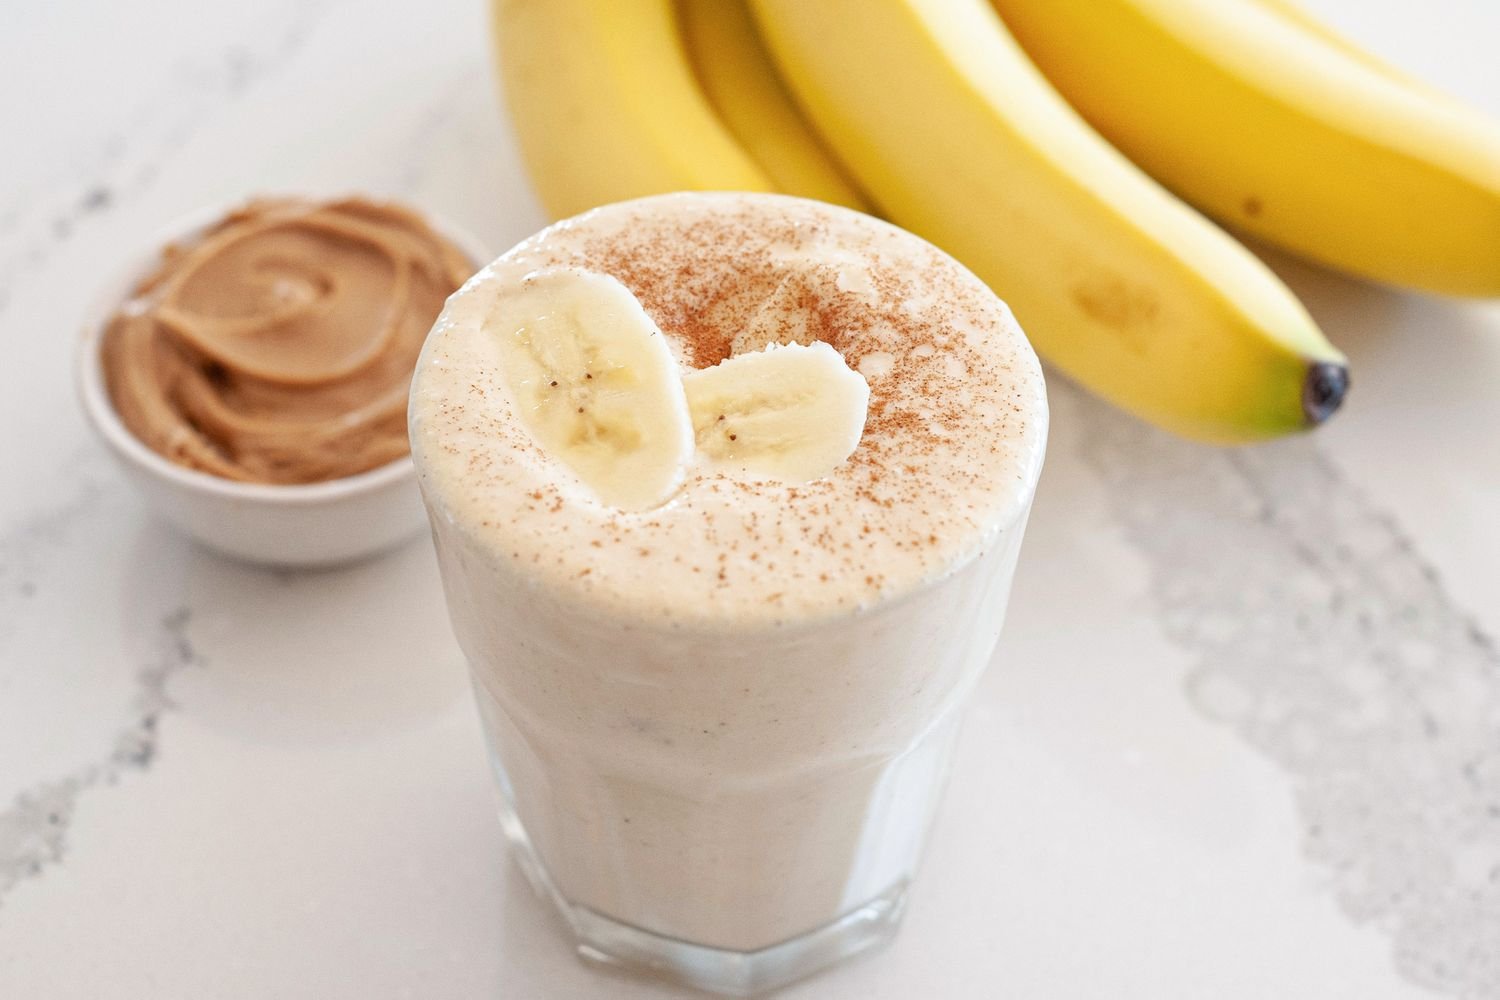
🥤 Creamy Peanut Butter Banana Smoothie
🥤 Creamy Peanut Butter Banana Smoothie
Ingredients

  • Bananas: 1 large banana (frozen is best for that thick, creamy texture).

  • Peanut Butter: 2 tablespoons of creamy peanut butter.

  • Milk Base: 1 cup of your choice (Almond, Oat, or Dairy milk work perfectly).

  • Greek Yogurt: 1/4 cup (optional, for extra thickness and protein).

  • Sweetener: 1/2 teaspoon of honey or maple syrup (optional, as the banana is usually sweet enough).

  • Toppings: * A few thin slices of fresh banana.

    • A light dusting of ground cinnamon.

Instructions

  1. Prep the Banana: For the best “milkshake” consistency, peel a ripe banana, break it into chunks, and freeze it for at least 2 hours before blending. If you’re in a hurry, use a fresh banana and add 1/2 cup of ice.

  2. Combine: Place the frozen banana chunks, peanut butter, milk, and yogurt into a high-speed blender.

  3. Blend: Start on a low speed and gradually increase to high. Blend for 45–60 seconds until the mixture is completely smooth and no lumps remain.

  4. Adjust Consistency: * Too thick? Add a splash more milk.

    • Too thin? Add more frozen banana or a few ice cubes.

  5. Assemble: Pour into a chilled glass.

  6. Garnish: Carefully place two thin banana slices on the surface and sprinkle with a pinch of cinnamon, just like in the photo.


Pro Tips for the Perfect Smoothie

  • The “Spotty” Rule: Use bananas with brown spots. They have a higher sugar content and a much stronger banana flavor than green or solid yellow ones.

  • Nut Butter Variations: If you have an allergy, almond butter or sunflower seed butter are excellent swaps that maintain the creamy texture.

  • Added Nutrition: You can blend in a handful of baby spinach (it will change the color to green, but you won’t taste it!) or a tablespoon of chia seeds for extra fiber.

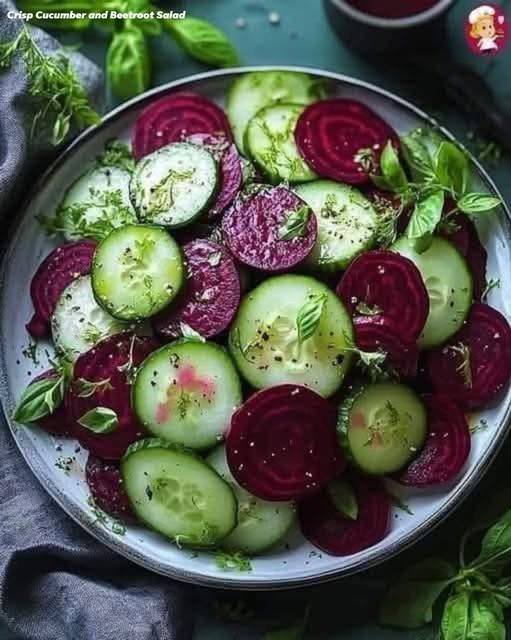
Crisp Cucumber and Beetroot Salad

Crisp Cucumber and Beetroot Salad

A refreshing, mineral-rich salad that supports hydration, digestion, circulation, and overall skin and hair health when eaten regularly as part of a balanced diet.

Description

This salad combines cool, hydrating cucumbers with earthy, antioxidant-rich beetroots, finished with fresh herbs and a light dressing. It’s crunchy, vibrant, and naturally detox-friendly—perfect for daily meals, hot weather, or as a light side dish.

Many people report improved skin glow, hair texture, and energy levels after consistent intake due to better hydration, improved blood flow, and micronutrient support—not because it’s magic, but because it nourishes the body well.


Ingredients (Serves 2–3)

  • 2 medium cucumbers, thinly sliced

  • 2 medium beetroots, cooked or roasted, thinly sliced

  • 1–2 tbsp fresh basil or mint (or dill), chopped

  • 1 tbsp extra-virgin olive oil

  • 1–2 tsp lemon juice or apple cider vinegar

  • Salt, to taste

  • Freshly cracked black pepper, to taste

  • Optional:

    • ½ tsp dried oregano or thyme

    • 1 tsp sesame seeds or pumpkin seeds

    • Crumbled feta or goat cheese (optional, non-vegan)

 Instructions

  1. Prepare vegetables

    • Cook or roast beetroots until tender, cool, peel, and slice.

    • Slice cucumbers evenly (mandoline works well).

  2. Assemble

    • Arrange cucumber and beetroot slices in a bowl or platter.

  3. Dress

    • Drizzle olive oil and lemon juice evenly.

    • Sprinkle salt, pepper, and herbs.

  4. Finish & rest

    • Toss gently or leave layered.

    • Rest 5–10 minutes before serving for best flavor.

Tips & Notes

  • For extra crunch: Add thinly sliced red onion or radish

  • For digestion: Add a pinch of cumin powder

  • For skin focus: Add a few drops of cold-pressed flaxseed oil

  • Meal prep: Keeps well refrigerated for up to 24 hours

  • Color tip: Wear gloves when handling beetroot

 Serving Suggestions

  • As a daily lunch side

  • With grilled fish, tofu, or lentils

  • Inside wraps or grain bowls

  • As a light dinner with yogurt or hummus

 Nutritional Information (Approx. per serving)

  • Calories: ~110 kcal

  • Carbohydrates: 12 g

  • Fiber: 3–4 g

  • Protein: 2 g

  • Fat: 6 g

  • Vitamin C: 20% DV

  • Folate: 25% DV

  • Potassium: 15% DV

  • Antioxidants: High (betalains from beetroot)

 Health Benefits (Evidence-Based)

Skin

  • Improved hydration (cucumber)

  • Antioxidant protection (beetroot betalains)

  • Supports collagen health via vitamin C

Hair

  • Better blood circulation to scalp (nitrates in beetroot)

  • Minerals like iron and folate support hair growth cycles

Body

  • Aids digestion and gut health

  • Supports liver detox pathways

  • Helps regulate blood pressure

  • Naturally anti-inflammatory

Important: Results vary. This salad supports health but does not replace medical treatment.

Q & A

Q: Can I eat this daily?
Yes, for most people it’s safe and beneficial when part of a balanced diet.

Q: Raw or cooked beetroot?
Both are good. Cooked is easier to digest; raw retains more vitamin C.

Q: Is it good for weight loss?
Yes—low calorie, high fiber, very filling.

Q: Can diabetics eat this?
Yes, in moderation. Beetroot has natural sugars but a low glycemic load when paired with fiber and fat.

Q: Why do people say their skin and hair feel “reborn”?
Better hydration, improved circulation, antioxidants, and micronutrients often lead to visible improvements over 3–4 weeks.

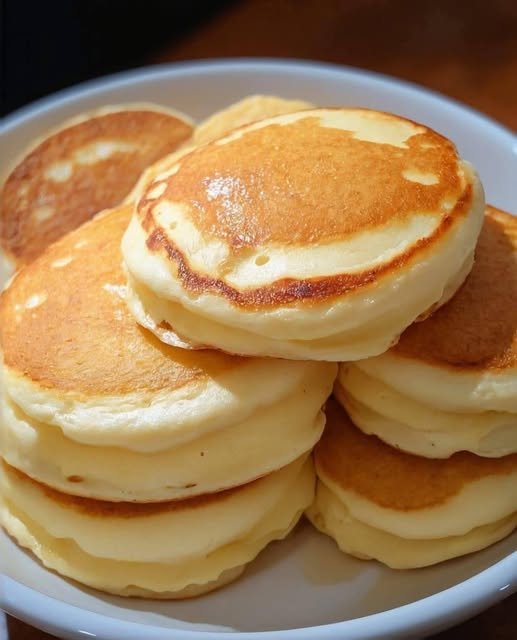
Best Fluffy Pancakes

Best Fluffy Pancakes

Soft, thick, and bakery-style fluffy pancakes that stay tender inside with lightly golden edges—perfect for breakfast or brunch.


🧾 Ingredients

Dry Ingredients

  • 1 ½ cups all-purpose flour

  • 2 ½ teaspoons baking powder

  • ½ teaspoon salt

  • 1 tablespoon sugar (optional, for light sweetness)

Wet Ingredients

  • 1 ¼ cups milk (room temperature)

  • 1 large egg (room temperature)

  • 3 tablespoons melted butter or oil

  • 1 teaspoon vanilla extract (optional)


👩‍🍳 Instructions

  1. Mix dry ingredients
    In a large bowl, whisk together flour, baking powder, salt, and sugar.

  2. Mix wet ingredients
    In another bowl, whisk milk, egg, melted butter, and vanilla.

  3. Combine gently
    Pour wet ingredients into dry. Stir gently until just combined.
    👉 Lumps are okay—do not overmix.

  4. Rest the batter
    Let the batter rest for 5–10 minutes. This helps activate the baking powder for extra fluffiness.

  5. Cook pancakes
    Heat a non-stick pan or griddle over medium heat. Lightly grease.
    Pour about ¼ cup batter per pancake.

  6. Flip
    Cook until bubbles form on the surface (about 2–3 minutes), flip, and cook another 1–2 minutes until golden.

  7. Serve warm
    Enjoy with butter, syrup, fruit, or honey.


🍽 Servings

  • Makes: 8–10 pancakes

  • Serves: 3–4 people


💡 Tips for Extra Fluffy Pancakes

  • ✔ Use fresh baking powder (key for lift)

  • ✔ Let batter rest before cooking

  • ✔ Cook on medium heat, not high

  • ✔ Flip only once

  • ✔ Do not press pancakes while cooking


🧠 Description Notes

  • These pancakes are light yet filling

  • Soft interior with a mild buttery flavor

  • Works well for add-ins like blueberries or chocolate chips


🥗 Nutritional Information (Per Pancake – Approx.)

  • Calories: ~150 kcal

  • Carbohydrates: 20 g

  • Protein: 4 g

  • Fat: 6 g

  • Sugar: 3 g

  • Sodium: 200 mg

(Values vary depending on toppings and substitutions)


🌟 Benefits

  • ✔ Quick and easy homemade breakfast

  • ✔ No special equipment needed

  • ✔ Customizable (sweet or savory)

  • ✔ Kid-friendly and freezer-friendly

  • ✔ Budget-friendly ingredients


❓ Recipe Q & A

Q: Why are my pancakes flat?
A: Overmixing the batter or expired baking powder.

Q: Can I make them without eggs?
A: Yes! Replace 1 egg with ¼ cup yogurt or applesauce.

Q: Can I use whole wheat flour?
A: Yes, but replace only half for best fluffiness.

Q: Can I store leftovers?
A: Yes. Refrigerate up to 3 days or freeze up to 2 months.

Q: Can I make the batter ahead?
A: Best cooked fresh, but batter can rest up to 30 minutes.

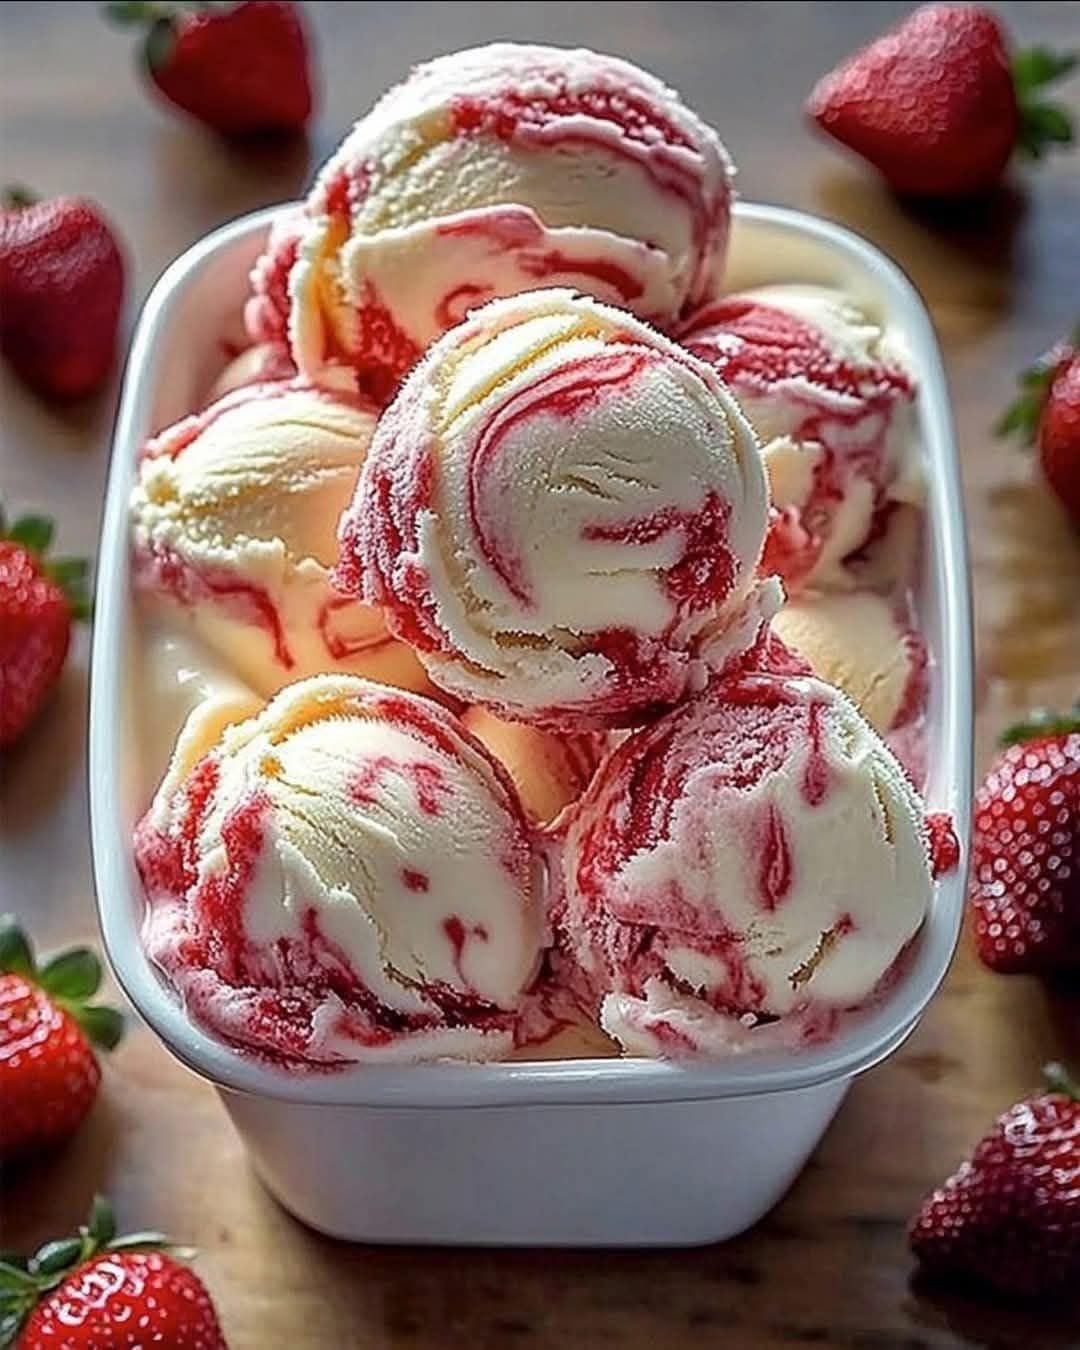
Fresh Strawberry Swirl Ice Cream

Fresh Strawberry Swirl Ice Cream

1. The Strawberry Swirl

  • 2 cups fresh strawberries (hulled and sliced)

  • 1/4 cup granulated sugar

  • 1 tsp lemon juice

2. The Ice Cream Base

  • 2 cups heavy whipping cream (cold)

  • 1 can (14 oz) sweetened condensed milk

  • 1 tsp pure vanilla extract

  • A pinch of salt


Instructions

Step 1: Make the Strawberry Reduction

  1. Place strawberries, sugar, and lemon juice in a small saucepan over medium heat.

  2. Cook for about 10–12 minutes, mashing the berries with a fork as they soften, until the mixture thickens into a jam-like consistency.

  3. Crucial: Let this cool completely in the fridge before using. If it’s warm, it will melt your ice cream.

Step 2: Whip the Base

  1. In a large chilled bowl, whip the heavy cream until stiff peaks form (be careful not to over-whip into butter).

  2. In a separate bowl, whisk together the sweetened condensed milk, vanilla, and salt.

  3. Gently fold the whipped cream into the condensed milk mixture using a spatula. Do this slowly so you don’t lose the airiness.

Step 3: Create the Swirl

  1. Pour half of the cream mixture into a loaf pan or freezer-safe container.

  2. Drip spoonfuls of the cooled strawberry sauce over the top.

  3. Add the remaining cream mixture, then more strawberry sauce.

  4. Use a butter knife or skewer to gently swirl the strawberry sauce through the cream. Don’t over-mix, or it will just turn pink instead of having distinct swirls!

Step 4: Freeze

  1. Cover tightly with plastic wrap or a lid.

  2. Freeze for at least 6–8 hours (overnight is best) until firm.


Pro Tips for Success

  • Cold Tools: Put your mixing bowl and whisk in the freezer for 15 minutes before whipping the cream to get better volume.

  • Smooth Sauce: If you don’t like berry chunks, run the strawberry sauce through a blender and a fine-mesh strainer before cooling it.

  • Soft Serve: If the ice cream is too hard straight from the freezer, let it sit on the counter for 5 minutes before scooping.