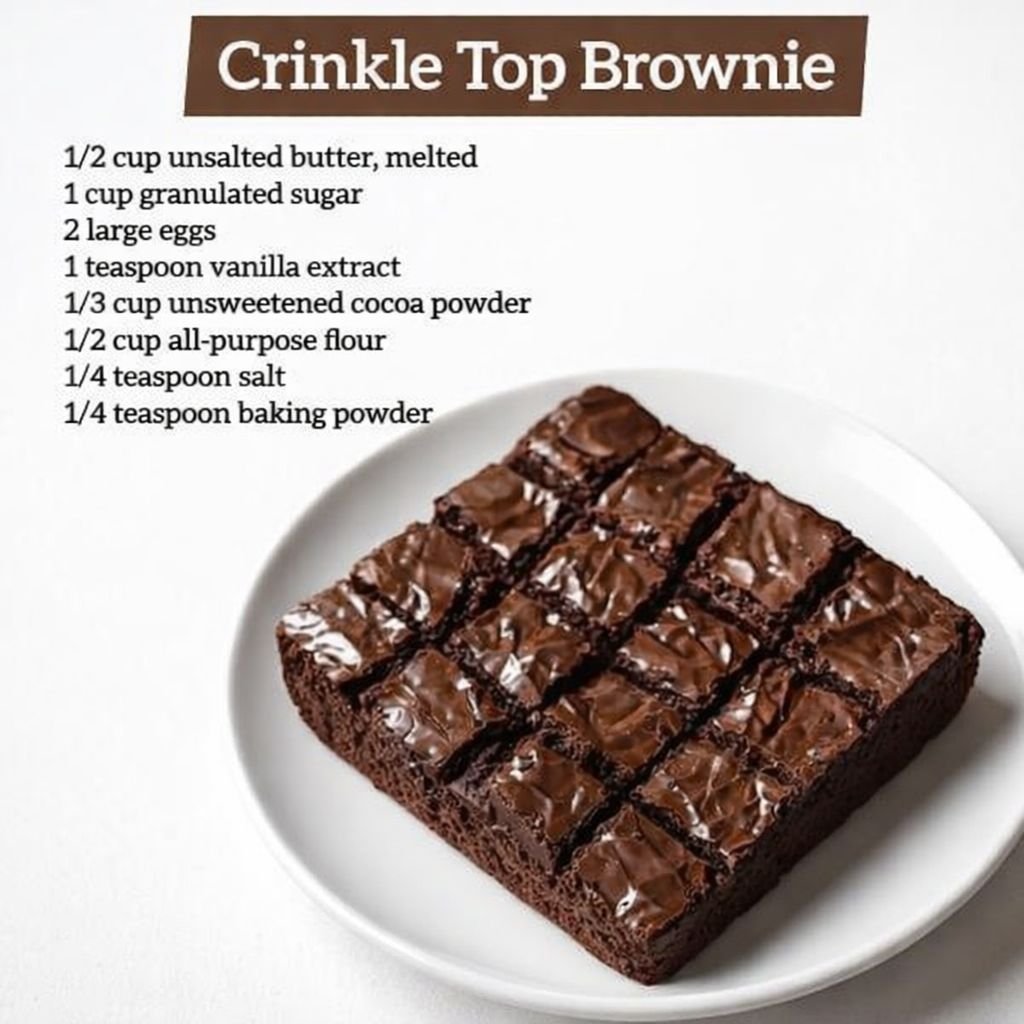
Perfect Crinkle Top Brownies

Perfect Crinkle Top Brownies

Rich, fudgy, and decadent, these brownies feature a dense, chewy center topped with the classic paper-thin, crackly crust that makes every bite irresistible.


Ingredients (8×8-inch pan, 16 squares)

  • 1/2 cup (115 g) unsalted butter, melted

  • 1 cup (200 g) granulated sugar

  • 2 large eggs

  • 1 teaspoon vanilla extract

  • 1/3 cup (35 g) unsweetened cocoa powder

  • 1/2 cup (60 g) all-purpose flour

  • 1/4 teaspoon salt

  • 1/4 teaspoon baking powder


Instructions

1. Preheat and Prep

  1. Preheat the oven to 175°C (350°F).

  2. Grease an 8×8-inch square baking pan or line it with parchment paper, leaving a slight overhang for easy removal of the brownies after baking.


2. Cream the Butter and Sugar

  1. In a large mixing bowl, combine the melted butter and granulated sugar.

  2. Whisk vigorously for 1–2 minutes until the mixture looks glossy and slightly thickened.

Tip for the Crinkle Top: Thoroughly whisking the sugar into the butter helps dissolve the sugar, which is key to forming that signature shiny, crackly crust.


3. Add Wet Ingredients

  1. Add the eggs and vanilla extract to the butter-sugar mixture.

  2. Whisk for another minute until the batter turns pale and smooth.


4. Incorporate Dry Ingredients

  1. Sift together the cocoa powder, flour, salt, and baking powder.

  2. Using a spatula, gently fold the dry ingredients into the wet mixture.

  3. Mix only until the streaks of flour disappear. Overmixing can make brownies tough instead of fudgy.


5. Bake

  1. Pour the batter into the prepared pan and smooth the top with a spatula.

  2. Bake in the preheated oven for 20–25 minutes.

Toothpick Test: Insert a toothpick in the center; it should come out with a few moist crumbs. A fully clean toothpick may indicate the brownies are slightly overbaked.


6. Cool and Slice

  1. Allow the brownies to cool completely in the pan. This ensures the fudgy interior sets and the crinkle top firms up.

  2. Lift the brownies out using the parchment paper and cut into 16 equal squares.


Why This Recipe Works

  • Cocoa Ratio: Using 1/3 cup of cocoa powder gives a deep chocolate flavor without drying out the brownies.

  • Fudgy Texture: The combination of 1/2 cup flour and 2 eggs creates a dense, chewy texture rather than a cake-like structure.

  • Shiny Crinkle Top: Thoroughly whisking the sugar into melted butter and eggs ensures that classic crackly surface.


Pro Tips for Perfect Brownies

  • Do not overbake: Even a minute too long can dry out the edges. Keep an eye on the toothpick test.

  • Let them cool fully: Cutting brownies too soon can result in crumbling and a less defined top.

  • Optional add-ins: Fold in chocolate chips, nuts, or a swirl of caramel for extra indulgence.
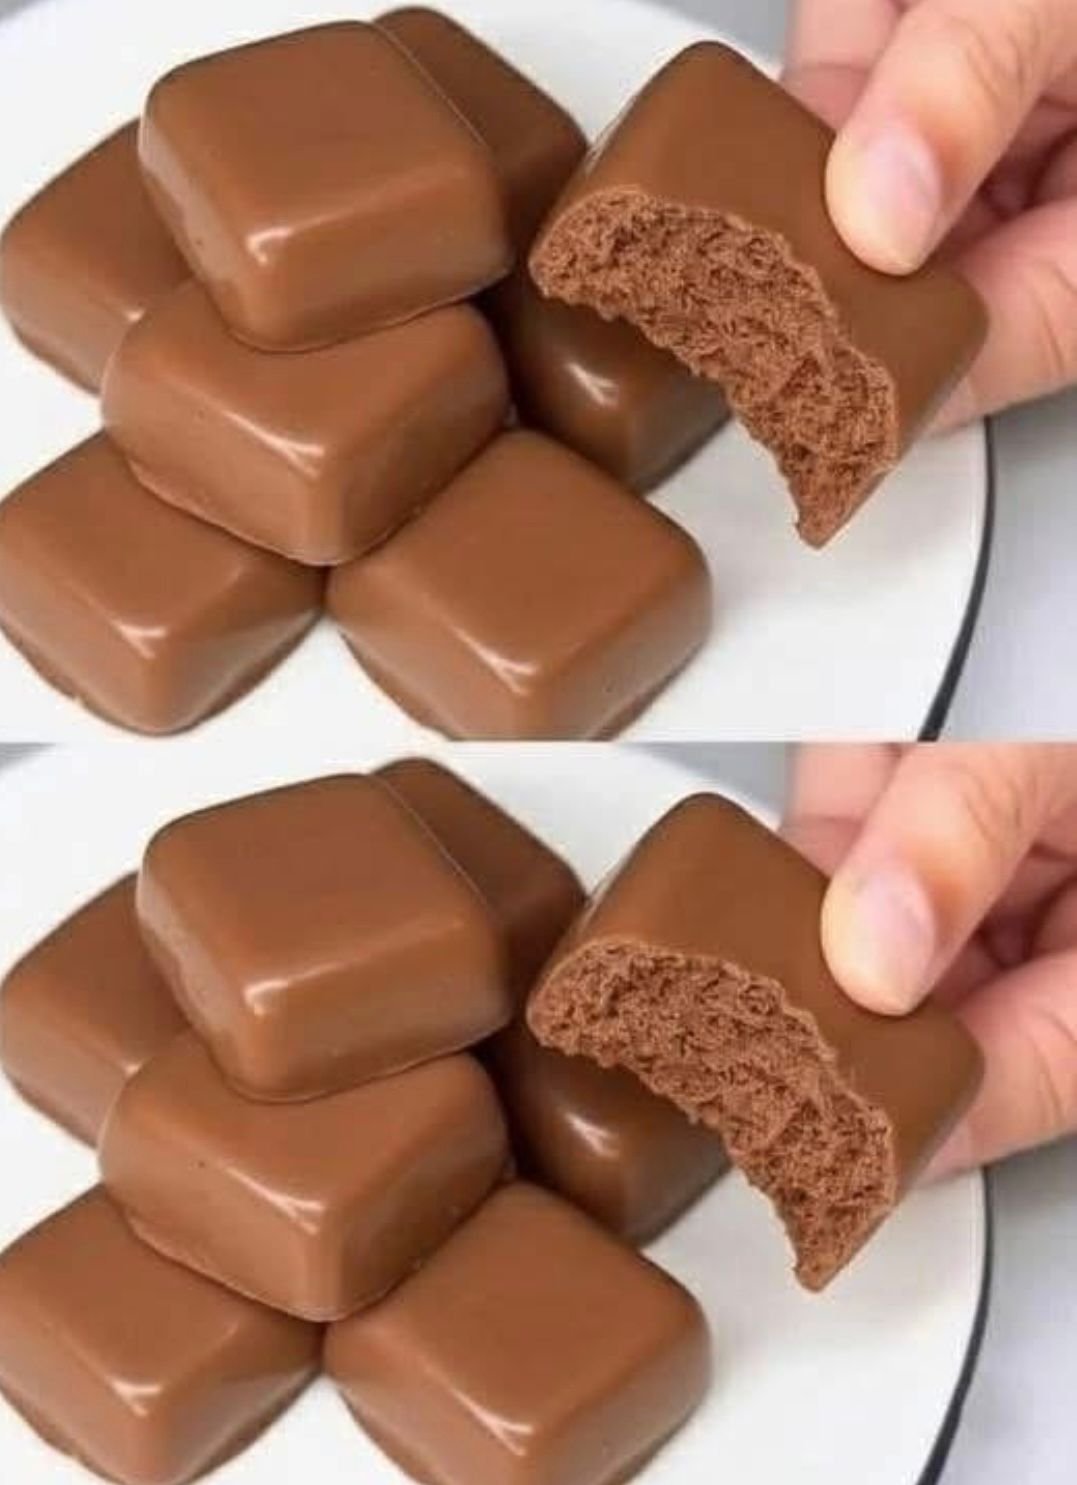
Chocolate-Covered Marshmallow Mousse Squares

Chocolate-Covered Marshmallow Mousse Squares

Indulgent, airy, and rich, these mousse squares have a delicate marshmallow-mousse interior coated in a crisp chocolate shell. Perfect for dessert platters, gifts, or a special treat.


Ingredients (Makes about 16 squares)

For the Mousse Filling

  • 1 cup (240 ml) whole milk

  • 1 ½ cups (150 g) mini marshmallows (white)

  • 4 oz (115 g) semisweet chocolate, finely chopped

  • 1 tablespoon unsweetened cocoa powder

  • 1 teaspoon gelatin powder, bloomed in 1 tablespoon cold water

For the Chocolate Coating

  • 8 oz (225 g) milk or dark chocolate melting wafers

  • 1 tablespoon coconut oil (helps coating stay smooth and snap cleanly)


Instructions

1. Prepare the Cocoa Base

  1. In a small saucepan over medium-low heat, combine the milk and cocoa powder.

  2. Whisk gently until the cocoa dissolves and the milk is steaming but not boiling.


2. Melt the Marshmallows and Chocolate

  1. Add the mini marshmallows and chopped chocolate to the warm milk.

  2. Stir constantly with a whisk until the marshmallows and chocolate are fully melted and the mixture is silky smooth.


3. Add the Gelatin

  1. Remove the pan from heat.

  2. Stir in the bloomed gelatin while the mixture is still hot.

  3. Whisk vigorously for 1 minute to ensure the gelatin is fully incorporated and to introduce tiny air bubbles for a light, porous texture.

Tip: For an even airier texture, you can whip the mixture with a hand mixer for 1–2 minutes before pouring into the mold.


4. Set the Mousse

  1. Line an 8×8 inch square baking dish with parchment paper, leaving an overhang on the sides for easy removal.

  2. Pour the mousse mixture into the dish and tap lightly on the counter to level it.

  3. Refrigerate for at least 4 hours, or until firm to the touch.


5. Cut into Squares

  1. Lift the mousse block from the dish using the parchment overhang.

  2. Use a sharp, warm knife to cut the block into equal squares.

  3. Wipe the knife clean between cuts for crisp, clean edges.


6. Dip and Coat

  1. Melt the chocolate wafers and coconut oil in a microwave-safe bowl in 30-second intervals, stirring each time until smooth.

  2. Using a fork, dip each mousse square into the melted chocolate.

  3. Shake off excess chocolate and place the squares on parchment paper.

  4. Let the coating harden at room temperature, or refrigerate for 5 minutes.


Pro Tips for Perfection

  • Airier Texture: Whipping the chocolate-marshmallow mixture slightly before setting creates a more porous interior, similar to a premium aerated chocolate bar.

  • Clean Edges: Warm your knife slightly and wipe it after each cut to maintain perfect square shapes.

  • Chocolate Shell: Adding coconut oil to the melted chocolate ensures a smooth finish that snaps when bitten.

  • Storage: Keep the mousse squares in an airtight container in the refrigerator for up to 5 days.

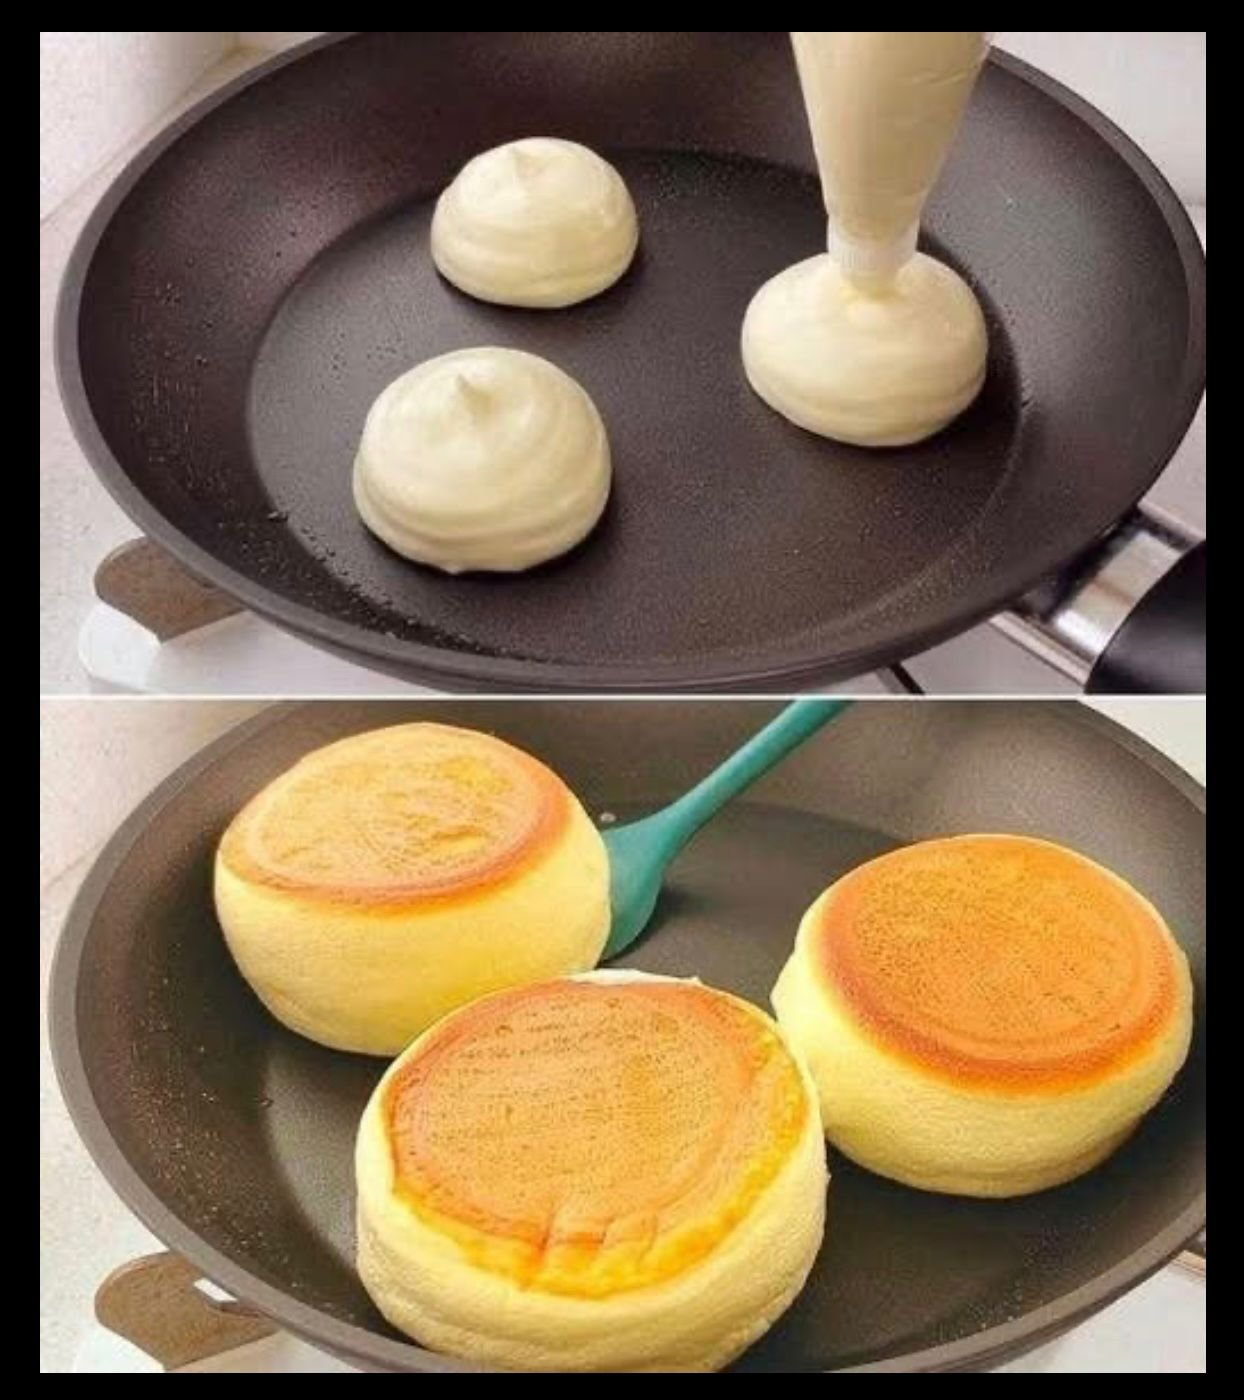
Japanese Soufflé Pancakes

Japanese Soufflé Pancakes

Fluffy, tall, and cloud-like, these Japanese soufflé pancakes are a delightful treat for breakfast, brunch, or dessert. Serve with butter, syrup, or even a scoop of rich chocolate gelato for a luxurious twist.


Ingredients (Makes 2–3 pancakes)

For the Pancakes:

  • 2 large eggs, separated (yolks and whites)

  • 1 ½ tablespoons whole milk

  • ¼ teaspoon vanilla extract

  • ¼ cup (30 g) all-purpose flour, sifted

  • 2 tablespoons granulated sugar

  • ½ teaspoon baking powder

  • Optional: 1 teaspoon water (for steaming in the pan)

For Serving (Optional):

  • Butter

  • Maple syrup

  • Chocolate gelato


Instructions

1. Prepare the Yolk Base

  1. In a small bowl, whisk together the egg yolks, milk, and vanilla extract until thick and slightly frothy.

  2. Sift the flour and baking powder over the mixture.

  3. Gently fold with a whisk or spatula until just combined. Do not overmix—overmixing will make the pancakes dense.


2. Make the Meringue

  1. In a clean metal or glass bowl, beat the egg whites on low speed until frothy.

  2. Gradually add the sugar, one tablespoon at a time, while increasing the mixer speed to medium-high.

  3. Beat until stiff peaks form. Peaks should stand straight when you lift the beaters.

Tip: Using cold eggs helps create a more stable meringue.


3. Fold the Batter

  1. Add about one-third of the meringue to the yolk mixture. Fold gently to lighten the batter.

  2. Add the remaining meringue in two additions. Fold carefully using a “cut and turn” motion to keep as much air as possible.


4. Pipe the Batter

  1. Transfer the batter into a piping bag or a large Ziploc bag with the corner cut off.

  2. Pipe tall mounds of batter onto a lightly greased non-stick pan.

  3. For extra height, pipe a small amount on top of each mound after a minute.


5. Cook “Low and Slow”

  1. Set the pan to the lowest possible heat.

  2. Add 1 teaspoon of water in empty spaces of the pan and cover with a lid. The steam will help the pancakes rise.

  3. Cook for 5–6 minutes on the first side until golden brown.


6. Flip Gently

  1. Carefully lift each pancake with a spatula and flip.

  2. Add another teaspoon of water, cover, and cook for another 4–5 minutes.

  3. Pancakes should be fluffy, golden, and fully set inside.


7. Serve Immediately

  • These pancakes are highest and fluffiest right after cooking. They may deflate slightly as they cool.

  • Serve with butter, maple syrup, or a scoop of chocolate gelato for a decadent treat.


Pro Tips for Perfect Soufflé Pancakes

  • Patience is key: Low heat ensures the inside cooks without burning the outside.

  • Cold eggs: Helps stabilize the meringue for taller pancakes.

  • Steaming: Adding a little water to the pan creates gentle steam, aiding the rise.

  • Immediate service: Like soufflés, these are best enjoyed fresh for maximum fluffiness.

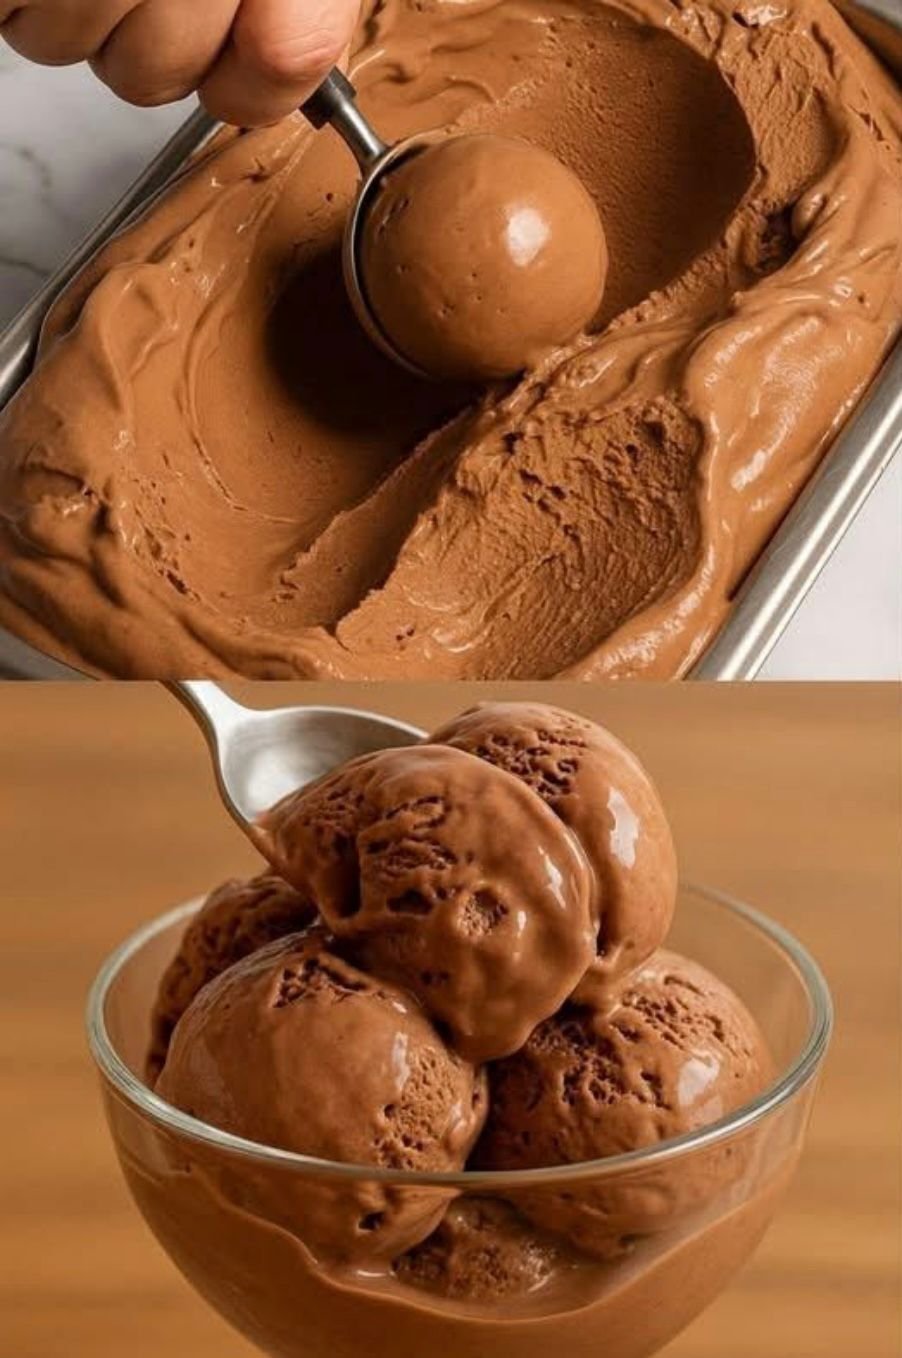
Silky Deep Chocolate Gelato

Silky Deep Chocolate Gelato

Indulge in rich, velvety chocolate perfection with this custard-based gelato. Dense, smooth, and intensely chocolatey, it’s a homemade treat that rivals any gelateria.


Ingredients (Serves 4–6)

  • 2 cups (480 ml) whole milk

  • 1 cup (240 ml) heavy cream

  • 1/2 cup (100 g) granulated sugar, divided

  • 1/4 cup (25 g) unsweetened cocoa powder (Dutch-processed for a darker color)

  • 4 oz (115 g) high-quality dark chocolate (60% cacao or higher), finely chopped

  • 4 large egg yolks

  • 1 teaspoon vanilla extract

  • 1/4 teaspoon sea salt


Instructions

1. Heat the Dairy

  1. In a medium saucepan, combine the milk, heavy cream, and half of the sugar (1/4 cup).

  2. Sift in the cocoa powder to prevent lumps.

  3. Heat over medium heat, stirring occasionally, until the mixture begins to steam gently. Do not allow it to boil.


2. Melt the Chocolate

  1. Remove the pan from the heat.

  2. Add the chopped dark chocolate and sea salt. Let it sit for 1 minute.

  3. Whisk until the chocolate is fully melted and the mixture is smooth and glossy.


3. Temper the Egg Yolks

  1. In a separate bowl, whisk the egg yolks with the remaining sugar until pale yellow and slightly thickened.

  2. Slowly pour about 1/2 cup of the hot chocolate mixture into the yolks while whisking constantly.

  3. This gradual process, called tempering, prevents the eggs from cooking too quickly.


4. Thicken the Custard

  1. Pour the tempered egg mixture back into the saucepan with the remaining chocolate dairy.

  2. Place over low heat and stir constantly with a wooden spoon or silicone spatula.

  3. Cook until the custard thickens enough to coat the back of a spoon (about 77°C–82°C / 170°F–180°F).

Tip: Do not let the custard boil, or it may curdle.


5. Chill the Base

  1. Strain the custard through a fine-mesh sieve into a clean bowl to remove any lumps.

  2. Stir in the vanilla extract.

  3. Cover the surface directly with plastic wrap to prevent a skin from forming.

  4. Refrigerate for at least 4–6 hours, or preferably overnight, for full flavor and texture.


6. Churn the Gelato

  1. Pour the chilled custard into an ice cream maker.

  2. Churn according to the manufacturer’s instructions (usually 20–25 minutes) until the gelato reaches a soft, creamy consistency.


7. Freeze for Scoopable Texture

  1. Transfer the gelato to a pre-chilled container.

  2. Cover and freeze for an additional 2 hours for a scoopable texture that holds shape beautifully.


Pro Tips for the Perfect Gelato

  • Serving Temperature: Gelato is best served slightly warmer than ice cream. Let it sit 5 minutes at room temperature before scooping to reveal those smooth ridges.

  • Prevent Ice Crystals: Press a piece of parchment paper directly onto the gelato surface before sealing the container.

  • Chocolate Choice: Use high-quality chocolate for a richer, more complex flavor. Avoid low-cacao blends.

  • Optional Add-Ins: Stir in chocolate chips, caramel swirls, or toasted nuts after churning for extra texture.


This gelato has a deep, luxurious chocolate flavor and a texture so smooth it practically melts in your mouth. Perfect for a decadent dessert or a special treat for chocolate lovers!

Savory Ginger-Sesame Spice Rub

Savory Ginger-Sesame Spice Rub

This aromatic rub is perfect for poultry, meat, or tofu. It balances the earthy flavors of parsley and onion with the gentle warmth of fresh ginger and the nutty richness of sesame oil.


Ingredients

  • 2 tablespoons Kosher salt (or sea salt)

  • 1 tablespoon onion powder

  • 1 tablespoon garlic powder

  • 1/4 cup dried parsley (coarsely ground)

  • 2 teaspoons paprika (smoked or sweet)

  • 1 teaspoon fresh ginger, finely grated

  • 1 teaspoon sesame oil


Instructions

1. Prep the Dry Ingredients

  1. In a small mixing bowl, combine the salt, onion powder, garlic powder, dried parsley, and paprika.

  2. Use a whisk or fork to mix thoroughly until the color is uniform and the ingredients are evenly distributed.

Tip: Coarsely grind the parsley if it feels too large, so it mixes better with the spices.


2. Incorporate the Wet Ingredients

  1. Add the freshly grated ginger and sesame oil to the dry spice mixture.

  2. Use a fork or small whisk to “cut” the oil and ginger into the dry ingredients.

Result: The mixture should have a slightly damp, sandy texture. This texture helps the rub adhere to meat, poultry, or tofu during cooking.


3. Apply the Rub

For Poultry or Meat:

  1. Pat the meat dry with a paper towel.

  2. Rub the spice mixture generously over all sides of the protein.

For Tofu:

  1. Press the tofu for 10–15 minutes to remove excess moisture.

  2. Coat the tofu evenly with the spice rub.


4. Rest Before Cooking

Allow the seasoned protein to rest for 15–30 minutes. This gives the ginger and sesame oil time to infuse the surface with flavor.


5. Cooking Suggestions

  • Roasting: Preheat the oven to 200°C (400°F). Bake meat or tofu until fully cooked and golden. Use a meat thermometer to ensure poultry reaches 74°C (165°F).

  • Air Frying: Set the air fryer to 190°C (375°F). Cook until the exterior is crisp and the inside reaches the proper temperature.

  • Grilling: This rub works beautifully on a preheated grill. Cook over medium heat and monitor closely to avoid burning the spices.


6. Storage Notes

  • Because this rub contains fresh ginger and sesame oil, it is best used immediately.

  • To make a dry, shelf-stable version:

    • Replace fresh ginger with 1 teaspoon ground ginger.

    • Omit the sesame oil until just before use.

    • Store in an airtight container in a cool, dry place for up to 3 months.


Chef Tips for Best Flavor

  • For extra depth, toast the paprika lightly in a dry pan before mixing.

  • Add a pinch of black pepper or crushed red pepper for a gentle heat boost.

  • When using on tofu, sear briefly in a hot pan before roasting for a crisp exterior.

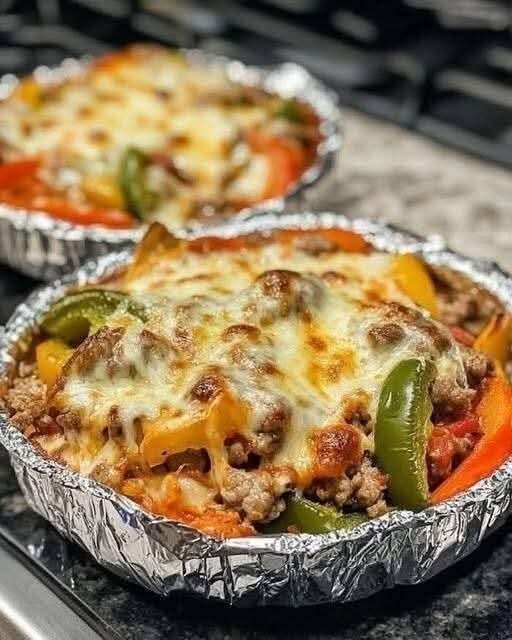
Low Carb Crustless Pizza Bowl

Ingredients

1 pound ground chicken

1/2 cup pizza sauce

1 cup shredded mozzarella cheese

1/4 cup sliced pepperoni

1/4 cup sliced black olives

1/4 cup diced green bell pepper

1/4 cup diced red onion

1 teaspoon dried oregano

1/2 teaspoon garlic powder

Salt and pepper to taste

How To Make Low Carb Crustless Pizza Bowl

1. Preheat your oven to 375°F (190°C).

2. In a large bowl, combine the ground chicken, oregano, garlic powder, salt, and pepper. Mix well until all the ingredients are evenly incorporated.

3. Press the ground chicken mixture into the bottom of a greased pie dish, forming a crust-like layer.

  • 4. Bake the chicken crust in the preheated oven for 20 minutes, or until it is cooked through and slightly golden.
  • 5. After the chicken crust has cooked, take it out of the oven and evenly spread the pizza sauce on top.
  • 6. Sprinkle the shredded mozzarella cheese over the sauce, followed by the sliced pepperoni, black olives, diced green bell pepper, and diced red onion.
  • 7. Place the pizza bowl back in the oven and continue baking for another 5 to 7 minutes, or until the cheese has melted and become bubbly.
  • 8. Remove the pizza bowl from the oven and let it cool for a few minutes before slicing and serving.
  • 9. Enjoy your delicious low-carb crustless pizza bowl!