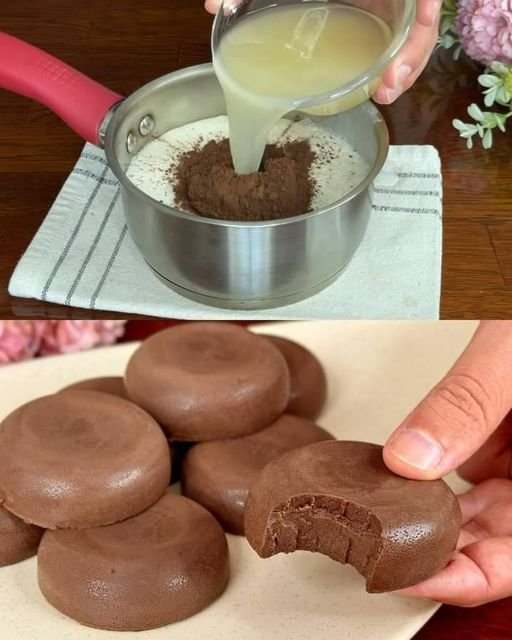
3-Ingredient Coconut Chocolate Jelly

πŸ₯₯🍫 3-Ingredient Coconut Chocolate Jelly
This smooth and light dessert uses agar-agar for setting instead of gelatin. It is simple to make and perfect for a quick plant-based treat.


🧾 Ingredients

  • 1Β½ cups (360 ml) coconut milk

  • 1 cup (240 ml) water

  • β…“ cup (30 g) unsweetened cocoa powder

  • 1 tablespoon agar-agar powder

Optional Flavor Additions:

  • 1–2 tablespoons honey, maple syrup, or any sweetener (optional)

  • Β½ teaspoon vanilla extract

  • A pinch of salt (to enhance chocolate flavor)


πŸ‘©β€πŸ³ Instructions

1. Mix the Liquid Base

Pour the water and coconut milk into a medium saucepan.

Add the cocoa powder.

Whisk well while the mixture is still cold so the cocoa powder dissolves completely and no lumps remain.


2. Activate the Agar-Agar

Add the agar-agar powder to the saucepan and whisk again.

Place the pan over medium heat and bring the mixture to a gentle boil while stirring constantly.

Once boiling, reduce heat and simmer for 1–2 minutes, stirring continuously.
(This step is important because agar-agar must boil in order to set properly.)


3. Pour and Set

Carefully pour the hot mixture into:

  • A glass dish

  • Silicone molds

  • Or small serving bowls

Let it cool slightly at room temperature for about 5 minutes, then place it in the refrigerator.

Chill for 1–2 hours or until fully set and firm.


4. Serve

Once set, gently remove from the mold or serve directly from the bowl.

For decoration, lightly dust with cocoa powder before serving if desired.


🌟 Texture Tip

Agar-agar sets firmer than gelatin.
For a softer texture:

  • Reduce agar-agar by ΒΌ teaspoon
    OR

  • Increase coconut milk slightly for a creamier result.


🍽 Serving Ideas

βœ” Serve chilled
βœ” Top with fresh berries
βœ” Add shaved dark chocolate
βœ” Serve with coconut flakes


πŸ“¦ Storage

  • Store covered in the refrigerator for up to 3 days

  • Best enjoyed cold

  • Do not freeze (texture may change)
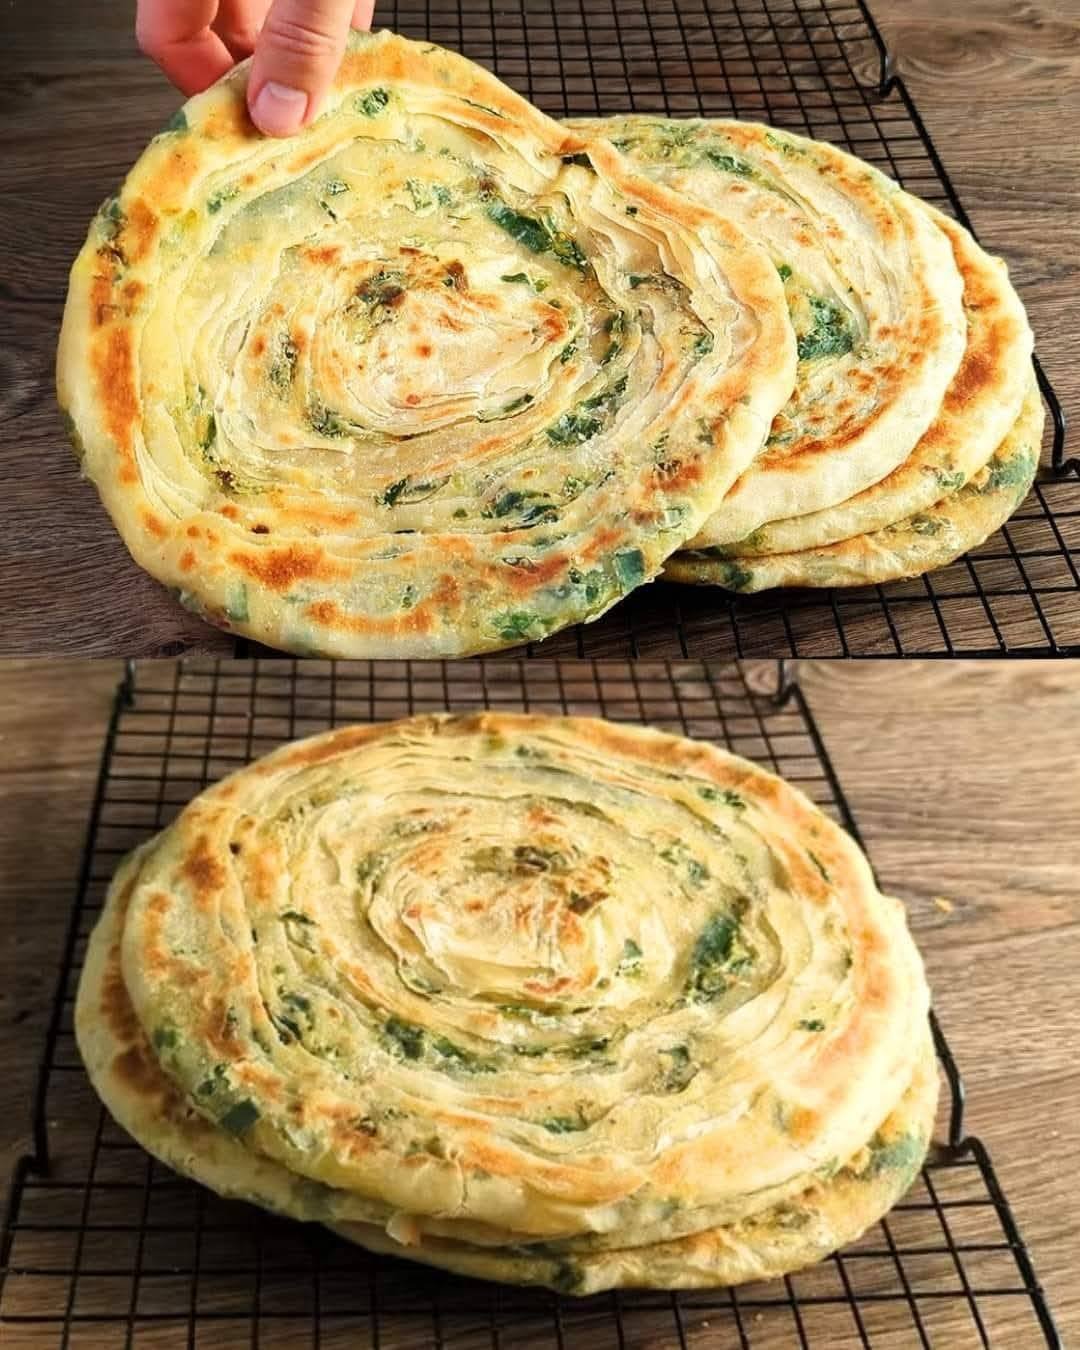
Homemade Flaky Vegetable Flatbread

Homemade Flaky Vegetable Flatbread


🧾 Ingredients

For the Dough:

  • 550 g (about 4ΒΌ cups) all-purpose flour

  • 300 ml (1Β½ cups) warm water

  • 1 teaspoon salt

  • 1 egg


For the Filling:

  • 40 g green onions (spring onions), finely chopped

  • 50 g spinach, finely chopped

  • Β½ teaspoon salt

  • Β½ teaspoon red pepper flakes (adjust to taste)


For Layering & Cooking:

  • Oil or melted butter (for brushing)


πŸ‘©β€πŸ³ Instructions

1. Prepare the Dough

In a large mixing bowl, add:

  • Warm water

  • Egg

  • Salt

Whisk lightly until combined.

Gradually add the flour while mixing with a spoon or your hands until a dough forms.

Transfer to a lightly floured surface and knead for 5–7 minutes until:

  • Smooth

  • Soft

  • Elastic

Cover the dough with a cloth or plastic wrap and let it rest for 20 minutes.
(This relaxes the dough and makes rolling easier.)


2. Prepare the Filling

In a bowl, combine:

  • Chopped spinach

  • Chopped green onions

  • Salt

  • Red pepper flakes

Mix well and set aside.


3. Divide and Roll

After resting, divide the dough into 4 to 6 equal pieces.

Take one piece and roll it into a very thin rectangle or circle (as thin as possible without tearing).

Brush the surface lightly with oil or melted butter.

Sprinkle a portion of the vegetable mixture evenly over the dough.


4. Form the Layers (Spiral Method)

Roll the dough tightly into a long strip (like a rope).

Coil the strip into a spiral shape (like a snail).

Tuck the end underneath.

Gently flatten the spiral with a rolling pin into a round flatbread about 15–18 cm wide.

Repeat with the remaining dough.


5. Cook the Flatbreads

Heat a non-stick pan or skillet over medium-low heat and lightly grease it.

Place one flatbread in the pan.

Cook for 3–4 minutes per side until:

  • Golden brown spots appear

  • The bread is fully cooked inside

Tip: Cover the pan while cooking the first side to help steam the inside. Remove the lid when flipping to allow browning.


🍽 Serving

Serve hot or warm:

  • Plain

  • With yogurt or garlic sauce

  • With chili sauce

  • As a wrap for vegetables or chicken


⭐ Optional Additions

βœ” Add grated carrot to the filling
βœ” Add grated cheese for richer flavor
βœ” Add cumin or black pepper for spice
βœ” Brush with butter after cooking for extra softness


πŸ“¦ Storage

  • Store cooked flatbreads in the refrigerator for up to 2 days

  • Reheat on a pan before serving

  • Dough can be refrigerated for 24 hours

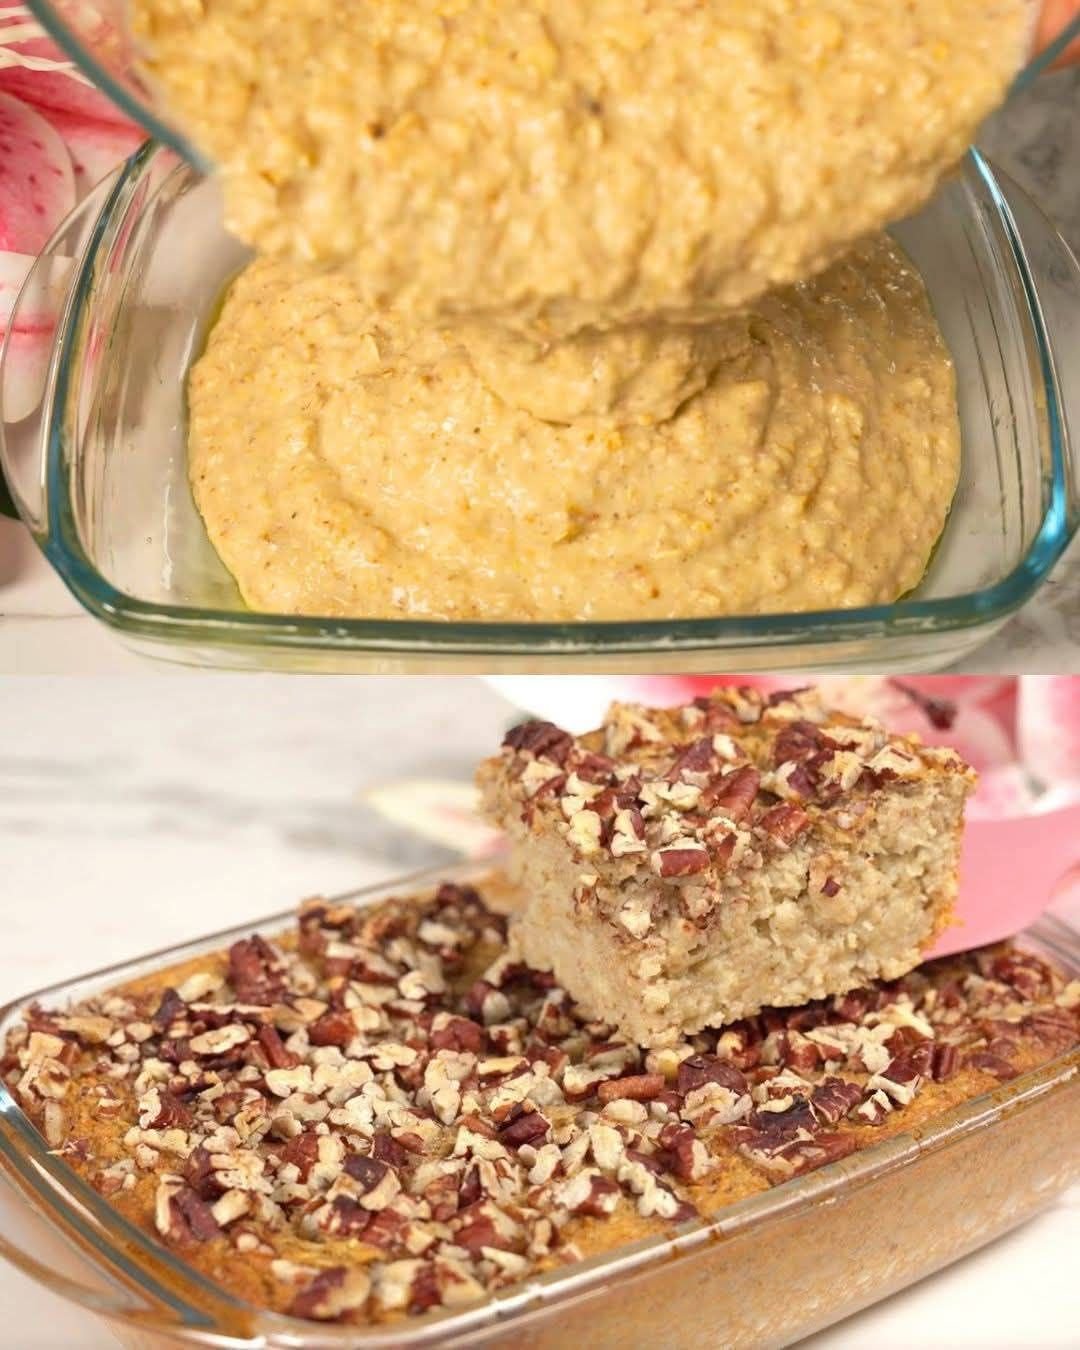
Simple Homemade Oatmeal & Fruit Bake

Simple Homemade Oatmeal & Fruit Bake
This baked oatmeal is naturally sweet from fruit and rich in fiber, making it a wholesome option for breakfast or a light dessert.


🧾 Ingredients

  • 1 cup oats (quick oats or rolled oats)

  • 250 ml milk

  • 1 egg

  • 1 apple

  • 1 ripe banana

  • 1 teaspoon baking powder

  • 1 teaspoon vanilla sugar OR vanilla extract

  • 50 g nuts (walnuts or pecans, chopped)

Optional Add-ins:

  • 1 teaspoon ground cinnamon

  • A pinch of salt

  • Raisins or chopped dates

  • A little honey or maple syrup (if you want extra sweetness)


πŸ₯£ Instructions

1. Prepare the Fruit

Peel the banana and place it in a bowl. Mash it well with a fork until smooth.

Wash the apple and grate it (you may keep the peel for extra fiber). Add the grated apple to the mashed banana and mix well.


2. Mix the Wet Ingredients

Add to the fruit mixture:

  • Egg

  • Milk

  • Vanilla sugar (or vanilla extract)

Whisk everything together until well combined.


3. Add the Dry Ingredients

Stir in:

  • Oats

  • Baking powder

Mix until evenly combined.

Let the mixture rest for 5 minutes so the oats absorb the liquid. This helps create a soft and moist texture.


4. Prepare for Baking

Lightly grease a small baking dish with oil or butter.

Pour the oatmeal mixture into the dish and spread it evenly.

Sprinkle chopped nuts over the top for a crunchy finish.


5. Bake

Preheat the oven to 180Β°C.

Bake for 30–35 minutes or until:

  • The center is firm

  • The top is lightly golden

  • A knife inserted comes out mostly clean


🍽 Serving

Let it cool slightly before cutting into squares.

Serve:

  • Warm for breakfast

  • Cold as a snack

  • With yogurt or a drizzle of honey if desired


🌟 Flavor Tip

Add 1 teaspoon cinnamon to the batter for warm flavor that pairs beautifully with apple and banana.


πŸ“¦ Storage

  • Store in the refrigerator for up to 3 days

  • Reheat in microwave or oven

  • Can be frozen in slices for later use

Homemade Twisted Sugar Doughnuts

Homemade Twisted Sugar Doughnuts

Ingredients

  • 3 Β½ cups All-purpose flour (approx. 500g)

  • 1 cup Milk (warm)

  • 2 tsp Dry yeast

  • 3 tbsp Sugar (plus extra for coating)

  • 2 tbsp Butter (melted)

  • 1 Egg (room temperature)

  • A pinch of salt

  • Oil for frying


Instructions

1. Prepare the Yeast Mixture

  • In a small bowl, combine the warm milk, sugar, and dry yeast.

  • Stir gently and let it sit for about 5–10 minutes until it becomes frothy.

2. Mix the Dough

  • In a large mixing bowl, whisk the egg and melted butter together.

  • Add the yeast mixture to the egg and butter.

  • Gradually stir in the flour and salt. Mix until a dough forms.

3. Knead and Rise

  • Turn the dough onto a floured surface and knead for about 8 minutes until it is smooth and elastic.

  • Place the dough in a lightly oiled bowl, cover with a cloth, and let it rise in a warm place for 1 hour or until doubled in size.

4. Shape the Twists

  • Punch the dough down and divide it into small, equal-sized balls.

  • Roll each ball into a long rope (about 10 inches).

  • Fold the rope in half and twist the two strands together, pinching the ends to seal them.

  • Place the twists on a tray and let them rest for another 15 minutes.

5. Fry to Golden Perfection

  • Heat oil in a deep pan over medium heat.

  • Carefully drop the twists into the oil (do not overcrowd the pan).

  • Fry for about 2–3 minutes per side until they are a deep golden brown.

6. The Sugar Coating

  • While the doughnuts are still hot, toss them immediately in a bowl of granulated sugar (or a sugar-cinnamon mix) until evenly coated.


Pro Tip for Texture

To ensure the center is fully cooked without burning the outside, keep your oil at a steady medium heat. If the oil is too hot, the outside will darken before the inside is fluffy.

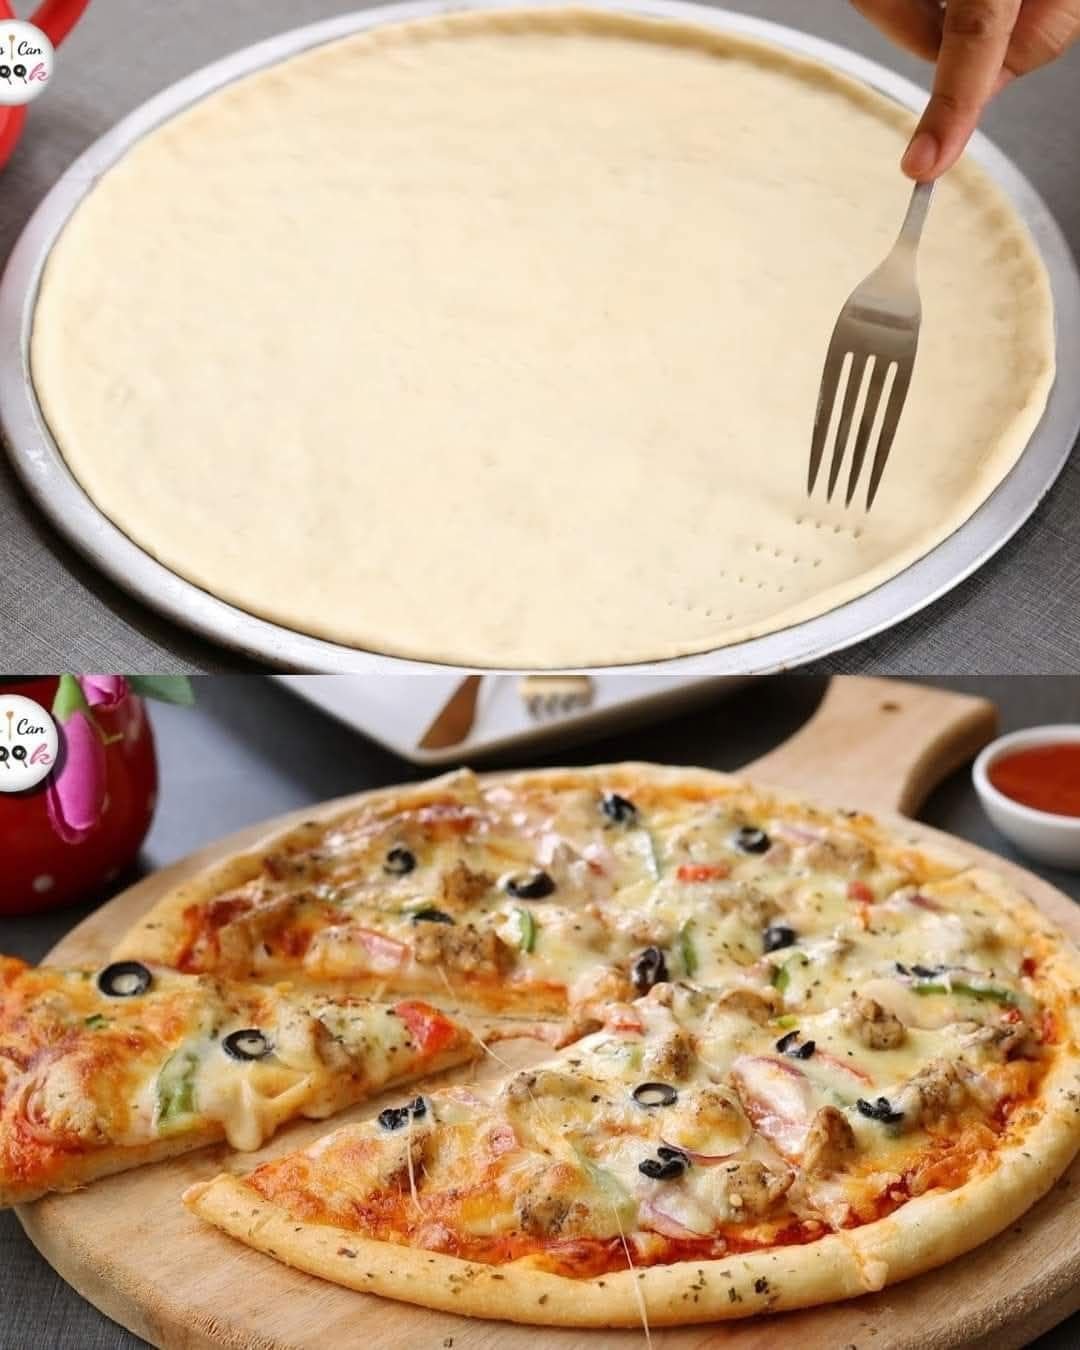
Perfect Homemade Pizza (Soft Golden Crust Recipe)

Perfect Homemade Pizza (Soft Golden Crust Recipe)
This pizza dough uses milk and an egg, which gives the crust a softer texture and a beautiful golden color compared to water-only doughs.


🧾 Ingredients

For the Dough:

  • 500 g (Β½ kg) all-purpose flour

  • 2 teaspoons instant yeast

  • 2 teaspoons sugar

  • 1 teaspoon salt

  • 1 egg (room temperature)

  • 2 tablespoons oil (olive oil or vegetable oil)

  • ΒΌ cup warm milk

  • ΒΎ to 1 cup warm water (as needed)

For Topping:

  • Pizza sauce (tomato-based)

  • Mozzarella cheese (grated)

  • Sliced olives

  • Bell peppers (capsicum)

  • Cooked chicken or pepperoni (optional)


πŸ₯£ Instructions

1. Prepare the Dough

In a large mixing bowl, add:

  • Flour

  • Yeast

  • Sugar

  • Salt

Mix well.

Make a well in the center and add:

  • Egg

  • Oil

  • Warm milk

Start mixing and slowly add warm water little by little until a soft dough forms.

Knead the dough for 8–10 minutes until it becomes:

  • Smooth

  • Elastic

  • Soft and not sticky

(You can knead by hand or use a mixer with a dough hook.)


2. First Rise

Grease a bowl lightly with oil. Place the dough inside and turn it once to coat with oil.

Cover with:

  • A clean kitchen cloth OR

  • Plastic wrap

Place in a warm area and let it rise for 1 to 1Β½ hours, or until it doubles in size.


3. Shape the Dough

After rising, gently punch down the dough to remove excess air.

Divide into:

  • 2 portions for medium pizzas

  • OR 3 portions for thin pizzas

Dust a surface with flour and roll out each portion into a round shape.

Place on a greased pizza pan or tray.

Use a fork to prick the surface lightly to prevent large air bubbles during baking.


4. Add Toppings

Spread a thin layer of pizza sauce.

Add grated mozzarella cheese evenly.

Top with:

  • Olives

  • Bell peppers

  • Cooked chicken or pepperoni (optional)


5. Bake

Preheat oven to 220Β°C–240Β°C.

Bake for 10–15 minutes until:

  • The crust turns golden

  • The cheese melts and bubbles

  • The edges become slightly crisp


πŸ”₯ Optional Tip for Crisp Base

For a crispier bottom:
Preheat the baking tray in the oven, then carefully place the prepared pizza dough onto the hot tray before adding toppings.


πŸ“¦ Storage

  • Dough can be refrigerated for up to 24 hours

  • Baked pizza can be stored in the refrigerator for 2 days

  • Reheat in oven or pan for best texture

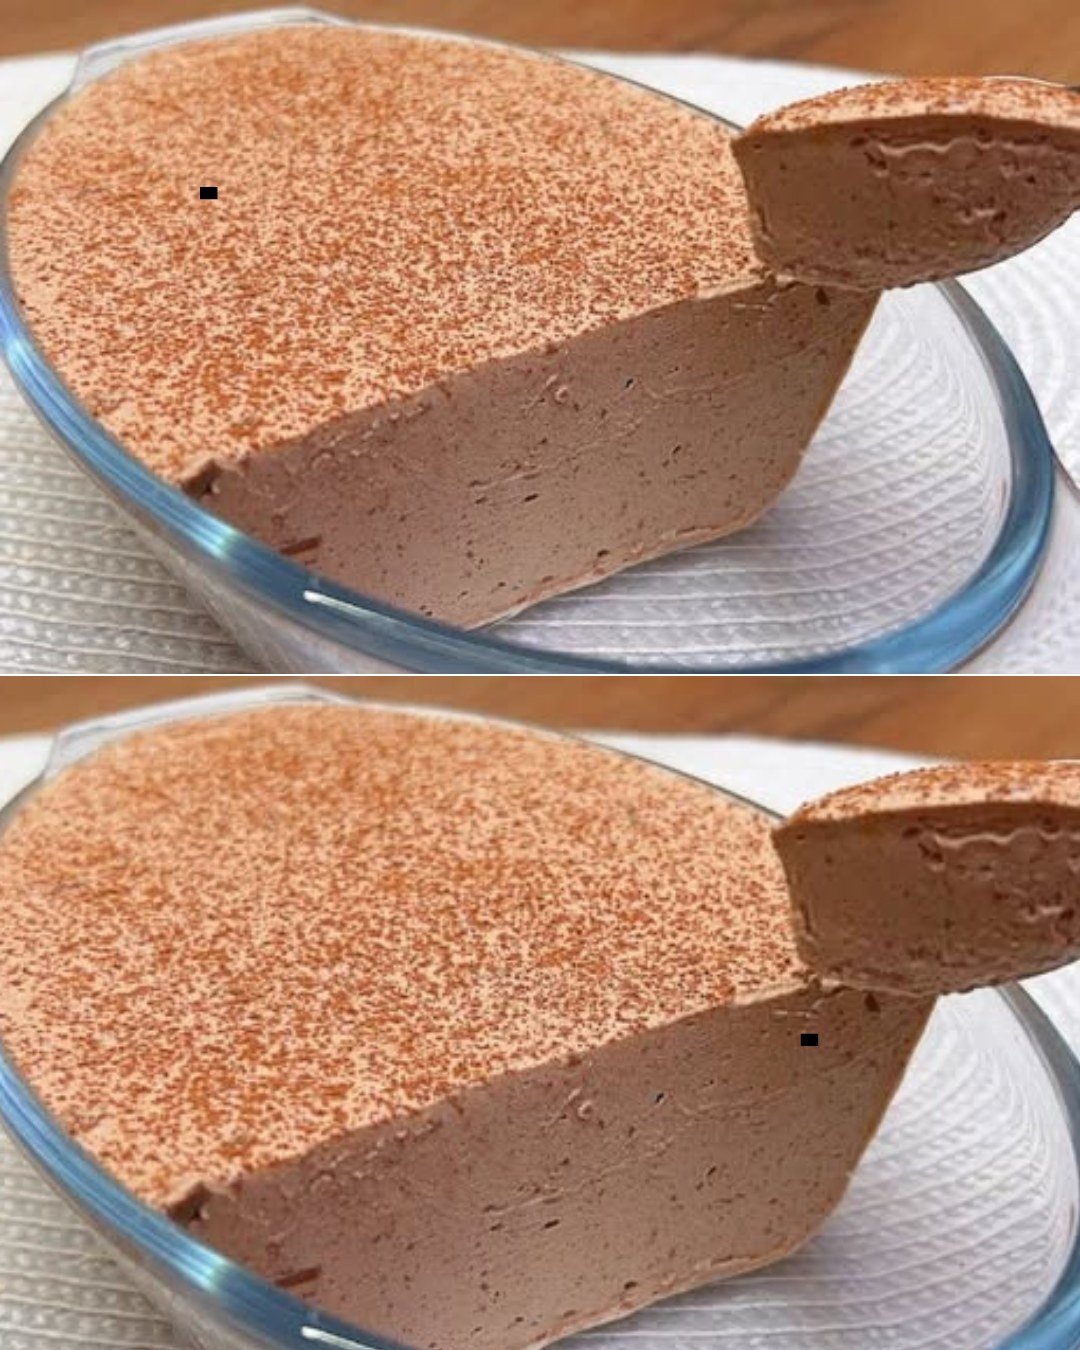
2-Ingredient Chocolate “Magic” Mousse

2-Ingredient Chocolate “Magic” Mousse

This recipe creates a light, airy, and creamy dessert without the need for eggs, gelatin, or heavy flour.

Ingredients

  • 2 cups (500ml) Whole Milk (Full-fat works best for a creamy texture)

  • 1/2 cup (50g) Unsweetened Cocoa Powder

  • Optional: 2-3 tablespoons of your preferred sweetener (honey, maple syrup, or sugar) if you prefer it less dark.

  • Optional: A pinch of cornstarch (1 tbsp) if you want a thicker, “pudding-like” stability.

Instructions

  1. Combine: In a medium saucepan, whisk together the cocoa powder and the milk while cold. This helps prevent the cocoa from clumping.

  2. Heat: Place the pan over medium heat. Continue to whisk constantly. If you are using a sweetener or a bit of cornstarch for thickness, add them now.

  3. Thicken: Bring the mixture to a very gentle simmer (do not let it reach a rolling boil). Keep whisking for about 3–5 minutes until the mixture coats the back of a spoon and starts to thicken slightly.

  4. Aerating (The Secret Step): For that “mousse” texture seen in your photo, take the mixture off the heat and use a hand mixer or a vigorous whisk to beat it for 1-2 minutes. This incorporates tiny air bubbles.

  5. Set: Pour the mixture into a glass bowl or individual ramekins. Let it cool to room temperature, then cover and refrigerate for at least 4 hours (overnight is best) to let it firm up into that sliceable texture.

  6. Serve: Just before serving, dust the top with a little extra cocoa powder through a fine-mesh strainer for that professional finish.


Quick Tips for Success

  • Texture: If the mixture feels too thin while heating, a tiny “slurry” of cornstarch mixed with a teaspoon of cold milk can be stirred in to help it set firmly.

  • Sifting: Always sift your cocoa powder first! It loves to clump, and nobody wants a pocket of dry powder in their dessert.