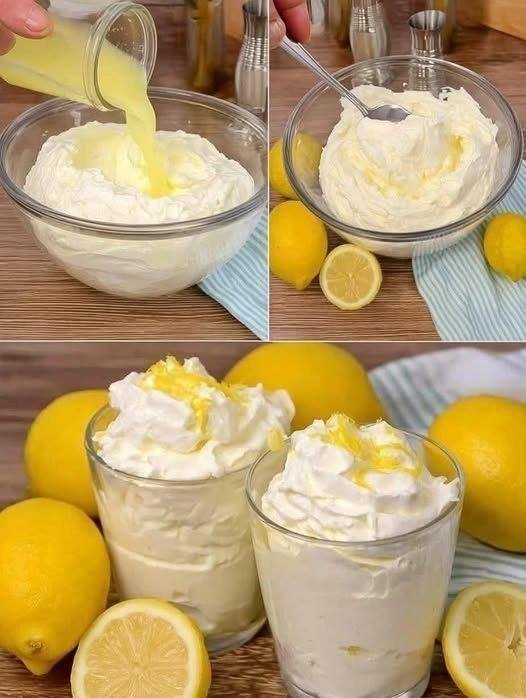
Creamy Lemon Mousse

🍋 3-Ingredient Lemon Mousse

Prep time: 15 minutes | Chilling time: 2 hours | Servings: 2-4

Ingredients

  • 2 cups (500ml) Heavy Whipping Cream (must be very cold)

  • 1 can (14 oz / 400g) Sweetened Condensed Milk

  • 1/2 cup Fresh Lemon Juice (about 2–3 large lemons)

  • Optional: Lemon zest for garnish


Instructions

  1. Whip the Cream: In a large chilled bowl, pour in the cold heavy whipping cream. Use a hand mixer or stand mixer to beat the cream until stiff peaks form. (Be careful not to over-beat, or it will turn into butter!)

  2. Combine Milk and Lemon: In a separate medium bowl, whisk together the sweetened condensed milk and the fresh lemon juice. The acid in the lemon will naturally begin to thicken the condensed milk.

  3. Fold Gently: Gently pour the lemon mixture into the bowl of whipped cream. Use a spatula to fold the mixture together slowly. Do not stir vigorously, or you will lose the air and fluffiness.

  4. Assemble: Spoon or pipe the mousse into serving glasses, as shown in the bottom image.

  5. Chill: Place the glasses in the refrigerator for at least 2 hours (or overnight). This allows the mousse to set into a velvety texture.

  6. Garnish: Top with fresh lemon zest or a small slice of lemon right before serving.


Tips for Success

  • Keep it Cold: Ensure your cream and your mixing bowl are cold to get the best volume.

  • Adjust Tanginess: If you prefer a very tart dessert, add an extra tablespoon of lemon juice. If you like it sweeter, stick to the 1/2 cup measurement.

  • Zest First: Always zest your lemons before squeezing them for juice!
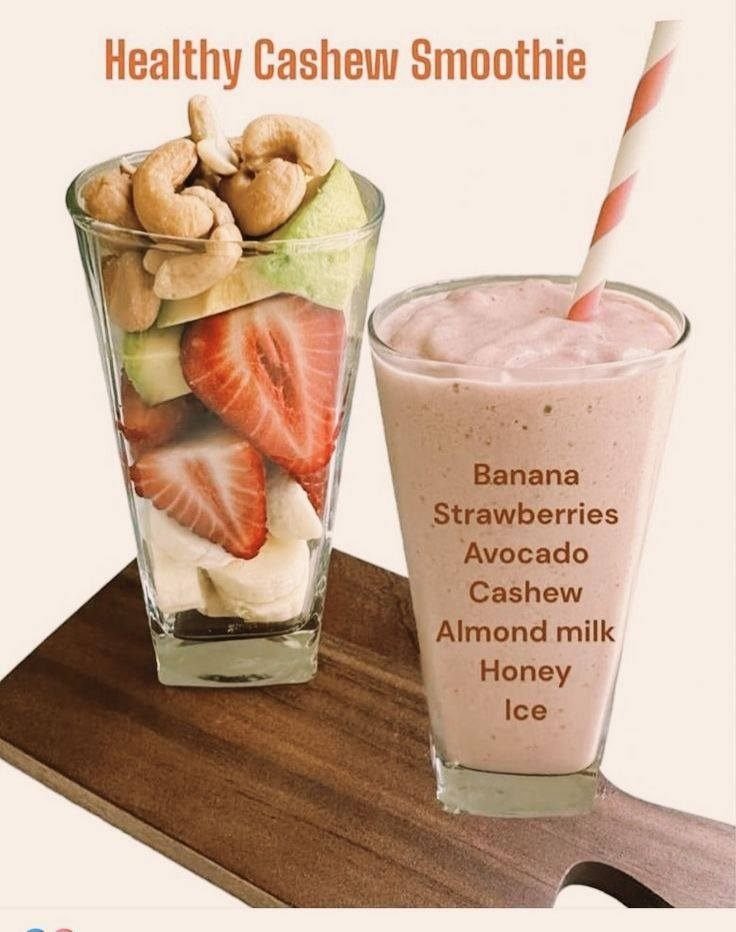
Healthy Cashew Smoothie

Healthy Cashew Smoothie

Ingredients

The following ingredients are required for this recipe:

  • Banana: 1 medium (frozen is best for a thicker texture).

  • Strawberries: 1/2 cup fresh or frozen.

  • Avocado: 1/4 to 1/2 of a ripe avocado (adds healthy fats and creaminess).

  • Cashews: 1/4 cup raw or roasted (unsalted).

  • Almond Milk: 1 cup (unsweetened).

  • Honey: 1–2 teaspoons, or to taste.

  • Ice: 1/2 cup to 1 cup depending on desired thickness.


Instructions

  1. Prep the Cashews: If you do not have a high-speed blender, soak the cashews in hot water for 15 minutes and drain them before using to ensure a perfectly smooth consistency.

  2. Combine: Add the almond milk to the blender first (liquid first helps the blades spin more easily), followed by the banana, strawberries, avocado, and cashews.

  3. Sweeten and Chill: Add the honey and the ice.

  4. Blend: Start on a low speed and gradually increase to high. Blend for 45–60 seconds until the cashews are completely pulverized and the mixture is silky.

  5. Adjust: If the smoothie is too thick, add a splash more almond milk. If you prefer it colder/thicker, add more ice.

Why this works

  • Avocado: Provides a velvety mouthfeel and heart-healthy monounsaturated fats.

  • Cashews: Act as a natural “cream” while adding plant-based protein.

  • Strawberries: Give the smoothie its signature pale pink color and a boost of Vitamin C

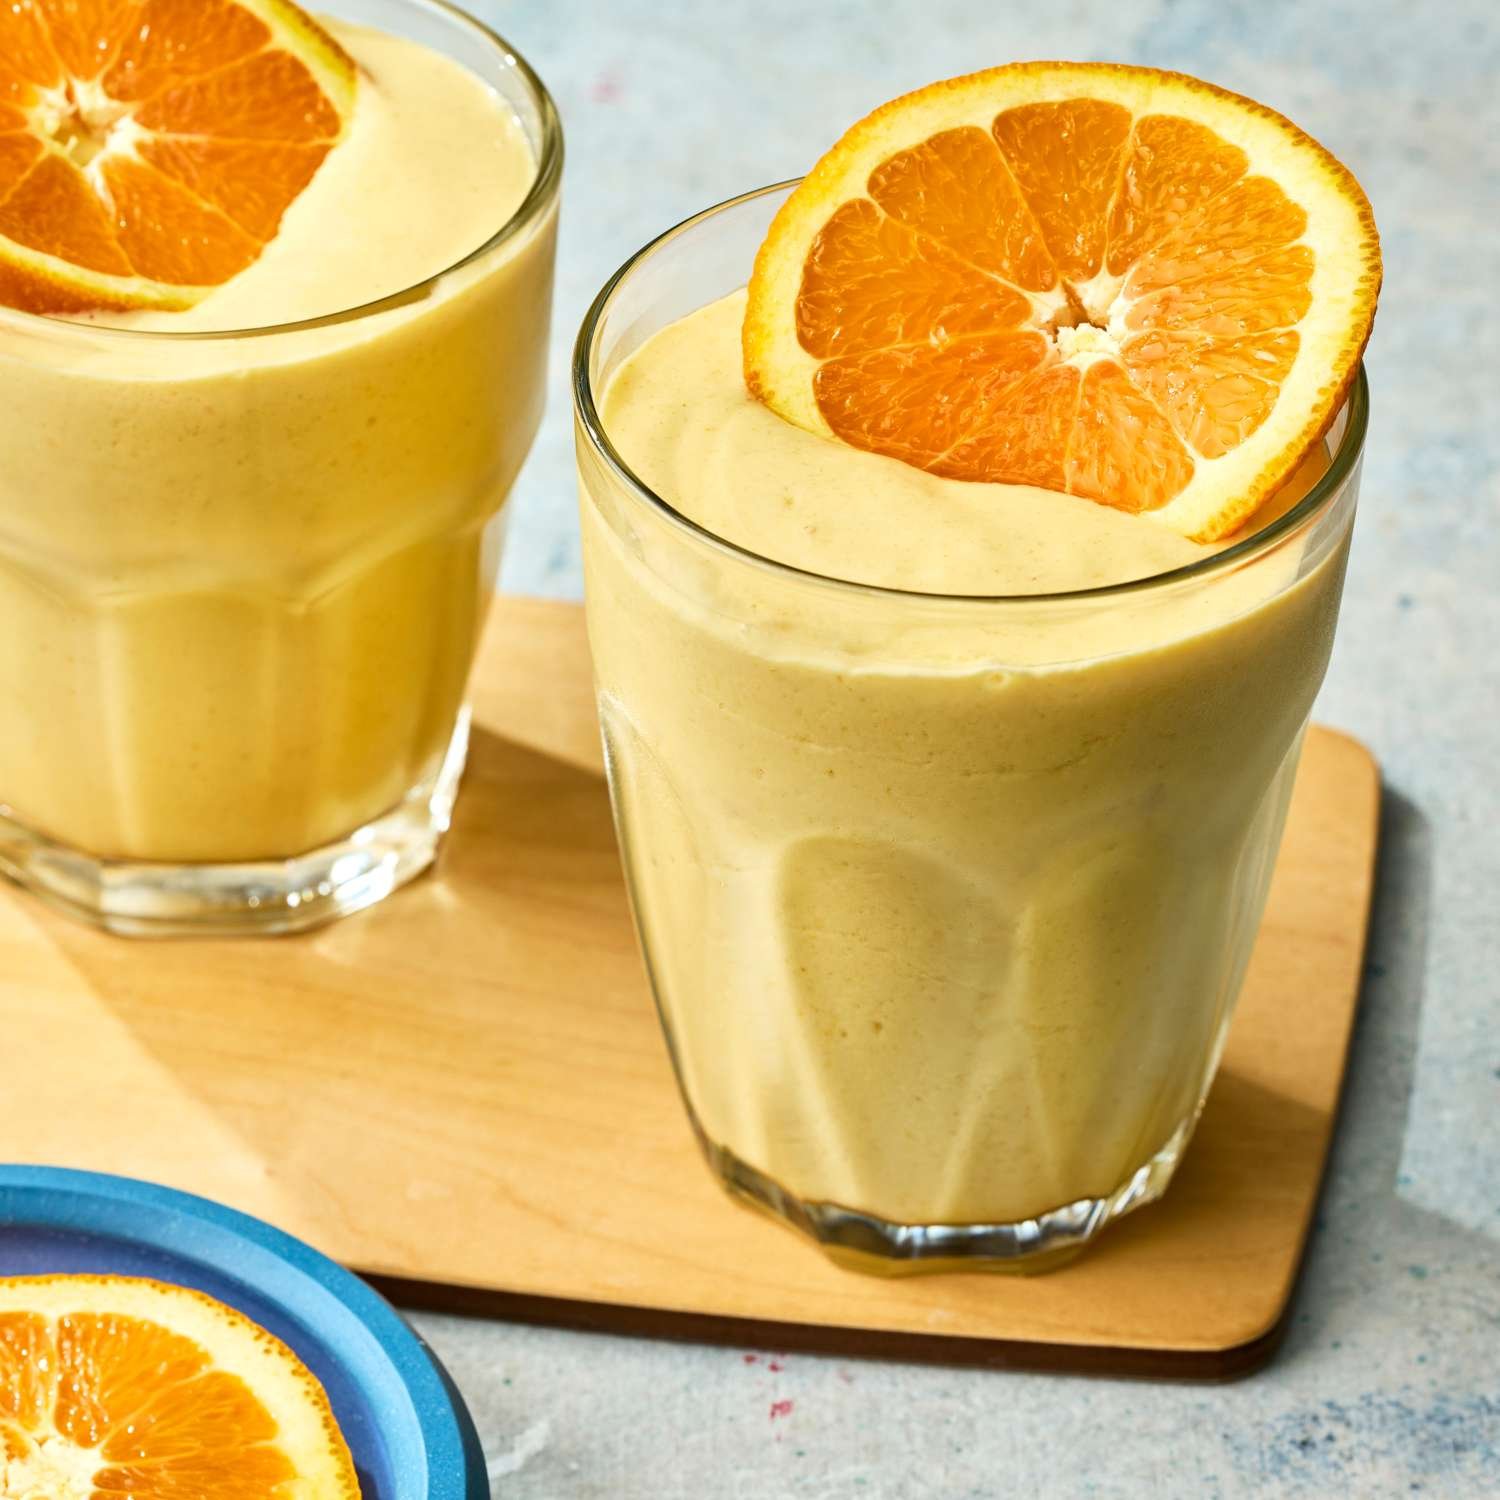
Creamy Orange Sunshine Smoothie

Creamy Orange Sunshine Smoothie

Prep time: 5 minutes | Servings: 2 smoothies

🛒 Ingredients

To achieve that bright color and thick, frothy consistency, you will need:

Ingredient Amount Notes
Oranges 2 large Peeled and deseeded (Navel or Valencia work best).
Frozen Banana 1 medium Essential for the thick, creamy texture shown.
Greek Yogurt $1/2$ cup Use Plain or Vanilla for added creaminess and protein.
Milk of Choice $1/2$ cup Almond milk, coconut milk, or dairy milk.
Vanilla Extract 1 tsp This provides the “creamsicle” flavor.
Honey or Maple Syrup 1 tbsp Optional, depending on the sweetness of your oranges.
Ice $1/2$ cup Optional, for a frostier finish.

🥣 Instructions

  1. Prepare the Fruit: Peel the oranges and remove as much of the white pith as possible to avoid bitterness. Ensure your banana is pre-frozen for the best results.

  2. Combine: Add the liquid ingredients (milk, yogurt, vanilla, and sweetener) to the blender first.

  3. Layer: Add the orange segments and frozen banana on top.

  4. Blend: Start on a low setting and gradually increase to high. Blend for 60 seconds until the mixture is perfectly smooth and no orange fibers remain.

  5. Garnish: Slice an extra orange into thin rounds. Cut a small slit in each slice and place them on the rim of the glasses as shown in the image.

💡 Tips for Success

  • The “Cream” Factor: For an even richer taste, replace the milk with a splash of heavy cream or full-fat coconut milk.

  • Boost the Color: If your oranges are pale, add a tiny pinch of turmeric. It won’t change the flavor but will make the orange color pop.

  • High Fiber: If you prefer a lighter texture, you can use $1/2$ cup of fresh orange juice instead of whole oranges, though you’ll lose the beneficial fiber.

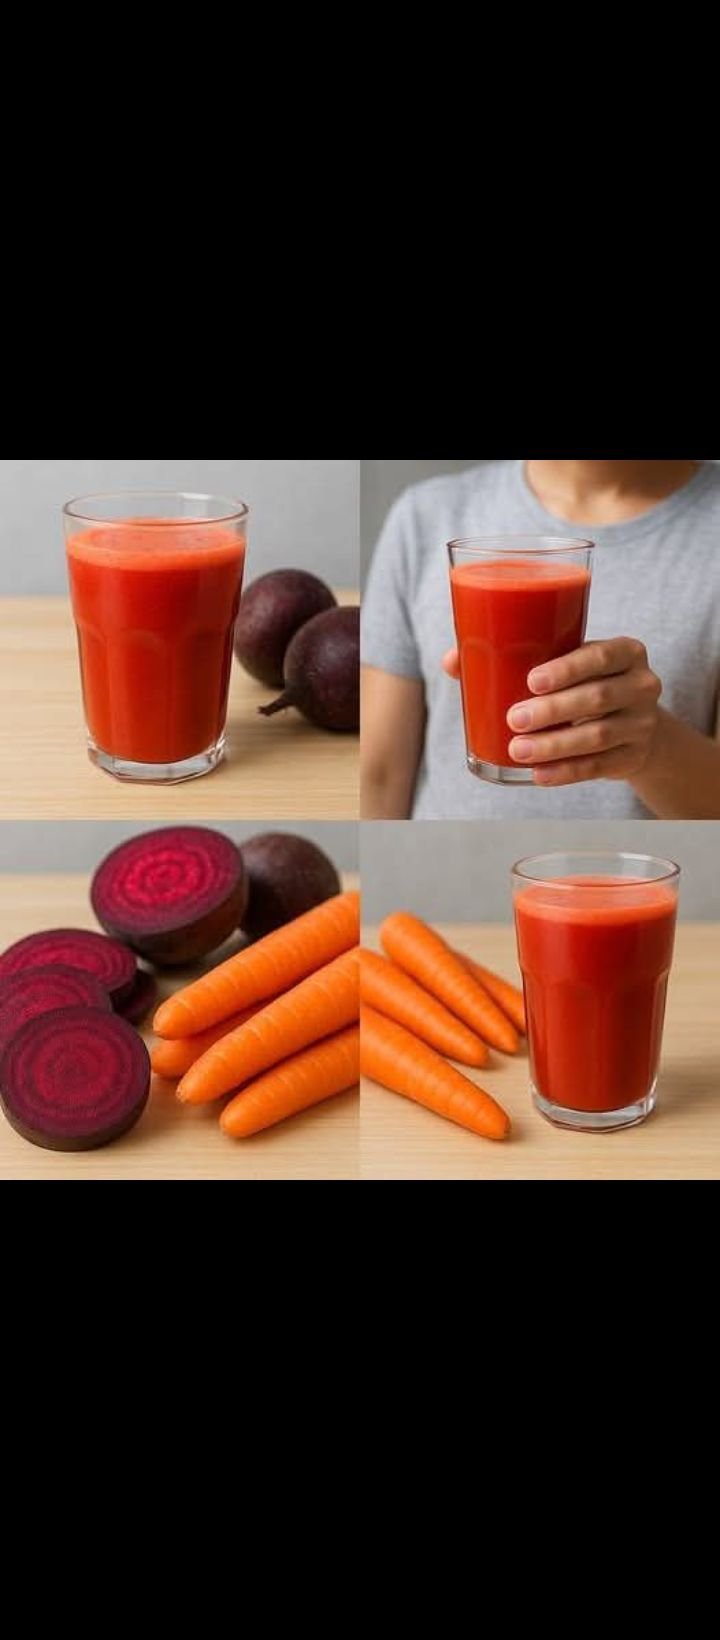
Carrot & Beetroot Vitality Juice

Carrot & Beetroot Vitality Juice

This blend is naturally sweet, earthy, and packed with Vitamin A and iron.


Ingredients

  • Carrots: 3–4 medium-sized (washed and peeled).

  • Beetroot: 1 small or half of a large one (peeled and sliced).

  • Apple (Optional): 1 green or red apple (adds sweetness and balances the earthy beet flavor).

  • Ginger: A small 1-inch knob (peeled, for a spicy kick and digestion).

  • Lemon Juice: 1 tablespoon (to keep the color bright and add Vitamin C).

  • Water: ½ cup (only if using a blender).


Preparation Steps

Method 1: Using a Juicer

  1. Prep: Wash all vegetables thoroughly. Peel the carrots and beetroot to remove any bitter skin.

  2. Process: Feed the carrots, beetroot, apple, and ginger through your juicer one by one.

  3. Finish: Stir in the fresh lemon juice.

  4. Serve: Pour into a glass and enjoy immediately for the best nutrient absorption.

Method 2: Using a Blender

  1. Chop: Cut the carrots, beetroot, and apple into small cubes.

  2. Blend: Place the cubes into the blender with the ginger and ½ cup of water. Blend on high until completely smooth.

  3. Strain: Pour the mixture through a fine-mesh nut milk bag or a cheesecloth into a pitcher. Squeeze well to extract all the juice.

  4. Serve: Stir in the lemon juice and serve chilled.


Quick Tips for the Best Juice

  • Balance the Earthiness: Beetroot has a very strong “earthy” flavor. If you are new to beet juice, start with a smaller amount and increase it as you get used to the taste.

  • Cold is Best: Chill your vegetables in the fridge before juicing for a crisp, refreshing drink without needing ice.

  • Don’t Waste the Pulp: If you use a juicer, you can save the leftover carrot and beet pulp to mix into muffin batters or compost for your garden.

Keto Garlic Parmesan Chicken Skewers

Keto Garlic Parmesan Chicken Skewers 🍢 Prep: 15 mins | Cook: 15 mins | Servings: 4 (2 skewers each)

INGREDIENTS:

  • 1½ lb Chicken breast (cut into 1-inch chunks)

  • ½ cup Parmesan cheese (grated)

  • 3 tbsp Olive oil

  • 4 cloves Garlic (minced)

  • 2 tbsp Fresh parsley (chopped)

  • 1 tsp Italian seasoning

  • ½ tsp Lemon zest

  • ½ tsp Paprika

  • ¾ tsp Salt & ½ tsp Black pepper

INSTRUCTIONS: 1️⃣ Marinate: In a large mixing bowl, combine olive oil, minced garlic, lemon zest, Italian seasoning, paprika, salt, pepper, and half of the parsley. 2️⃣ Coat: Toss the chicken chunks in the marinade until well-coated. Add the Parmesan cheese and toss again so the cheese sticks to the chicken. 3️⃣ Skewer: Thread the chicken pieces onto your skewers (if using wooden skewers, soak them in water first!). 4️⃣ Grill: Preheat your grill to medium-high. Grill for 12–15 minutes, turning with tongs occasionally, until the chicken is cooked through and the cheese forms a golden crust. 5️⃣ Garnish: Sprinkle with the remaining fresh parsley and serve hot.

Pairs perfectly with a side of garlic aioli or a crisp green salad! YUMM! 😋


💡 Pro-Tips for Success

  • Switch the Protein: If you prefer a juicier skewer, swap the chicken breast for chicken thighs. They have a higher fat content, which is great for keto and makes them harder to overcook.

  • Cheese Choice: If you’ve run out of Parmesan, Pecorino Romano is a fantastic salty alternative that melts and crisps up beautifully.

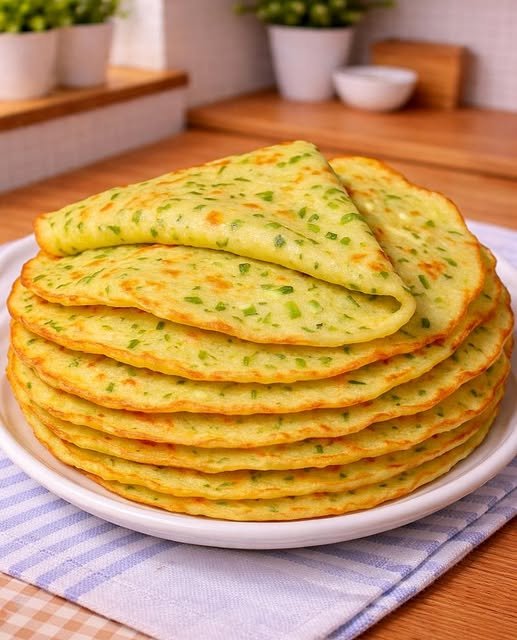
Crispy Zucchini & Potato Pancakes

Crispy Zucchini & Potato Pancakes 🥞 Prep: 10 mins | Cook: 10 mins | Yields: Large batch

INGREDIENTS:

  • 1 Zucchini (grated)

  • 1 Potato (grated)

  • 3 Eggs

  • 300 ml Milk

  • 140 g Flour

  • 1 tsp Baking powder

  • Fresh spring onions & parsley (chopped)

  • Salt to taste

  • Plant oil for frying

INSTRUCTIONS: 1️⃣ Squeeze Dry: Grate the zucchini and potato. Wrap them in a clean kitchen towel and twist hard to remove ALL excess liquid. This ensures they get crispy, not soggy! 2️⃣ The Batter: In a bowl, whisk eggs and milk until frothy. Slowly whisk in flour and baking powder until smooth. 3️⃣ Combine: Fold in the dried veggies, chopped herbs, and salt. 4️⃣ Fry: Heat oil in a non-stick skillet over medium heat. Spoon small rounds of batter into the pan. 5️⃣ Flip: Cook for 2-3 minutes per side until beautifully golden brown.

Serve hot with a dollop of Greek yogurt or garlic dip. YUMM! 😋