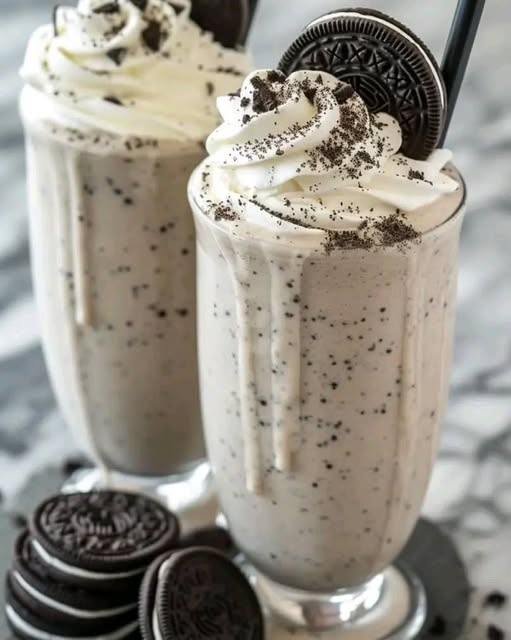
🥛 The Ultimate Oreo Milkshake

🥛 The Ultimate Oreo Milkshake

Prep time: 5 minutes | Servings: 1 large or 2 small shakes

Ingredients

  • 4-5 Large Scoops of premium Vanilla bean ice cream (about 2 cups)

  • 1/2 Cup Whole milk (use less for a thicker shake)

  • 6-8 Oreo Cookies (plus extra for topping)

  • 1/2 Teaspoon Vanilla extract (optional, for extra depth)

  • Toppings: Whipped cream, crushed Oreo crumbs, and one whole cookie for the rim.


Instructions

  1. Chill Your Glass: For the best experience, place your serving glasses in the freezer for 10 minutes before you start. This keeps the shake from melting too quickly.

  2. Blend the Base: Add the vanilla ice cream, milk, and vanilla extract into your blender. Blend on high for about 15–20 seconds until the mixture is smooth and creamy.

  3. Add the Cookies: Drop in the Oreo cookies. Pro-Tip: Pulse the blender 4–6 times rather than blending continuously. This leaves delicious “cookie chunks” throughout the shake instead of turning it into a grey liquid.

  4. Check Consistency: * Too thick? Add a splash more milk.

    • Too thin? Add another scoop of ice cream.

  5. Assemble: Pour into your chilled glass. Top with a generous swirl of whipped cream, a sprinkle of cookie dust, and a whole Oreo tucked into the side.


💡 Tips for the Best Shake

  • Don’t use ice: Adding ice cubes will water down the flavor. Stick to ice cream and cold milk for that rich, professional texture.

  • Softened Ice Cream: Let your ice cream sit on the counter for 2–3 minutes before scooping. It blends much smoother without needing as much milk.

  • Double Stuff: If you love the filling, use “Double Stuf” Oreos for an even creamier, sweeter result.
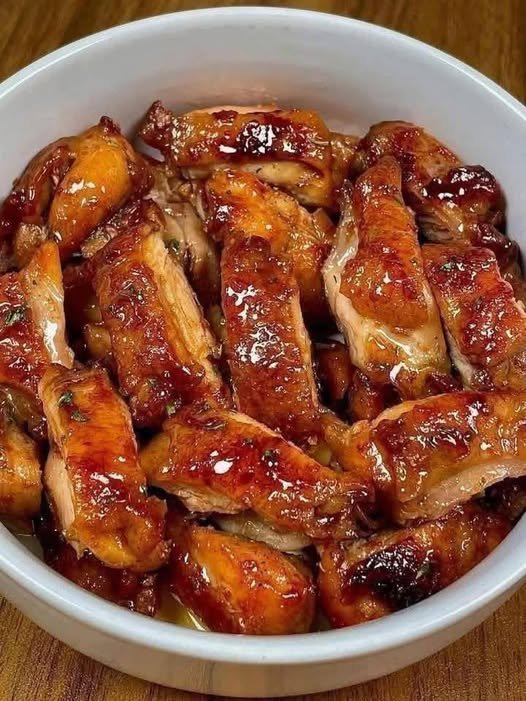
Honey Glazed Chicken (Weight-Loss & WW Friendly)

Exceptional Honey Glazed Chicken (Weight-Loss & WW Friendly)

A lean, high-protein dish featuring a glossy, flavorful glaze without the excess sugar or fats found in restaurant versions.

  • Prep time: 10 minutes

  • Cook time: 15 minutes

  • Servings: 4

  • Calories: ~230 kcal per serving

Ingredients

For the Chicken:

  • 1 ½ lbs boneless, skinless chicken breast

  • 1 tsp olive oil

  • ½ tsp salt

  • ½ tsp black pepper

  • ½ tsp garlic powder

  • ½ tsp paprika

For the Honey Glaze:

  • 3 tbsp pure honey

  • 2 tbsp low-sodium soy sauce

  • 1 tbsp fresh lemon juice

  • 2 tsp Dijon mustard

  • 2 cloves garlic, finely minced

  • ¼ cup low-sodium chicken broth

  • 1 tsp cornstarch (optional, for a thicker glaze)


Instructions

  1. Season the Chicken: Pat the chicken breasts dry with paper towels. Season both sides evenly with salt, black pepper, garlic powder, and paprika.

  2. Sear: Heat the olive oil in a large nonstick skillet over medium heat. Add the chicken and cook for 5–6 minutes per side until golden brown and the internal temperature reaches 165°F (74°C). Remove chicken from the pan and set aside.

  3. Whisk the Glaze: In a small bowl, whisk together the honey, soy sauce, lemon juice, Dijon mustard, minced garlic, and chicken broth.

  4. Deglaze & Simmer: Pour the mixture into the same skillet used for the chicken. Bring to a gentle simmer, scraping up any browned bits from the bottom of the pan to incorporate that extra flavor.

  5. Thicken (Optional): If you prefer a thicker sauce, whisk the cornstarch with 1 tablespoon of water to create a slurry. Stir it into the simmering sauce for 1–2 minutes until glossy.

  6. Coat: Return the chicken to the skillet. Spoon the glaze over the meat and simmer for 2–3 minutes, turning the chicken to ensure every inch is coated in the sticky sauce.

  7. Rest: Remove from heat and let the chicken rest for 2 minutes. This allows the juices to redistribute and the glaze to fully set.


Nutritional Breakdown (Per Serving)

Metric Amount
Protein 32g
Fat 5g
Carbs 14g
Sugar 10g
WW Blue 4 Points
WW Green 5 Points
WW Purple 3 Points

Chef’s Tips for Success

  • Heat Control: Keep the pan at medium heat. Honey has a high sugar content and can burn quickly if the flame is too high.1


  • Flavor Boost: For a kick of heat, add a pinch of red chili flakes to the sauce. For an Asian-inspired twist, add 1 tsp of freshly grated ginger.

  • Meal Prep: This stores beautifully in airtight containers for up to 3 days. To keep the chicken moist when reheating, add a tiny splash of water or broth before microwaving.

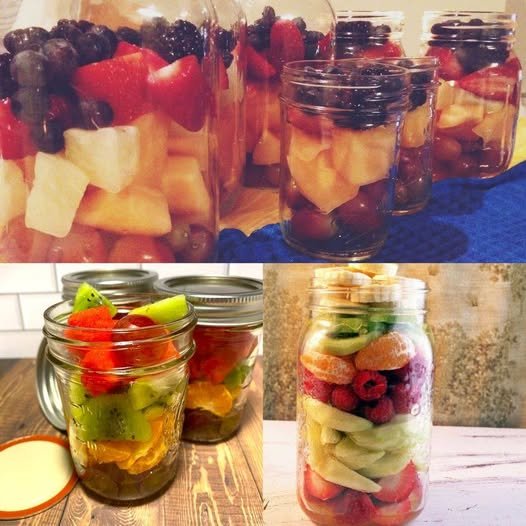
🍓 Fresh Fruit Mason Jar Prep

🍓 Fresh Fruit Mason Jar Prep

A simple, effective way to keep your berries and sliced fruits crisp and fresh for up to two weeks without them getting mushy.

  • Prep time: 15 minutes

  • Storage: Up to 10–14 days in the refrigerator

The Method

  1. The Vinegar Soak (Optional but Recommended): To kill any mold spores on berries, soak them in a mixture of 3 cups water and 1 cup white vinegar for 5 minutes. Rinse thoroughly with cold water.

  2. Dry Completely: This is the most important step! Lay your fruit out on a clean kitchen towel or paper towels. They must be 100% dry before going into the jars. Any moisture trapped inside will cause spoilage.

  3. Jar Selection: Use clean, dry glass Mason jars with tight-fitting lids. Glass provides a better seal and stays colder than plastic.

  4. Layering: * Place firmer fruits (like grapes, melon, or pineapple) at the bottom.

    • Place delicate fruits (like raspberries, strawberries, or kiwi) toward the top.

  5. Seal Tight: Screw the lids on firmly. The airtight environment in the glass jar significantly slows down the ripening and spoiling process.


💡 Why You’ll Love This

  • Visibility: You are more likely to eat the fruit when you can see it beautifully displayed in the fridge!

  • Freshness: Glass jars keep berries fresh far longer than the plastic ventilated containers they come in from the store.

  • Portion Control: Perfect for grabbing on the way to work or for kids to have a healthy snack ready to go.


Tips for Specific Fruits

  • Apples & Bananas: If you are prepping sliced apples or bananas in jars, toss them in a little lemon juice first to prevent browning.

  • Soft Berries: For raspberries and blackberries, place a small piece of paper towel at the bottom of the jar to absorb any tiny amounts of residual moisture.

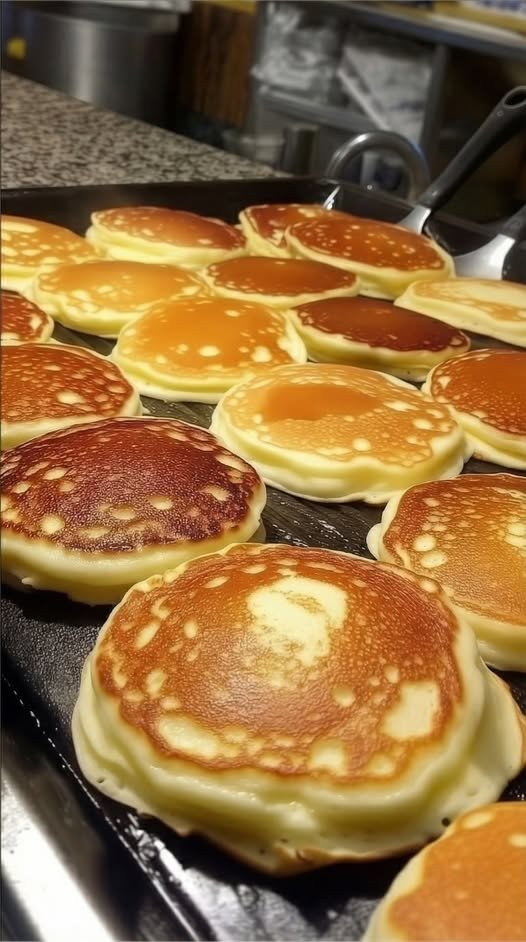
🥞 The Very Best Blueberry Buttermilk Flapjacks

There is nothing quite like a slow weekend morning with a stack of fluffy pancakes to make a family feel connected! Your description of the “synchronized hunger” of four little ones is so relatable—and your trick of using a warming oven to keep everyone’s breakfast hot at the same time is a total “parenting win.”

Since I’m keeping track of your full recipes, here is the organized version of your Blueberry Buttermilk Flapjacks. It’s a great addition to your collection, especially since you can easily adapt it to be sugar-free or dairy-free to match your other health goals!


🥞 The Very Best Blueberry Buttermilk Flapjacks

Thick, cake-like, and incredibly fluffy pancakes featuring a DIY buttermilk base and “non-bleeding” blueberries.

  • Prep time: 10 minutes

  • Cook time: 15 minutes

  • Yields: Approx. 12 pancakes

  • Special Tool: 200°F oven with a wire rack for “holding.”

Ingredients

The DIY Buttermilk (Liquid Base):

  • 2 cups Standard whole dairy milk

  • 1 tbsp Fresh lemon juice (to curdle the milk)

The Dry Components:

  • 2 cups White all-purpose flour

  • 2 tbsp Fine white sugar

  • 2 tsp Baking powder (leavening powder)

  • ½ tsp Baking soda (alkaline)

  • ½ tsp Table salt

The Richness & Fruit:

  • 1 Large egg

  • 3 tbsp Unsalted butter, melted and slightly cooled

  • 1 cup Fresh or frozen blueberries (if frozen, rinse and dry thoroughly)

  • 2 tsp Neutral vegetable oil (for the griddle)


Instructions

  1. The Warming Station: Move an oven rack to the center and preheat to 200°F. Place a wire cooling rack over a baking sheet, spray lightly with oil, and tuck it into the oven. This keeps your pancakes from getting soggy while you cook the rest!

  2. Make “Buttermilk”: Whisk the lemon juice into the milk and let it sit for 5–10 minutes. It will thicken and curdle slightly—this acidity is what makes the pancakes rise.

  3. Mix Dry Ingredients: In a medium bowl, whisk together the flour, sugar, baking powder, baking soda, and salt.

  4. Combine Wet Ingredients: Whisk the egg and cooled melted butter into your thickened milk mixture.

  5. The “Lumpy” Batter: Create a well in the dry ingredients and pour in the wet mix. Whisk gently until just combined. Stop immediately when the flour streaks disappear; those lumps are the secret to fluffiness!

  6. Heat the Skillet: Heat a nonstick skillet or griddle over medium heat. Add a teaspoon of oil and coat the surface.

  7. The Blueberry Trick: Scoop ¼ cup of batter per pancake onto the hot surface. Immediately sprinkle 1 tablespoon of blueberries over each pancake. This prevents the berries from staining the whole batch of batter.

  8. Flip: Cook until bubbles form on the surface and the edges look set (about 2 minutes). Flip and cook for another minute until golden brown.

  9. Hold and Serve: Place cooked pancakes on the rack in the warm oven until the whole batch is ready. Serve with butter and maple syrup!


💡 Pro-Tips for Success

  • Don’t Overmix: Overmixing develops gluten, which makes pancakes rubbery rather than tender.

  • Frozen Berry Secret: If using frozen berries, rinsing and drying them removes the “blue juice” ice crystals, so your pancakes stay golden instead of turning grey.

  • The Sizzle Test: If a drop of water flicked onto the pan sizzles and dances, it’s ready for the batter!

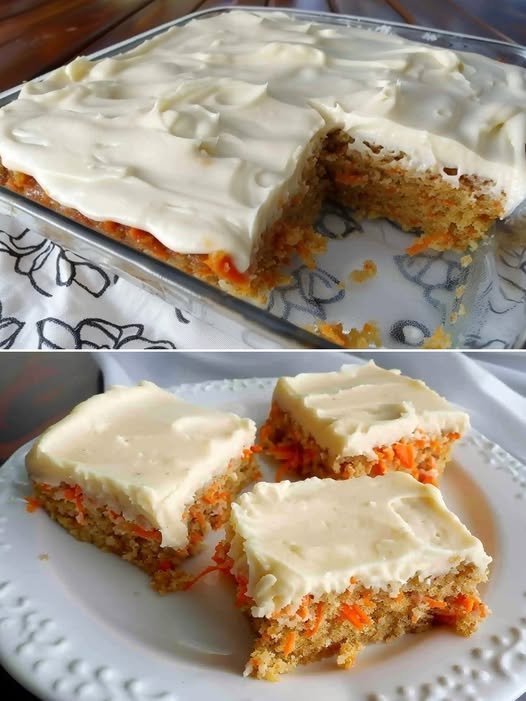
🥕 Keto Carrot Cake Bars with Cream Cheese Frosting

🥕 Keto Carrot Cake Bars with Cream Cheese Frosting

A rich, spiced dessert that is low-carb, gluten-free, and perfectly “mix-and-bake” simple.

  • Prep time: 15 minutes

  • Cook time: 25 minutes

  • Yields: 12 bars

  • Net Carbs: 7g per bar

Ingredients

The Spiced Cake Base:

  • 1 ½ cups Almond flour

  • ½ cup Coconut flour

  • ¾ cup Erythritol (granulated)

  • 1 tsp Ground cinnamon

  • ¼ tsp Ground nutmeg

  • ¼ tsp Ground ginger

  • 1 tsp Baking powder

  • ¼ tsp Salt

  • 3 Large eggs

  • ½ cup Almond milk (unsweetened)

  • ½ cup Liquid coconut oil

  • 1 tsp Vanilla extract

  • 1 ½ cups Grated carrot (finely grated is best)

  • ½ cup Walnuts or pecans, chopped

The Tangy Frosting:

  • 8 oz Cream cheese, softened

  • ¼ cup Unsalted butter, softened

  • ⅓ cup Erythritol (powdered works best for smooth frosting)

  • 1 tsp Vanilla extract

  • A pinch of Salt


Instructions

  1. Prep Work: Preheat your oven to 350°F (175°C). Line an 8×8 or 9×9 inch baking pan with parchment paper, leaving a slight overhang for easy removal.

  2. Mix Dry Ingredients: In a large bowl, whisk together the almond flour, coconut flour, erythritol, cinnamon, nutmeg, ginger, baking powder, and salt.

  3. Mix Wet Ingredients: In a separate bowl, whisk the eggs, almond milk, liquid coconut oil, and vanilla extract until smooth.

  4. Combine: Pour the wet ingredients into the dry ingredients. Mix until a smooth batter forms. Fold in the finely grated carrots and chopped nuts.

  5. Bake: Spread the batter evenly into your prepared pan. Bake for 22–25 minutes. Tip: Do not overbake! The bars should be set but still moist. 6. Cool: Allow the cake to cool completely in the pan. If the cake is even slightly warm, the frosting will melt.

  6. Make the Frosting: In a medium bowl, use a hand beater to cream together the softened cream cheese and butter. Add the powdered Erythritol, vanilla, and salt. Beat until fluffy and smooth.

  7. Frost and Chill: Spread the icing over the cooled cake. For the best texture and clean slices, place the pan in the fridge for at least 30 minutes before cutting into 12 bars.


💡 Pro-Tips for Success

  • Fine Texture: Finely grate your carrots. Large shreds can release too much moisture and make the bars “soggy”.

  • Clean Slices: Use a sharp knife dipped in warm water (and wiped dry) to get those perfect, bakery-style squares.

  • Storage: These stay delicious in the fridge for up to 5 days or can be frozen for up to 2 months.


Nutritional Profile (Per Bar)

  • Calories: 215 kcal

  • Fat: 19g

  • Net Carbs: 7g

  • Protein: 5g

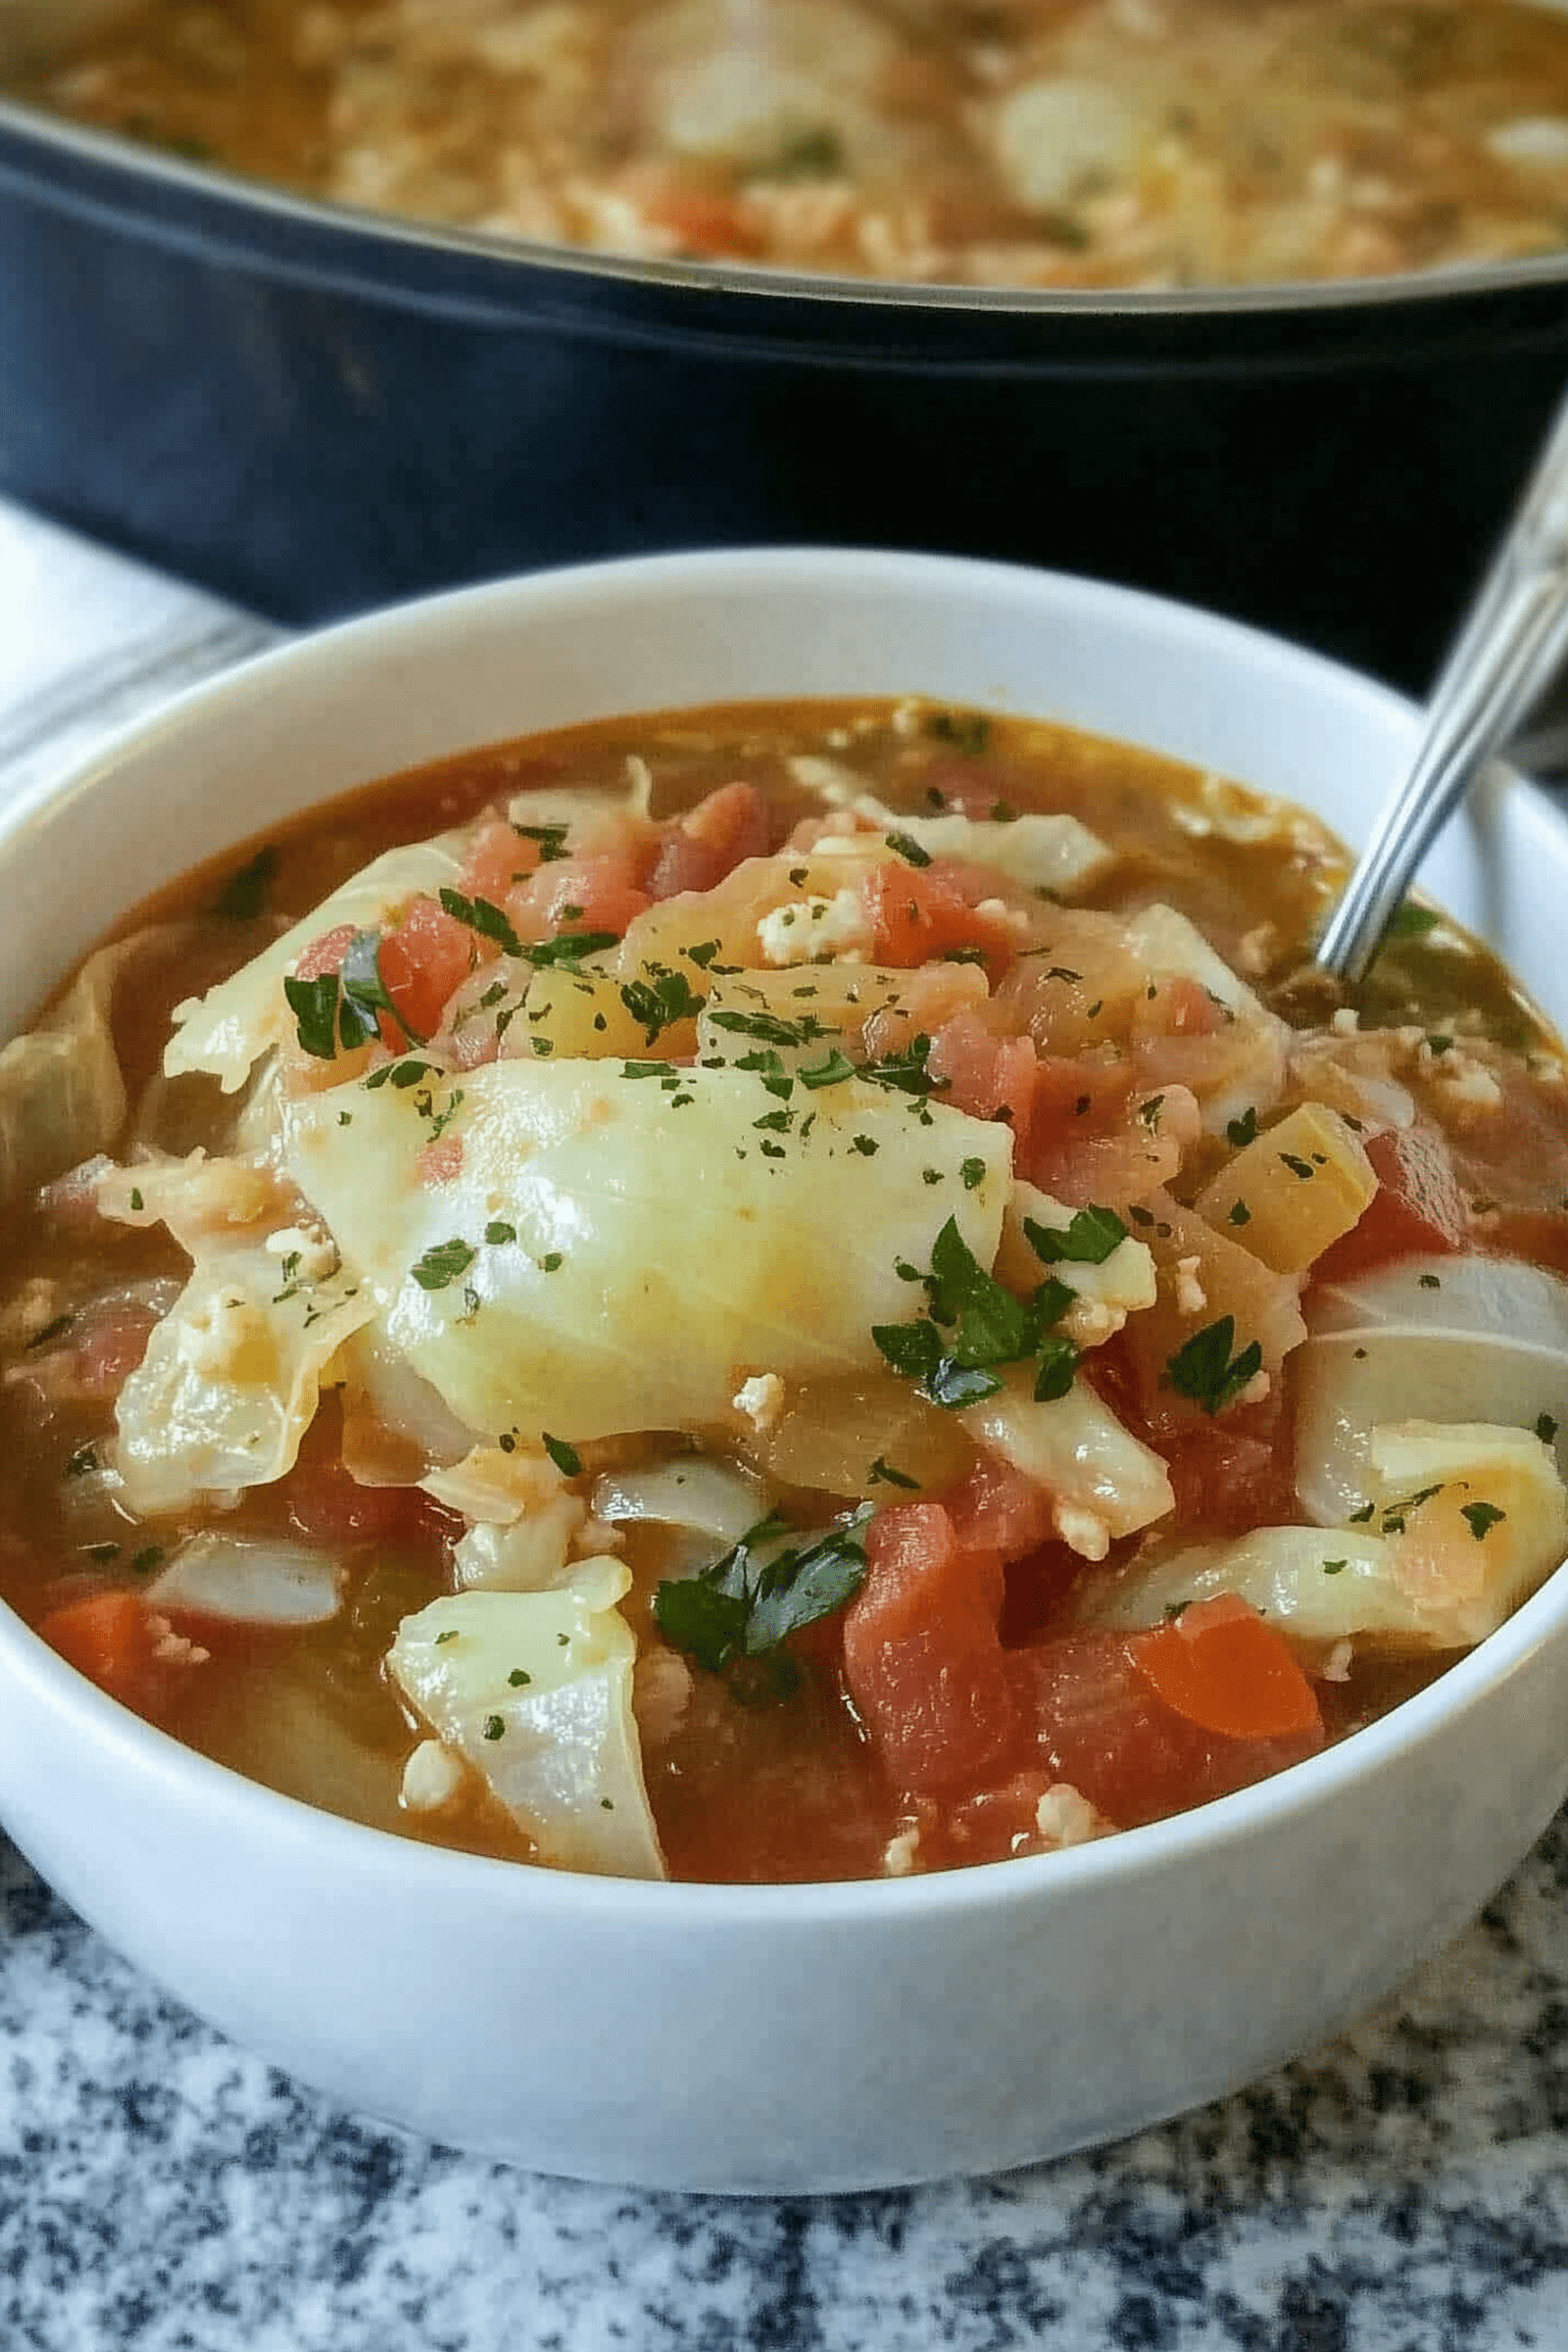
🥣 Quick & Hearty Vegetarian Cabbage and Tomato Soup

🥣 Quick & Hearty Vegetarian Cabbage and Tomato Soup

A nourishing, budget-friendly soup that transforms humble cabbage into a savory, tangy meal in just 30 minutes.

  • Prep time: 5 minutes

  • Cook time: 25 minutes

  • Yields: 6–8 servings

Ingredients

  • 3 tbsp Pure olive oil

  • 1/2 Yellow onion, chopped

  • 2 cloves Garlic, minced

  • 2 quarts (8 cups) Water

  • 4 tsp Powdered bouillon (use Vegetable bouillon to keep it strictly vegetarian/vegan)

  • 1 tsp Salt (or to taste)

  • 1/2 tsp Ground black pepper

  • 1/2 large head Green cabbage (core removed, roughly sliced)

  • 1 can (14.5 oz) Italian-style stewed tomatoes (drained and diced)


Instructions

  1. Sauté the Aromatics: In a large, heavy-bottomed stockpot, heat the olive oil over medium heat. Add the chopped onion and garlic. Sauté for about 5 minutes, stirring occasionally, until the onions are translucent and fragrant.

  2. Create the Broth: Pour in the 2 quarts of water. Stir in the bouillon powder, salt, and pepper. Turn the heat to high and bring the liquid to a rolling boil.

  3. Softened Cabbage: Once boiling, add the sliced cabbage to the pot. Reduce the heat to medium-low and let it simmer for 10 minutes. This allows the cabbage to wilt and begin tenderizing.

  4. The Tomato Finish: Stir in the diced stewed tomatoes. Bring the soup back up to a gentle boil, then lower the heat and simmer for another 15–30 minutes. Stir frequently to ensure the flavors meld perfectly.

  5. Serve: Ladle into deep bowls and serve piping hot.


Tips for the Perfect Bowl

  • For Extra Softness: If you prefer your cabbage “melt-in-your-mouth” soft, soak the raw cabbage slices in cold water for 15 minutes before adding them to the pot.

  • Boost the Protein: To make this even heartier, follow the “Add-ins” tip and stir in some ground turkey or pre-cooked white beans (like Cannellini) during the final simmer.

  • The “Day Two” Rule: As you noted, this soup is actually better the next day! It’s the perfect recipe for meal prepping Sunday lunch.