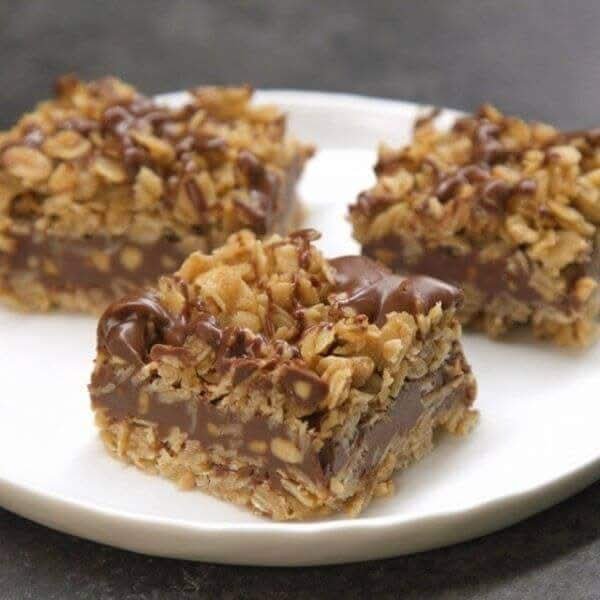
NO-BAKE CHOCOLATE OAT BARS

Ingredients :

1 cup butter
½ cup brown sugar, packed
1 teaspoon pure vanilla extract
3 cups rolled oats
½ teaspoon ground cinnamon
¼ teaspoon kosher salt
1 cup dark chocolate chips
¾ cup chunky peanut butter

Directions :

Line an 8-inch-by-8-inch baking dish with parchment paper, and set aside.
In a medium saucepan, combine the butter, brown sugar and vanilla extract. Heat over low heat, until the butter has melted and the sugar has dissolved.
Add the oats, cinnamon, and kosher salt. Cook, stirring constantly, for 4 to 5 minutes.
Pour half of the oat mixture into the prepared baking dish. Spread out the mixture evenly, pressing down.
In a small microwave-safe bowl, combine the chocolate chips and the peanut butter. Heat on high in the microwave, in increments of 40 seconds, stirring in between each increment, until melted and fully combined.
Pour ⅘ of the chocolate mixture into the pan over the pressed oats, reserving about ¼ cup for drizzling. Top with the remaining oats and drizzle with the remaining ¼ cup chocolate mixture.
Refrigerate for 4 hours, or until set.

Cheesy Garlic Herb Twisted Bread

Cheesy Garlic Herb Twisted Bread

Yields: 6–8 large twists
Prep Time: 25 minutes
Rise Time: 1 hour 30 minutes
Bake Time: 15–20 minutes

Soft, fluffy bread filled with buttery garlic, herbs, and melted cheese, twisted into beautiful bakery-style strips.


🥖 Ingredients

For the Dough

  • 3½ cups all-purpose flour (or bread flour for extra chew)

  • 1 cup warm milk (about 110°F / 45°C)

  • 2¼ teaspoons active dry yeast (1 packet)

  • 1 tablespoon sugar

  • 1 teaspoon salt

  • 1 large egg (room temperature)

  • 4 tablespoons unsalted butter, softened

For the Filling

  • 2 cups shredded mozzarella or cheddar (or a mix of both)

  • 4 tablespoons unsalted butter, softened

  • 3 cloves garlic, finely minced

  • 2 tablespoons fresh parsley, finely chopped

  • ½ teaspoon onion powder

For the Glaze

  • 1 egg

  • 1 tablespoon water


👩‍🍳 Instructions

1️⃣ Prepare the Dough

Activate the Yeast
In a small bowl, combine warm milk, sugar, and yeast. Stir gently and let it sit for 5–10 minutes until the mixture looks foamy and bubbly.

Mix the Dough
In a large mixing bowl, combine the flour and salt. Add the yeast mixture, egg, and softened butter.

Knead
Knead the dough by hand or with a mixer for 8–10 minutes until it becomes smooth, stretchy, and slightly soft to the touch without sticking.

First Rise
Place the dough into a lightly oiled bowl. Cover with a cloth or plastic wrap and let it rest in a warm place for 1 to 1½ hours, until it has doubled in size.


2️⃣ Prepare the Filling

In a small bowl, mix together:

  • Softened butter

  • Minced garlic

  • Chopped parsley

  • Onion powder

Stir until it forms a smooth garlic-herb spread.
Set the cheese aside for later use.


3️⃣ Shape the Twists

Roll the Dough
Place the risen dough onto a lightly floured surface. Roll it into a large rectangle about 12 × 18 inches.

Add the Filling
Spread the garlic-herb butter evenly over the surface. Sprinkle the shredded cheese over the butter layer.

Fold and Slice
Fold the dough in half lengthwise so the filling is inside.
Using a knife or pizza cutter, slice into strips about 1½ inches wide.

Twist
Hold each strip at both ends and gently twist it several times.
Place each twist on a parchment-lined baking sheet with space between them.


4️⃣ Final Rise & Baking

Second Rest
Cover the twists loosely and allow them to rest for 20–30 minutes.
During this time, preheat the oven to 375°F (190°C).

Prepare Egg Wash
Beat 1 egg with 1 tablespoon water.

Brush
Lightly brush the tops of the twists with the egg wash for a glossy finish.

Bake
Bake for 15–20 minutes, until:

  • The bread is golden brown

  • The cheese is melted and bubbly

  • The kitchen smells amazing 😄


🌿 Serving Ideas

  • Serve warm with marinara or garlic butter

  • Perfect as a side for pasta or soup

  • Great for parties, lunchboxes, or snack boards


💡 Tips

✔ Add chili flakes for heat
✔ Add oregano or basil for Italian flavor
✔ Use pizza cheese blend for stretchier texture
✔ Best eaten warm, but reheats beautifully

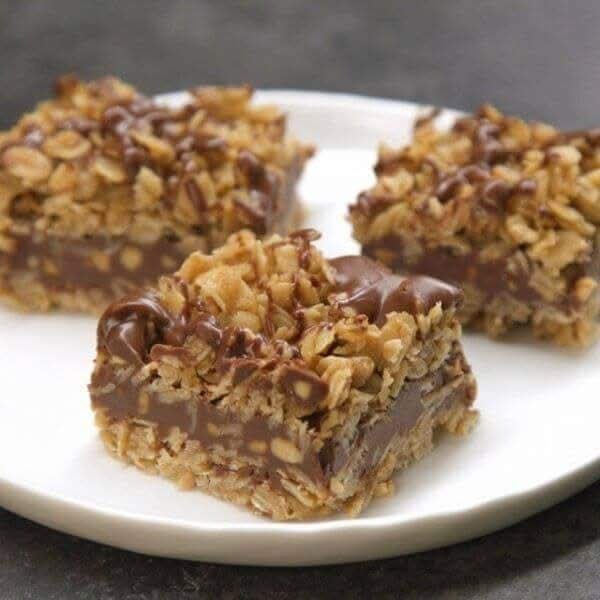
NO-BAKE CHOCOLATE OAT BARS

NO-BAKE CHOCOLATE OAT BARS

Ingredients :


1 cup butter

½ cup brown sugar, packed

1 teaspoon pure vanilla extract

3 cups rolled oats

½ teaspoon ground cinnamon

¼ teaspoon kosher salt

1 cup dark chocolate chips

¾ cup chunky peanut butter

Directions :


Line an 8-inch-by-8-inch baking dish with parchment paper, and set aside.

In a medium saucepan, combine the butter, brown sugar and vanilla extract. Heat over low heat, until the butter has melted and the sugar has dissolved.

Add the oats, cinnamon, and kosher salt. Cook, stirring constantly, for 4 to 5 minutes.

Pour half of the oat mixture into the prepared baking dish. Spread out the mixture evenly, pressing down.

In a small microwave-safe bowl, combine the chocolate chips and the peanut butter. Heat on high in the microwave, in increments of 40 seconds, stirring in between each increment, until melted and fully combined.

Pour ⅘ of the chocolate mixture into the pan over the pressed oats, reserving about ¼ cup for drizzling. Top with the remaining oats and drizzle with the remaining ¼ cup chocolate mixture.

Refrigerate for 4 hours, or until set.

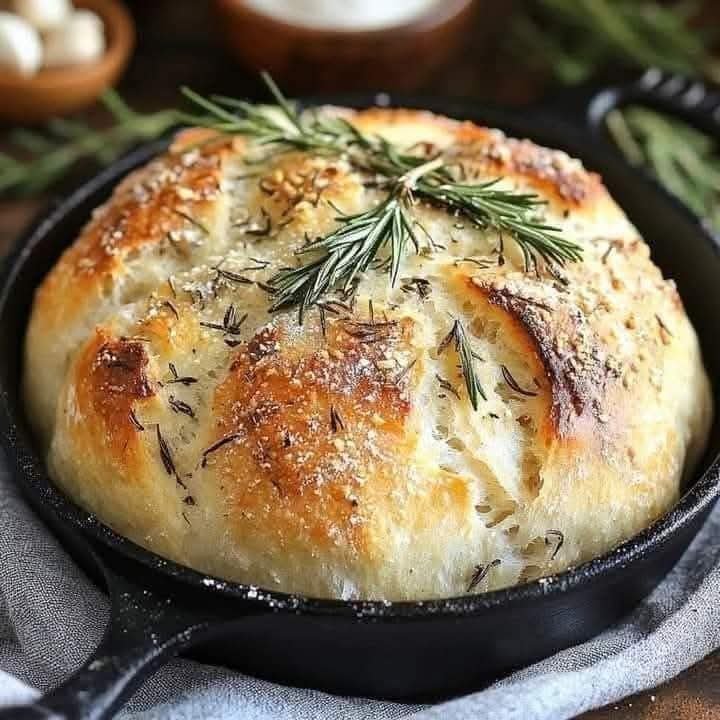
Rustic No Knead Rosemary Garlic Bread

Rustic No Knead Rosemary Garlic Bread:


Servings: 1 loaf


Prep Time: 10 minutes

Rise Time: 12-18 hours

Cook Time: 30-35 minutes

Total Time: 12-18 hours


Ingredients:

– 3 cups all-purpose flour

– 1/4 teaspoon instant yeast

– 1 1/4 teaspoons salt

– 1 tablespoon fresh rosemary, chopped

– 2 cloves garlic, minced

– 1 1/2 cups warm water


Instructions:

1. Mix flour, yeast, salt, rosemary, and garlic in a bowl.

2. Add water. Stir until shaggy dough forms. Cover and let rise for 12-18 hours.

3. Preheat oven to 450°F (230°C). Shape dough into a round.

4. Bake for 30-35 minutes until golden brown. Cool before slicing. 😋


Tips:

– Use fresh rosemary for best flavor.

– Add sea salt on top for crunch.

– Perfect with soups or olive oil! 🍴

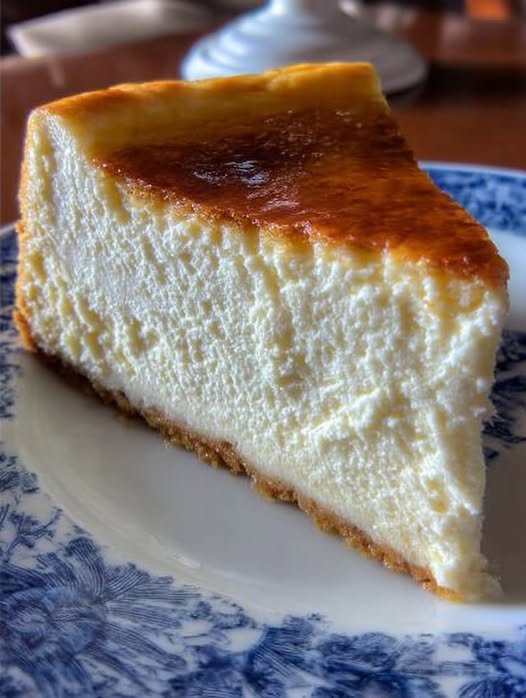
New York Cheesecake with Blueberry Sauce

New York Cheesecake with Blueberry Sauce

If you’ve never tried a classic New York Cheesecake, this recipe is the perfect introduction. Rich, creamy, and slightly tangy, this cheesecake is easy to make at home and can be prepared as individual mini cheesecakes or one large cake. Enhanced with a luscious homemade blueberry sauce, it’s a dessert that delights the eyes and the taste buds. Brought to you by tinsuf, this recipe is simple yet indulgent, perfect for celebrations or any time you want a decadent treat.


  • Author: tinsuf
  • Cuisine: American
  • Category: Dessert, Cheesecake
  • Keywords: New York cheesecake, mini cheesecakes, blueberry sauce, creamy cheesecake
  • Prep Time: 20 minutes
  • Cook Time: 16–20 minutes
  • Total Time: Approx. 5 hours 40 minutes (including chilling)
  • Yield: 6–8 mini cheesecakes


Ingredients

Crust

  • 50 g digestive biscuits, crushed
  • 1/2 tablespoon sugar
  • 2–2.5 tablespoons butter, melted

Filling

  • 275 g cream cheese (about 15 Kiri cheese squares)
  • 65 g (1/3 cup) sugar
  • A very small pinch of salt
  • 1 egg, room temperature
  • 1/2 teaspoon vanilla extract
  • 1/4 teaspoon lemon zest
  • 1/4 cup sour cream or yogurt

Blueberry Sauce

  • 1/2 cup blueberries
  • 1 1/2 tablespoons sugar
  • 3/4 teaspoon cornflour
  • A very small pinch cinnamon powder (optional)
  • A very small pinch salt
  • 2 tablespoons water
  • A drop of vanilla extract (optional)
  • A small pinch of lemon zest (optional)
  • 1/4 teaspoon lemon juice, or to taste


Instructions

  1. Prepare the crust: Crush the digestive biscuits into a coarse powder. Mix with sugar, then add melted butter and combine thoroughly. Line a muffin tin with paper liners or grease silicone molds with butter. Place equal amounts of crust in each cup and press down evenly. Cover and refrigerate while preparing the filling.
  2. Make the cheesecake filling: Preheat oven to 150°C (300°F). In a mixing bowl, beat cream cheese until smooth and creamy. Add sugar and salt, mixing gently. Add the egg and mix until incorporated—avoid overmixing to prevent excess air. Stir in vanilla, lemon zest, and sour cream or yogurt. Mix until smooth.
  3. Assemble and bake: Spoon the filling over the chilled crusts. Bake for 16–20 minutes, or until centers are set but slightly wobbly. Remove from oven and let cool completely.
  4. Chill: Cover cheesecakes and refrigerate for 4–5 hours or longer. Properly chilled cheesecakes stay fresh for several days.
  5. Prepare blueberry sauce: In a small saucepan, combine sugar, cornflour, water, salt, and cinnamon (if using). Stir over low heat until sugar dissolves. Add blueberries and cook 3–5 minutes until sauce thickens, allowing some berries to break. Remove from heat and stir in vanilla, lemon zest, and lemon juice. Let cool and store in an airtight container in the refrigerator for up to a week.
  6. Serve: Remove cheesecakes from refrigerator and peel off liners or remove from molds. Spoon blueberry sauce on top. Optionally, serve with fresh berries or drizzle chocolate sauce for extra indulgence.


Troubleshooting & Consistency Tips

For a smooth, creamy texture, ensure cream cheese and egg are at room temperature. Avoid overmixing, which can create cracks or a grainy texture. If you prefer a thicker crust, increase the amount of digestive biscuits and butter. Individual cheesecakes bake faster than a large one, so monitor closely to avoid overbaking.

ADVERTISEMENT


Storage & Make-Ahead

Store refrigerated cheesecakes in an airtight container for up to 5 days. Blueberry sauce can be made ahead and stored for up to a week. For special occasions, you can prepare crust and filling in advance, then bake and chill closer to serving time.


Why This Recipe Works

This New York Cheesecake recipe balances sweetness with a subtle tang from sour cream or yogurt. Individual portions ensure even baking and a creamy texture, while the crust adds a satisfying crunch. The optional  blueberry sauce enhances flavor and adds a vibrant, fresh finish.


ADVERTISEMENT

Expert Tips

  • Use room-temperature ingredients for smooth batter.
  • Do not overmix eggs into cream cheese to prevent cracks.
  • Mini cheesecakes bake faster than one large  cake; adjust timing accordingly.
  • Add lemon zest or juice to the filling for a subtle, bright flavor contrast.
  • Serve chilled for the best creamy texture.


This classic New York Cheesecake with blueberry sauce is brought to you by tinsuf. Enjoy this creamy, decadent dessert and explore more of our professional, easy-to-follow recipes for all occasions.

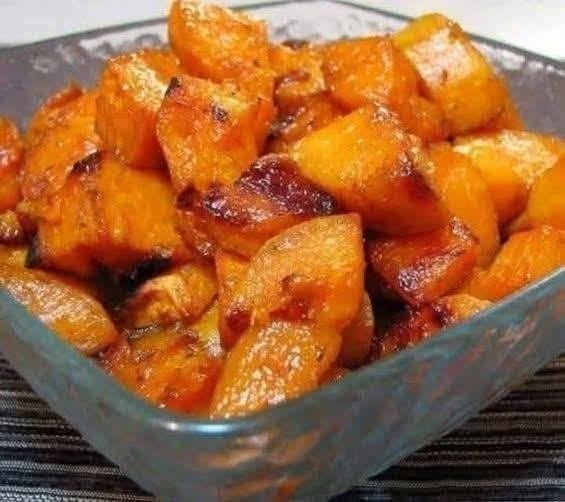
Healthy Roasted Pumpkin (Blood-Sugar Friendly Version)

Healthy Roasted Pumpkin (Blood-Sugar Friendly Version)

 Description

This roasted pumpkin recipe highlights pumpkin’s natural fiber and antioxidants. When prepared without added sugar, pumpkin can be part of a diabetes-friendly meal because fiber slows glucose absorption.

Ingredients

  • 2 cups pumpkin or winter squash, peeled & cubed

  • 1 tablespoon olive oil

  • ½ teaspoon cinnamon (optional)

  • ¼ teaspoon black pepper

  • ¼ teaspoon salt

  • Optional: garlic powder or herbs

 Instructions

  1. Preheat oven to 200°C (400°F)

  2. Toss pumpkin cubes with olive oil and seasonings

  3. Spread evenly on a baking tray

  4. Roast for 25–30 minutes, turning once

  5. Serve warm

 Notes

  • Do not add sugar, honey, or syrup

  • Portion control is important

  • Best eaten with protein or healthy fat

Tips

  • Pair with lentils, beans, eggs, or yogurt

  • Avoid deep frying

  • Smaller portions help prevent sugar spikes

  • Roasting is better than boiling for flavor

 Servings

  • 2 servings

 Nutritional Info (per serving, approx.)

  • Calories: 80–90 kcal

  • Carbohydrates: 12 g

  • Fiber: 3 g

  • Sugar: 4 g (natural)

  • Fat: 4 g

  • Protein: 2 g

 Benefits

  • High in fiber → slows sugar absorption

  • Rich in beta-carotene & antioxidants

  • Supports digestion

  • Helps with fullness and weight management

  • Low glycemic load when portion-controlled

 Q & A

Q: Does pumpkin cure diabetes?
A: ❌ No. No food can cure diabetes.

Q: Can people with diabetes eat pumpkin?
A: ✅ Yes, in moderate portions and without added sugar.

Q: Is pumpkin better than potatoes?
A: Often yes, because it has more fiber and a lower glycemic impact.

Q: Can teenagers eat this safely?
A: ✅ Yes, as part of a balanced diet.

Q: Why do people say it “eats sugar”?
A: That is false marketing language, not science.