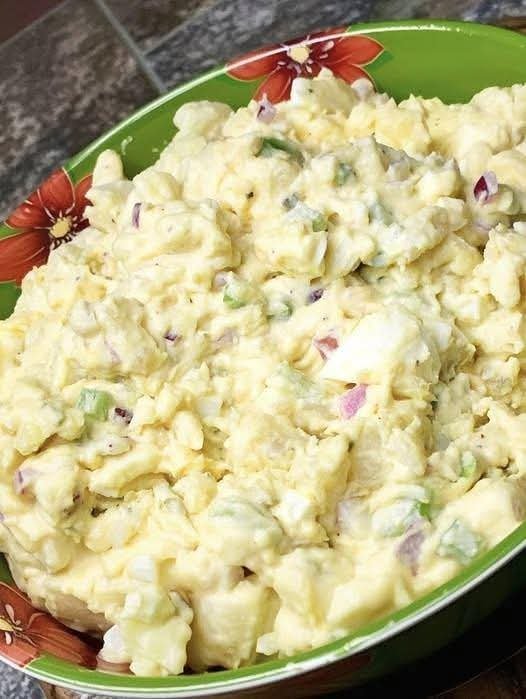
“This potato salad

Prep & Cook Time


Prep: 20 minutes


Cook: 20 minutes


Chill: 1 hour (recommended)


Total: ~1 hour 40 minutes


🍽️ Servings


6–8 servings


🧾 Ingredients

Potato Salad


2½ lbs (about 1.1 kg) potatoes (Yukon Gold or russet)


4 large eggs, hard-boiled


½ cup red onion, finely diced


½ cup celery or green onion, finely chopped


Salt, to taste (for boiling water)


Creamy Dressing


¾ cup mayonnaise


2 tablespoons yellow or Dijon mustard


1 tablespoon apple cider vinegar or pickle juice


½ teaspoon sugar (optional, for balance)


½ teaspoon black pepper


¾ teaspoon salt (adjust to taste)


Optional: ½ teaspoon paprika


👩‍🍳 Instructions


Cook the Potatoes


Peel (or leave skins on) and cut potatoes into bite-size chunks.


Boil in well-salted water for 10–12 minutes, until fork-tender but not mushy.


Drain and let cool slightly.


Prepare the Eggs


Chop hard-boiled eggs into small pieces.


Make the Dressing


In a large bowl, whisk together mayonnaise, mustard, vinegar (or pickle juice), sugar, salt, pepper, and paprika.


Assemble


Gently fold warm potatoes into the dressing (they absorb flavor better when slightly warm).


Add eggs, onion, and celery/green onion.


Mix carefully to keep texture intact.


Chill & Serve


Cover and refrigerate for at least 1 hour.


Taste and adjust seasoning before serving.
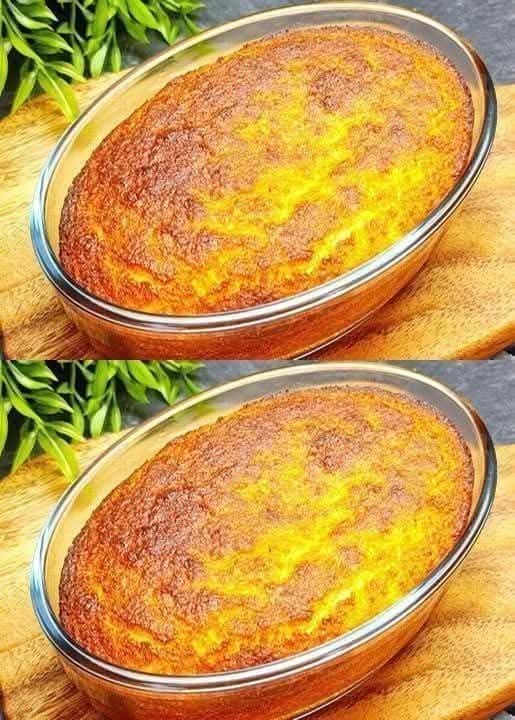
No flour, no sugar! Coconut cake in 5 minutes!

Full recipe>>> Time & Yield

Prep time: 5 minutes

Cook time: 20–25 minutes

Total time: ~30 minutes

Servings: 6 slices

📝 Ingredients

2 cups unsweetened shredded coconut

3 large eggs

½ cup plain yogurt (or Greek yogurt)

1 ripe banana, mashed (natural sweetness)

1 tsp baking powder

1 tsp vanilla extract (optional)

Pinch of salt

1–2 tbsp coconut oil (for greasing)

👩‍🍳 Instructions

Preheat oven to 180°C / 350°F. Grease a small baking dish with coconut oil.

In a bowl, whisk the eggs until slightly frothy.

Add mashed banana, yogurt, vanilla, and salt. Mix well.

Stir in shredded coconut and baking powder until fully combined.

Pour batter into the prepared dish and smooth the top.

Bake for 20–25 minutes, until golden and set in the center.

Let cool for 5 minutes before slicing. Serve warm or chilled.

💡 Notes & Tips

Use fine shredded coconut for a smoother texture.

If you like it sweeter, add 1–2 tbsp honey or maple syrup (still refined-sugar-free).

For extra flavor, add lemon zest or cinnamon.

This cake firms up more as it cools—don’t overbake.

Can also be cooked in an air fryer (160°C / 320°F for 15–18 min).

🥗 Nutritional Information (per serving – approx.)

Calories: 180 kcal

Protein: 6 g

Healthy fats: 13 g

Carbohydrates: 9 g

Fiber: 4 g

Sugar: 4 g (naturally occurring)

Values may vary based on ingredients used.

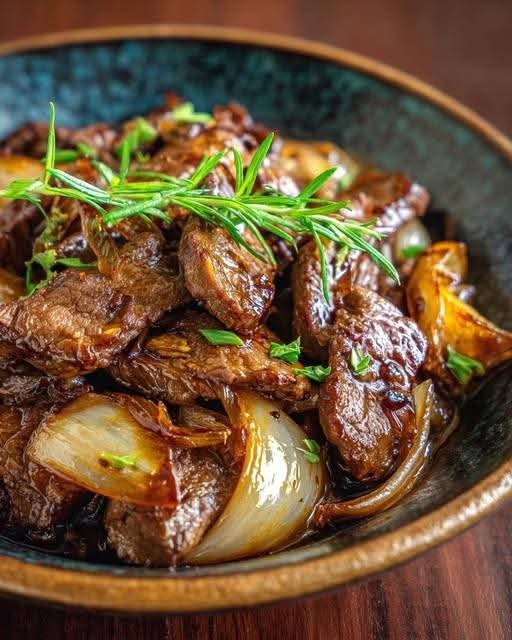
Sticky Beef with Caramelized Onions

INGREDIENTS:

1 lb Flat Iron steak , thinly sliced against the grain

1/4 cup Coconut Oil

3 Green onions , cut into 1-inch long diagonal slices

Low Carb Mongolian Beef Marinade:

1/4 cup Coconut Aminos

1 teaspoon Fresh root ginger, peeled and ginger , Do not use powdered ginger!

2 cloves Garlic , chopped

INSTRUCTIONS:

1.Scroll up to watch the short recipe video first!

2.Cut the Flat Iron Steak into very thin slices against the grain.

3.Add the sliced beef to a small ziplock bag and add the coconut aminos, peeled and grated root ginger (do not use powdered ginger), and garlic. Let marinate for 1 hour in the fridge.

4.When you are ready to cook, drain the meat from the marinade but reserve the liquid for later.

5.Add the coconut oil to a large wok or cast iron skillet and heat it until it’s almost smoking, the oil must be hot so you can get the nice crispy edges on the beef.

6.Add the beef to the very hot oil (you may need to do it in two batches, don’t crowd the pan) and keep stir frying over a high heat, taking care not to burn it for just 1-3 minutes.

When the last batch of meat is in, add the green onions and cook for the last 30 seconds to 1 minute.

7.If you want more ‘sauce’ to serve with the meat quickly cook the remaining marinade for just a minute or two in your wok after the last batch of beef has been cooked, and serve with the beef.

8.Serve immediately!

I eat vegetable casserole

Full recipe>>> Servings


4 large servings

(You can eat it twice a day comfortably)


🧺 Ingredients


1 medium zucchini, sliced


1 medium eggplant, cubed


1 red bell pepper, chopped


1 green bell pepper, chopped


1 medium onion, sliced


2 medium tomatoes, chopped


2 cups cauliflower florets


1 cup mushrooms, sliced


2 cloves garlic, minced


1 tsp olive oil (optional but recommended)


½ tsp salt (or to taste)


½ tsp black pepper


1 tsp dried oregano or Italian seasoning


½ tsp paprika or chili flakes (optional)


½ cup low-sodium vegetable broth


👩‍🍳 Instructions


Preheat oven to 375°F (190°C).


Lightly grease a casserole dish with olive oil or cooking spray.


Add all vegetables to the dish and mix well.


Add garlic, salt, pepper, oregano, paprika, and vegetable broth.


Toss everything gently to coat.


Cover with foil and bake for 35 minutes.


Remove foil and bake uncovered for 15–20 more minutes until vegetables are soft and slightly roasted.


Let rest for 5 minutes before serving.


🔥 Nutritional Information (per serving – approx.)


Calories: 120–140 kcal


Protein: 4–5 g


Carbohydrates: 18–20 g


Fiber: 6–8 g


Fat: 3 g


Sugar: 6–7 g


Sodium: Depends on broth/salt used


(Naturally cholesterol-free)

Jalapeño Cheddar Cornbread Muffins

Jalapeño Cheddar Cornbread Muffins

Servings: 10–12 muffins
Prep Time: 15 minutes
Cook Time: 18–20 minutes
Total Time: 35 minutes

A buttery, cheesy, slightly spicy muffin perfect for chili nights, BBQs, or a savory snack.


🧾 Ingredients

  • 1 cup (120 g) all-purpose flour

  • ⅓ cup (40 g) finely ground cornmeal

  • 2 tsp baking powder

  • ½ tsp baking soda

  • 3 tbsp (35 g) sugar

  • ½ tsp salt

  • ¼ cup (60 g) butter, melted and cooled

  • 1 large egg

  • ¾ cup (180 ml) cream or milk (or dairy alternative)

  • 1 cup (100 g) cheddar cheese, shredded

  • ¾ cup (120 g) corn kernels, fresh or canned (drained)

  • 2 green onions, chopped

  • 2 jalapeños – 1 chopped (seeds optional for heat), 1 sliced for garnish


👩‍🍳 Instructions


1️⃣ Preheat the Oven

  • Preheat oven to 350°F (175°C).

  • Spray a 10–12 cup muffin tin with nonstick cooking spray or line with paper liners.


2️⃣ Mix the Dry Ingredients

  • In a large bowl, whisk together:

    • All-purpose flour

    • Cornmeal

    • Baking powder

    • Baking soda

    • Sugar

    • Salt


3️⃣ Combine the Wet Ingredients

  • In a separate bowl, whisk together:

    • Melted butter

    • Egg

    • Cream (or milk alternative)

  • Pour the wet mixture into the dry ingredients.

  • Stir until just combined—do not overmix.


4️⃣ Fold in the Flavor

  • Gently fold in:

    • Corn kernels

    • Chopped green onions

    • Chopped jalapeño

    • Shredded cheddar cheese


5️⃣ Fill the Muffin Cups

  • Scoop the batter evenly into the prepared muffin cups.

  • Top each muffin with a slice of fresh jalapeño for a bakery-style finish.


6️⃣ Bake

  • Bake for 18–20 minutes, or until a toothpick inserted into the center comes out clean.

  • Let cool slightly before serving.


7️⃣ Serve & Enjoy

  • Serve warm as a side with chili, BBQ, or enjoy on their own.

  • Optional: Spread with butter or a drizzle of honey for a sweet-savory touch.


💡 Tips for Success

  • Use sharp cheddar for stronger flavor.

  • Drain canned corn well to prevent soggy muffins.

  • Keep some lumps in the batter—overmixing can make muffins dense.

  • For extra heat, leave the seeds in the jalapeños.


🔁 Variations

  • Smoky Twist: Add cooked bacon pieces.

  • Sweet & Spicy: Stir in 1 tbsp honey.

  • Gluten-Free: Swap flour for a 1:1 gluten-free blend.

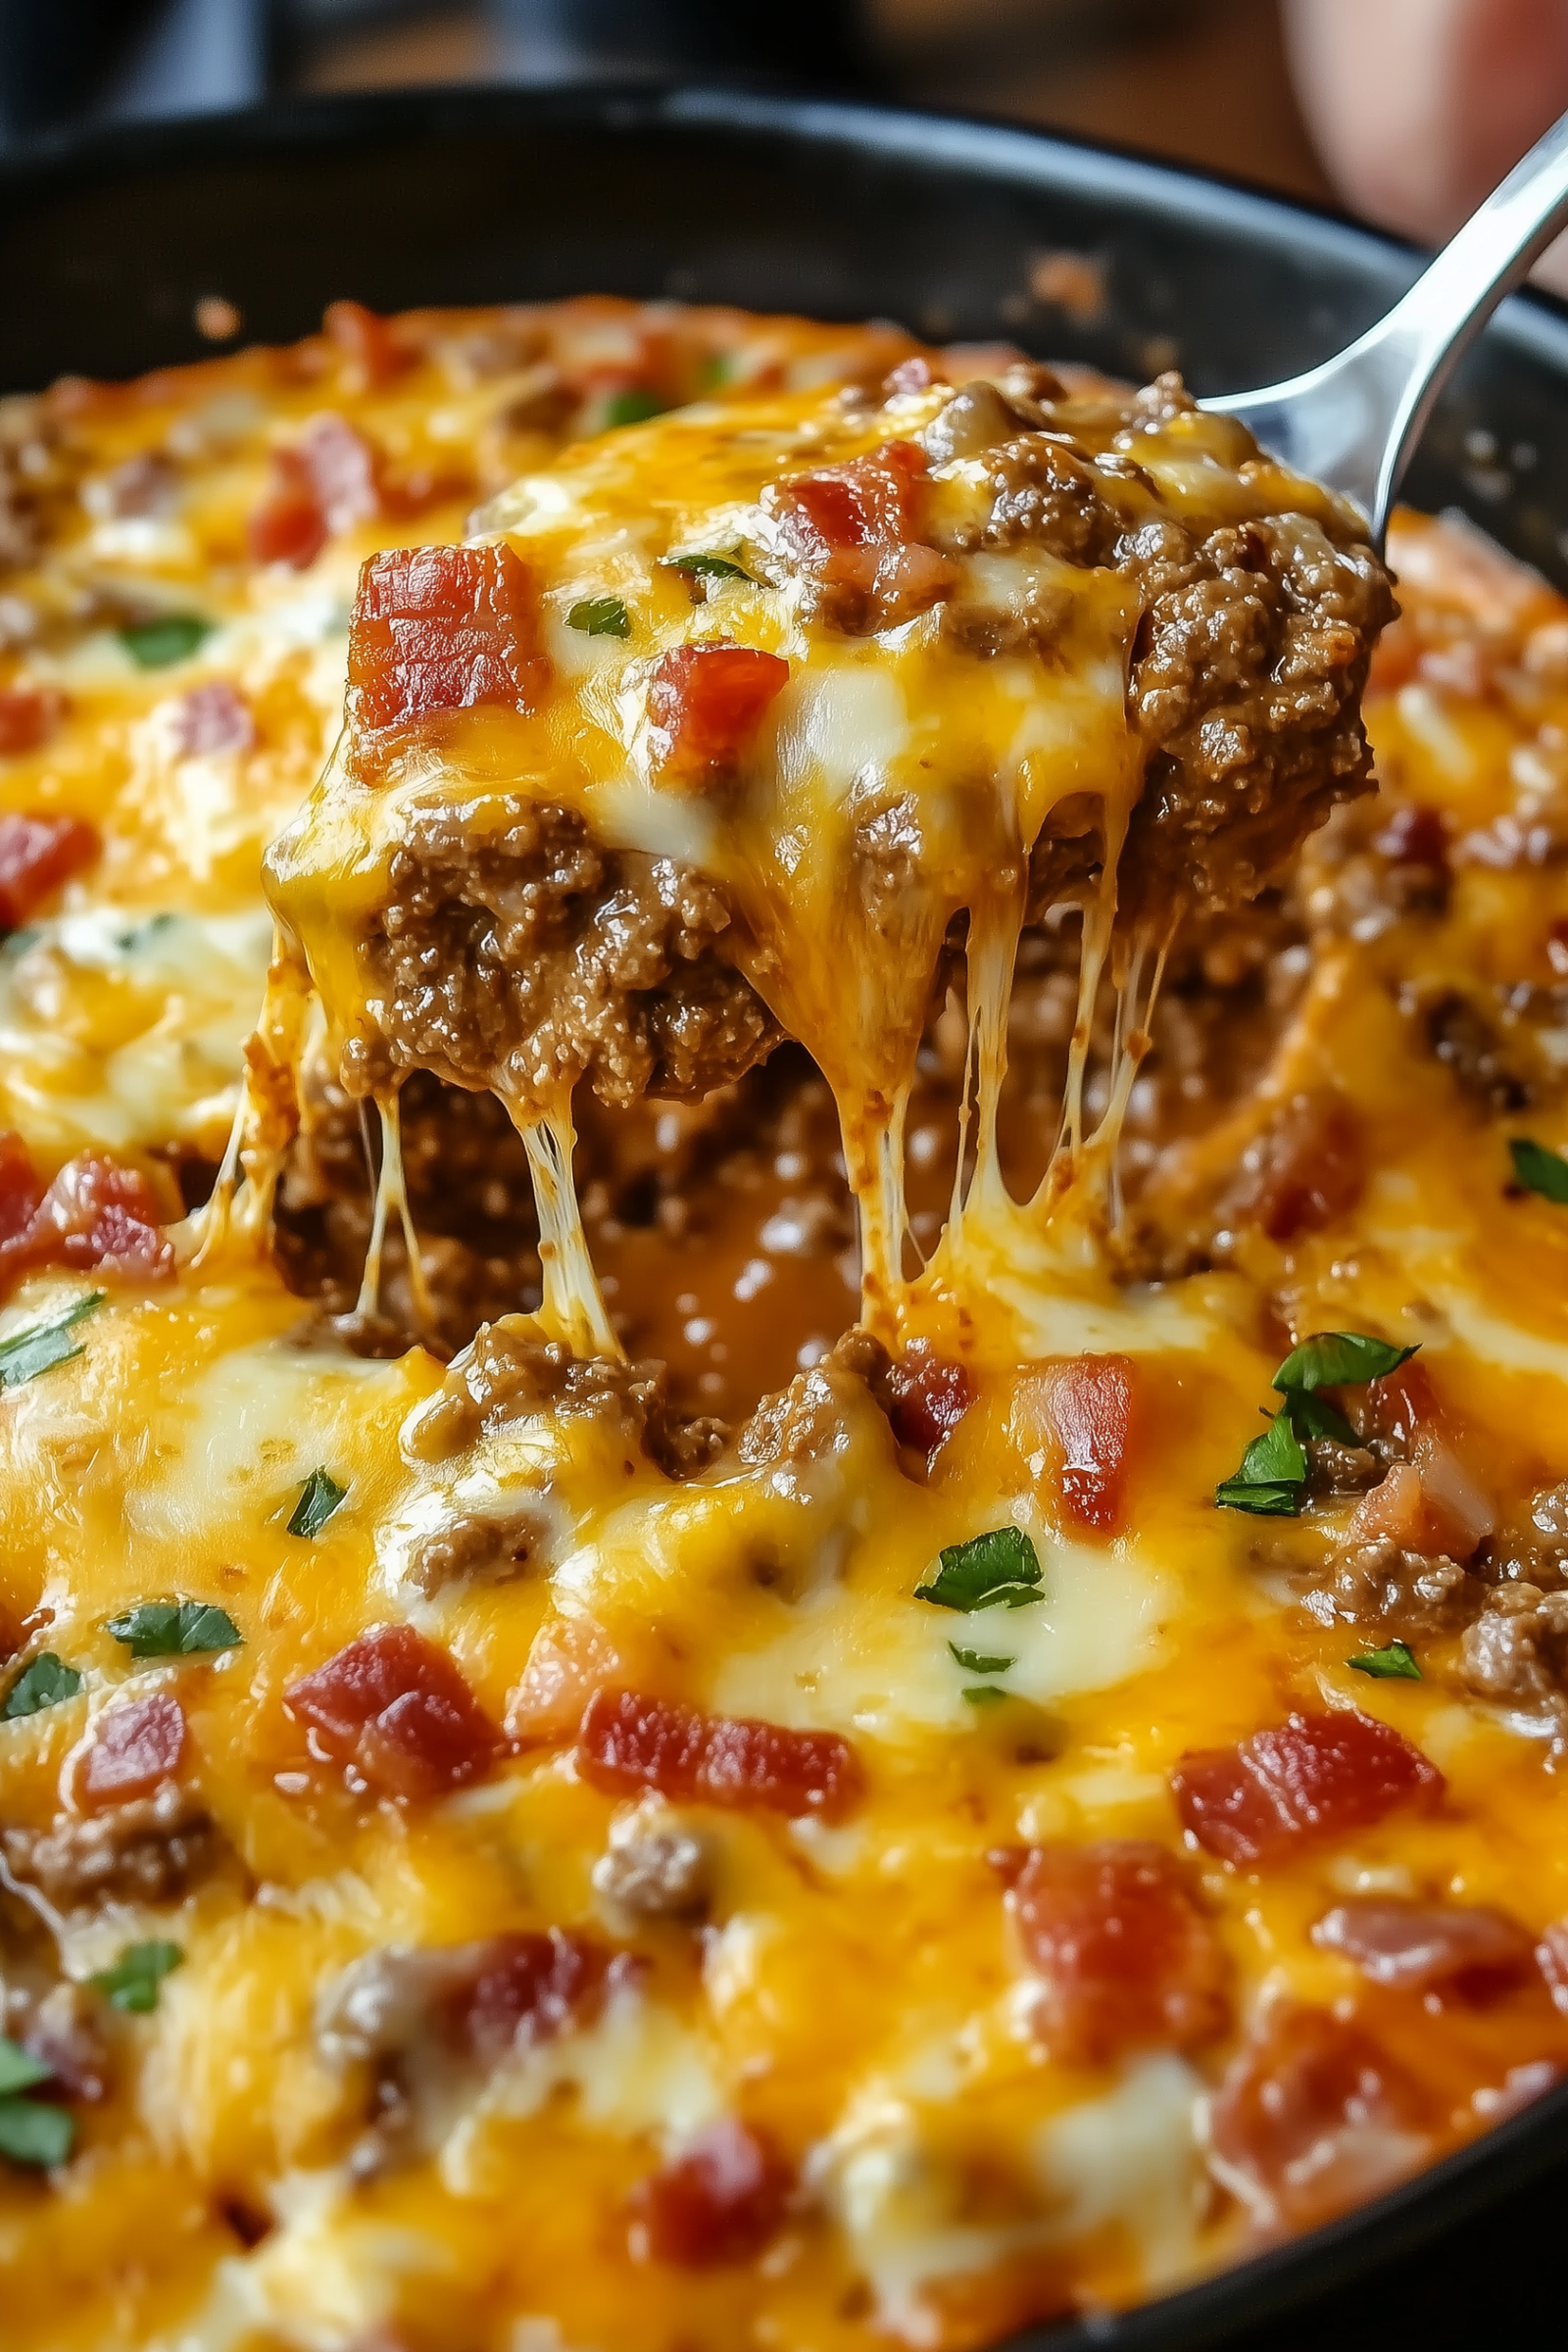
Cheesy Bacon Cheeseburger Queso Dip

Cheesy Bacon Cheeseburger Queso Dip

Servings: 6–8
Prep Time: 10 minutes
Cook Time: 15–20 minutes
Total Time: 30 minutes

A creamy, cheesy, savory dip with all the flavors of a cheeseburger—perfect for game nights, parties, or a cozy snack at home.


🧾 Ingredients

  • 1 pound (450 g) ground beef (lean or regular)

  • 8 oz (225 g) cooked bacon, finely chopped

  • 1 cup (100 g) sharp cheddar cheese, freshly shredded

  • 1 cup (100 g) mozzarella cheese, shredded

  • ½ cup (115 g) cream cheese, softened

  • ½ cup (120 ml) sour cream

  • ½ cup (120 ml) whole milk (adjust for desired consistency)

  • 1 tablespoon taco seasoning (store-bought or homemade)

  • ½ teaspoon garlic powder

  • ½ teaspoon onion powder

  • Salt and freshly ground black pepper, to taste

  • Fresh parsley, chopped (for garnish)

  • Tortilla chips, pretzels, or sliced baguette (for serving)

Optional Additions:

  • Diced jalapeños for spice

  • Sautéed onions, bell peppers, or mushrooms for extra veggies


👩‍🍳 Instructions


1️⃣ Cook the Beef

  1. Heat a skillet over medium heat.

  2. Add ground beef and cook until fully browned, about 6–8 minutes.

  3. Drain excess grease.


2️⃣ Season the Beef

  1. Add taco seasoning, garlic powder, and onion powder.

  2. Stir well to evenly coat the beef with spices.

  3. Set aside.


3️⃣ Make the Cheese Base

  1. In a large saucepan over low heat, melt the cream cheese.

  2. Stir in sour cream and milk until smooth and creamy.


4️⃣ Add the Cheeses

  1. Gradually sprinkle in cheddar and mozzarella.

  2. Stir constantly until fully melted and smooth.


5️⃣ Combine & Finish

  1. Fold the seasoned beef and crumbled bacon into the cheese mixture.

  2. Taste and adjust seasoning with salt and black pepper if needed.


6️⃣ Garnish & Serve

  1. Top with extra bacon and chopped parsley.

  2. Serve warm with tortilla chips, pretzel bites, sliced baguette, or as a topping for baked potatoes, fries, or nachos.


💡 Tips for Best Results

  • Use freshly shredded cheese for smoother melting.

  • Thin the dip with a splash of milk if it becomes too thick.

  • Keep warm in a mini slow cooker or fondue pot for parties.

  • Reheat gently on the stovetop or microwave in short bursts.


🔁 Variations

  • Spicy Kick: Add diced jalapeños or a few dashes of hot sauce.

  • Veggie Boost: Mix in sautéed onions, bell peppers, or mushrooms.

  • Low-Carb Option: Serve with celery sticks, bell pepper strips, or low-carb chips.

  • Double Batch: Ideal for larger gatherings.


❄️ Storage

  • Refrigerator: Store in an airtight container for up to 4 days.

  • Reheating: Warm gently on stovetop or microwave; add milk to loosen if needed.

  • Freezing: Not recommended (cheese texture may separate).


This dip brings all the flavors of a cheeseburger into a creamy, cheesy, savory treat. Perfect for entertaining or snacking!