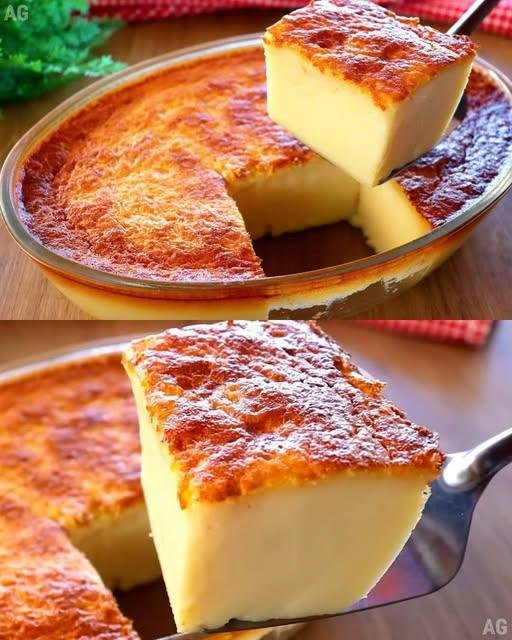
Hi, everyone, today we’re going to learn how to make Milk Cake using simple ingredients. So grab your pen and paper to jot down the ingredients, then follow the complete preparation method.
 HealthyDiet RecipeWorld
🥤 Creamy Peanut Butter Honey Smoothie
 Description
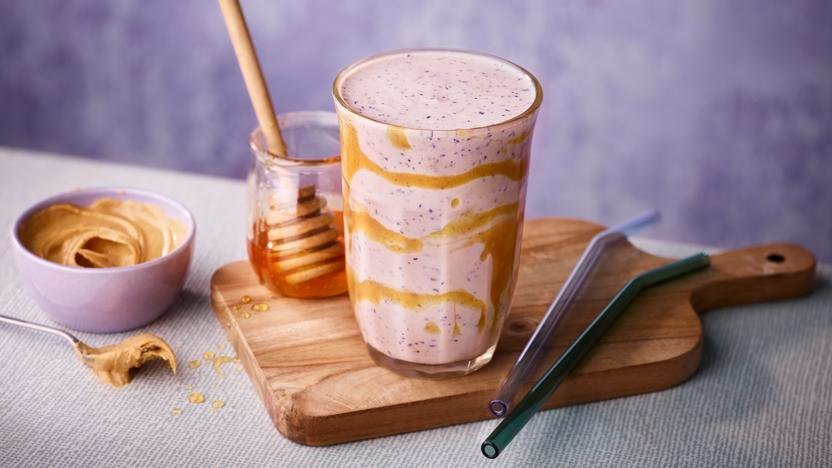
This Peanut Butter Honey Smoothie is a smooth, indulgent drink with a perfect balance of nutty richness and natural sweetness. The creamy texture comes from ripe banana and milk, while peanut butter adds depth and protein. Honey provides gentle sweetness, and vanilla gives a warm, aromatic finish. Ideal for breakfast, post-workout energy, or a healthy dessert-style drink.
 Ingredients (Serves 1–2)
-
2 tablespoons creamy peanut butter
-
1 large ripe banana, sliced
-
1½ cups cold milk (dairy or almond/oat milk)
-
1–2 tablespoons pure honey (adjust to taste)
-
½ teaspoon vanilla extract
-
4–5 ice cubes (optional, for thicker texture)
-
1 tablespoon chia seeds or flaxseeds (optional, for nutrition)
 Step-by-Step Instructions
-
Prepare the Ingredients
Peel and slice the banana for easier blending. Measure all ingredients in advance to ensure smooth preparation. -
Add to Blender
Pour the milk into the blender first. Add banana slices, peanut butter, honey, vanilla extract, and seeds (if using). -
Blend Until Smooth
Blend on high speed for 30–45 seconds until the smoothie becomes thick and creamy. Add ice cubes if you prefer a colder, milkshake-like consistency. -
Taste & Adjust
Taste the smoothie and adjust sweetness with extra honey or thin it with a splash of milk if needed. -
Serve
Pour into a tall glass. Drizzle honey or peanut butter along the inside of the glass for a decorative swirl, just like the image.
 Tips & Variations
-
Add ½ cup Greek yogurt for extra creaminess and protein
-
Use frozen banana instead of ice for a richer texture
-
Add cocoa powder for a chocolate-peanut twist
-
Sprinkle crushed peanuts on top for crunch
 Nutritional Benefits
-
High in protein and healthy fats
-
Provides long-lasting energy
-
Naturally sweetened with honey
-
Supports muscle recovery and fullness
Creamy Lemon Mousse
 3-Ingredient Lemon Mousse
Prep time: 15 minutes | Chilling time: 2 hours | Servings: 2-4
Ingredients
-
2 cups (500ml) Heavy Whipping Cream (must be very cold)
-
1 can (14 oz / 400g) Sweetened Condensed Milk
-
1/2 cup Fresh Lemon Juice (about 2–3 large lemons)
-
Optional: Lemon zest for garnish
Instructions
-
Whip the Cream: In a large chilled bowl, pour in the cold heavy whipping cream. Use a hand mixer or stand mixer to beat the cream until stiff peaks form. (Be careful not to over-beat, or it will turn into butter!)
-
Combine Milk and Lemon: In a separate medium bowl, whisk together the sweetened condensed milk and the fresh lemon juice. The acid in the lemon will naturally begin to thicken the condensed milk.
-
Fold Gently: Gently pour the lemon mixture into the bowl of whipped cream. Use a spatula to fold the mixture together slowly. Do not stir vigorously, or you will lose the air and fluffiness.
-
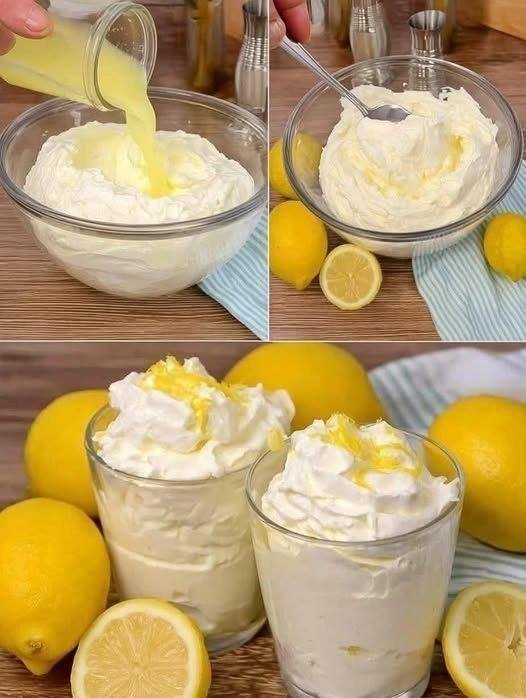
Assemble: Spoon or pipe the mousse into serving glasses, as shown in the bottom image.
-
Chill: Place the glasses in the refrigerator for at least 2 hours (or overnight). This allows the mousse to set into a velvety texture.
-
Garnish: Top with fresh lemon zest or a small slice of lemon right before serving.
Tips for Success
-
Keep it Cold: Ensure your cream and your mixing bowl are cold to get the best volume.
-
Adjust Tanginess: If you prefer a very tart dessert, add an extra tablespoon of lemon juice. If you like it sweeter, stick to the 1/2 cup measurement.
-
Zest First: Always zest your lemons before squeezing them for juice!
Healthy Cashew Smoothie
Healthy Cashew Smoothie
Ingredients
The following ingredients are required for this recipe:
-
Banana: 1 medium (frozen is best for a thicker texture).
-
Strawberries: 1/2 cup fresh or frozen.
-
Avocado: 1/4 to 1/2 of a ripe avocado (adds healthy fats and creaminess).
-
Cashews: 1/4 cup raw or roasted (unsalted).
-
Almond Milk: 1 cup (unsweetened).
-
Honey: 1–2 teaspoons, or to taste.
-
Ice: 1/2 cup to 1 cup depending on desired thickness.
Instructions
-
Prep the Cashews: If you do not have a high-speed blender, soak the cashews in hot water for 15 minutes and drain them before using to ensure a perfectly smooth consistency.
-
Combine: Add the almond milk to the blender first (liquid first helps the blades spin more easily), followed by the banana, strawberries, avocado, and cashews.
-
Sweeten and Chill: Add the honey and the ice.
-
Blend: Start on a low speed and gradually increase to high. Blend for 45–60 seconds until the cashews are completely pulverized and the mixture is silky.
-
Adjust: If the smoothie is too thick, add a splash more almond milk. If you prefer it colder/thicker, add more ice.
Why this works
-
Avocado: Provides a velvety mouthfeel and heart-healthy monounsaturated fats.
-
Cashews: Act as a natural “cream” while adding plant-based protein.
-
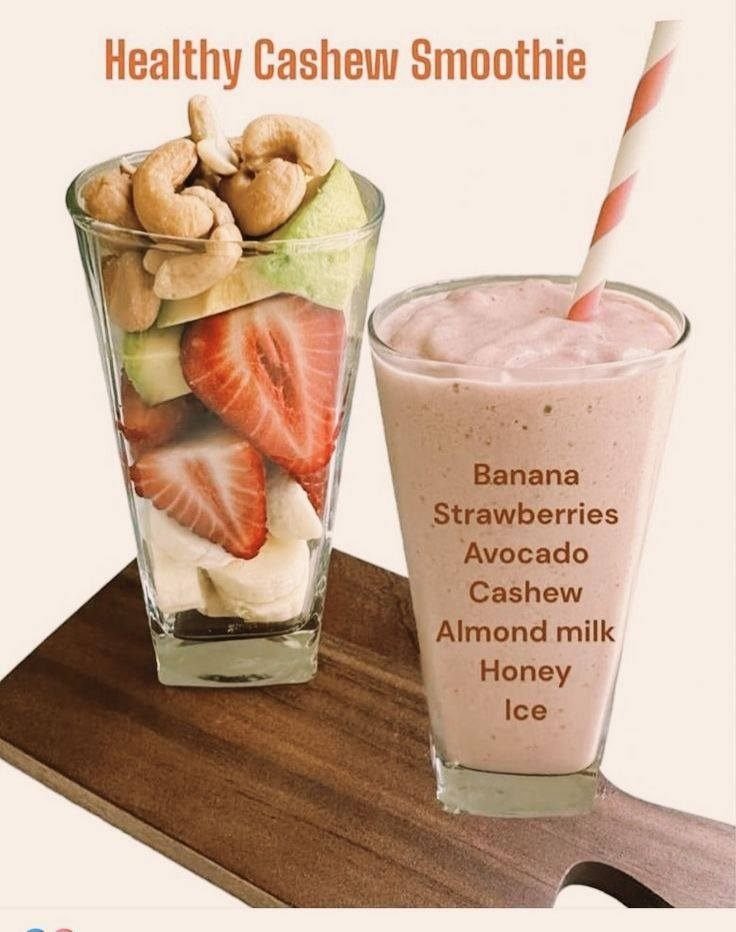
Strawberries: Give the smoothie its signature pale pink color and a boost of Vitamin C
Creamy Orange Sunshine Smoothie
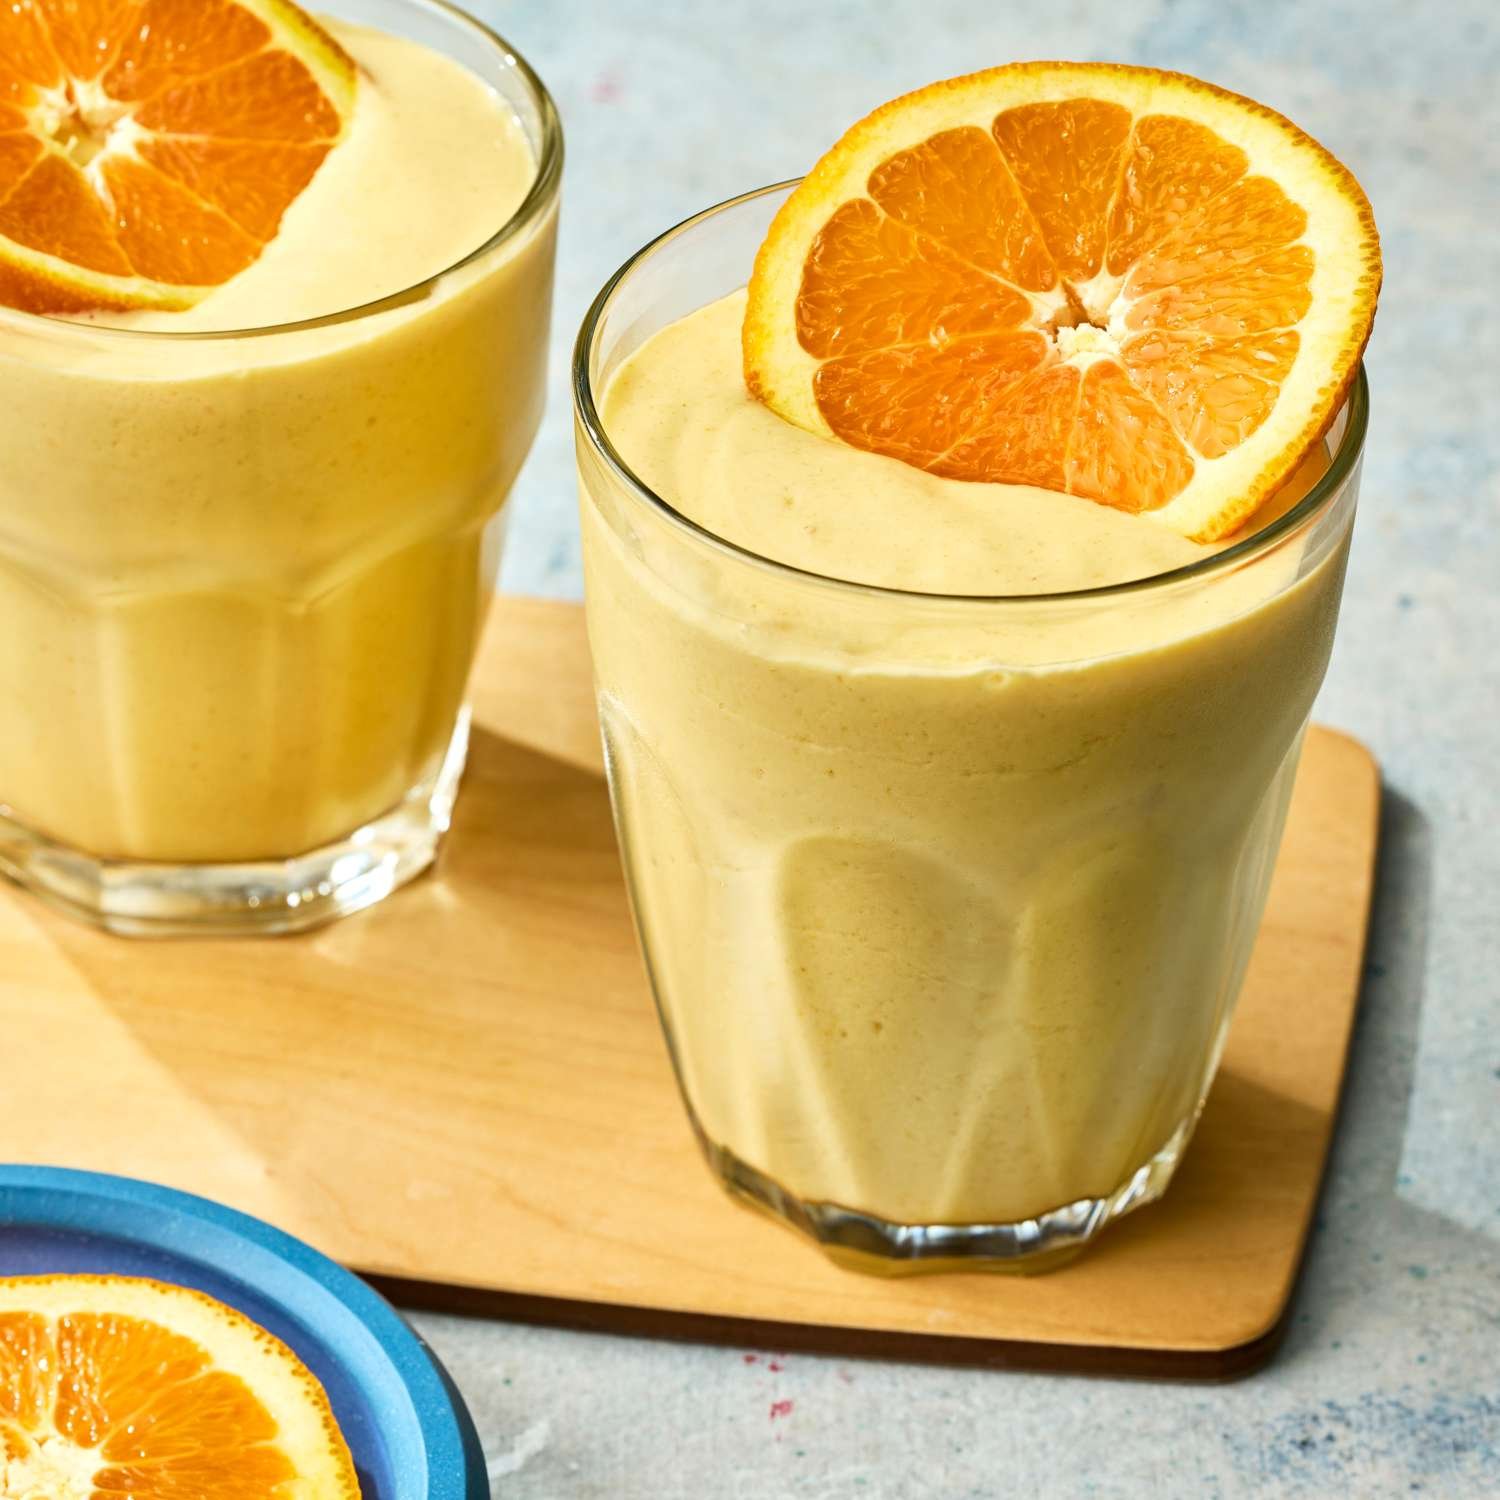
Creamy Orange Sunshine Smoothie
Prep time: 5 minutes | Servings: 2 smoothies
 Ingredients
To achieve that bright color and thick, frothy consistency, you will need:
| Ingredient | Amount | Notes |
| Oranges | 2 large | Peeled and deseeded (Navel or Valencia work best). |
| Frozen Banana | 1 medium | Essential for the thick, creamy texture shown. |
| Greek Yogurt | $1/2$ cup | Use Plain or Vanilla for added creaminess and protein. |
| Milk of Choice | $1/2$ cup | Almond milk, coconut milk, or dairy milk. |
| Vanilla Extract | 1 tsp | This provides the “creamsicle” flavor. |
| Honey or Maple Syrup | 1 tbsp | Optional, depending on the sweetness of your oranges. |
| Ice | $1/2$ cup | Optional, for a frostier finish. |
 Instructions
-
Prepare the Fruit: Peel the oranges and remove as much of the white pith as possible to avoid bitterness. Ensure your banana is pre-frozen for the best results.
-
Combine: Add the liquid ingredients (milk, yogurt, vanilla, and sweetener) to the blender first.
-
Layer: Add the orange segments and frozen banana on top.
-
Blend: Start on a low setting and gradually increase to high. Blend for 60 seconds until the mixture is perfectly smooth and no orange fibers remain.
-
Garnish: Slice an extra orange into thin rounds. Cut a small slit in each slice and place them on the rim of the glasses as shown in the image.
 Tips for Success
-
The “Cream” Factor: For an even richer taste, replace the milk with a splash of heavy cream or full-fat coconut milk.
-
Boost the Color: If your oranges are pale, add a tiny pinch of turmeric. It won’t change the flavor but will make the orange color pop.
-
High Fiber: If you prefer a lighter texture, you can use $1/2$ cup of fresh orange juice instead of whole oranges, though you’ll lose the beneficial fiber.
Carrot & Beetroot Vitality Juice
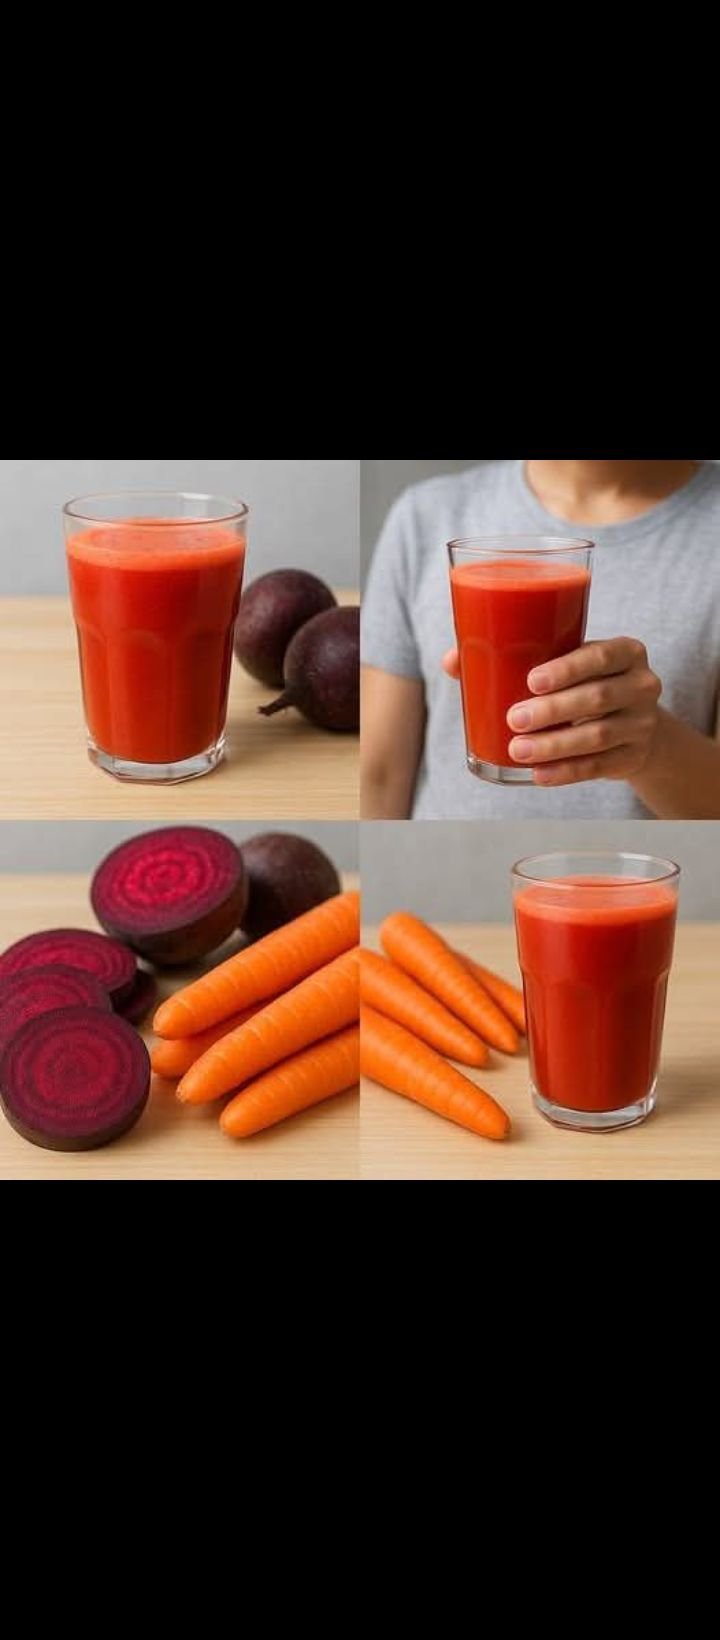
Carrot & Beetroot Vitality Juice
This blend is naturally sweet, earthy, and packed with Vitamin A and iron.
Ingredients
-
Carrots: 3–4 medium-sized (washed and peeled).
-
Beetroot: 1 small or half of a large one (peeled and sliced).
-
Apple (Optional): 1 green or red apple (adds sweetness and balances the earthy beet flavor).
-
Ginger: A small 1-inch knob (peeled, for a spicy kick and digestion).
-
Lemon Juice: 1 tablespoon (to keep the color bright and add Vitamin C).
-
Water: ½ cup (only if using a blender).
Preparation Steps
Method 1: Using a Juicer
-
Prep: Wash all vegetables thoroughly. Peel the carrots and beetroot to remove any bitter skin.
-
Process: Feed the carrots, beetroot, apple, and ginger through your juicer one by one.
-
Finish: Stir in the fresh lemon juice.
-
Serve: Pour into a glass and enjoy immediately for the best nutrient absorption.
Method 2: Using a Blender
-
Chop: Cut the carrots, beetroot, and apple into small cubes.
-
Blend: Place the cubes into the blender with the ginger and ½ cup of water. Blend on high until completely smooth.
-
Strain: Pour the mixture through a fine-mesh nut milk bag or a cheesecloth into a pitcher. Squeeze well to extract all the juice.
-
Serve: Stir in the lemon juice and serve chilled.
Quick Tips for the Best Juice
-
Balance the Earthiness: Beetroot has a very strong “earthy” flavor. If you are new to beet juice, start with a smaller amount and increase it as you get used to the taste.
-
Cold is Best: Chill your vegetables in the fridge before juicing for a crisp, refreshing drink without needing ice.
-
Don’t Waste the Pulp: If you use a juicer, you can save the leftover carrot and beet pulp to mix into muffin batters or compost for your garden.