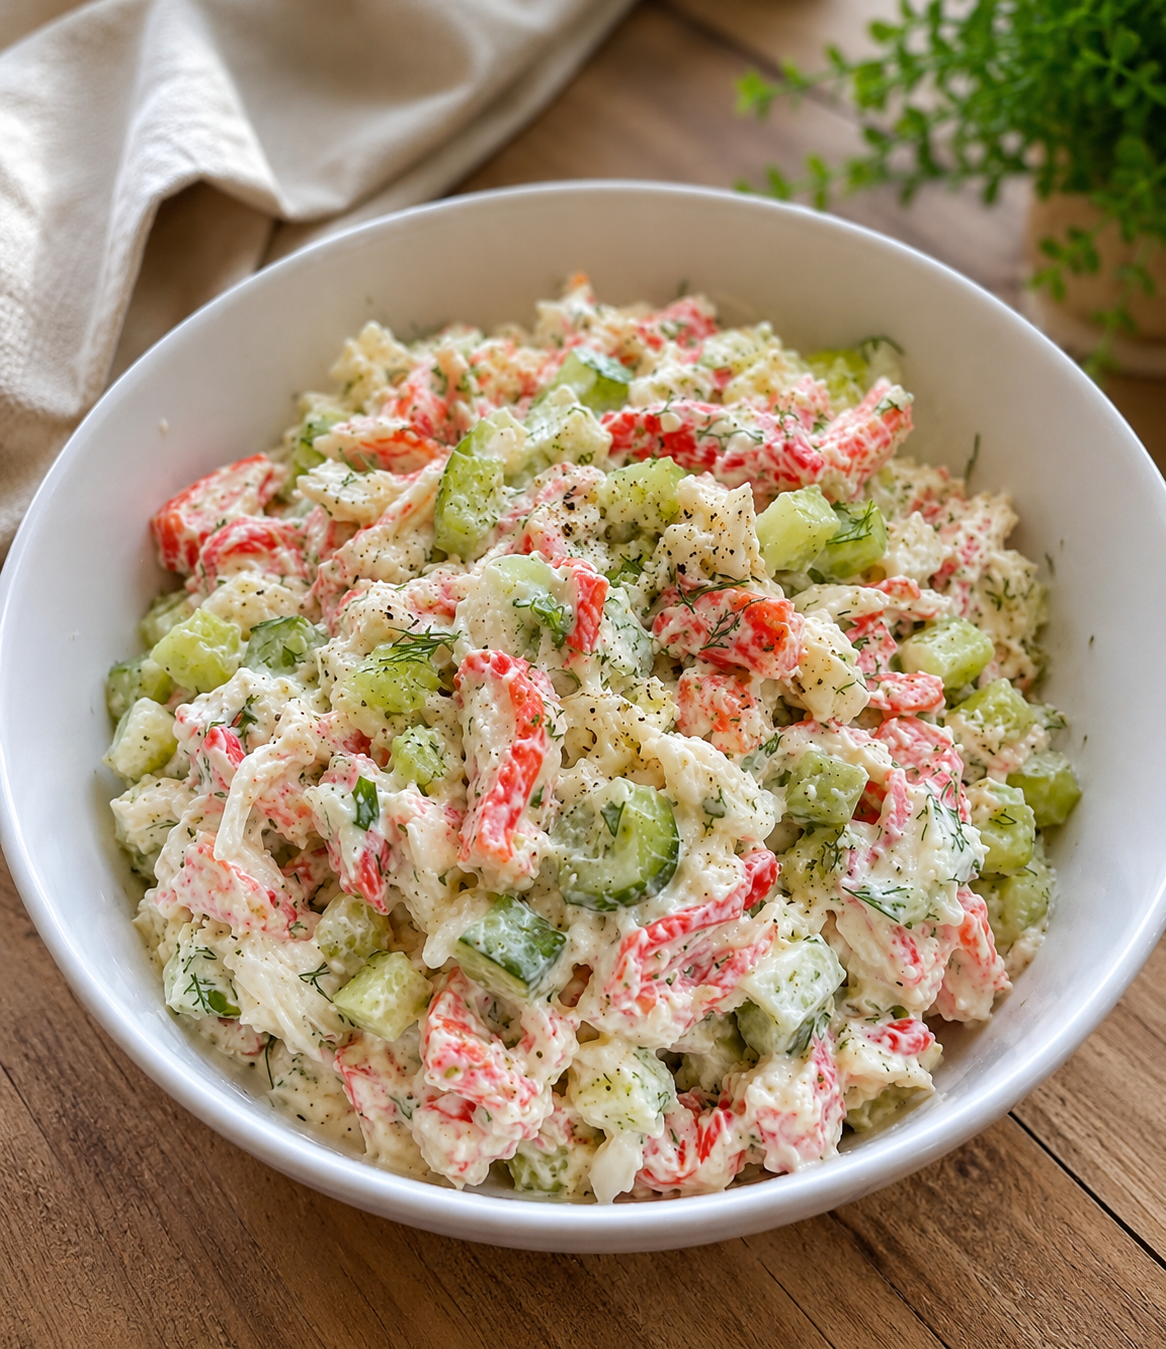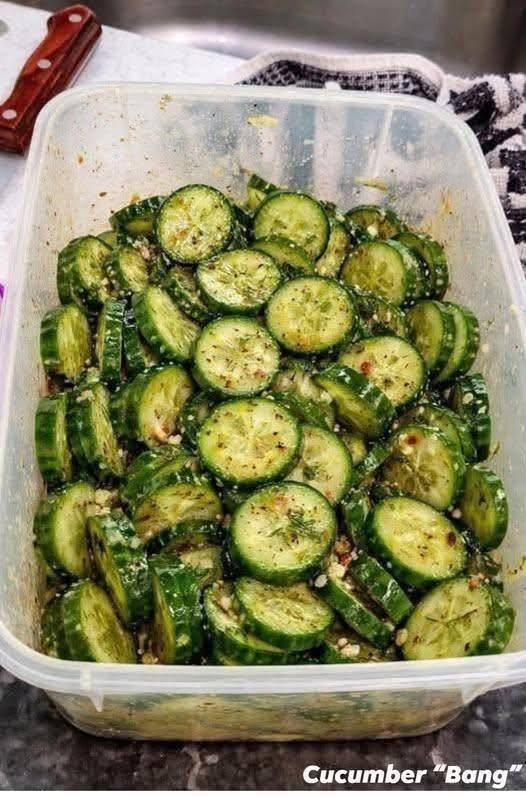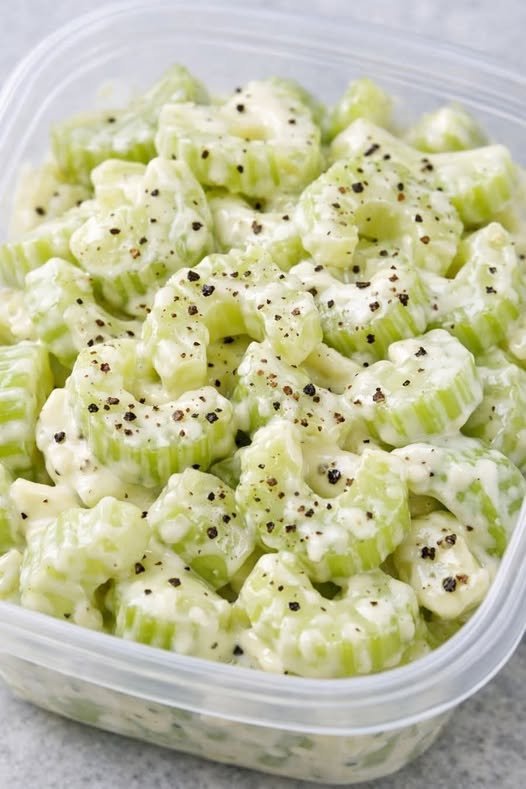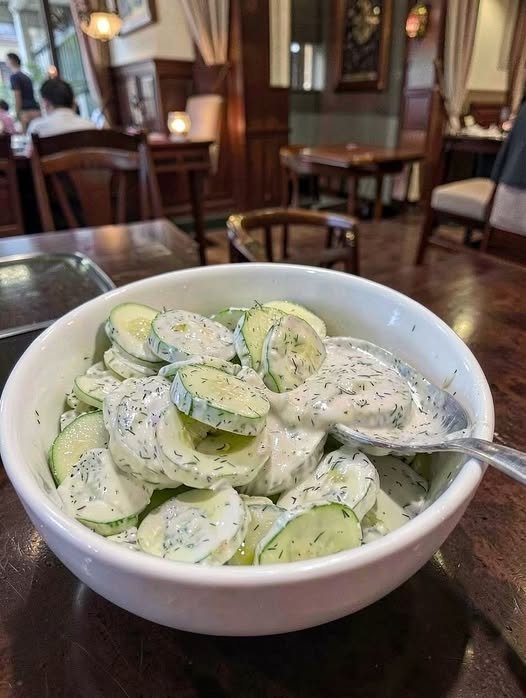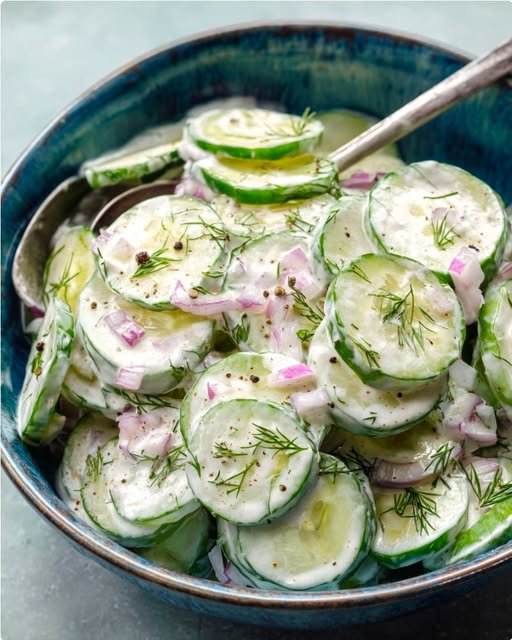
Creamy Cucumber Salad
Ingredients
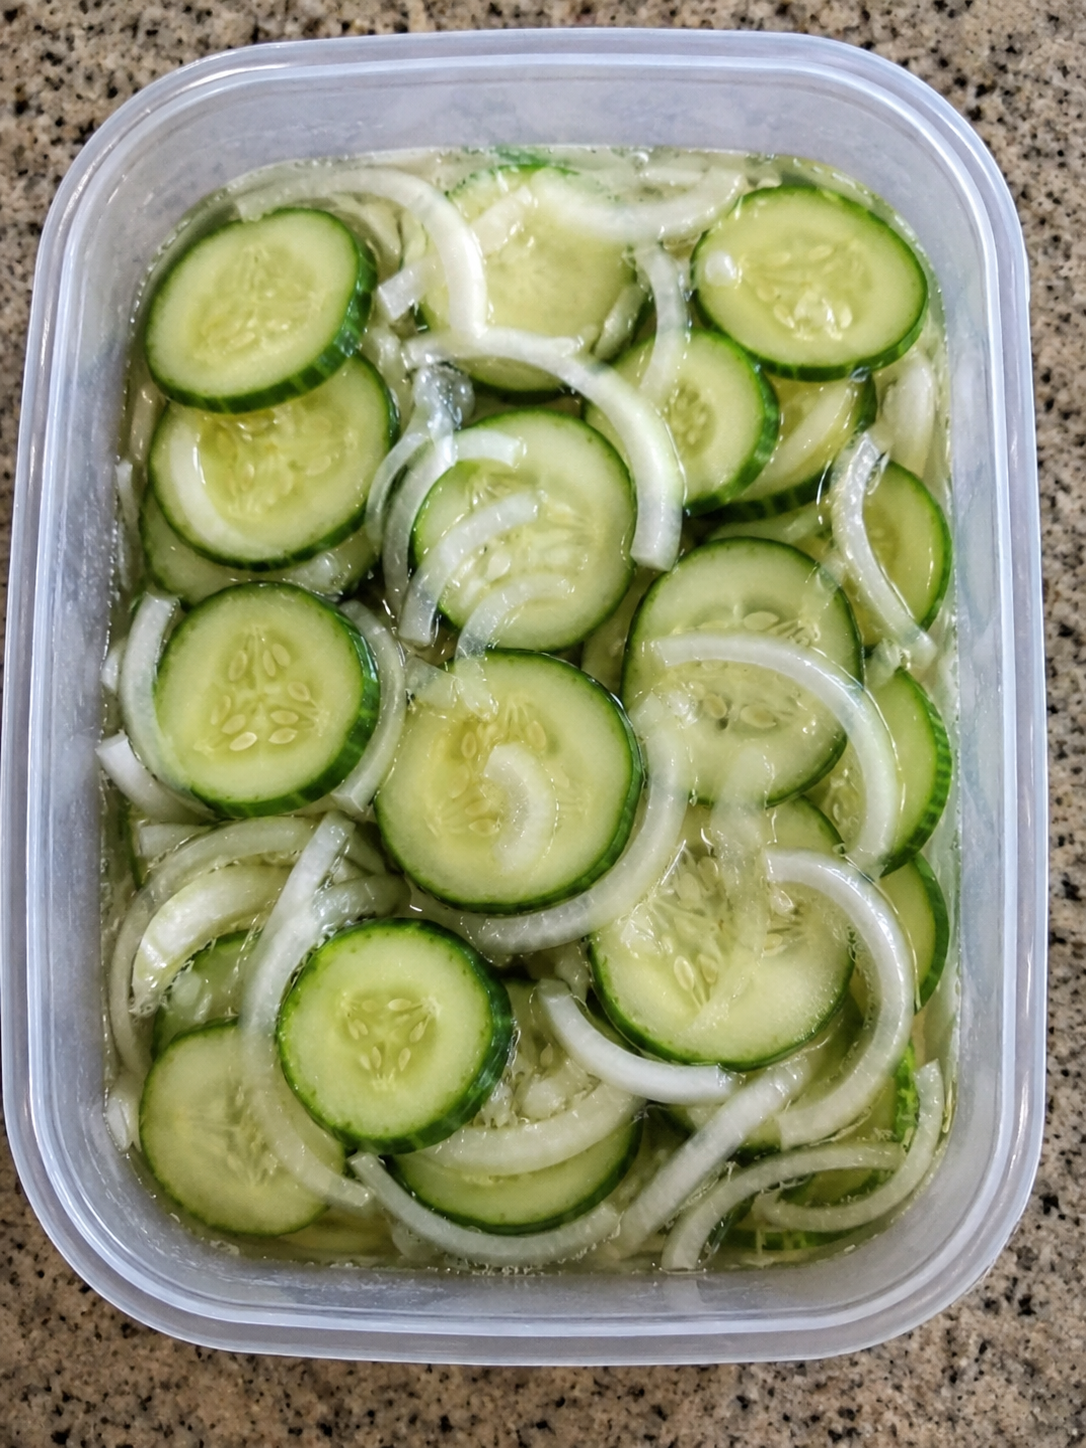
- 2 large cucumbers, thinly sliced
- ¼ red onion, finely diced
- ½ cup sour cream or Greek yogurt
- 1 tbsp fresh dill, chopped
- 1 tbsp lemon juice
- Salt, to taste
- Black pepper, to taste
Instructions
🥒 Step 1:
Wash the cucumbers thoroughly and slice them into thin rounds.
🔪 Step 2:
Finely dice the red onion and set aside.
🥣 Step 3:
In a large mixing bowl, combine the sour cream (or Greek yogurt), lemon juice, salt, and black pepper.
🌿 Step 4:
Add the chopped fresh dill and stir until the dressing is smooth and well mixed.
🥒 Step 5:
Add the sliced cucumbers and diced onion to the bowl.
🥄 Step 6:
Gently toss everything together until all the cucumber slices are evenly coated with the creamy dressing.
❄️ Step 7:
Cover and refrigerate for 15–20 minutes to allow the flavors to blend.
🌿 Step 8:
Before serving, sprinkle a little extra dill on top for freshness.
🍽️ Step 9:
Serve chilled as a refreshing side dish with grilled chicken, fish, or your favorite meal.
Q & A
Q: Can I make this salad ahead of time?
A: Yes, but it is best enjoyed within 24 hours for maximum freshness.
Q: Can I use dried dill instead of fresh?
A: Yes, use about 1 teaspoon of dried dill in place of fresh dill.
Q: How do I keep the salad from becoming watery?
A: Lightly salt the cucumber slices and let them sit for 10 minutes, then pat dry before mixing.