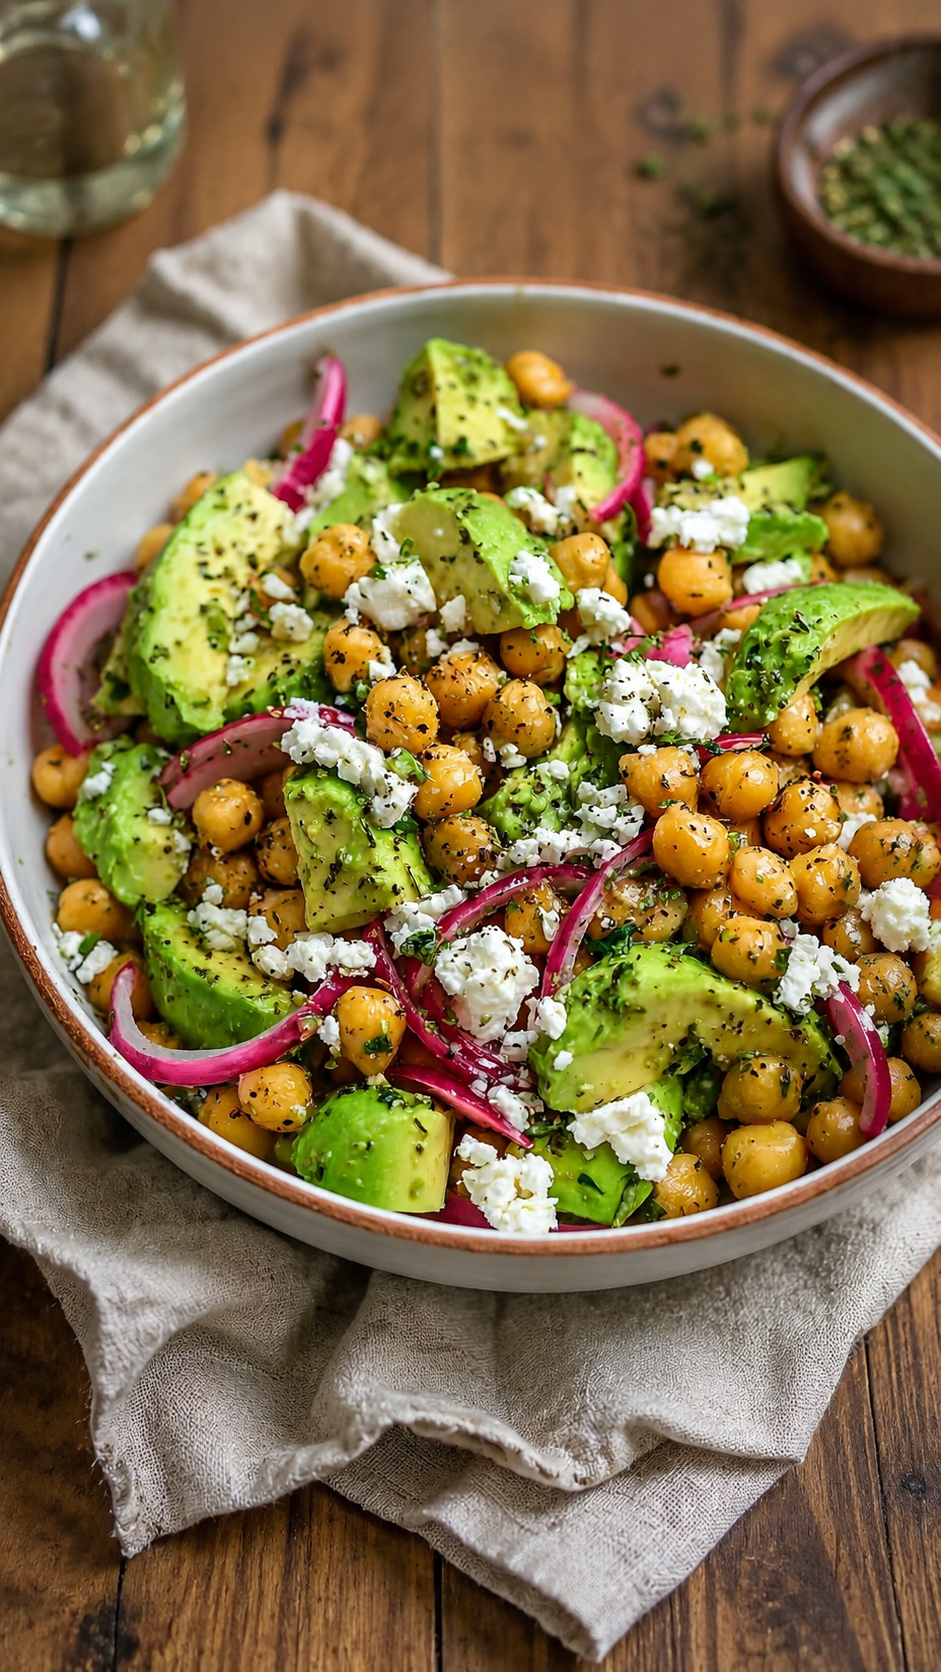
Chickpea Avocado Feta Salad 🥑
Ingredients 🛒
- 2 cans (15 oz each) chickpeas, drained and rinsed
- 2 ripe avocados, diced
- ½ red onion, thinly sliced
- ½ cup feta cheese, crumbled
- 2 tbsp fresh parsley, chopped
- 2 tbsp olive oil
- 1 tbsp lemon juice
- ½ tsp dried oregano
- Salt and black pepper, to taste
Instructions 👩🍳
1️⃣ Prepare the Chickpeas
➡️ Drain and rinse the chickpeas thoroughly.
➡️ Place them in a large mixing bowl.
2️⃣ Add the Vegetables
➡️ Add the diced avocado.
➡️ Add the sliced red onion.
➡️ Sprinkle in the chopped parsley.
3️⃣ Make the Dressing
➡️ In a small bowl, whisk together olive oil, lemon juice, oregano, salt, and black pepper.
4️⃣ Combine
➡️ Pour the dressing over the salad.
➡️ Gently toss until everything is evenly coated.
5️⃣ Add Feta
➡️ Sprinkle the crumbled feta cheese on top.
➡️ Toss lightly to avoid breaking the avocado.
6️⃣ Serve
➡️ Serve immediately or chill for 15–20 minutes before serving.
Nutritional Benefits 💪
✅ Chickpeas are rich in plant-based protein and fiber.
✅ Avocados provide heart-healthy fats.
✅ Feta cheese adds protein and calcium.
✅ Red onions contain beneficial antioxidants.
✅ A filling and nutritious Mediterranean-style salad.
Approximate Nutrition (Per Serving)
- Calories: 320–380
- Protein: 10–12g
- Fiber: 9–11g
- Healthy Fats: 18–22g
Quick Q&A ❓
Can I make it ahead of time?
➡️ Yes, but add the avocado just before serving.
Can I use another cheese?
➡️ Yes, goat cheese or mozzarella work well.
How long will it keep?
➡️ Up to 2 days in the refrigerator in an airtight container.
Can I add more protein?
➡️ Yes, grilled chicken, tuna, or hard-boiled eggs are great additions.
⏰ Prep Time: 15 Minutes
🍽️ Servings: 4–6 Servings