Creamy Orange Chia Pudding 

Description
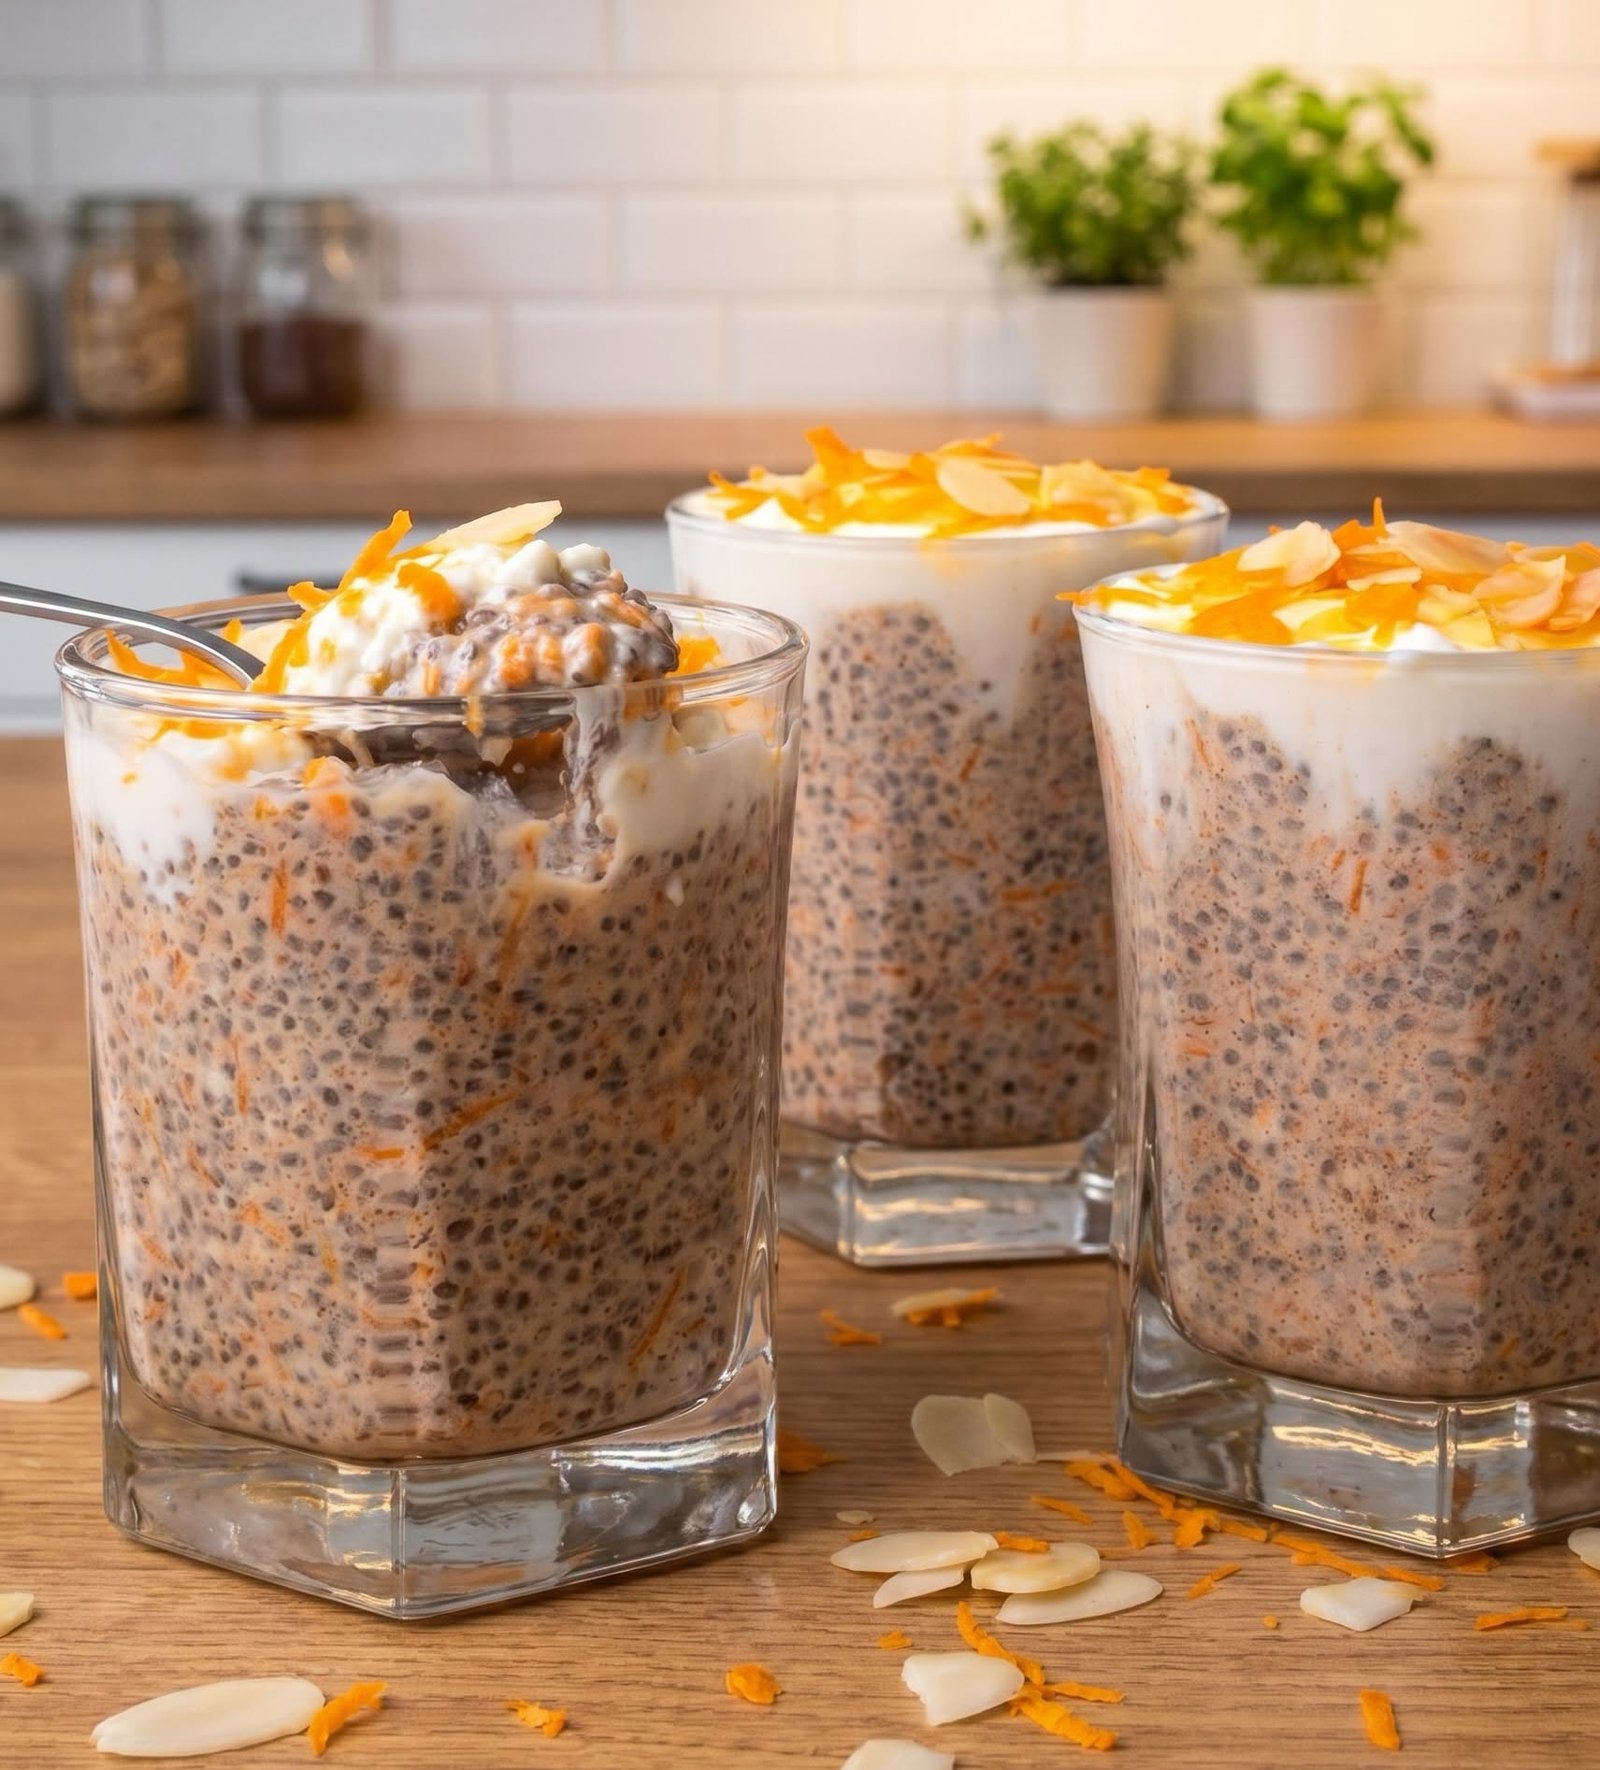
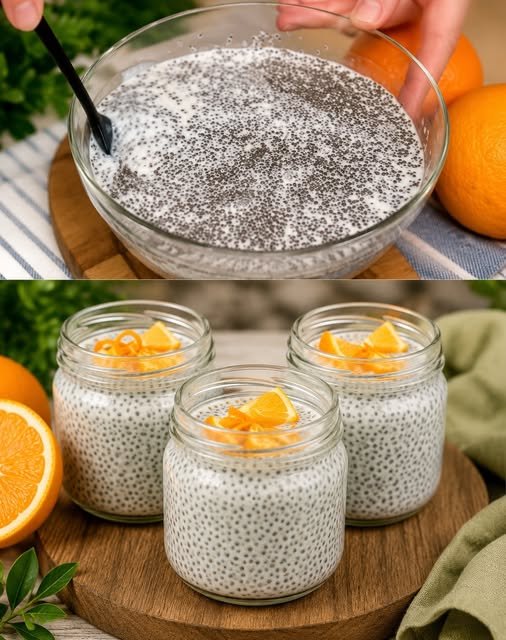
This creamy orange chia pudding is a refreshing, nutritious, and naturally sweet breakfast or dessert made with chia seeds, milk, and fresh oranges. The tiny chia seeds absorb the liquid and transform into a rich, creamy pudding with a delightful tapioca-like texture. Fresh orange juice and zest add a bright citrus flavor that perfectly complements the creamy base.
This recipe is incredibly easy to make and requires minimal effort. Simply mix the ingredients, refrigerate, and let the chia seeds do the work. It’s an ideal make-ahead breakfast for busy mornings, a healthy snack, or a light dessert. Packed with fiber, omega-3 fatty acids, and vitamins, this pudding is both delicious and nourishing.
The beautiful presentation in small jars makes it perfect for meal prep, brunches, or serving guests. Every spoonful is creamy, refreshing, and loaded with wholesome ingredients.
Servings
Serves: 3 people
Preparation Time: 10 minutes
Chilling Time: 4 hours or overnight
Total Time: 4 hours 10 minutes
Ingredients
- 2 cups milk (dairy or plant-based)
- 6 tablespoons chia seeds
- Juice of 1 large orange
- 1 teaspoon orange zest
- 1 tablespoon honey or maple syrup (optional)
- ½ teaspoon vanilla extract
- Orange slices for garnish
Equipment
- Mixing bowl
- Whisk or spoon
- Measuring cups and spoons
- Small glass jars or serving bowls
Instructions
Step 1: Mix Ingredients
In a medium bowl, combine:
- Milk
- Orange juice
- Orange zest
- Vanilla extract
- Honey (if using)
Whisk well.
Step 2: Add Chia Seeds
Stir in the chia seeds.
Mix thoroughly to prevent clumping.
Allow the mixture to sit for 5 minutes, then stir again.
Step 3: Chill
Cover the bowl and refrigerate for at least 4 hours or overnight.
The chia seeds will absorb the liquid and create a thick pudding.
Step 4: Serve
Divide into jars or bowls.
Garnish with fresh orange slices or extra zest.
Serve chilled.
Recipe Notes
- Almond milk and coconut milk work beautifully in this recipe.
- Add more milk if you prefer a thinner consistency.
- The pudding keeps well in the refrigerator for up to 4 days.
- Fresh oranges provide the best flavor.
Tips for Success
- Stir twice during the first 10 minutes to avoid clumps.
- Refrigerate overnight for the creamiest texture.
- Use fresh orange juice instead of bottled juice.
- Add berries or nuts for extra texture.
- Adjust sweetness according to your preference.
Nutritional Information (Per Serving)
- Calories: 220
- Protein: 6g
- Carbohydrates: 20g
- Fat: 12g
- Fiber: 10g
- Sugar: 8g
- Omega-3 Fatty Acids: High
- Vitamin C: Excellent source
Nutrition values are approximate.
Health Benefits
Rich in Fiber
Chia seeds are an excellent source of dietary fiber, promoting digestive health and helping you feel full longer.
High in Omega-3 Fatty Acids
Chia seeds provide plant-based omega-3s that support heart and brain health.
Supports Hydration
Chia seeds absorb liquid and help maintain hydration.
Excellent Source of Antioxidants
Oranges contain vitamin C and antioxidants that support the immune system.
Supports Healthy Digestion
The combination of fiber and citrus can help maintain digestive health.
Great for Meal Prep
This recipe can be prepared in advance for quick breakfasts and snacks.
Frequently Asked Questions (Q&A)
Q: Can I make this dairy-free?
Yes. Use almond, oat, soy, or coconut milk.
Q: How long does chia pudding last?
Up to 4 days in an airtight container in the refrigerator.
Q: Can I freeze it?
Freezing is not recommended because the texture may change.
Q: Why is my pudding too thin?
Add an extra tablespoon of chia seeds and chill longer.
Q: Can I add fruit?
Absolutely. Berries, bananas, mangoes, and kiwi pair wonderfully with orange.
Q: Is chia pudding healthy?
Yes. It is rich in fiber, healthy fats, vitamins, and minerals.
Final Thoughts
Creamy Orange Chia Pudding is a simple, nutritious, and delicious recipe that’s perfect for breakfast, snacks, or healthy desserts. The creamy chia base combined with fresh citrus flavor creates a refreshing treat that is both satisfying and nourishing. Make a batch ahead of time and enjoy a wholesome, grab-and-go option all week long.