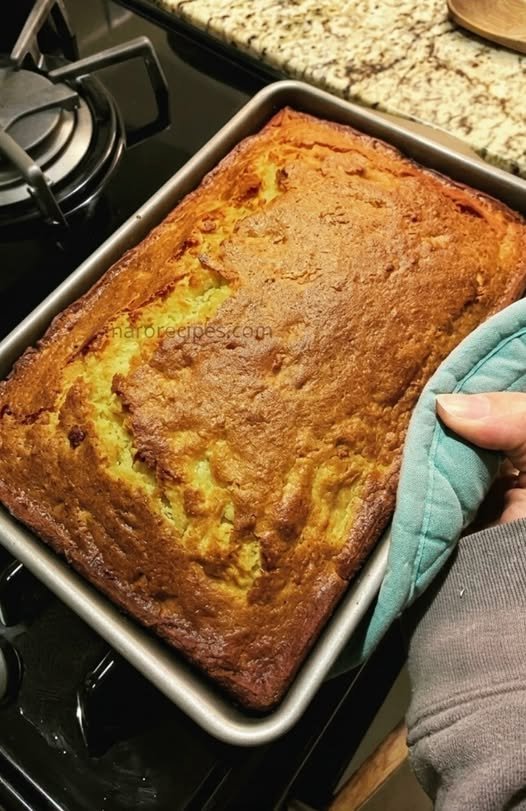
Classic Homemade Banana Bread
Description
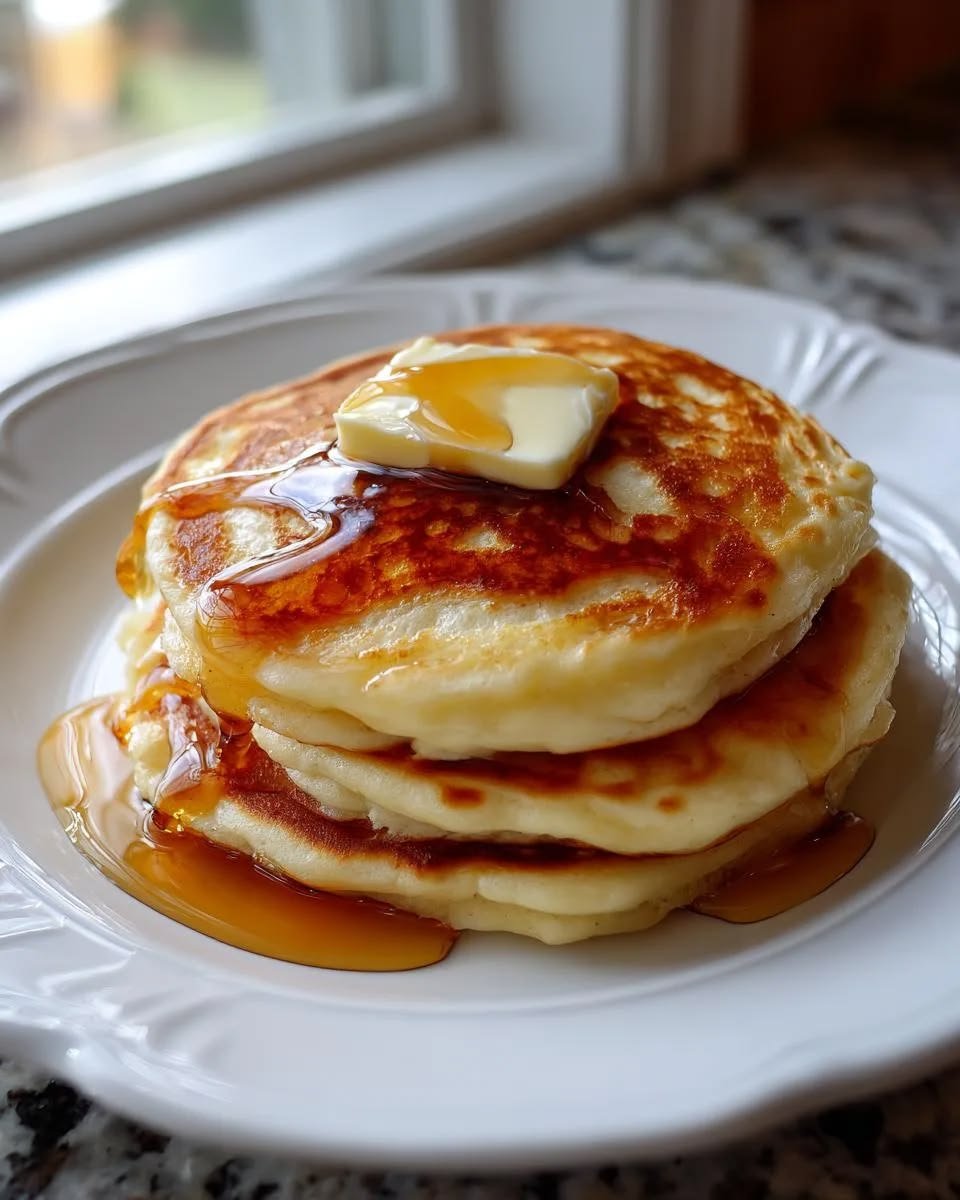
This Classic Homemade Banana Bread is incredibly moist, soft, and full of sweet banana flavor. With a tender crumb and a beautifully golden crust, it’s perfect for breakfast, an afternoon snack, or dessert. It’s an easy one-bowl recipe that comes together with simple pantry ingredients and is a great way to use up ripe bananas.
🛒 Ingredients
Dry Ingredients
- 🍚 2 cups (250g) all-purpose flour
- 🥄 1 teaspoon baking soda
- 🧂 ½ teaspoon salt
- 🥄 1 teaspoon ground cinnamon (optional)
Wet Ingredients
- 🍌 3 large ripe bananas, mashed
- 🥚 2 large eggs
- 🧈 ½ cup (115g) unsalted butter, melted
- 🍯 ¾ cup (150g) brown sugar
- 🌿 1 teaspoon vanilla extract
Optional Add-Ins
- 🌰 ½ cup chopped walnuts or pecans
- 🍫 ½ cup chocolate chips
👩🍳 Step-by-Step Instructions
1️⃣ Preheat the Oven
- Preheat your oven to 350°F (175°C).
- Grease and line a 9×5-inch loaf pan with parchment paper.
2️⃣ Mix the Dry Ingredients
- In a medium bowl, whisk together the flour, baking soda, salt, and cinnamon.
3️⃣ Mix the Wet Ingredients
- In a large bowl, mash the bananas until smooth.
- Add the melted butter and brown sugar.
- Whisk in the eggs one at a time.
- Stir in the vanilla extract.
4️⃣ Combine
- Gradually add the dry ingredients to the wet mixture.
- Stir gently until just combined.
- Fold in the nuts or chocolate chips if using.
- Avoid overmixing.
5️⃣ Bake
- Pour the batter into the prepared loaf pan.
- Smooth the top with a spatula.
- Bake for 55–65 minutes, or until a toothpick inserted into the center comes out clean.
6️⃣ Cool
- Let the bread cool in the pan for 10 minutes.
- Transfer to a wire rack and cool completely before slicing.
💡 Tips
- ✔️ Very ripe bananas create the sweetest, most flavorful bread.
- ✔️ Do not overmix the batter to keep the bread soft.
- ✔️ Cover loosely with foil if the top browns too quickly.
- ✔️ Store in an airtight container for up to 4 days.
- ✔️ Freeze slices for up to 3 months.
❓Frequently Asked Questions
Q: Can I use frozen bananas?
Yes! Thaw them completely and drain any excess liquid before mashing.
Q: Can I reduce the sugar?
Yes, you can reduce it to ½ cup if your bananas are very ripe.
Q: Can I make muffins instead?
Absolutely! Divide the batter into a muffin tin and bake for 18–22 minutes.
Q: How do I know when it’s done?
Insert a toothpick into the center. If it comes out clean or with a few moist crumbs, the bread is ready.
🍽️ Servings
- Serves: 10 slices
- Prep Time: 10 minutes
- Bake Time: 55–65 minutes
- Total Time: About 1 hour 15 minutes
🥗 Nutrition (Per Slice)
- 🔥 Calories: ~250
- 🍞 Carbohydrates: 34g
- 💪 Protein: 4g
- 🧈 Fat: 11g
- 🌾 Fiber: 2g
- 🍬 Sugar: 17g
- 🧂 Sodium: 180mg
Enjoy this moist, buttery Banana Bread warm with butter, cream cheese, or your favorite jam for a comforting homemade treat! 🍌🍞✨


 Look At The Recipe
 Ingredients Needed
 How To Make Our SmartPoints Chicken Salad
 Storage & Serving Suggestions
 Tips & FAQs