Easy Chocolate Mini Croissants
A super simple version with very few ingredients and a bakery-style look ✨
🛒 Ingredients
- 🥐 1 sheet puff pastry, thawed
- 🍫 4–5 tbsp chocolate spread or chocolate filling
- 🥚 1 egg
- 🍬 Optional: a little powdered sugar for topping
👩🍳 Step-by-Step Recipe
- 1️⃣ Prep the oven
- Preheat your oven to 400°F (200°C).
- Line a baking tray with parchment paper. 🔥
- 2️⃣ Prepare the pastry
- Place the thawed puff pastry sheet on a clean surface.
- If needed, lightly roll it out just a little so it becomes even.
- 3️⃣ Add the chocolate
- Spread a thin layer of chocolate spread over the pastry.
- Do not spread too much, or it may leak out while baking. 🍫
- 4️⃣ Cut into triangles
- Use a knife or pizza cutter to cut the pastry into small triangles.
- For mini croissants, make the triangles smaller.
- Each triangle should have a wide base and a pointed tip. 🔺
- 5️⃣ Roll the croissants
- Start from the wide end of each triangle.
- Roll gently toward the pointed tip.
- Curve the ends slightly inward to create that croissant shape. 🥐
- 6️⃣ Place on the tray
- Put each rolled croissant on the lined tray.
- Leave a little space between them because they will puff up.
- 7️⃣ Brush with egg wash
- Beat the egg in a small bowl.
- Brush the tops of the croissants with the egg.
- This gives them a shiny, golden finish. ✨
- 8️⃣ Bake
- Bake for 12–15 minutes or until the croissants are puffed and deep golden brown.
- Keep an eye on them near the end so they do not overbake. ⏲️
- 9️⃣ Cool slightly
- Remove from the oven and let them cool for 5 minutes.
- The filling will be very hot right away. ⚠️
- 🔟 Finish and serve
- Dust lightly with powdered sugar if using.
- Serve warm for the best melty chocolate center. 🍫💛
✅ Quick Tips
- 🥐 Cold puff pastry is easier to cut and roll.
- 🍫 Use only a thin layer of filling to prevent leaking.
- 🥚 Egg wash helps make them glossy and golden.
- ❄️ If the pastry gets too soft, chill it for 10 minutes before baking.
❓Q / A Related to the Recipe
- Q: Can I use Nutella?
- A: Yes, Nutella or any chocolate spread works well.
- Q: Can I make them without egg wash?
- A: Yes, but they will be less shiny and slightly less golden.
- Q: Why did the chocolate leak out?
- A: You probably used too much filling or rolled them too loosely.
- Q: Can I use crescent dough instead of puff pastry?
- A: Yes, but the texture will be softer and less flaky.
- Q: How do I store leftovers?
- A: Keep them in an airtight container for up to 2 days.
- Q: How do I reheat them?
- A: Warm in the oven for a few minutes so they stay crisp.
- Q: Can I freeze them?
- A: Yes, freeze before baking or after baking once cooled.
- Q: How do I make them extra chocolatey?
- A: Add a few chocolate chips before rolling. 🍫


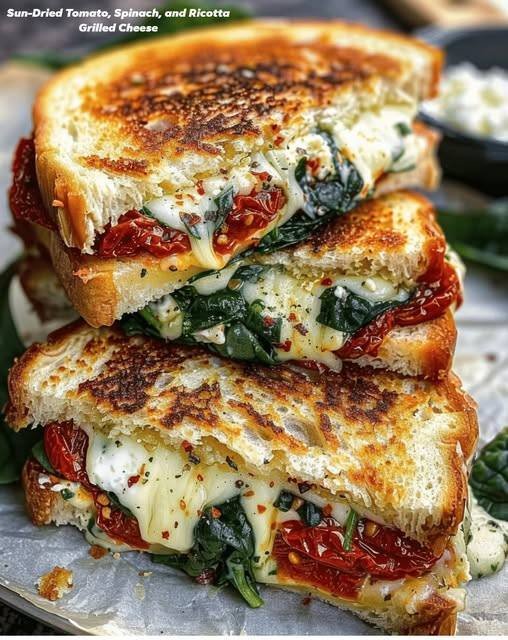
 Ingredients (2 sandwiches)
 Instructions
 Q&A
Q&A