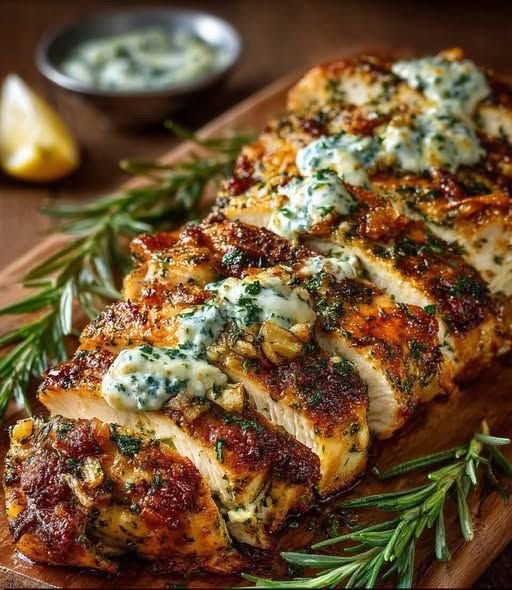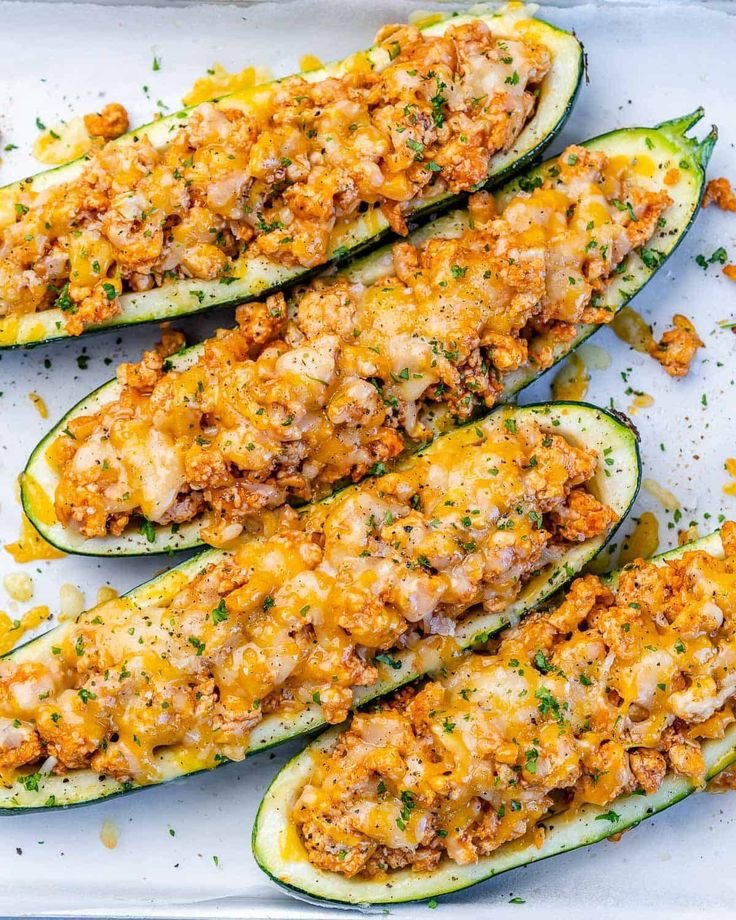
Buffalo Chicken Stuffed Zucchini Boats
These buffalo chicken stuffed zucchini boats are spicy, cheesy, and packed with flavor while still being light and healthy. Tender zucchini halves are filled with juicy shredded chicken, buffalo sauce, and melted cheese, then baked until bubbly and golden.
They’re perfect for a quick weeknight dinner, meal prep, or whenever you’re craving buffalo chicken without the heaviness of traditional wings.
Prep Time & Servings
Prep Time: 15 minutes
Cook Time: 25 minutes
Total Time: 40 minutes
Servings: 4
Ingredients
4 medium zucchini
2 cups cooked shredded chicken
⅓ cup buffalo sauce
½ cup shredded mozzarella cheese
¼ cup shredded cheddar cheese
2 tablespoons Greek yogurt
1 tablespoon olive oil
2 green onions, sliced
Salt and black pepper
Optional Toppings
Crumbled blue cheese
Ranch drizzle
Chopped parsley
Diced celery
Red pepper flakes
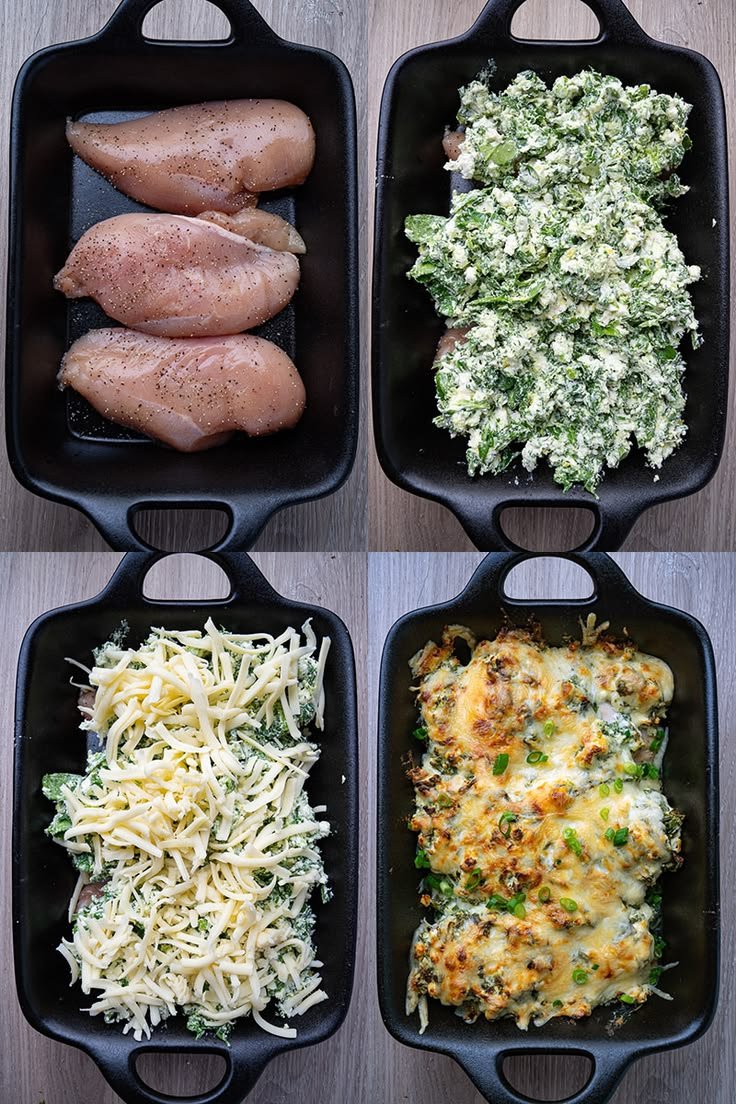
Instructions
1. Prepare the Zucchini
Preheat the oven to 400°F (200°C).
Slice the zucchini in half lengthwise.
Using a spoon, carefully scoop out some of the center to create a boat shape.
Brush with olive oil and season lightly with salt and pepper.
2. Make the Buffalo Chicken Filling
In a bowl, combine:
shredded chicken
buffalo sauce
Greek yogurt
half of the mozzarella cheese
green onions
Mix until everything’s is evenly coated.
3. Fill the Zucchini Boats
Arrange the zucchini halves in a baking dish.
Spoon the buffalo chicken mixture into each zucchini boat.
Top with the remaining mozzarella and cheddar cheese.
4. Bake
Bake for 20–25 minutes, or until the zucchini is tender and the cheese is melted and lightly golden.
5. Serve
Let cool for a few minutes before serving.
Top with:
extra green onions
crumbled blue cheese
a drizzle of ranch or yogurt sauce
if desired.
Helpful Tips
Rotisserie chicken makes this recipe even faster.
Don’t scoop the zucchini too deeply or it may become too soft.
For extra heat, add a little extra buffalo sauce before serving.
These reheat well and are great for meal prep.
Nutritional Information
Calories: 290
Protein: 31g
Carbohydrates: 7g
Fiber: 2g
Fat: 15g
Saturated Fat: 5g
Sodium: 620mg