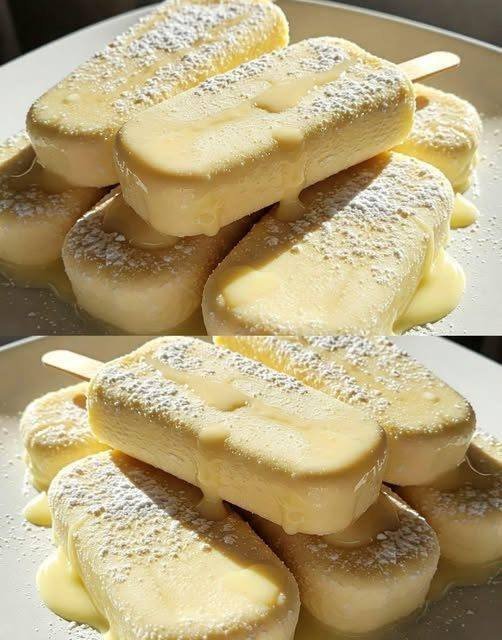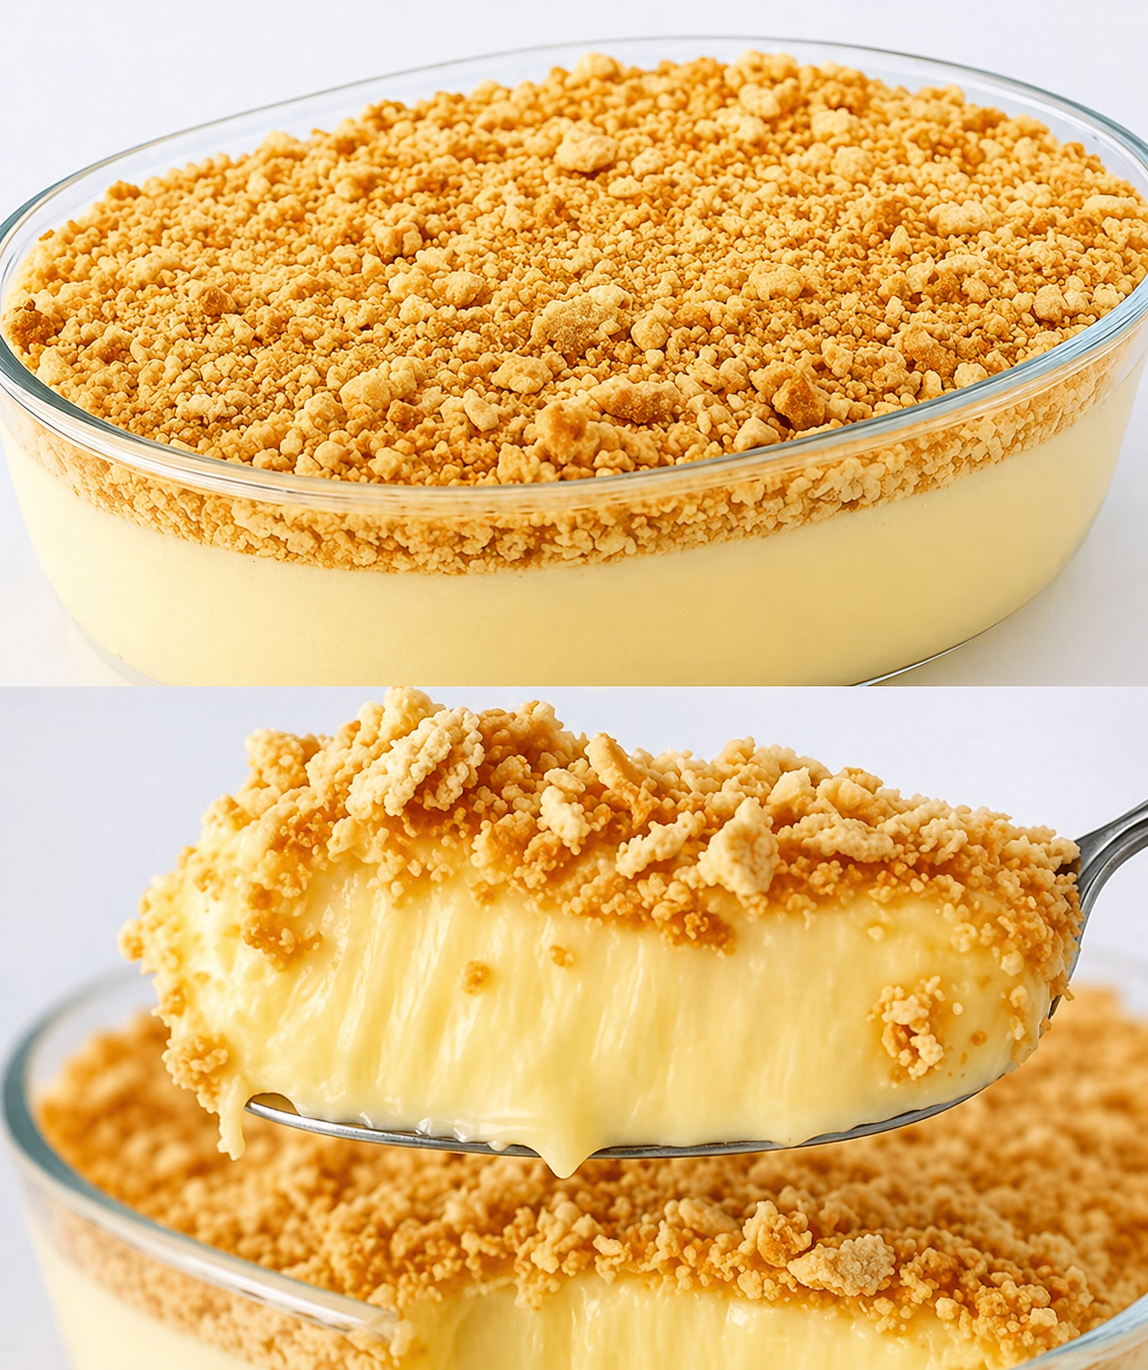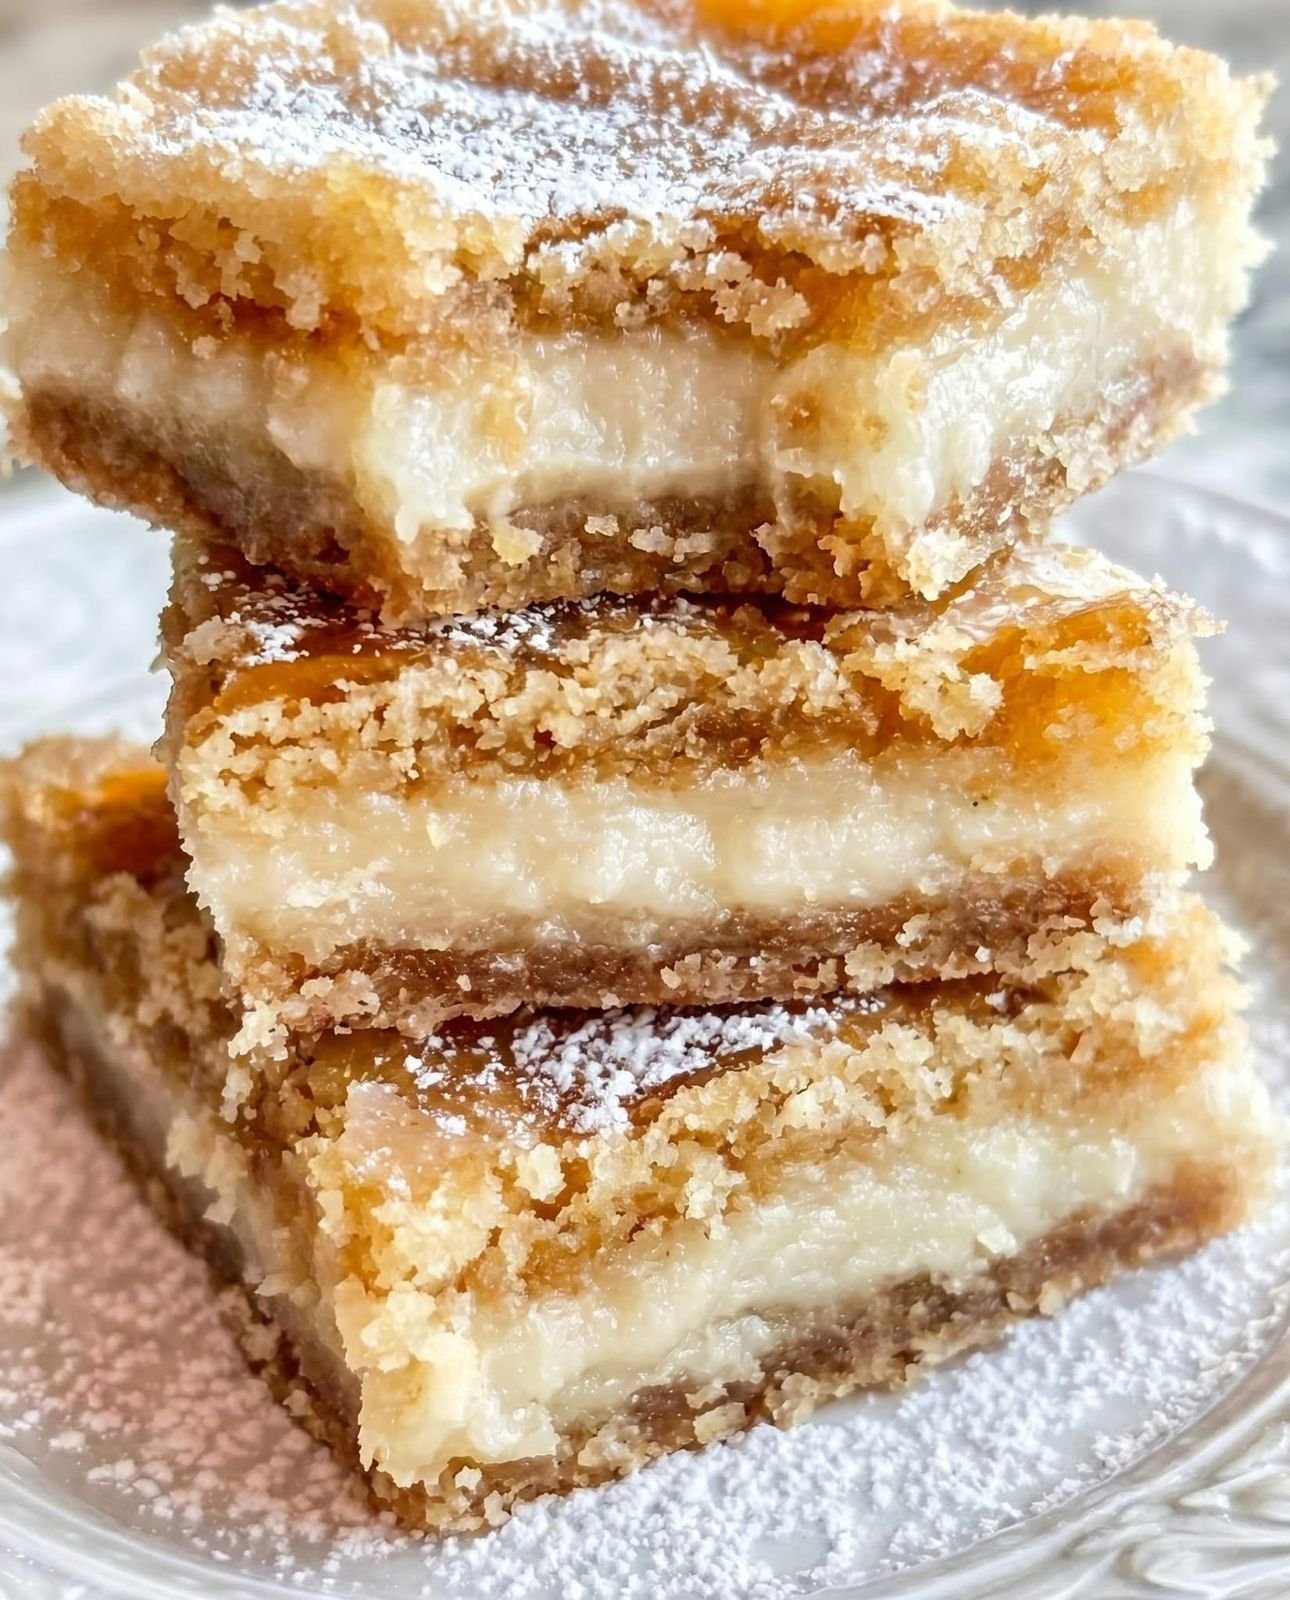
Creamy Banana Crumb Bars Recipe
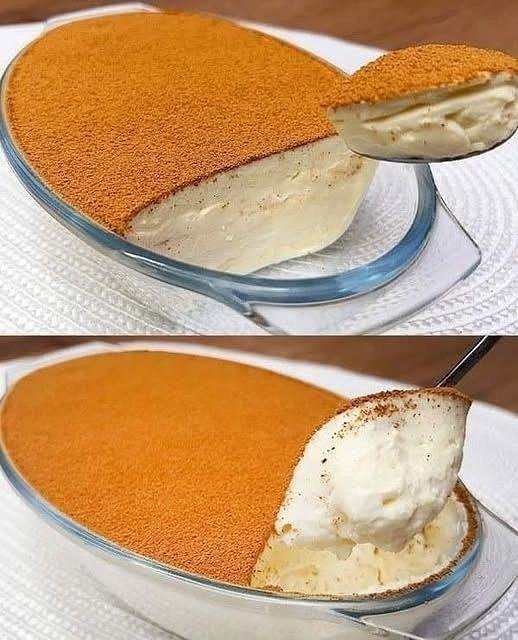
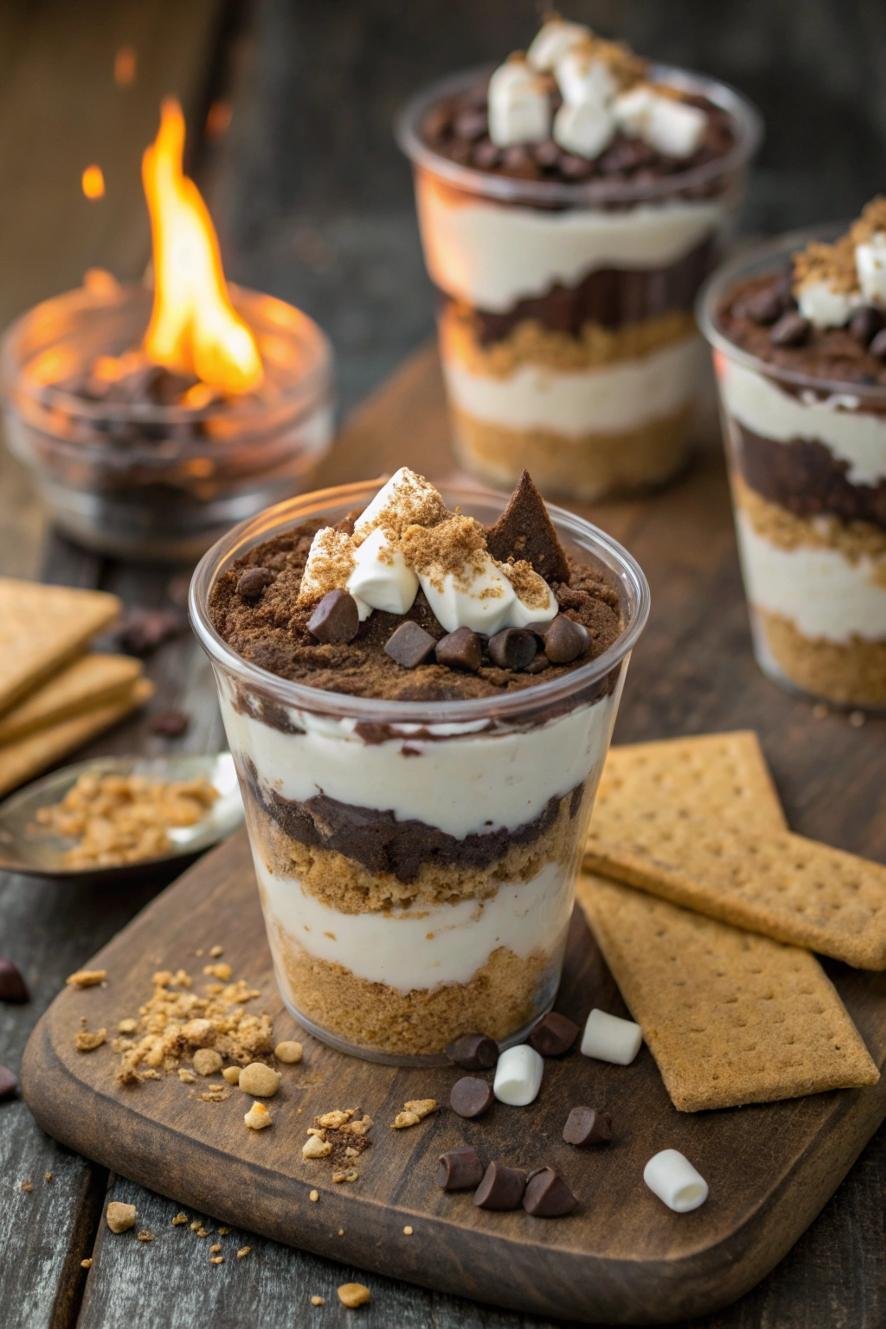
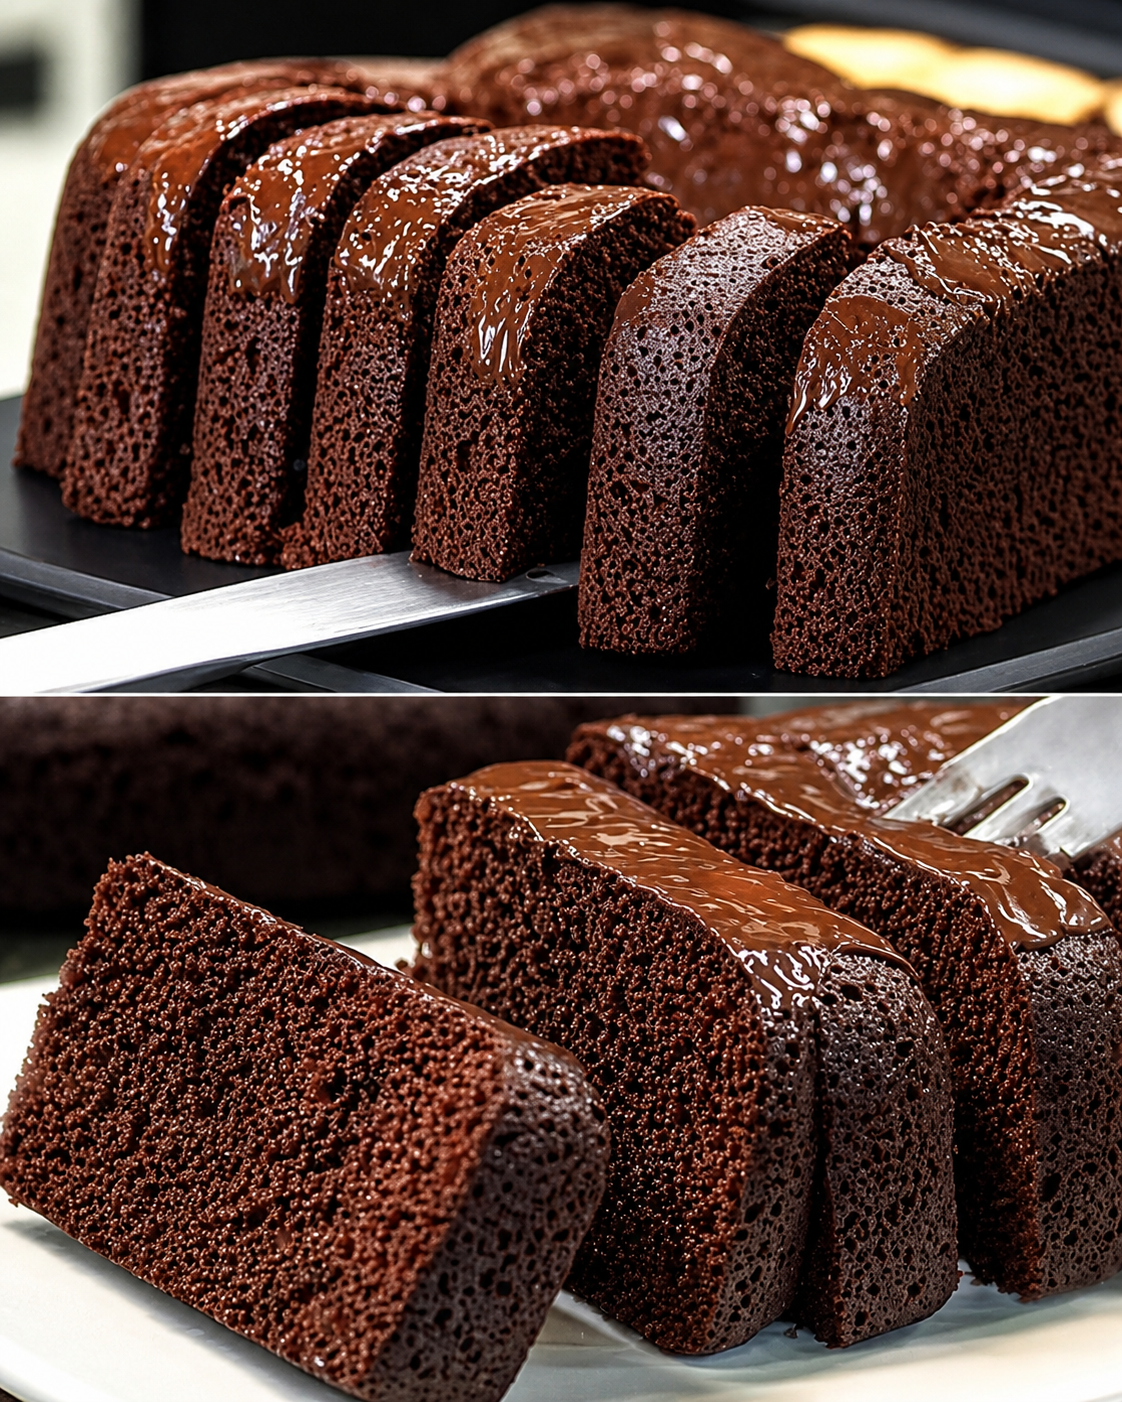
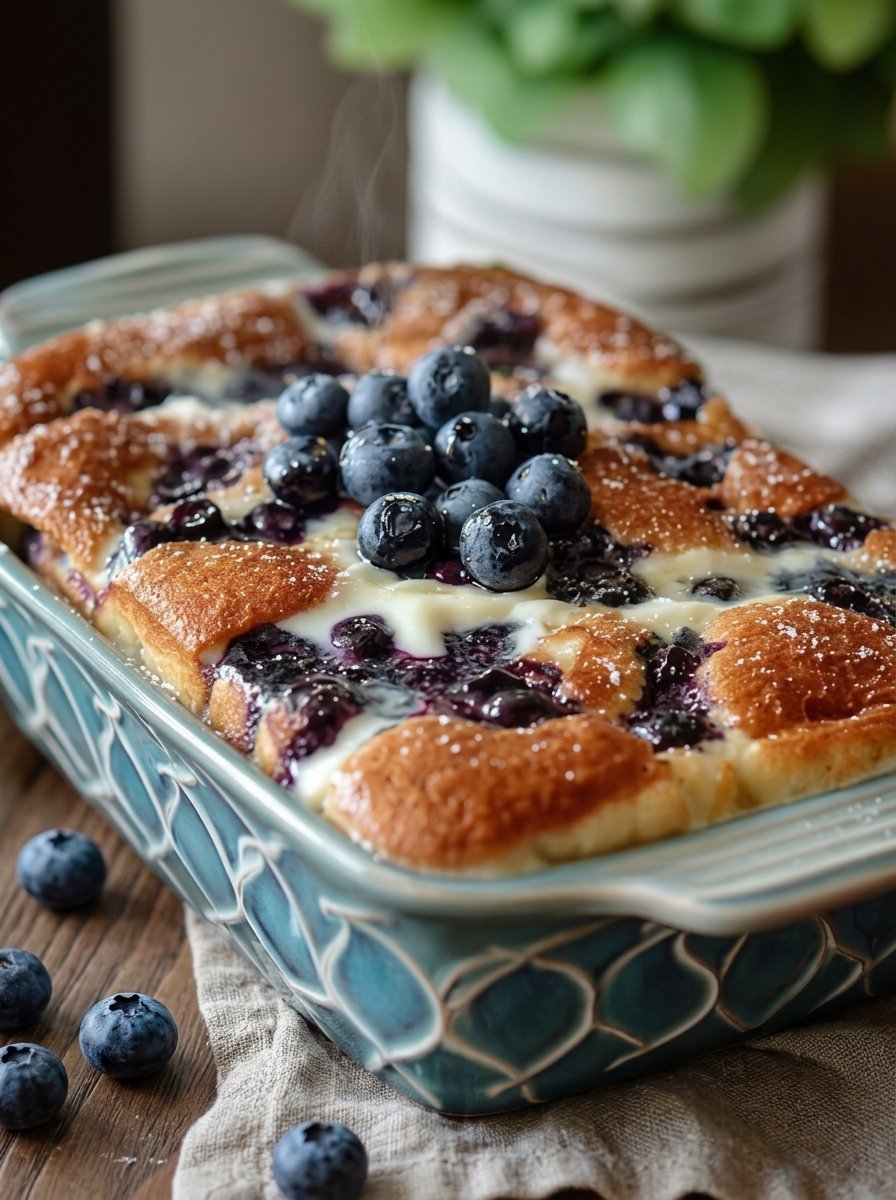
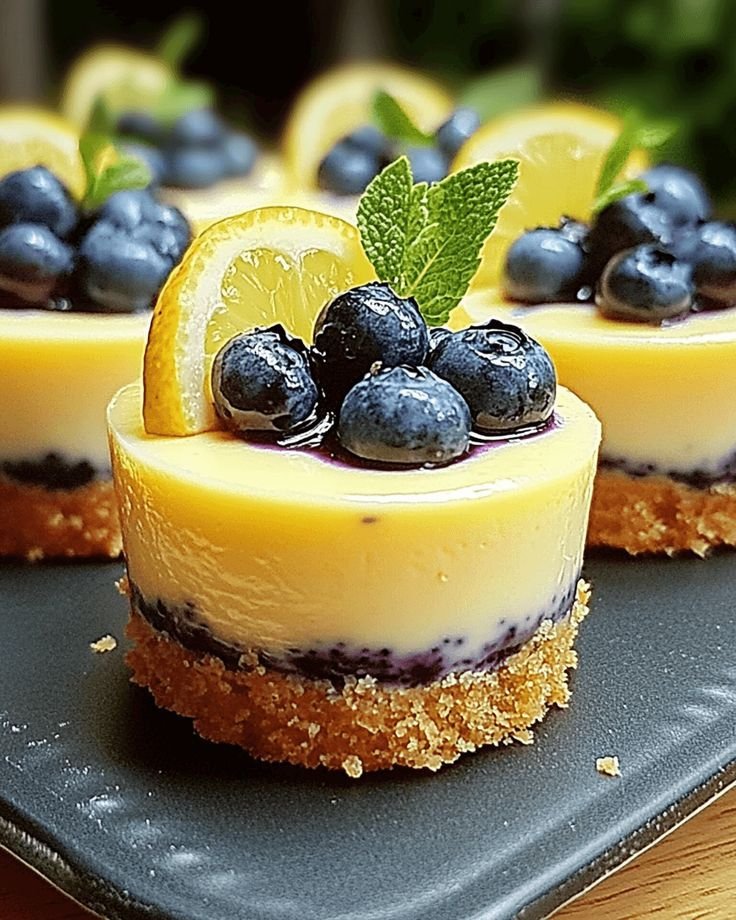
These soft dessert bars look like creamy banana cheesecake crumb bars with a buttery crumble topping and powdered sugar dusting. 😍
🛒 Ingredients
For the Crust & Crumble
- 🧈 1 cup unsalted butter (melted)
- 🍚 2 cups all-purpose flour
- 🍬 ¾ cup brown sugar
- 🧂 Pinch of salt
For the Creamy Banana Filling
- 🍌 2 ripe bananas (mashed)
- 🧀 8 oz cream cheese (softened)
- 🍬 ½ cup sugar
- 🥚 1 egg
- 🌼 1 tsp vanilla extract
For Topping
- ❄️ Powdered sugar
👩🍳 Step-by-Step Recipe
1️⃣ Prepare the Pan
- Preheat oven to 175°C / 350°F.
- Line an 8×8-inch baking pan with parchment paper.
2️⃣ Make the Crumble Mixture
- In a bowl, mix:
- flour
- brown sugar
- salt
- melted butter
- Stir until crumbly. ✨
3️⃣ Form the Bottom Crust
- Press half of the crumble mixture firmly into the pan.
- Bake for 10 minutes until lightly golden.
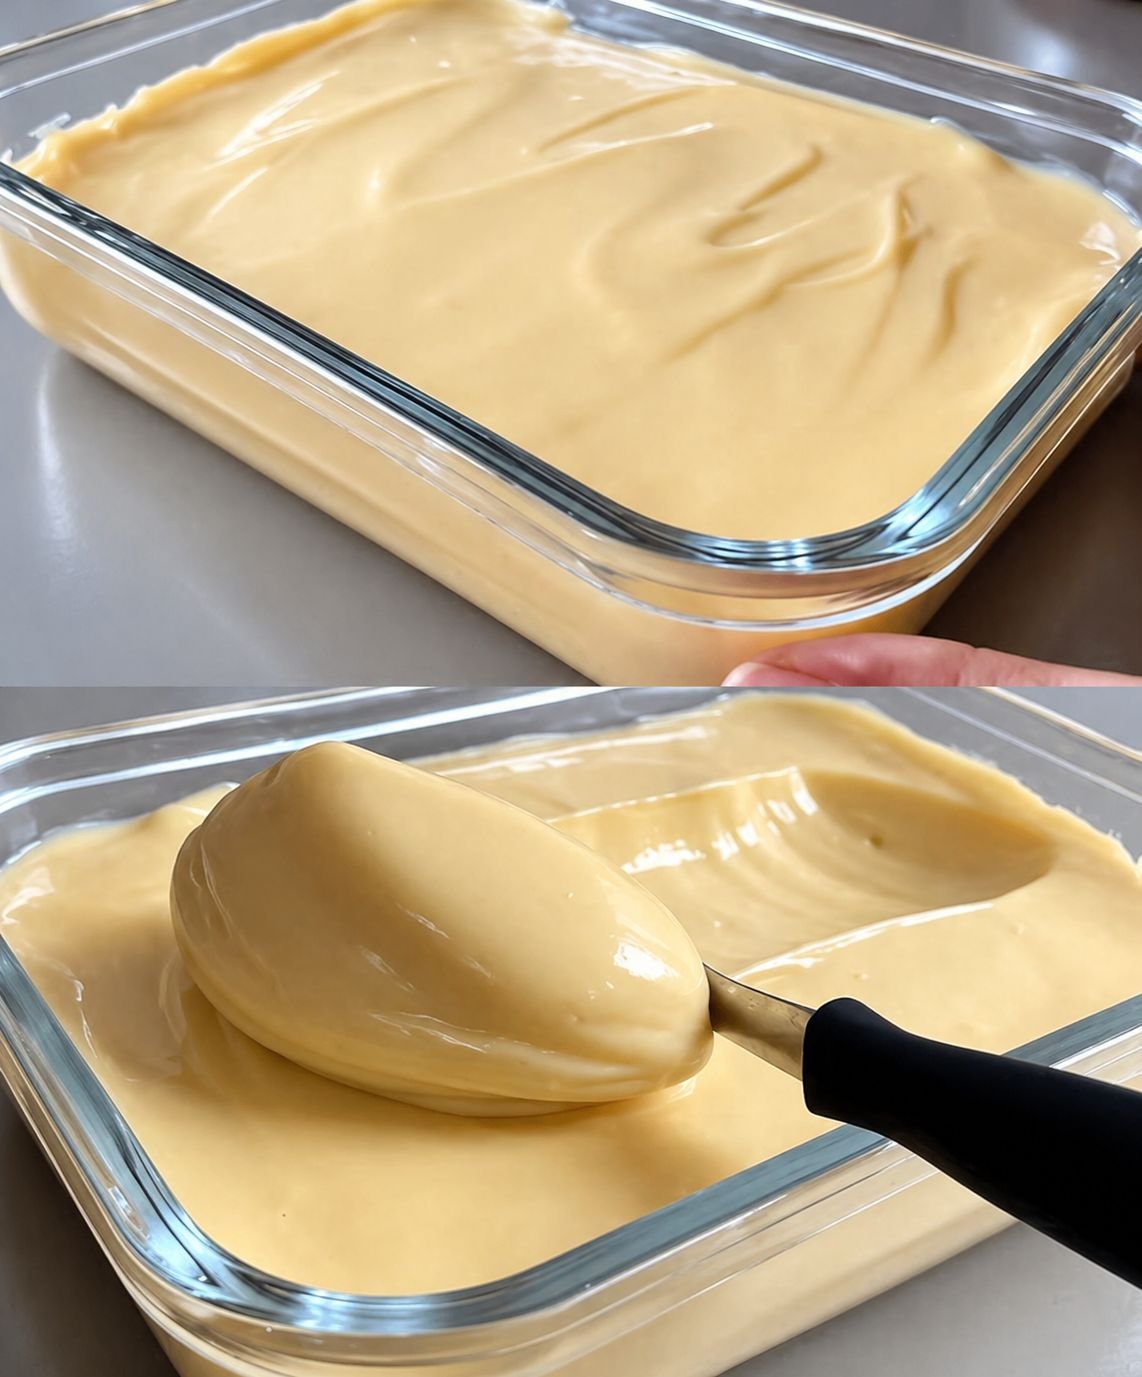
4️⃣ Prepare the Filling
- In another bowl:
- beat cream cheese and sugar
- add egg and vanilla
- mix in mashed bananas 🍌
- Stir until smooth and creamy.
5️⃣ Assemble the Bars
- Pour banana filling over the baked crust.
- Sprinkle remaining crumble mixture evenly on top.
6️⃣ Bake
- Bake for 30–35 minutes until the top is golden and center is set. 🔥
7️⃣ Cool & Serve
- Let bars cool completely.
- Chill for 1 hour for cleaner slices.
- Dust with powdered sugar before serving ❄️
💡 Tips
- Use ripe bananas for stronger flavor 🍌
- Chill before slicing to keep layers neat.
- Store in refrigerator for up to 4 days.
❓Q/A
❓Can I use graham crackers instead of flour crust?
✅ Yes, crushed graham crackers with butter work great.
❓Can I freeze these bars?
✅ Yes, freeze in an airtight container for up to 2 months.
❓How do I know they’re done baking?
✅ The edges should be golden and the center slightly firm.