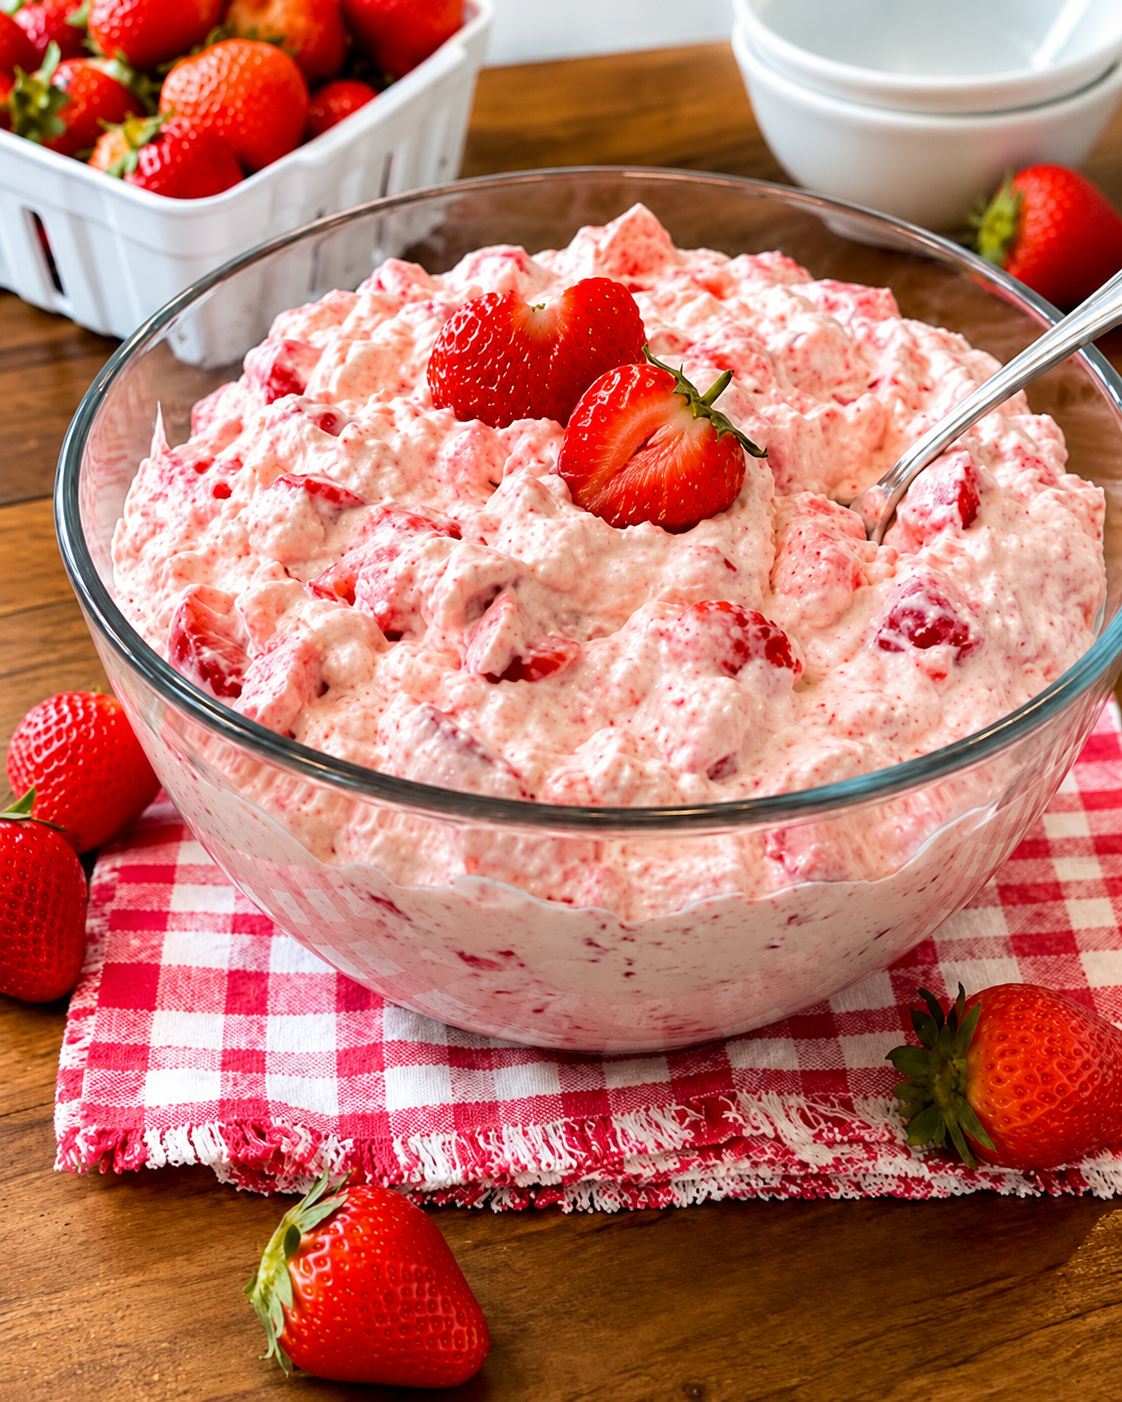
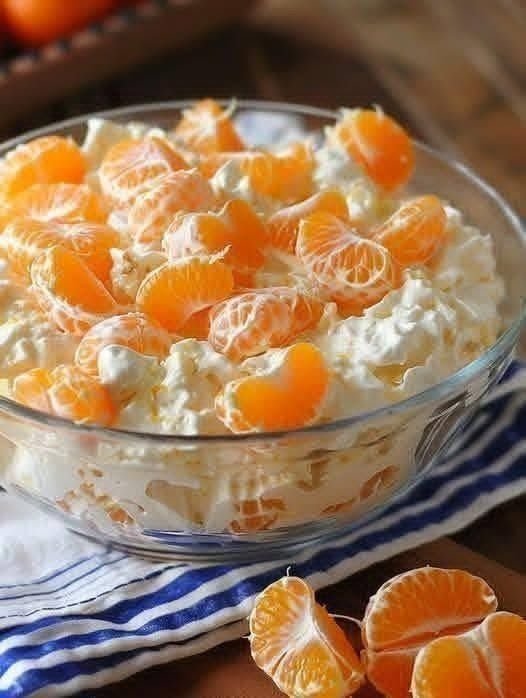
These High-Protein Berry Fluff Dessert Cups are a light, creamy, and refreshing no-bake treat packed with protein and natural berry flavor. Made with Greek yogurt, whipped topping, fresh berries, and protein powder, this dessert feels indulgent while supporting muscle recovery, satiety, and healthy snacking goals. Perfect for meal prep, post-workout desserts, summer gatherings, or guilt-free late-night cravings.
Prep Time
- Prep: 15 minutes
- Chill Time: 30–60 minutes
- Total Time: About 45–75 minutes
Servings
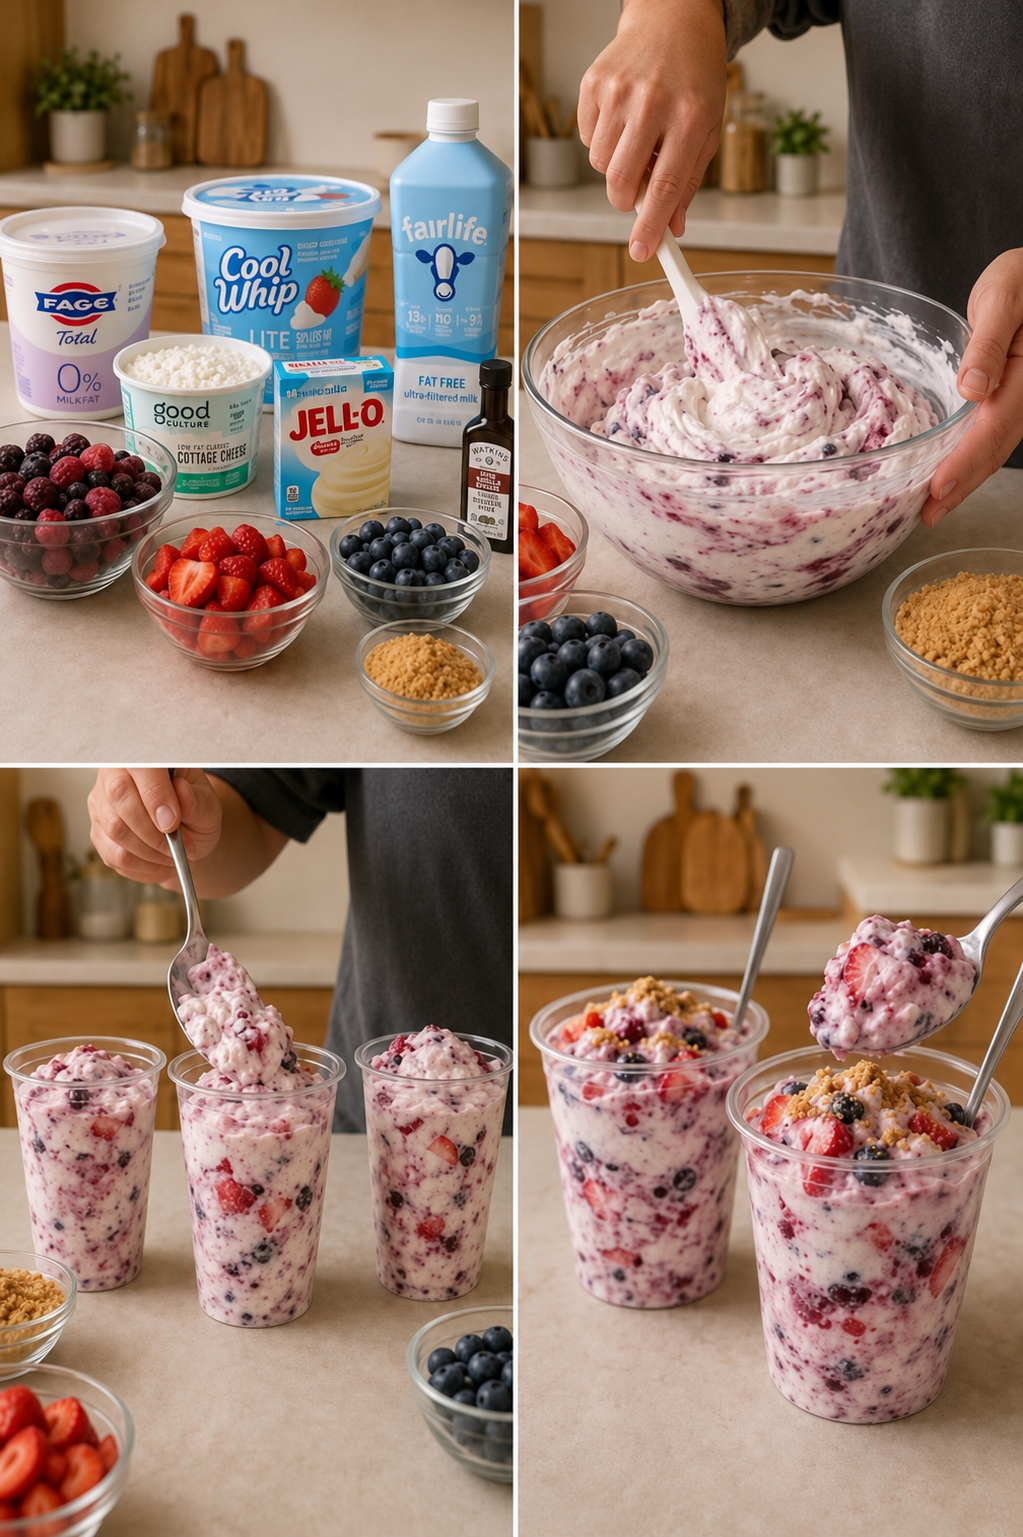
Ingredients
Base Ingredients
- 1 cup plain nonfat Greek yogurt
- 1 scoop vanilla protein powder
- 1 cup light whipped topping
- 1 tablespoon honey or maple syrup
- 1 teaspoon vanilla extract
Berry Mix
- ½ cup strawberries, diced
- ½ cup blueberries
- ½ cup raspberries
Optional Toppings
- Crushed graham crackers
- Chia seeds
- Sliced almonds
- Extra berries
- Mint leaves
Instructions
Step 1: Prepare the Creamy Base
In a mixing bowl, combine:
- Greek yogurt
- Vanilla protein powder
- Honey
- Vanilla extract
Whisk until smooth and creamy.
Step 2: Fold in Whipped Topping
Gently fold the whipped topping into the yogurt mixture until fluffy and airy.
Step 3: Add the Berries
Reserve a few berries for garnish, then carefully fold the remaining berries into the fluff mixture.
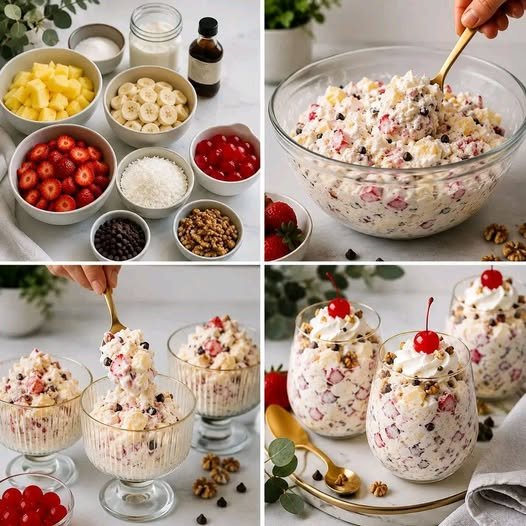
Step 4: Assemble Dessert Cups
Spoon the mixture evenly into 4 serving cups or jars.
Step 5: Chill
Refrigerate for at least 30 minutes to allow flavors to blend and texture to firm up.
Step 6: Garnish & Serve
Top with extra berries, graham cracker crumbs, chia seeds, or almonds before serving.
Recipe Notes
- Use thick Greek yogurt for the creamiest texture.
- Frozen berries work well; thaw and drain excess liquid first.
- Vanilla or berry-flavored protein powder gives the best flavor.
- Chill longer for a mousse-like consistency.
Tips for Best Results
1. Fold Gently
Avoid overmixing after adding whipped topping to keep the dessert airy.
2. Balance Sweetness
Taste before serving. Some protein powders are sweeter than others.
3. Make It Meal-Prep Friendly
Store in sealed jars for up to 3 days in the refrigerator.
4. Add Texture
Crunchy toppings right before serving improve contrast and presentation.
5. Increase Protein
Add cottage cheese blended smooth for an extra protein boost.
Nutritional Information (Approx. Per Serving)
| Nutrient |
Amount |
| Calories |
180–220 |
| Protein |
18–24g |
| Carbohydrates |
14–18g |
| Sugar |
8–12g |
| Fat |
4–6g |
| Fiber |
3–5g |
Values vary depending on protein powder and toppings used.
Health Benefits
High in Protein
Supports muscle recovery, fullness, and balanced energy.
Rich in Antioxidants
Berries provide antioxidants that help combat oxidative stress.
Lower in Sugar
A healthier alternative to traditional mousse or pudding desserts.
Gut-Friendly
Greek yogurt contains probiotics that support digestive health.
Great for Weight Management
High protein and fiber can help reduce hunger cravings.
Flavor Variations
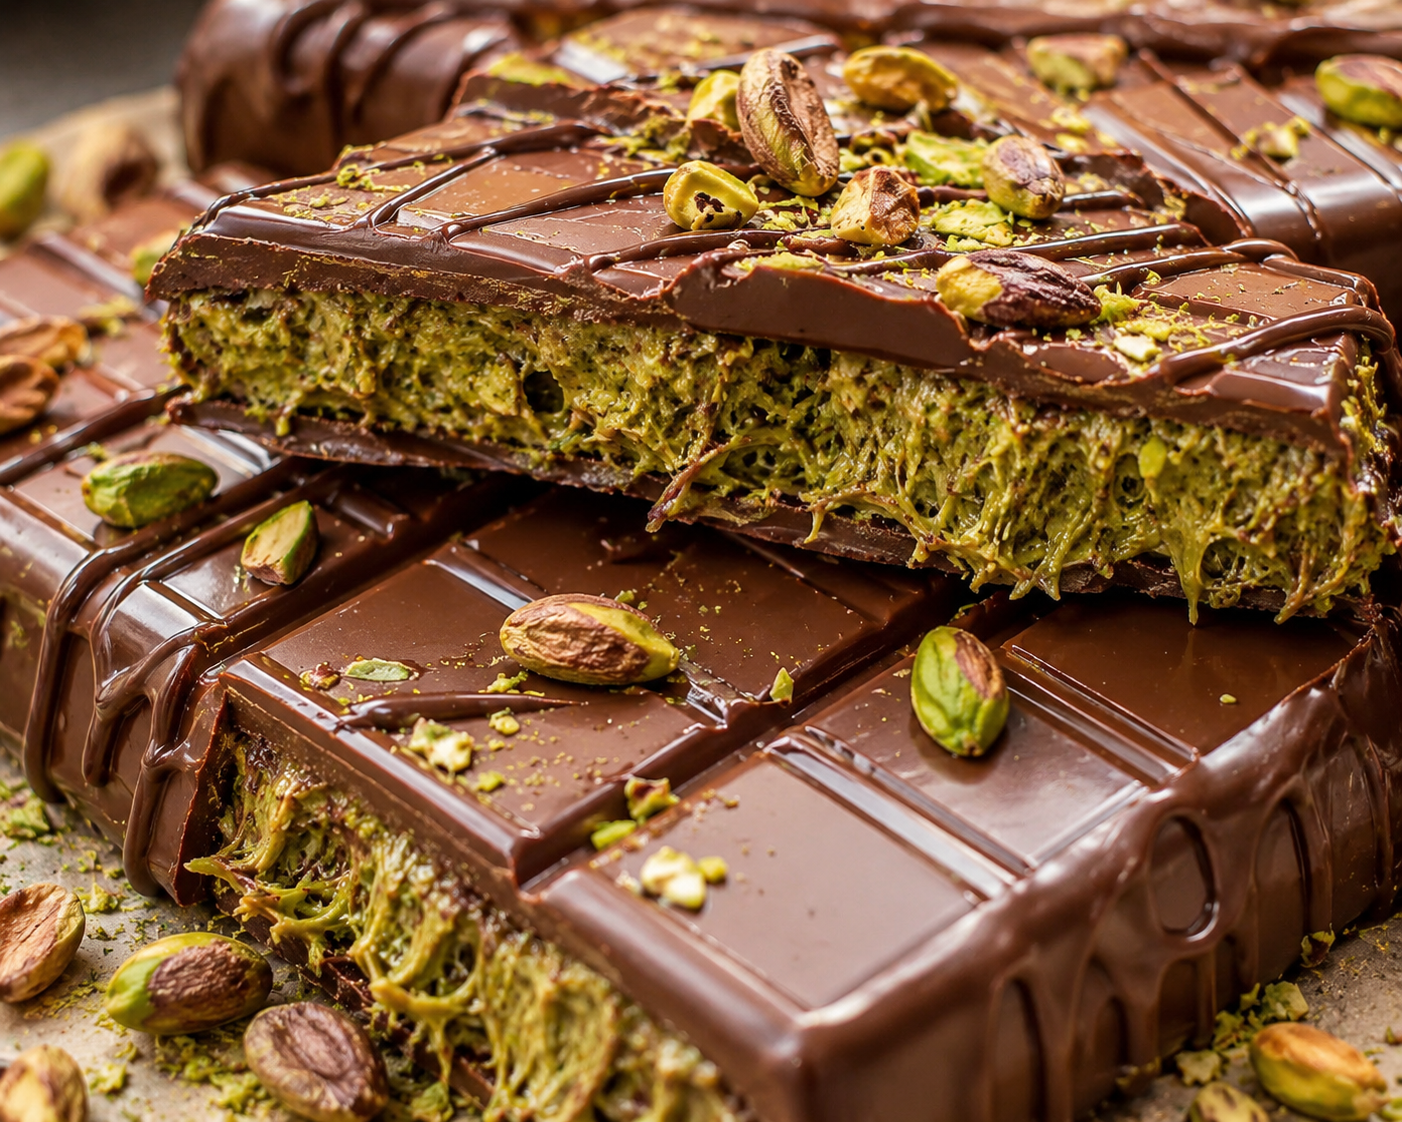
Chocolate Berry Fluff
Add 1 tablespoon cocoa powder.
Tropical Fluff
Use mango and pineapple instead of berries.
Cheesecake Style
Add softened light cream cheese.
Keto-Friendly Version
Use unsweetened berries and a low-carb sweetener.
Storage Instructions
- Refrigerate in airtight containers for up to 3 days.
- Do not freeze; texture may become watery after thawing.
Serving Suggestions
Serve:
- After workouts
- As a healthy party dessert
- For summer picnics
- In mini parfait glasses for gatherings
- As a protein-rich midnight snack
Frequently Asked Questions
Can I use frozen berries?
Yes. Thaw and drain them first to prevent excess liquid.
What protein powder works best?
Vanilla whey or plant-based vanilla protein powder works very well.
Can I make it dairy-free?
Yes. Use dairy-free yogurt and coconut whipped topping.
Is this good for kids?
Absolutely. It’s nutritious, colorful, and lightly sweet.
Can I prepare it ahead?
Yes. It actually tastes better after chilling for several hours.
Can I use cottage cheese?
Yes. Blend it smooth before mixing for a richer protein base.
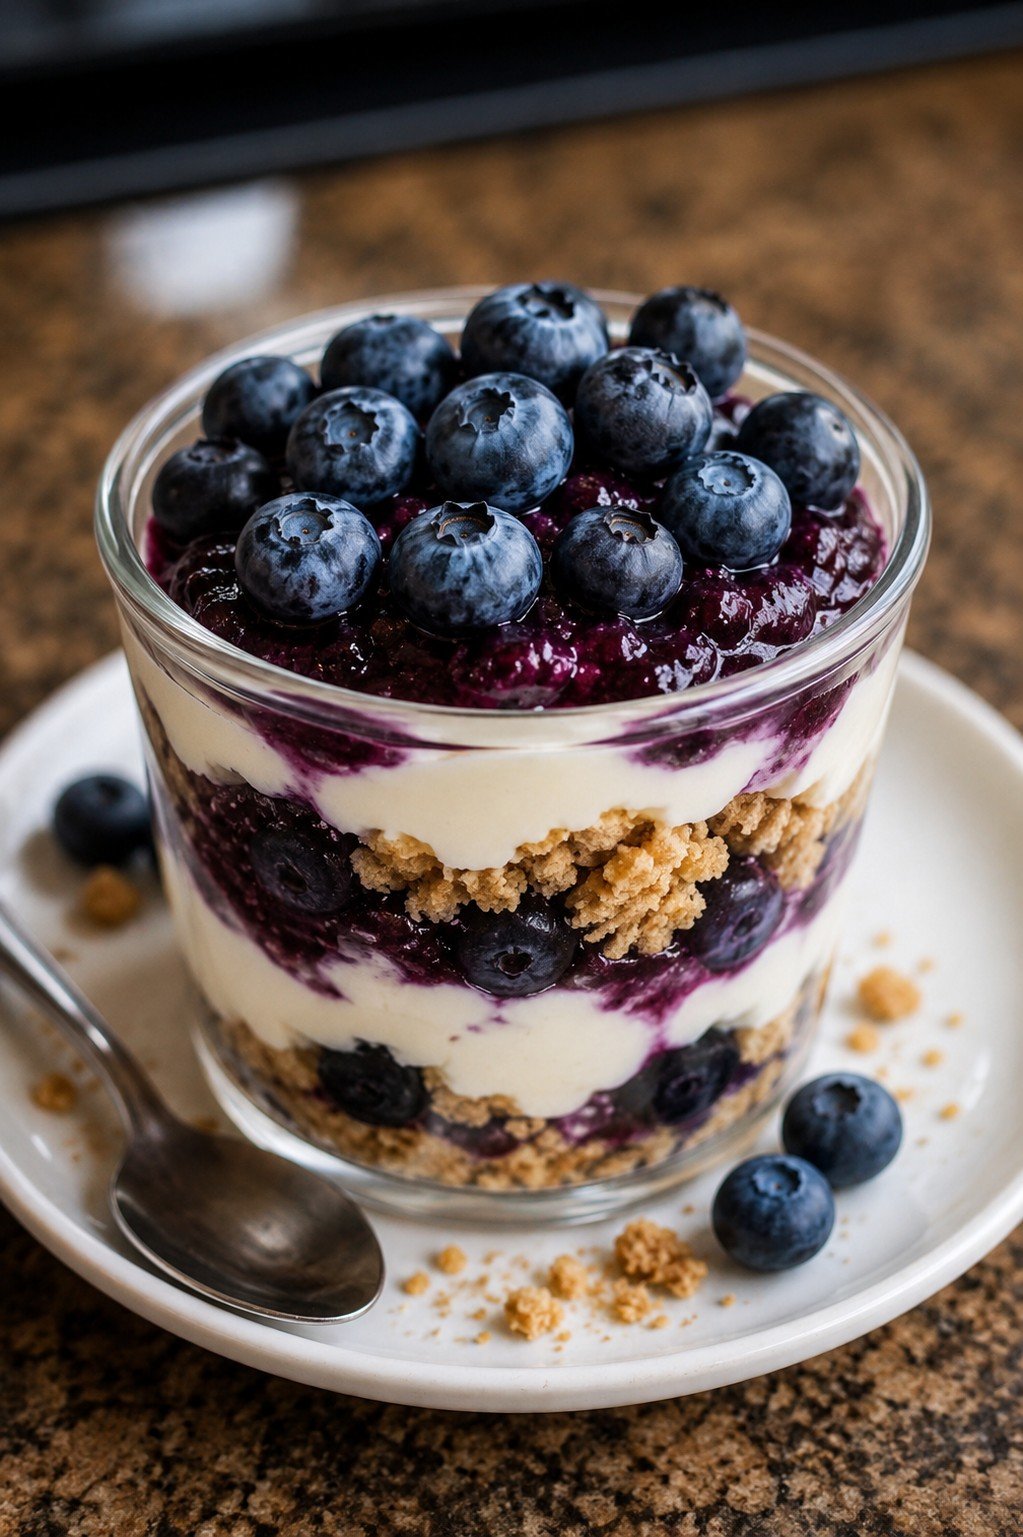
Expert Dessert Tip
For a layered parfait effect, alternate fluff mixture with crushed graham crackers and berries in clear cups for a bakery-style presentation.