Ingredients
Cake
- 2 cups all-purpose flour
- 1 cup sugar
- 2 tsp baking powder
- 2 eggs
- 1 cup milk
- 1/2 cup melted butter
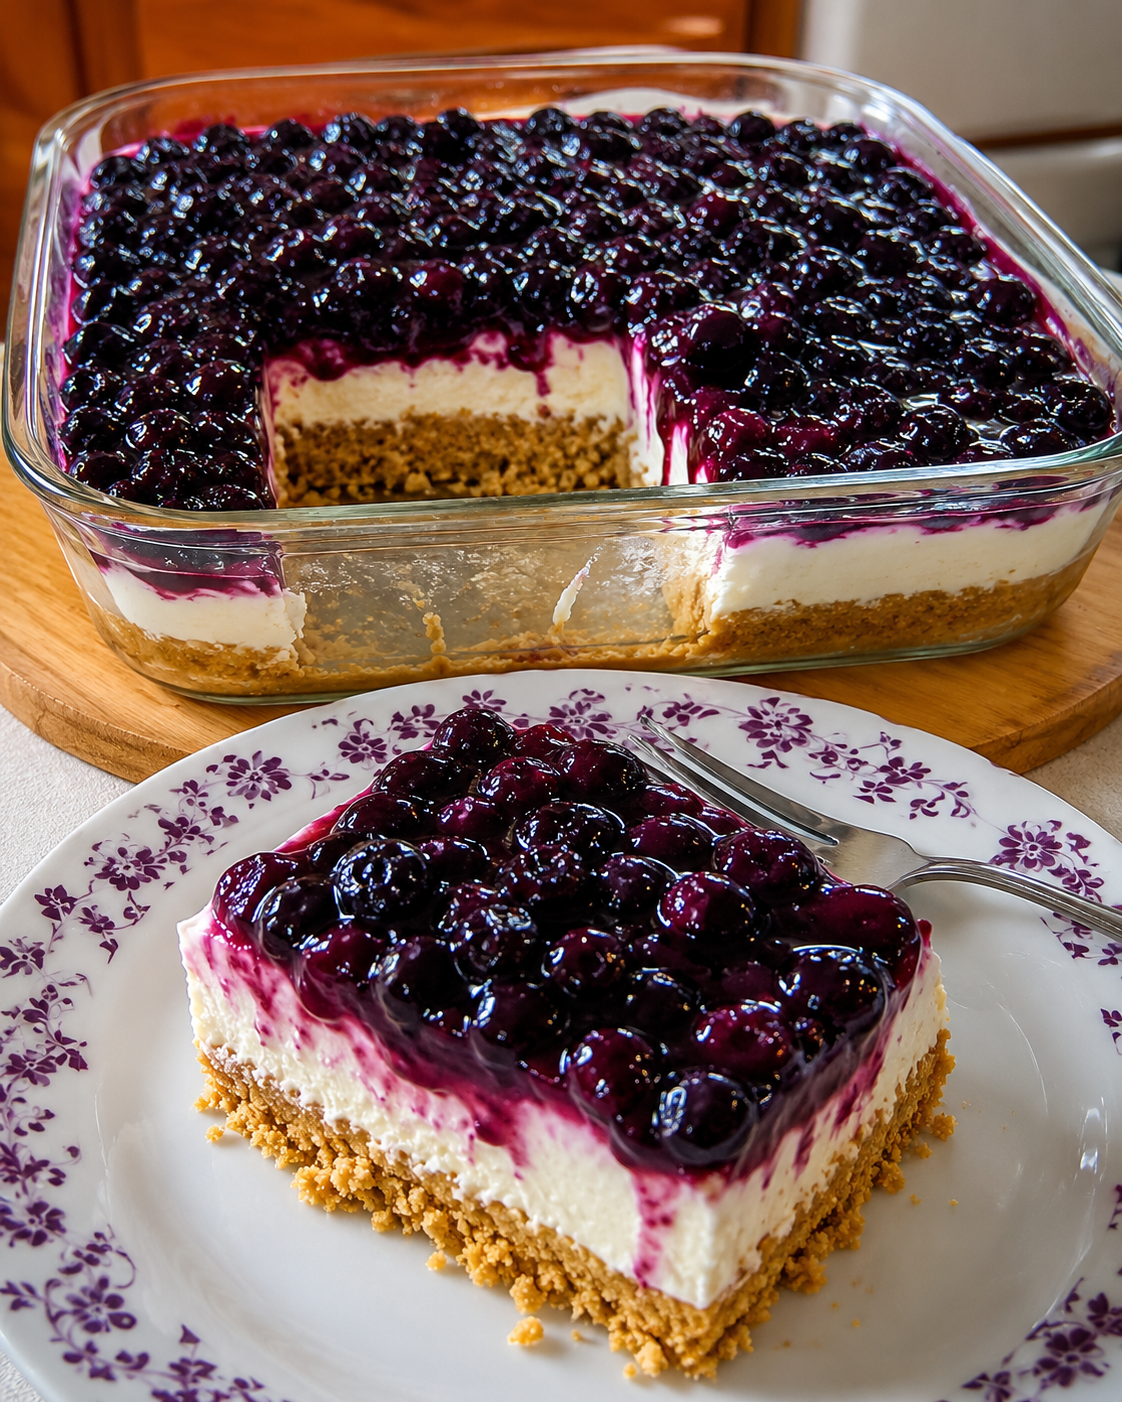
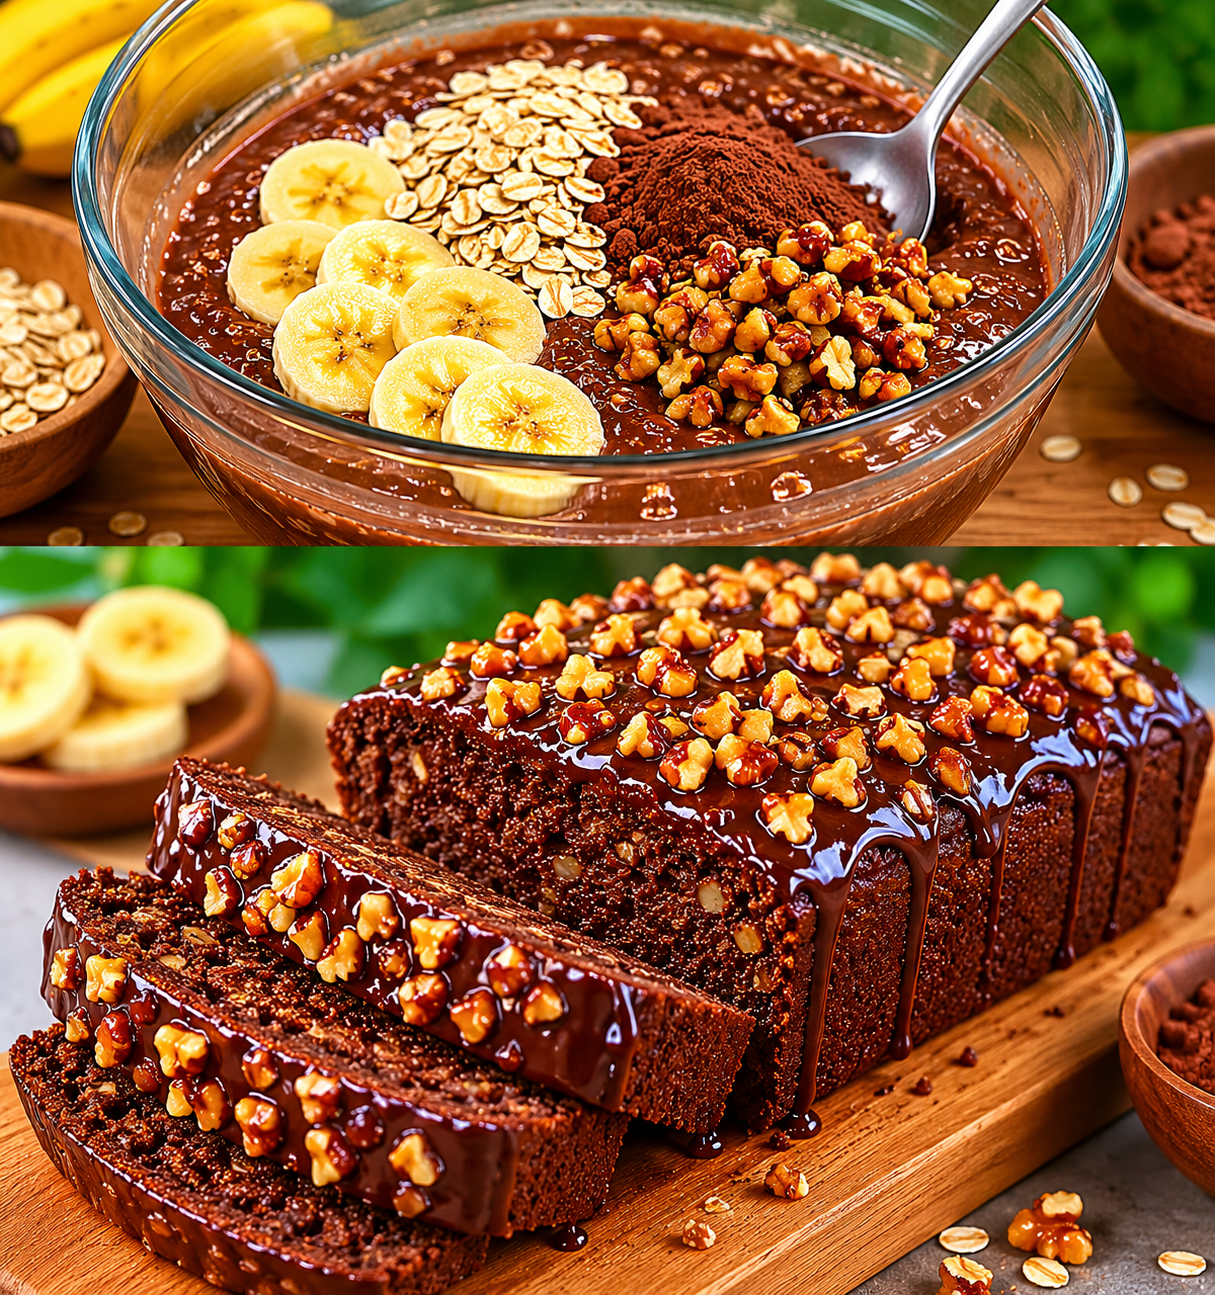
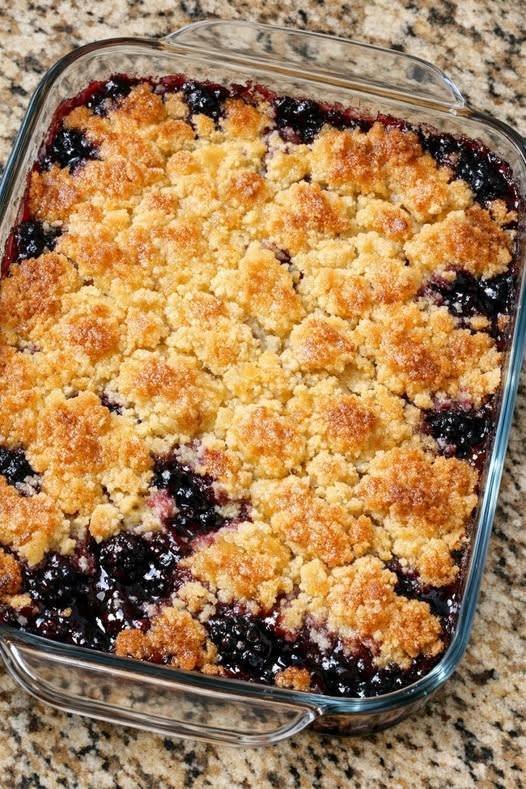
- 1½ cups fresh or frozen blueberries
Blueberry Frosting
- 1 cup cream cheese, softened
- 1/2 cup powdered sugar
- 1/2 cup blueberry puree
- 1 cup whipped topping
Instructions
Step 1: Prepare the Cake
- Preheat oven to 350°F (175°C).
- Grease a 9×13-inch baking dish.
- In a bowl, mix flour, sugar, and baking powder.
- Add eggs, milk, and melted butter. Stir until smooth.
- Fold in blueberries.
Step 2: Bake
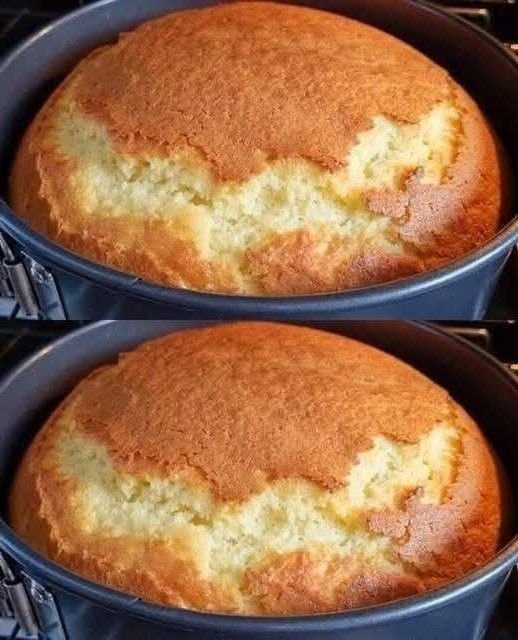
- Pour batter into the prepared baking dish.
- Bake for 30–35 minutes or until a toothpick comes out clean.
- Let the cake cool completely.
Step 3: Make the Frosting
- Beat cream cheese until smooth.
- Add powdered sugar and blueberry puree.
- Fold in whipped topping until light and fluffy.
Step 4: Frost the Cake
- Spread the blueberry frosting evenly over the cooled cake.
- Refrigerate for at least 1 hour before serving.
Step 5: Serve
- Cut into squares and serve chilled.
- Garnish with fresh blueberries if desired.
Q & A
Q: Can I use frozen blueberries?
A: Yes, use them directly from frozen without thawing.
Q: How should I store the cake?
A: Keep it covered in the refrigerator for up to 4 days.
Q: Can I make it ahead of time?
A: Yes, it tastes even better after chilling overnight.


 Ingredients
 Instructions