☕ Classic Homemade Tiramisu Recipe
🛒 Ingredients
-
500g Mascarpone cheese (cold)
-
4 Large egg yolks (room temperature)
-
100g Granulated sugar
-
300ml Heavy whipping cream (cold)
-
1 pack Savoiardi (Ladyfingers)
-
300ml Strong espresso or coffee (cooled)
-
2 tbsp Unsweetened cocoa powder (for dusting)
-
Optional: 1 tsp Vanilla extract or a splash of coffee liqueur
👩🍳 Instructions
-
Prep the Coffee Base ➡️ Brew your espresso or strong coffee and let it cool completely in a shallow bowl.
-
Cream the Yolks ➡️ In a large bowl, whisk the egg yolks and sugar together until the mixture is pale, thick, and doubled in volume.
-
Incorporate Mascarpone ➡️ Add the mascarpone cheese to the yolk mixture. Fold it in gently or whisk on low speed until smooth. Don’t overmix, or it might become grainy!
-
Whip the Cream ➡️ In a separate bowl, whip the heavy cream (and vanilla, if using) until stiff peaks form.
-
The Final Fold ➡️ Gently fold the whipped cream into the mascarpone mixture. This keeps the cream light and airy. ☁️
-
The Dip ➡️ Quickly dip each ladyfinger into the cooled coffee. ⚠️ Pro Tip: Only dip for 1–2 seconds per side. If they soak too long, they will turn into mush!
-
Layering Part 1 ➡️ Arrange a layer of dipped ladyfingers in the bottom of a rectangular dish. Spread half of the mascarpone cream over the top.
-
Layering Part 2 ➡️ Repeat with another layer of dipped ladyfingers, followed by the remaining cream. Smooth out the top with a spatula. 🍰
-
The Chill ➡️ Cover and refrigerate for at least 6 hours (overnight is even better) to let the flavors meld and the structure set.
-
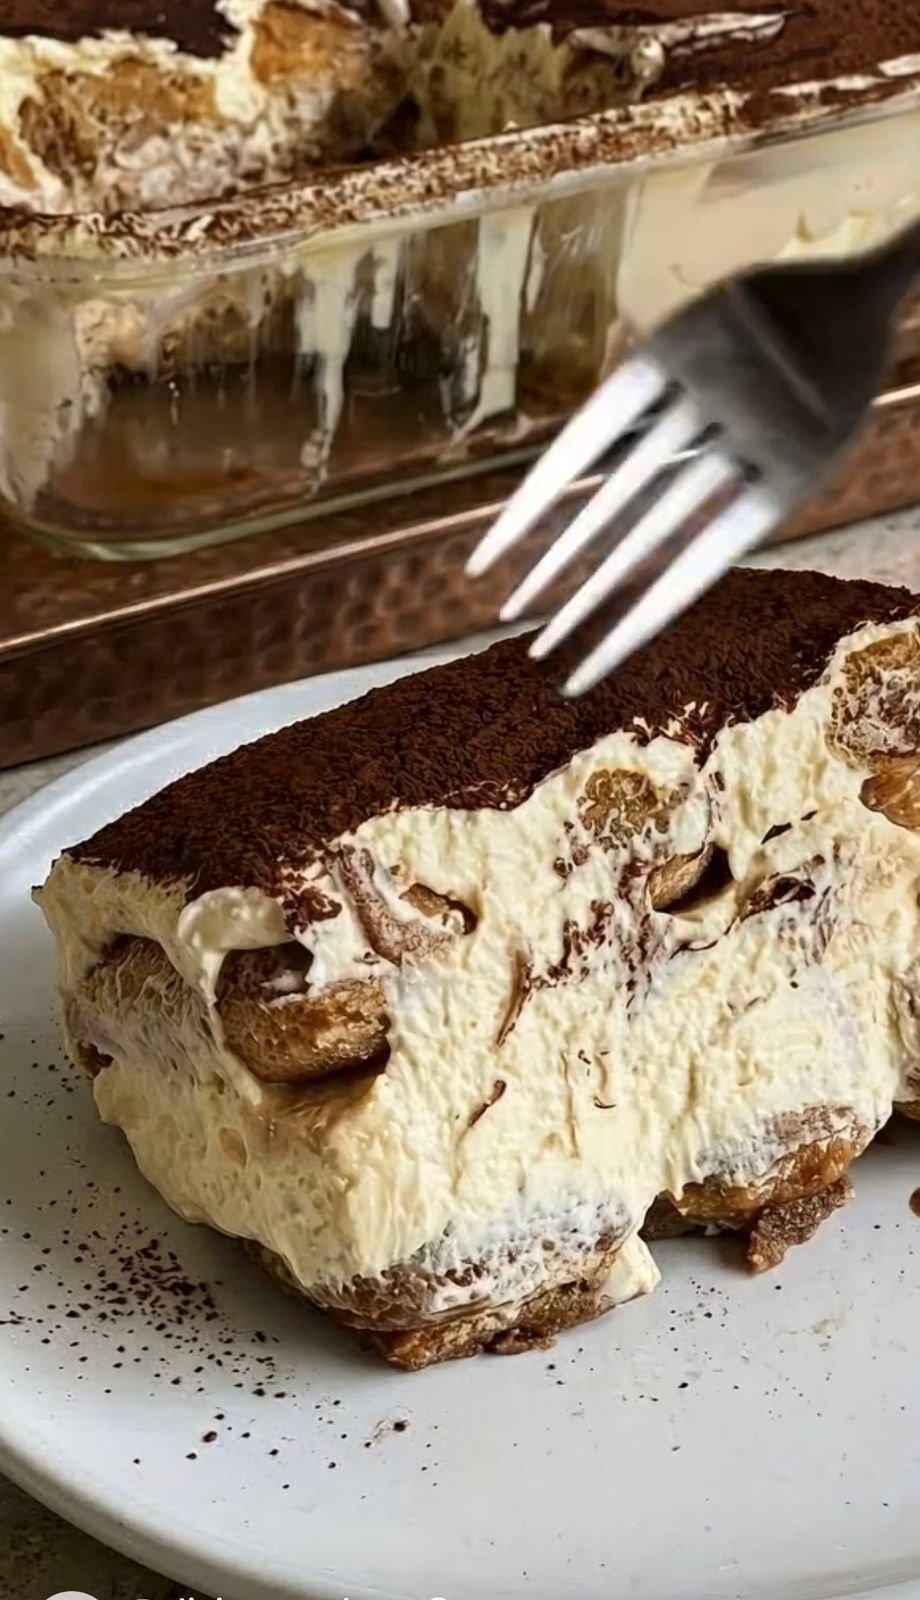
The Finish ➡️ Just before serving, dust a generous layer of cocoa powder over the top. 🍫
❓ Q&A: Troubleshooting & Tips
Q: Why is my Tiramisu runny? A: This usually happens if the ladyfingers were soaked too long or if the cream wasn’t whipped to stiff peaks. Make sure your mascarpone and cream are cold when you start! ❄️
Q: Can I make this without eggs? A: Yes! You can skip the yolks and sugar mixture. Just whip the mascarpone with a bit of powdered sugar and fold it into the whipped cream. It will be slightly less “custard-like” but still delicious.
Q: How long does it stay fresh? A: It’s best eaten within 2 to 3 days. Keep it tightly covered in the fridge so it doesn’t absorb other food scents. 👃
Q: Can I freeze Tiramisu? A: You can! Freeze it without the cocoa powder dusting. Thaw it in the fridge overnight before serving and dust with cocoa right at the end. 🧊
Enjoy your dessert! It’s definitely worth the wait. 🥂✨