
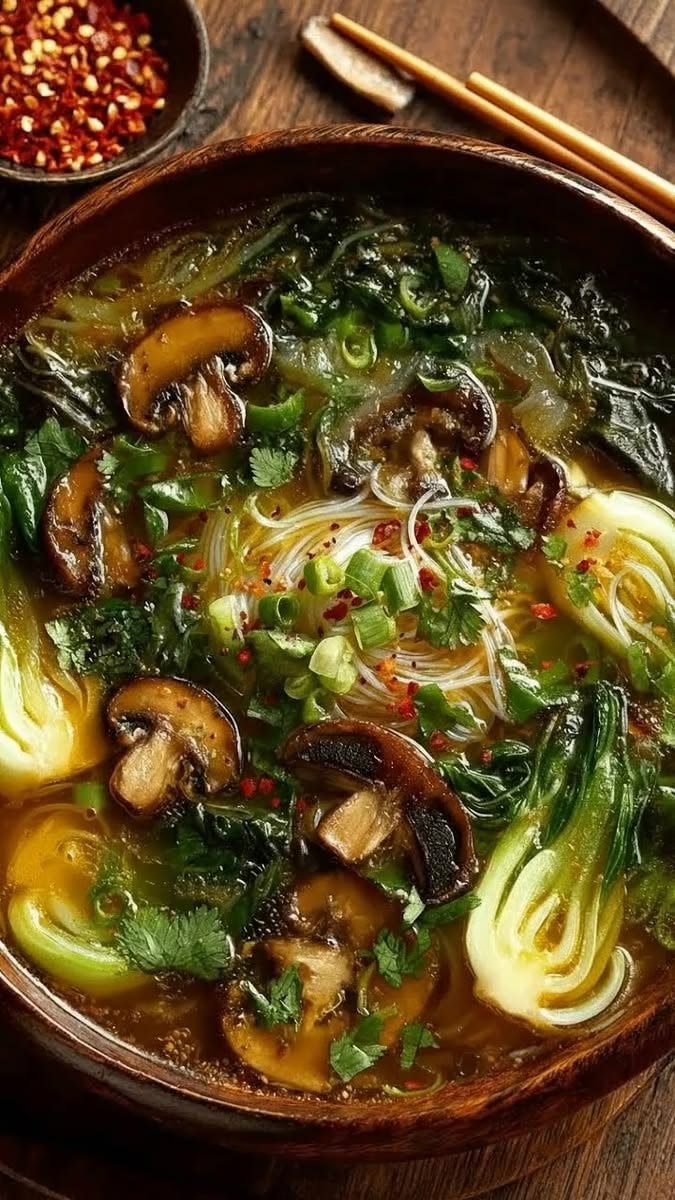
Savoring a bowl of Detox W-W Southwest Chicken Soup is like treating your body to a rejuvenating cleanse while delighting your taste buds with vibrant flavors. This soup is a nourishing blend of tender chicken, hearty beans, and an array of aromatic spices, creating a wholesome dish that’s both satisfying and nutritious.
Start by sautéing onions, garlic, bell peppers, and optional jalapeño peppers in olive oil until they become fragrant and tender, infusing the soup with layers of savory goodness. A dash of ground cumin, chili powder, and smoked paprika adds depth and warmth to the broth, creating a rich and robust flavor profile that’s reminiscent of Southwestern cuisine.
As the soup simmers, the flavors meld together, enhancing the natural sweetness of diced tomatoes, the earthy richness of black beans, and the comforting texture of shredded chicken breast. The addition of frozen corn kernels adds a pop of sweetness and color, while a squeeze of fresh lime juice brightens the dish with a citrusy zing.
Garnished with chopped cilantro and creamy avocado slices, each spoonful of this Detox WW Southwest Chicken Soup is a symphony of flavors and textures, offering a nourishing escape from the hustle and bustle of daily life. With its wholesome ingredients and balanced nutritional profile, it’s a comforting meal option that’s as good for your body as it is for your soul.
Whether enjoyed as a light lunch, a satisfying dinner, or a nourishing snack, this soup is sure to leave you feeling energized, refreshed, and ready to take on whatever the day may bring. So grab a bowl, cozy up with your favorite blanket, and savor the goodness of this delicious Detox WW Southwest Chicken Soup.
DETOX W-W SOUTHWEST CHICKEN SOUP
Ingredients:
- 1 tablespoon olive oil
- 1 onion, diced
- 2 cloves garlic, minced
- 1 bell pepper, diced (any color)
- 1 jalapeño pepper, seeded and diced (optional, for extra heat)
- 1 teaspoon ground cumin
- 1 teaspoon chili powder
- 1/2 teaspoon smoked paprika
- 4 cups low-sodium chicken broth
- 1 (15-ounce) can diced tomatoes, undrained
- 1 cup frozen corn kernels
- 1 cup black beans, drained and rinsed
- 2 cups cooked shredded chicken breast
- Juice of 1 lime
- Salt and pepper to taste
- Fresh cilantro, chopped, for garnish
- Avocado slices, for garnish (optional)
Instructions:
- In a large pot or Dutch oven, heat the olive oil over medium heat. Add the diced onion and cook until softened, about 5 minutes.
- Stir in the minced garlic, diced bell pepper, and jalapeño pepper (if using). Cook for another 2-3 minutes until fragrant.
- Add the ground cumin, chili powder, and smoked paprika to the pot. Stir well to coat the vegetables in the spices.
- Pour in the chicken broth and diced tomatoes (with their juices). Bring the soup to a simmer.
- Once simmering, add the frozen corn kernels, black beans, and shredded chicken breast to the pot. Allow the soup to simmer for 10-15 minutes to allow the flavors to meld together.
- Squeeze in the juice of one lime and season the soup with salt and pepper to taste.
- Ladle the WW Southwest Chicken Soup into bowls and garnish with chopped cilantro and avocado slices, if desired.
Nutritional Information (per serving, approximately):
- Calories: 250-300
- Total Fat: 8-10 grams
- Saturated Fat: 1-2 grams
- Cholesterol: 30-40 mg
- Sodium: 500-600 mg
- Total Carbohydrates: 25-30 grams
- Dietary Fiber: 6-8 grams
- Sugars: 4-6 grams
- Protein: 20-25 grams
This W-W Southwest Chicken Soup is not only delicious but also loaded with wholesome ingredients that support your detox goals. Enjoy it as a nourishing meal option that’s packed with flavor and goodness!


 Ingredients
 Vegetables
 Instructions
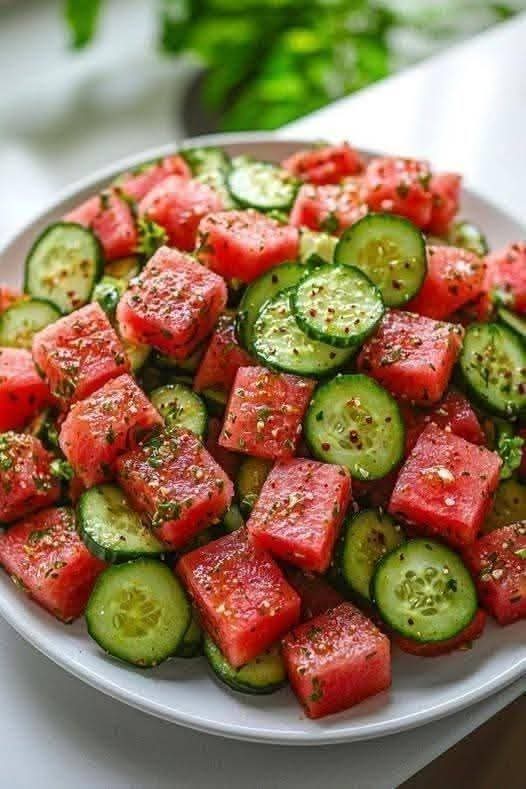
 Thin slices absorb the pickling brine better
 Pro Tips
 Anti-Inflammatory Benefits (from ingredients)
 Variations
 Why this works


 Ingredients
 Dressing
 Tips & Variations