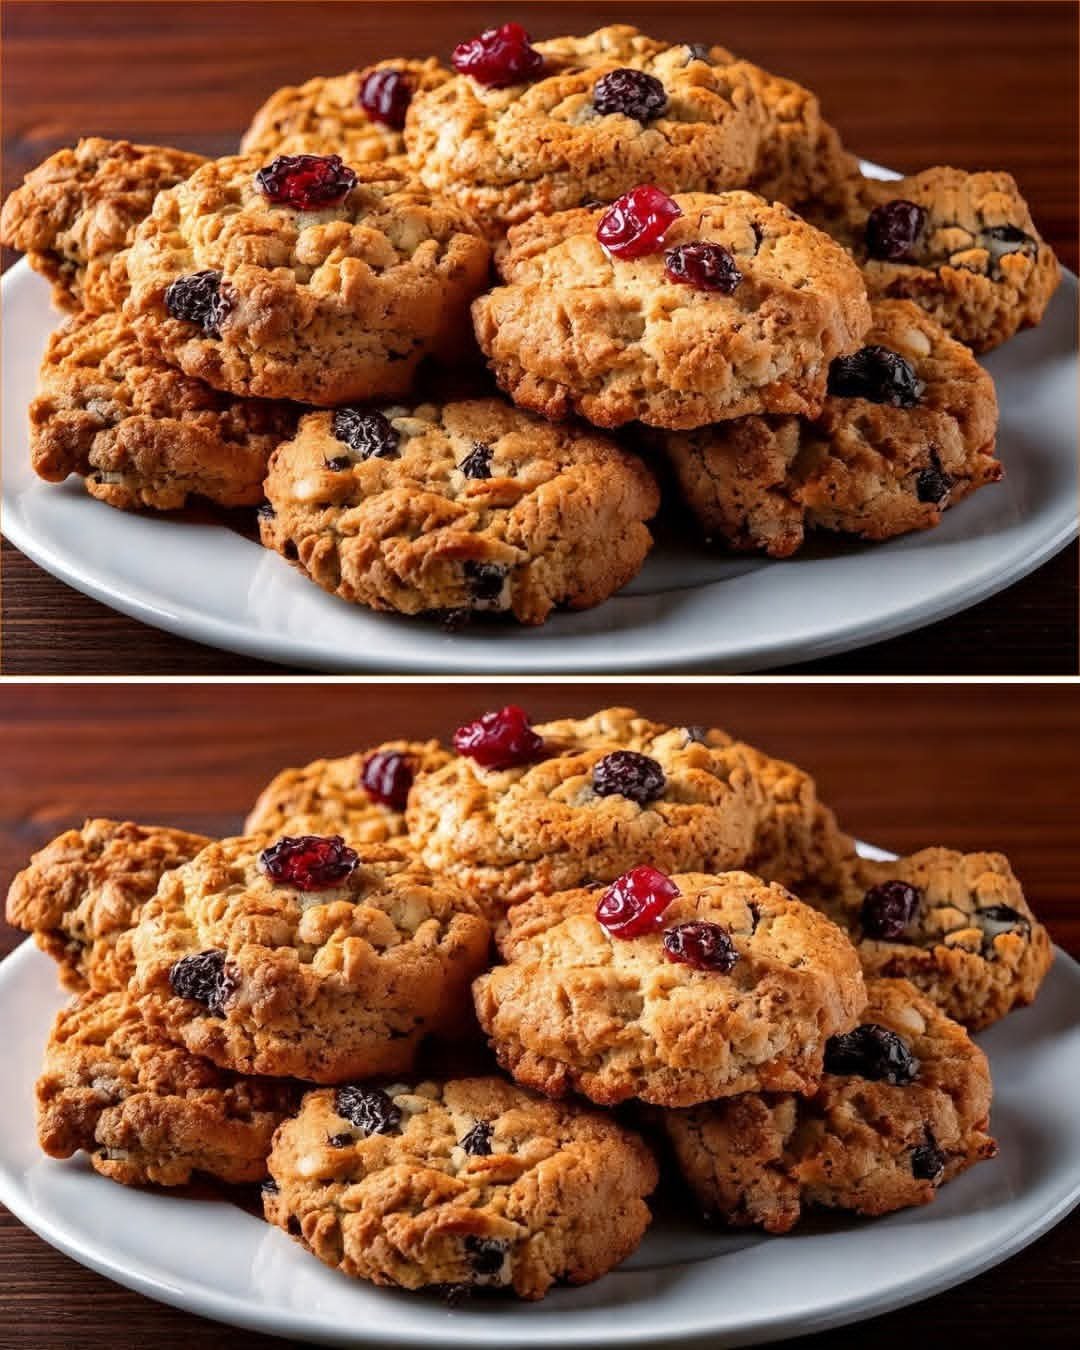
These look like Cheesy Vegetable Potato Bites—the ultimate “hide the veggies” snack that actually tastes incredible. They are crispy on the outside, pillowy on the inside, and perfect for dipping.
Here is a Facebook-ready caption and the full recipe for you.
👩🍳 Cheesy Vegetable Potato Bites Recipe
Ingredients
-
Potatoes: 3 medium potatoes (boiled and mashed)
-
Vegetables: ½ cup finely diced bell peppers (red and green), 2 green onions (sliced thin)
-
Cheese: ½ cup shredded Mozzarella or Cheddar
-
Binding: 1 egg, ½ cup flour (all-purpose), and 2 tbsp cornstarch (for extra crunch)
-
Seasoning: 1 tsp garlic powder, ½ tsp paprika, salt, and black pepper to taste
-
Oil: For frying
Instructions
-
Prep the Base: In a large bowl, mash your boiled potatoes until smooth. Let them cool slightly so they don’t cook the egg instantly.
-
Mix it Up: Add the diced peppers, green onions, cheese, egg, and seasonings. Stir until well combined.
-
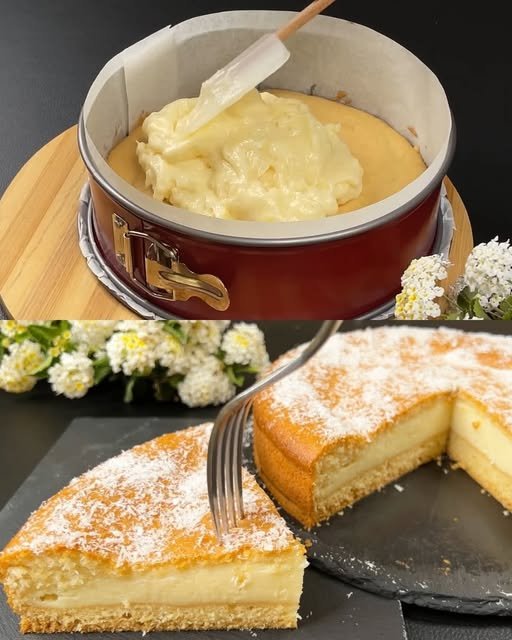
The Flour Step: Fold in the flour and cornstarch. The mixture should be thick and slightly tacky (like the batter in the photo). If it’s too wet to handle, add another tablespoon of flour.
-
Shape: Grease your hands with a little oil. Scoop about a tablespoon of mixture and roll it into a small cylinder or “tater tot” shape.
-
Fry to Golden Perfection: Heat oil in a pan over medium heat. Fry the bites in batches for 3–4 minutes, turning them until every side is golden brown and crispy.
-
Drain & Serve: Place them on a paper towel to remove excess oil. Serve hot with ranch, ketchup, or a spicy aioli!


 Tips:
Tips:

 Tip: Drizzle a little honey or caramel sauce on top for extra flavor.