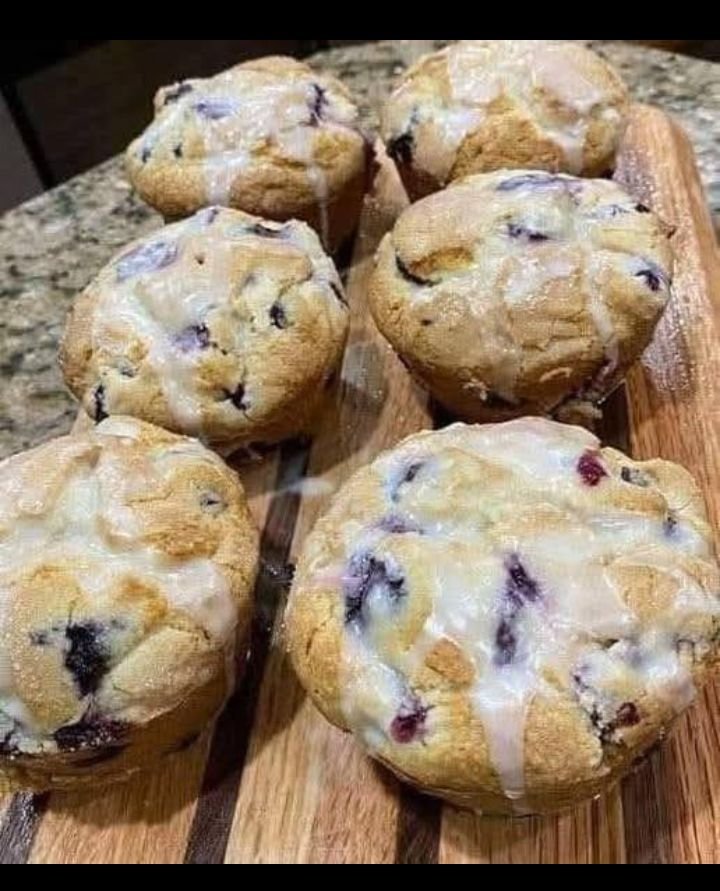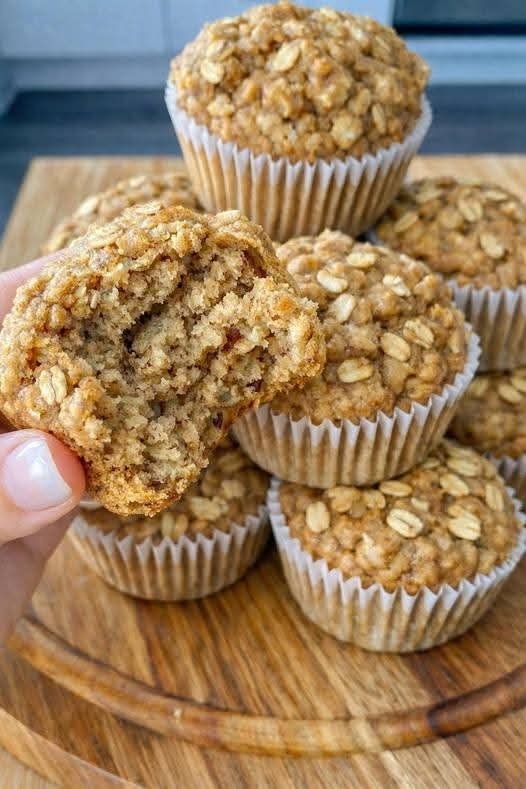
Savor the essence of autumn with these delectable W-w -friendly pumpkin oatmeal muffins, a delightful fusion of wholesome ingredients that strike a perfect balance between flavor and nutrition. Crafted with care to align with wellness goals, these muffins are a delicious indulgence that won’t compromise your commitment to a healthy lifestyle.
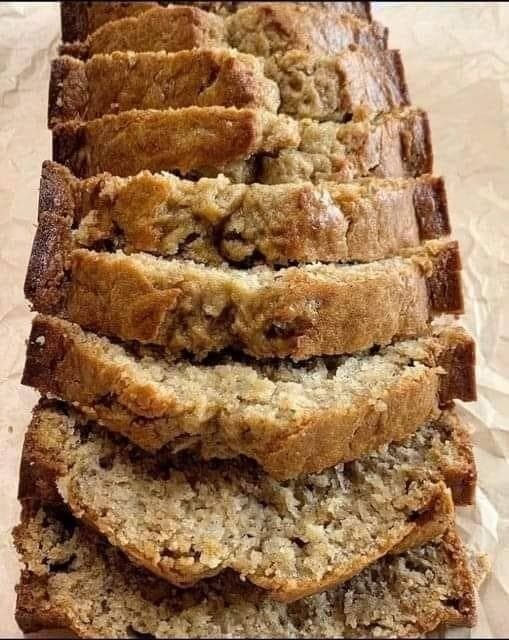
Each bite of these moist and tender muffins unveils the rich, comforting taste of pumpkin puree, complemented by the heartiness of rolled oats and whole wheat flour. The inclusion of unsweetened applesauce not only contributes to the muffins’ moist texture but also adds a natural sweetness, reducing the need for excessive sugars. Sweetened with a touch of honey or maple syrup, these muffins offer just the right amount of sweetness, providing a guilt-free treat.
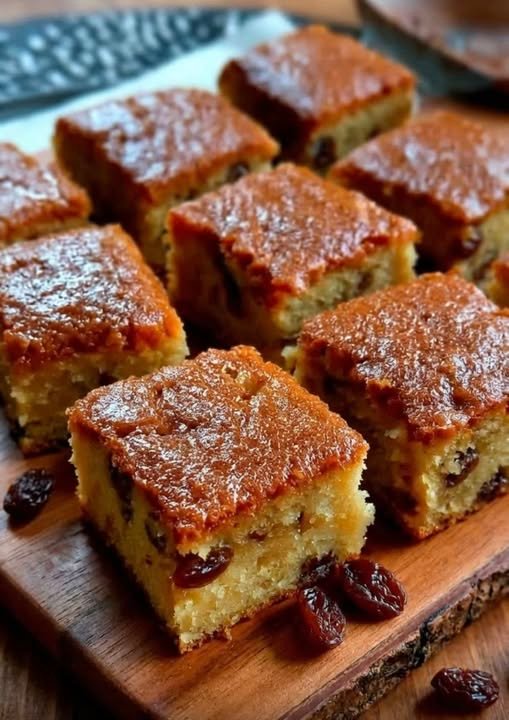
Enhanced with warm spices like cinnamon and nutmeg, these muffins fill your kitchen with the nostalgic aroma of fall. The optional addition of chopped nuts or raisins brings a delightful crunch and additional layers of flavor to each bite, making these muffins a truly satisfying experience.
Not just a delightful treat for your taste buds, these pumpkin oatmeal muffins are carefully crafted to be mindful of nutritional goals. With a modest calorie count, a healthy dose of fiber, and a touch of protein, they make for a balanced and wholesome choice for breakfast or a guilt-free snack. Whether enjoyed with a cup of coffee in the morning or as a satisfying afternoon pick-me-up, these W-W pumpkin oatmeal muffins are a testament to the idea that nutritious eating can indeed be a flavorful and joyful experience.
W-W Pumpkin Oatmeal Muffins:
Ingredients:
1 cup canned pumpkin puree
1 cup rolled oats
1 cup whole wheat flour
1/2 cup unsweetened applesauce
1/4 cup honey or maple syrup (adjust to taste)
2 large eggs
1 teaspoon vanilla extract
1 teaspoon baking powder
1/2 teaspoon baking soda
1/2 teaspoon cinnamon
1/4 teaspoon nutmeg
1/4 teaspoon salt
Optional: Chopped nuts or raisins for added texture and flavor
Instructions:
Preheat your oven to 350°F (175°C) and line a muffin tin with paper liners.
In a large bowl, combine the rolled oats, whole wheat flour, baking powder, baking soda, cinnamon, nutmeg, and salt.
In another bowl, whisk together the pumpkin puree, applesauce, honey or maple syrup, eggs, and vanilla extract.
Add the wet ingredients to the dry ingredients and stir until just combined. If desired, fold in chopped nuts or raisins.
Spoon the batter into the muffin cups, filling each about 2/3 full.
Bake for 18-20 minutes or until a toothpick inserted into the center comes out clean.
Allow the muffins to cool in the tin for a few minutes before transferring them to a wire rack to cool completely.
Nutritional Overview (Approximate Values for 1 Muffin):
Calories: 120-150 kcal
Protein: 3-5g
Carbohydrates: 20-25g
Dietary Fiber: 3-4g
Fat: 3-5g
Sugar: 5-10g (natural sugars from pumpkin and sweeteners)
These are rough estimates, and actual values may vary based on your specific ingredients and portion sizes. To determine the precise SmartPoints for the WW program, it’s recommended to use the official WW app or website, considering the specific nutritional information of the ingredients you use. These pumpkin oatmeal muffins provide a wholesome and satisfying treat, incorporating the warm flavors of fall into a nutritious snack or breakfast option.

 Banana Oat Pancakes – Healthy & Fluffy Breakfast Recipe
 Description
 Ingredients (Serves 2–3)
 How to Make Banana Oat Pancakes (Step-by-Step)
 Tips for Perfect Pancakes
 Serving Suggestions
 Servings
 Nutritional Information (Per Serving Approx.)
 Health Benefits
 Good for weight loss & digestion
 Q & A – Frequently Asked Questions
 Bonus Variations

 Meat & Cheese Börek Rolls
 Description
 Instructions
 Nutritional Information (Per Roll – Approx.)
 Notes
Notes