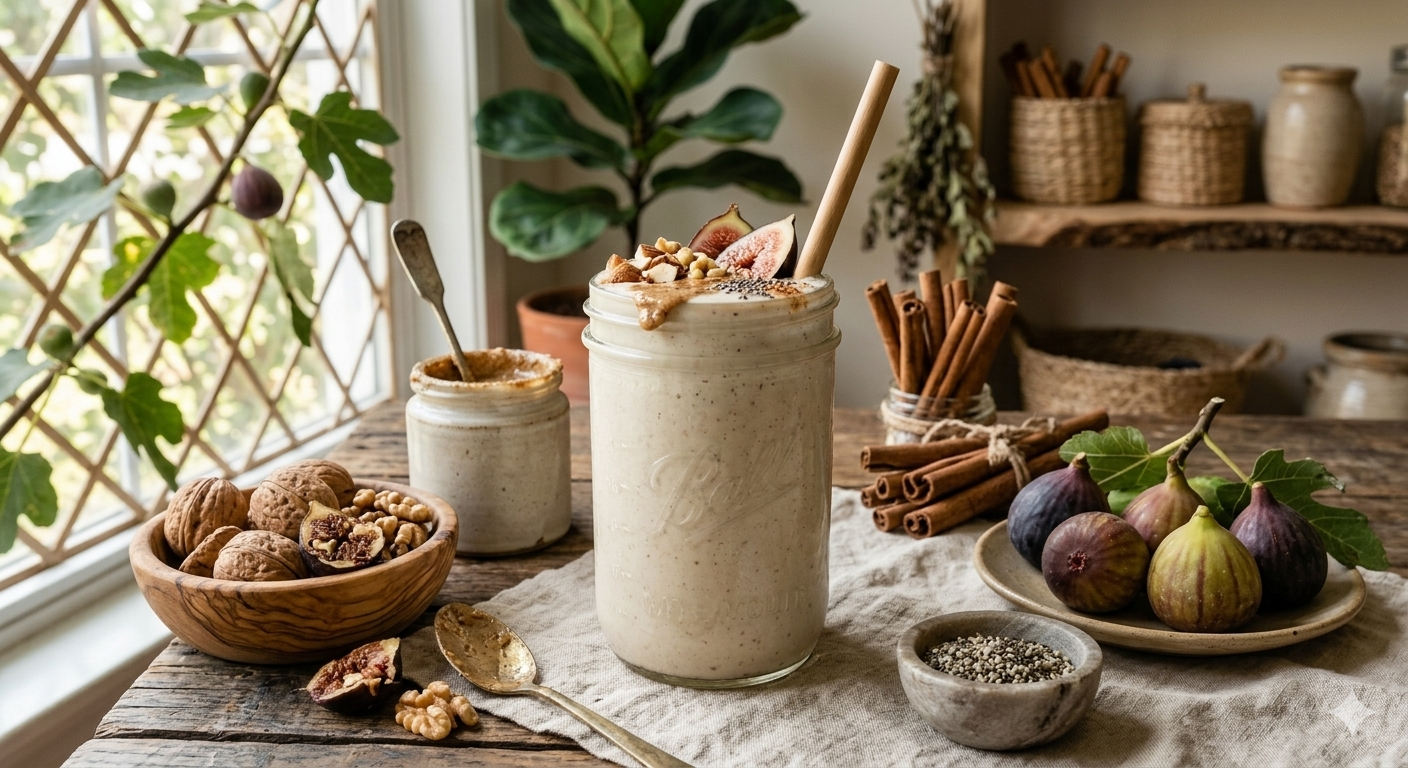
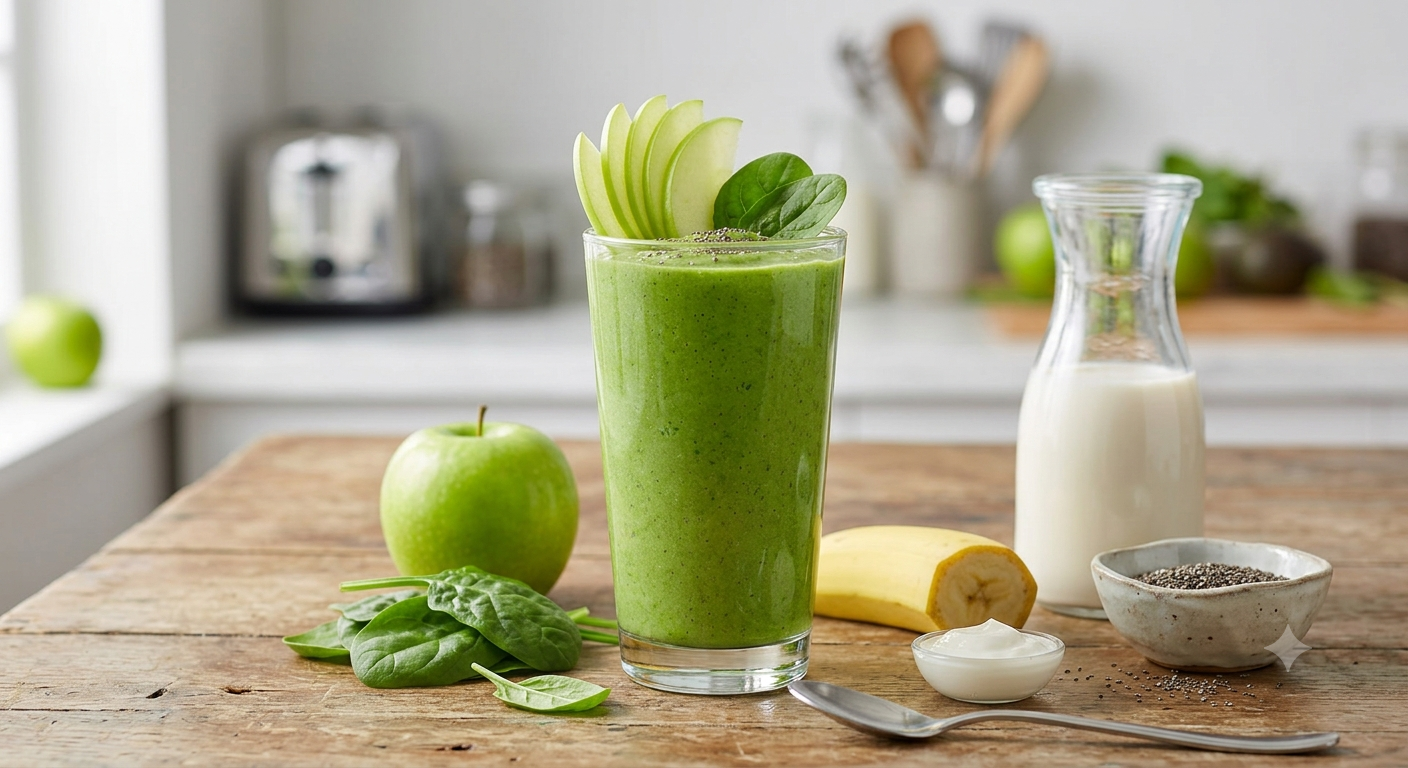
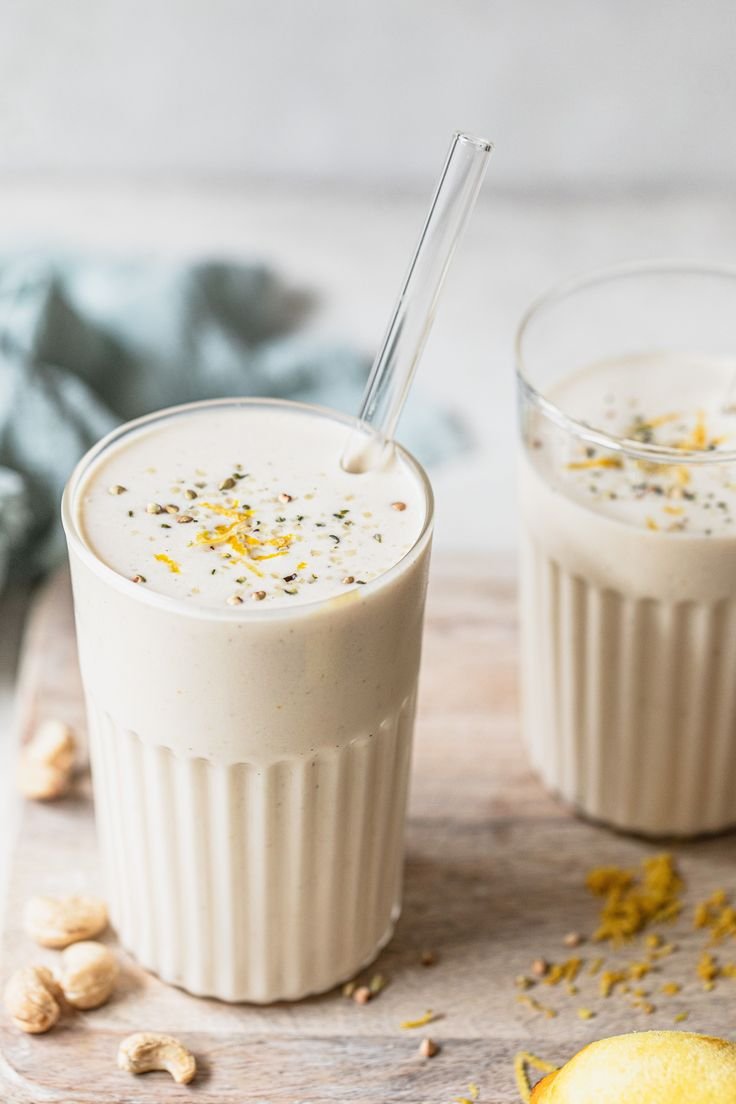
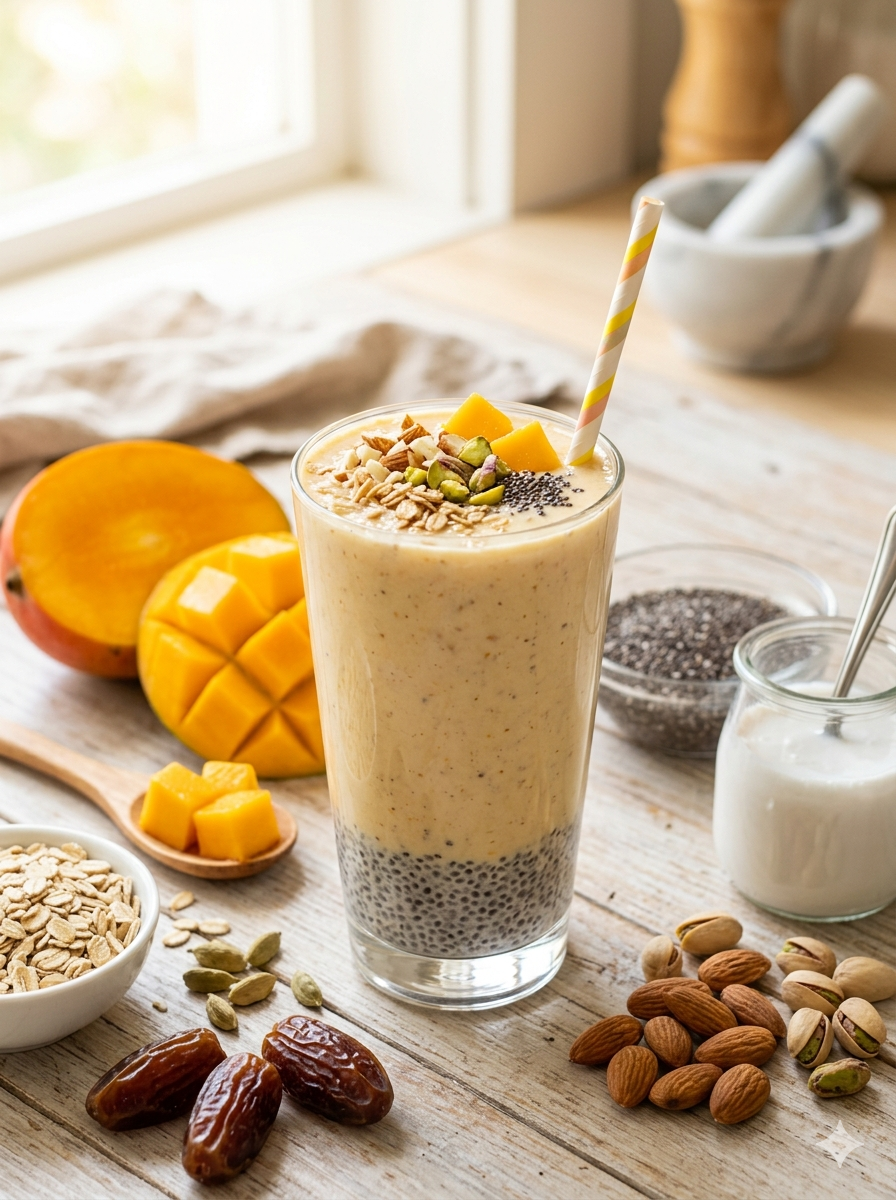
“Creamy Almond Fig Delight” Smoothie
Ingredients
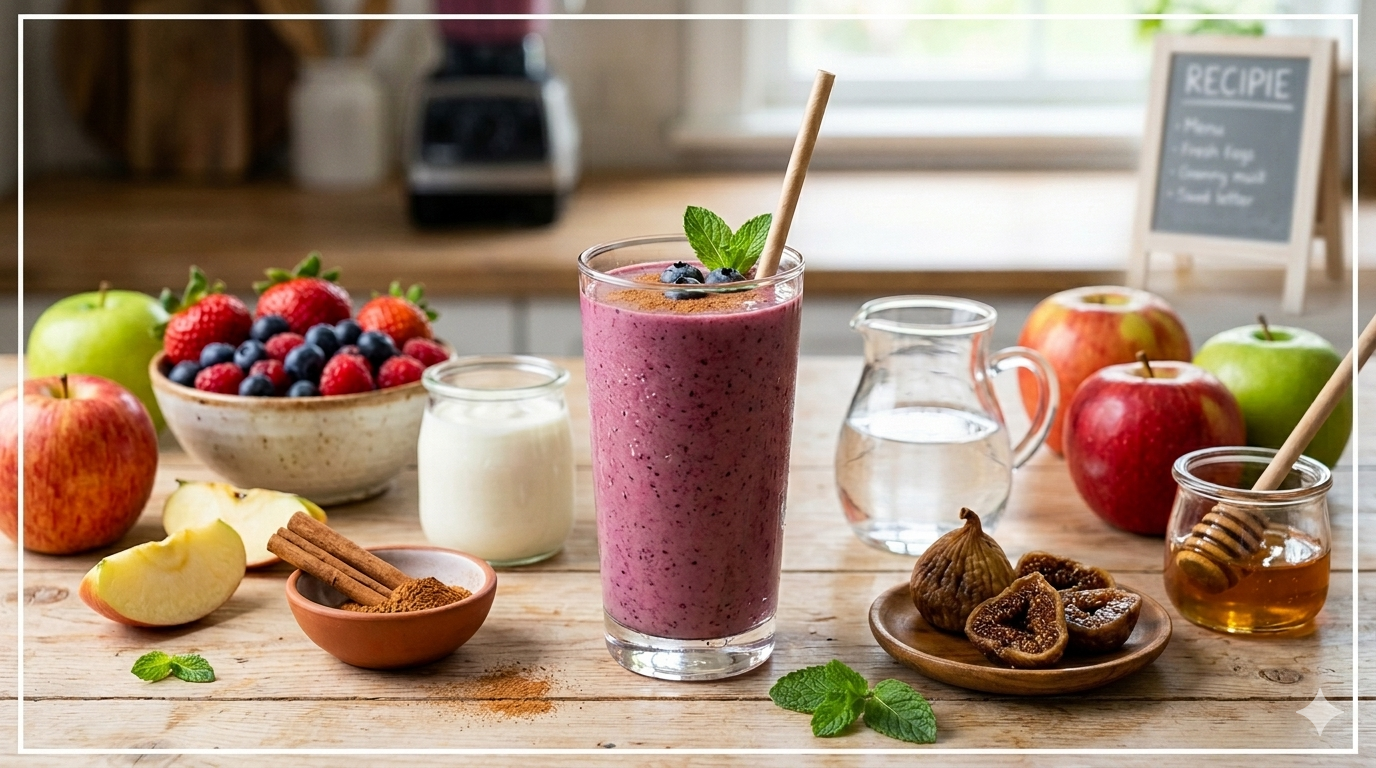
- Dried Figs (Anjeer): 3 (soaked in warm water for 15 minutes)
- Almond Butter: 1 tablespoon (pure and unsweetened)
- Chia Seeds: 1 tablespoon (for healthy fiber)
- Unsweetened Almond Milk: 1 cup (or cold low-fat milk)
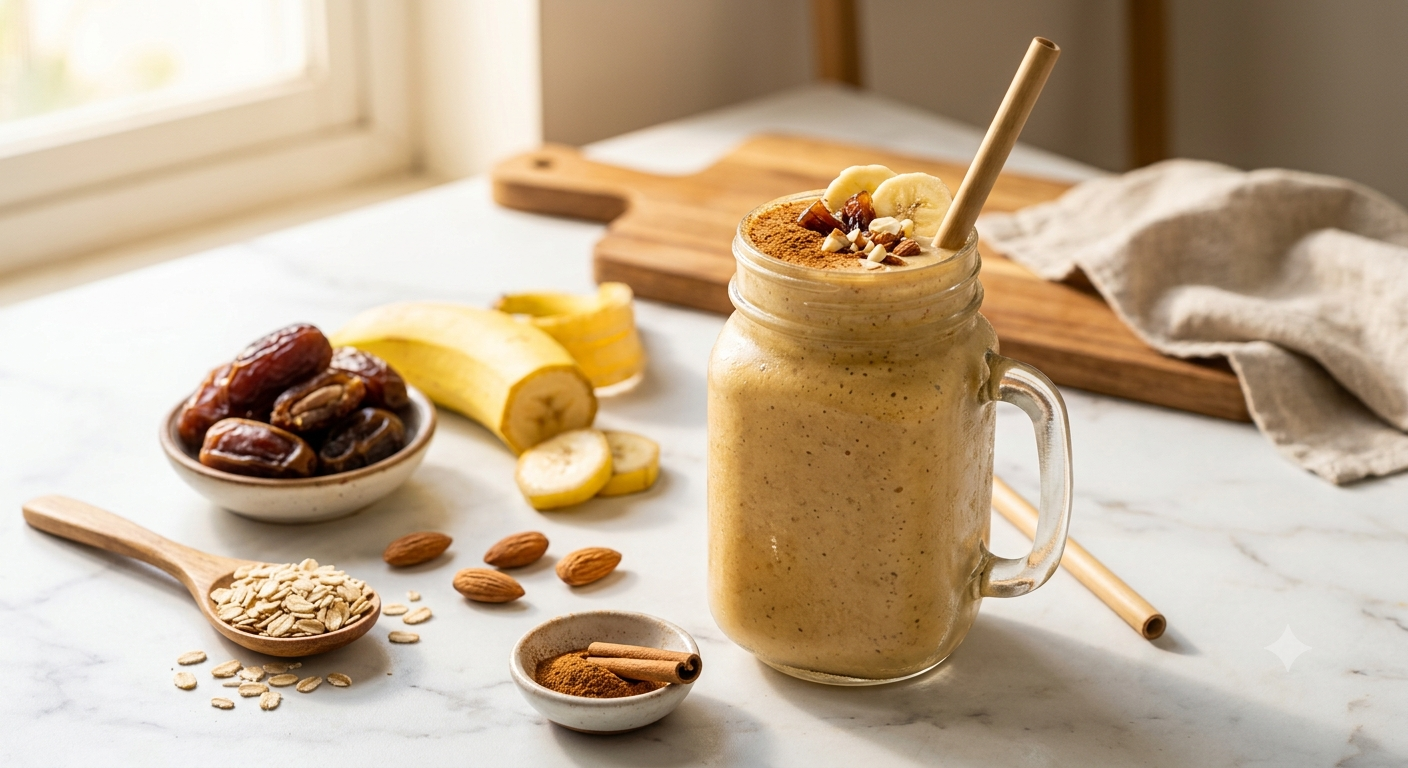
- Frozen Banana: 1/2 (for thickness and natural texture)
- Cinnamon Powder (Dalchini): A tiny pinch (for aroma)
- Crushed Walnuts (Akhrot): 1 teaspoon (for garnish)
Step-by-Step Instructions
- Soak the Figs: Start by soaking 3 dried figs in warm water for about 15 minutes. This softens them up completely, making them incredibly easy to blend into a smooth paste.
- Pour the Liquid: Pour 1 cup of cold almond milk or regular milk into your high-speed blender container first.
- Add the Creamy Base: Toss in the half frozen banana slices and 1 tablespoon of rich almond butter. The combination of banana and nut butter forms a creamy, milkshake-like foundation.
- Load the Sweetener and Fiber: Drain the soaked figs and add them to the blender along with 1 tablespoon of chia seeds.
- Add Spice: Drop in a tiny pinch of cinnamon powder. This complements the natural earthy sweetness of the figs perfectly.
- Blend Until Silky: Fasten the lid tightly and blend on high speed for 60 to 90 seconds. Ensure the dates or figs are completely pulverized without leaving any chewy bits behind.
- Serve and Garnish: Pour this beautiful, off-white creamy smoothie into a tall glass. Sprinkle the crushed walnuts on top for a delightful crunch, and drink fresh!
Healthy Tips for the Perfect Smoothie
- Natural Thickness: If you want an even thicker, ice-cream-like consistency, place your serving glass in the freezer for 5 minutes before pouring the smoothie inside.
- Soaking is Key: Never skip soaking dried fruits like figs. It protects your blender blades and ensures the texture stays perfectly velvety instead of grainy.
Questions & Answers
Q1: Can I use regular dates instead of figs in this combination?
A1: Yes, you can substitute the figs with 2 pitted Medjool dates. However, figs give a unique, slightly textured feel and a distinct warm sweetness that makes this specific recipe stand out.
A1: Yes, you can substitute the figs with 2 pitted Medjool dates. However, figs give a unique, slightly textured feel and a distinct warm sweetness that makes this specific recipe stand out.
Q2: Is this smoothie heavy enough to replace a morning breakfast?
A2: Absolutely! Because it contains healthy fats from almond butter, fiber from chia seeds, and natural carbohydrates from figs and bananas, it keeps your stomach full and satisfied for hours.
A2: Absolutely! Because it contains healthy fats from almond butter, fiber from chia seeds, and natural carbohydrates from figs and bananas, it keeps your stomach full and satisfied for hours.
Q3: Can I add ice cubes while blending?
A3: It is better to use a frozen banana instead of ice cubes. Ice cubes can dilute the rich, nutty flavor of the almond milk and almond butter as they melt.
A3: It is better to use a frozen banana instead of ice cubes. Ice cubes can dilute the rich, nutty flavor of the almond milk and almond butter as they melt.


 Dough Ingredients:
 Filling:
 Cream Cheese Frosting:
 Instructions
 Activate the Yeast
 Make the Dough
 Prepare the Filling
 Roll & Slice
 Bake
Bake Make Frosting
 Tip: For extra soft rolls, pour 2–3 tablespoons warm cream over the rolls right before baking.


 Creamy Carrot Cheese Spread


 Instructions
 Pro-Tips

 Yes! It tastes even better if made a few hours or a day before, since the flavors develop while chilling.