Creamy Fruit & Walnut Salad
Description
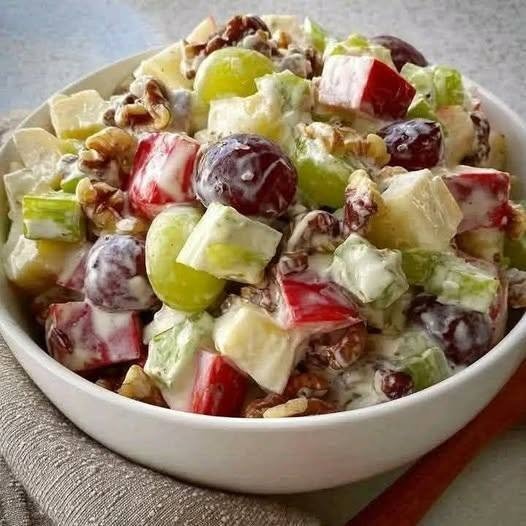
Creamy Fruit & Walnut Salad is a refreshing, colorful, and nutritious dish made with a variety of fresh fruits, crunchy walnuts, and a lightly sweetened creamy dressing. It works wonderfully as a healthy breakfast, side dish, dessert, picnic favorite, or holiday salad. The combination of juicy fruits, creamy yogurt, and crunchy walnuts creates a delicious balance of flavors and textures.
Preparation Time
- Prep Time: 20 minutes
- Cook Time: 0 minutes
- Total Time: 20 minutes
Servings
Ingredients
For the Salad
- 2 apples, diced
- 2 cups grapes (red or green), halved
- 2 bananas, sliced
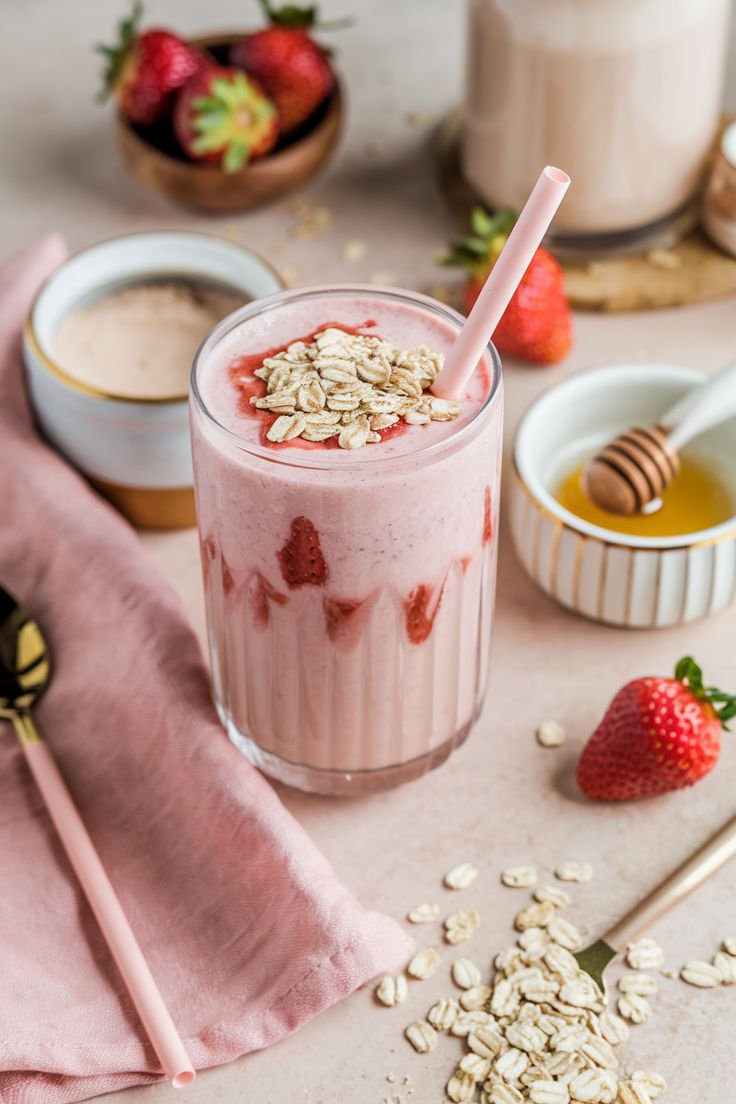
- 1 cup strawberries, sliced
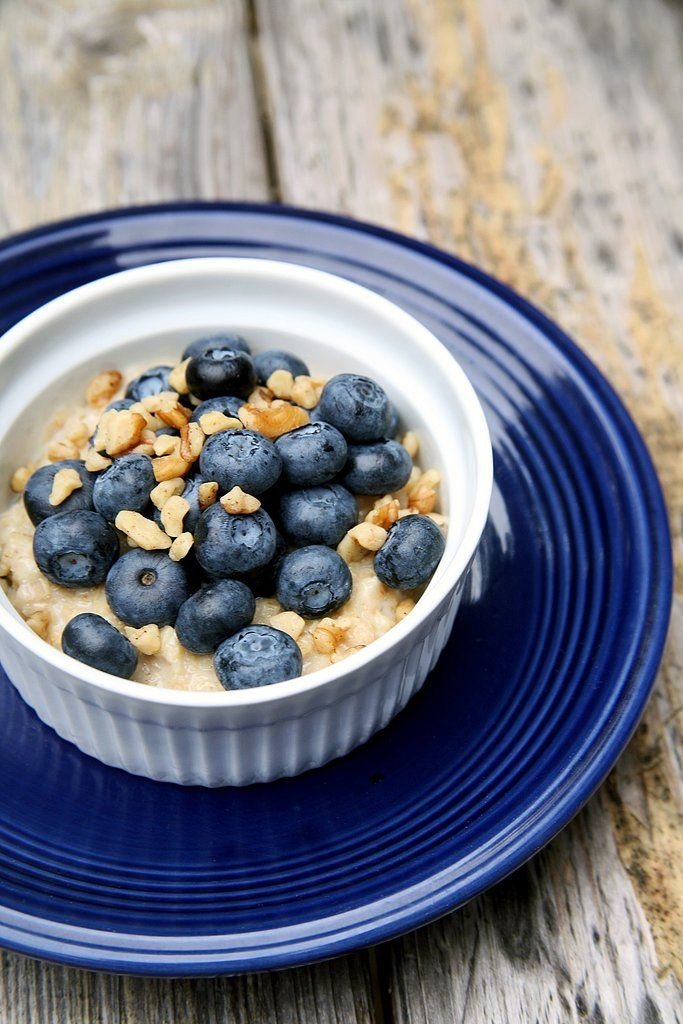
- 1 cup blueberries
- 1 cup pineapple chunks
- 1 orange, peeled and segmented
- 1 cup seedless watermelon, cubed
- 1 cup walnuts, roughly chopped
For the Creamy Dressing
- 1 cup plain Greek yogurt
- 2 tablespoons honey
- 2 tablespoons mayonnaise (optional for extra creaminess)
- 1 teaspoon vanilla extract
- 1 teaspoon lemon juice
- Pinch of salt
Garnish
- Extra chopped walnuts
- Fresh mint leaves
Instructions
Step 1
Wash, peel, and chop all fruits into bite-sized pieces.
Step 2
Place all prepared fruits into a large mixing bowl.
Step 3
Add the chopped walnuts.
Step 4
In a separate bowl, whisk together:
- Greek yogurt
- Honey
- Vanilla
- Lemon juice
- Mayonnaise (if using)
- Salt
Mix until smooth.
Step 5
Pour the dressing over the fruit mixture.
Step 6
Gently fold everything together until evenly coated.
Step 7
Refrigerate for 20–30 minutes before serving for the best flavor.
Step 8
Garnish with extra walnuts and fresh mint.
Serve chilled.
Recipe Notes
- Use fresh seasonal fruit for the best flavor.
- Add bananas just before serving to reduce browning.
- Chill the salad before serving for a fresher taste.
- Toasting the walnuts enhances their flavor.
- Adjust the honey depending on the sweetness of the fruit.
- Use full-fat Greek yogurt for a richer dressing or low-fat yogurt for a lighter version.
Tips
- Toss apples and bananas with a little lemon juice to slow browning.
- Dry washed fruit well to prevent a watery dressing.
- Mix gently to keep delicate fruit intact.
- Prepare the dressing ahead of time and refrigerate separately.
- Add nuts right before serving for maximum crunch.
- Try adding shredded coconut, raisins, or pomegranate seeds for extra texture.
Variations
- Substitute pecans or almonds for walnuts.
- Add mini marshmallows for a dessert-style salad.
- Use whipped cream instead of yogurt for a richer version.
- Mix in chia seeds or flaxseed for added fiber.
- Add kiwi, mango, peaches, or cherries when in season.
Storage
- Refrigerate in an airtight container for up to 2 days.
- Best enjoyed within 24 hours.
- Not recommended for freezing, as the fruit will lose texture after thawing.
Nutritional Information (Per Serving, Approximate)
- Calories: 245
- Protein: 7 g
- Carbohydrates: 30 g
- Fiber: 4 g
- Sugar: 22 g
- Fat: 12 g
- Saturated Fat: 2 g
- Cholesterol: 4 mg
- Sodium: 45 mg
- Potassium: 420 mg
- Calcium: 110 mg
- Vitamin C: 45% DV
- Vitamin A: 10% DV
- Iron: 5% DV
Values are estimates and vary with ingredient brands and fruit choices.
Health Benefits
- Rich in vitamins, minerals, and antioxidants from fresh fruit.
- Walnuts provide heart-healthy omega-3 fatty acids.
- Greek yogurt supplies protein and calcium for bone health.
- High in dietary fiber to support healthy digestion.
- Naturally hydrating due to the high water content of fresh fruit.
- Provides lasting energy from a balance of natural carbohydrates, healthy fats, and protein.
- May support immune function with vitamin C-rich fruits.
- A healthier alternative to many heavy desserts.
Frequently Asked Questions (Q&A)
1. Can I make this salad ahead of time?
Yes. Prepare it up to 24 hours ahead, but add bananas and walnuts just before serving for the best texture.
2. Can I use canned fruit?
Yes, but drain it thoroughly to avoid a watery salad. Fresh fruit generally provides better texture and flavor.
3. Can I make it dairy-free?
Yes. Replace the Greek yogurt with a dairy-free yogurt made from coconut, almond, or oat milk.
4. Can I omit the mayonnaise?
Absolutely. The salad remains creamy with Greek yogurt alone.
5. Which apples work best?
Crisp varieties such as Honeycrisp, Gala, Fuji, or Pink Lady hold their texture well.
6. How do I keep the fruit from turning brown?
Toss apples and bananas with a small amount of lemon juice before mixing them into the salad.
7. Can I use frozen fruit?
Fresh fruit is recommended. If using frozen fruit, thaw and drain it well first, though the texture may be softer.
8. Is this recipe suitable for kids?
Yes. It’s naturally colorful, mildly sweet, and can be customized with your children’s favorite fruits.
9. Can I add more protein?
Yes. Stir in extra Greek yogurt, cottage cheese, or serve alongside grilled chicken for a more filling meal.
10. What pairs well with this salad?
It complements grilled chicken, turkey, baked fish, sandwiches, brunch dishes, or can be enjoyed on its own as a light dessert or snack.
 Ingredients
 Instructions
 Prepare
 Make the Cream Cheese Layer
 Prepare the Batter
 Assemble
 Bake
Bake Optional Glaze
 Q & A
Q & A