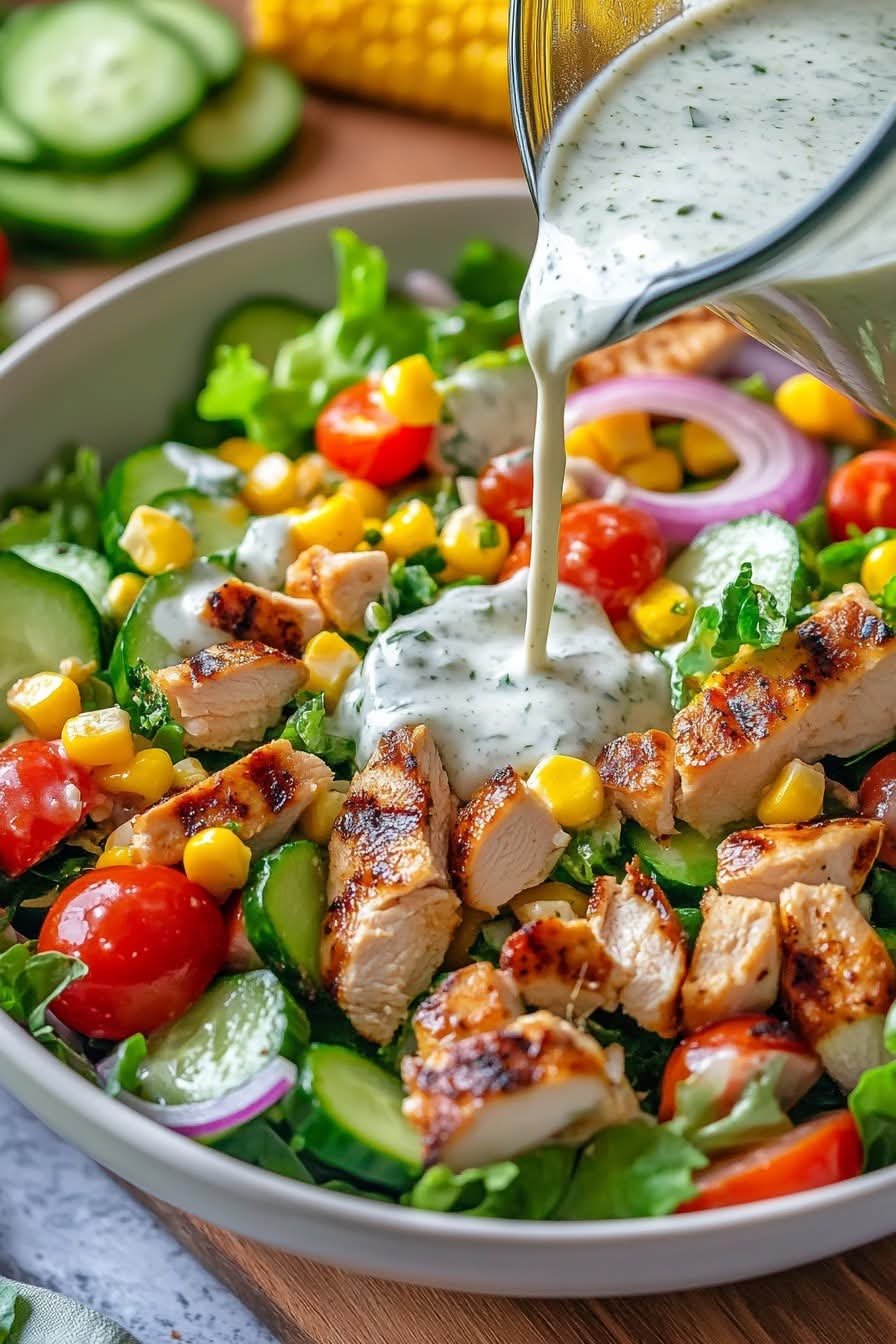
Healthy Ranch Chicken Salad
Why You’ll Love This Healthy Ranch Chicken Salad
High in protein, low in guilt: Lean chicken and Greek yogurt-based ranch keep it light but satisfying.
Bursting with flavor and texture: Creamy, crunchy, tangy, and savory in every bite.
Perfect for lunch, dinner, or meal prep: Easy to pack and stays fresh.
Naturally gluten-free: Great for a variety of dietary preferences.
Ingredients
Salad Base:
1 lb chicken breast, cut into bite-sized pieces
1 tbsp olive oil
4 cups packed greens (romaine, arugula, or spinach)
¼ small red onion, sliced thin
¾ cup cherry or grape tomatoes, halved
½ English cucumber, sliced
1 avocado, sliced
⅓ cup corn (fresh, frozen, or canned)
Homemade Ranch Dressing:
1 cup plain non-fat Greek yogurt
2–3 garlic cloves, minced
2 tsp lemon juice
2 tbsp finely chopped onion
1 tbsp Dijon mustard
2 tbsp fresh chives, finely chopped
1 tbsp fresh parsley, finely chopped
1 tbsp fresh dill, finely chopped
Sea salt and black pepper, to taste
Instructions
1. Make the Dressing
In a small jar or bowl, add:
Greek yogurt
Garlic
Lemon juice
Onion
Dijon mustard
Chives, parsley, dill
Salt and pepper
Secure the lid and shake well to emulsify or whisk until creamy. Set aside about ⅓ of the dressing for marinating the chicken, and refrigerate the rest.
2. Marinate the Chicken
Place your chicken pieces in a bowl and toss with the reserved dressing. Let them sit for at least 15 minutes to absorb the flavors.
3. Cook the Chicken
Heat olive oil in a large non-stick skillet over medium-high heat. Add the marinated chicken in a single layer and cook 5-7 minutes until golden brown and fully cooked.
4. Assemble the Salad
In a large bowl or plate:
Add your greens
Top with onions, tomatoes, cucumbers, corn, avocado, and cooked chicken
Drizzle with your homemade ranch and toss gently just before serving.
Meal Prep Tips
Store separately: Keep dressing and salad in different containers until ready to eat.
Use pre-cooked chicken: Shredded rotisserie or grilled chicken makes this salad even faster.
Double the dressing: It keeps for up to 5 days in the fridge and works great as a veggie dip.
Variations
Make it dairy-free: Use a dairy-free yogurt alternative.
Add crunch: Top with roasted chickpeas or sunflower seeds.
Spice it up: Add a dash of cayenne or smoked paprika to the chicken marinade.
Nutrition Boost
This salad delivers:
Lean protein from chicken and Greek yogurt
Healthy fats from avocado and olive oil
Fiber and antioxidants from fresh veggies
Probiotics from Greek yogurt
It’s a true powerhouse for clean eating and healthy living.
More Healthy Recipes You’ll Love:
Mediterranean Chickpea Salad
Lemon Herb Grilled Chicken
Avocado Tuna Salad
Sweet Potato Kale Bowl
Final Thoughts
This Healthy Ranch Chicken Salad hits every note—it’s creamy, crunchy, fresh, and satisfying, all while keeping your health goals in check. Whether you’re eating clean, watching calories, or just love a great salad, this one’s for you. Try it today and let the ranchy goodness win you over!


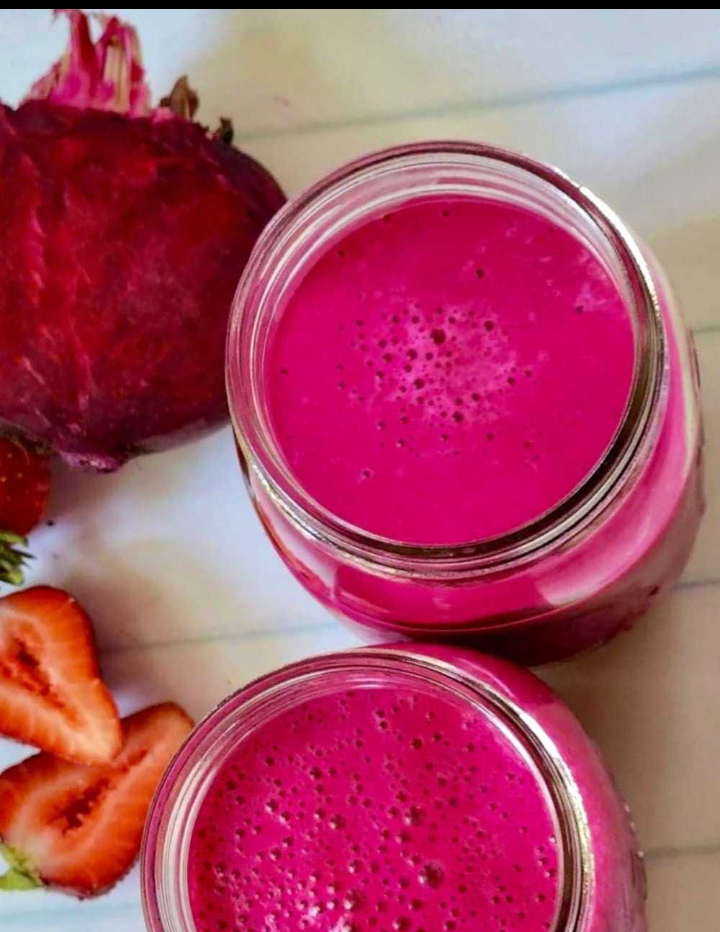
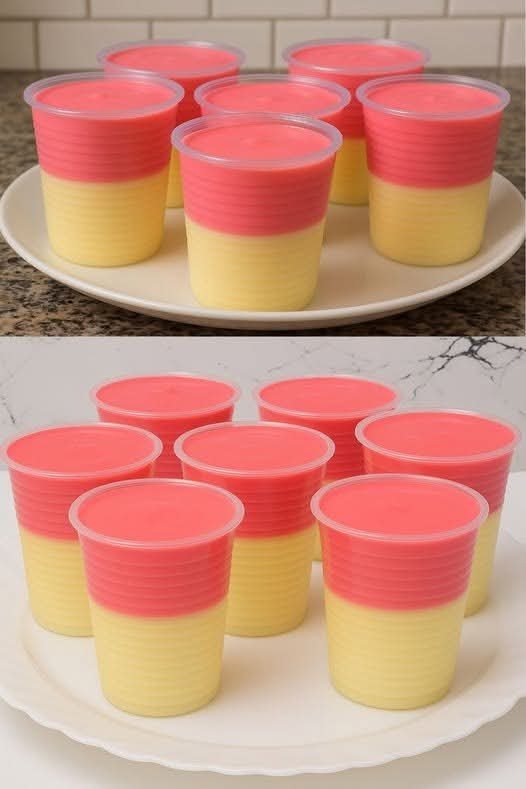

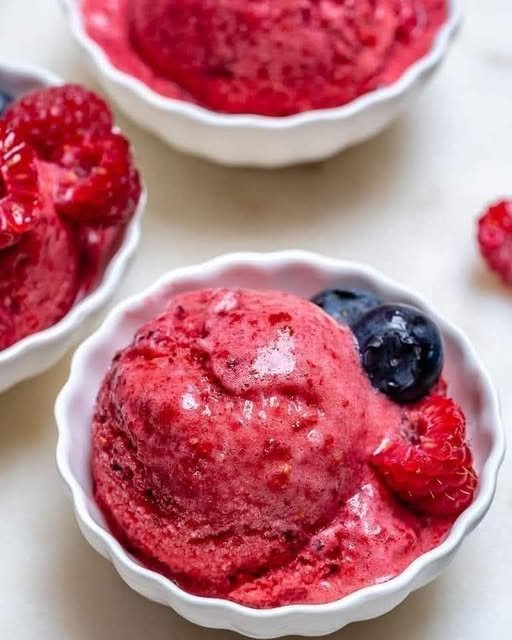

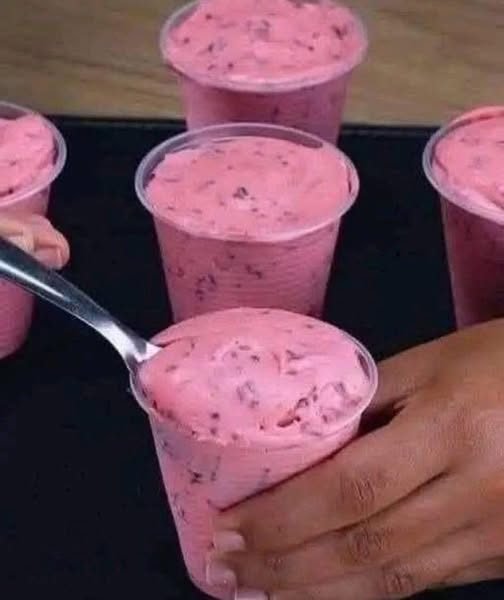
 Strawberry Mousse
 Ingredients
 Instructions
 Servings
 Notes
Notes Tips for Perfect Strawberry Mousse
 Nutritional Information (Approx. per serving)
 Health Benefits
 Q & A
Q & A