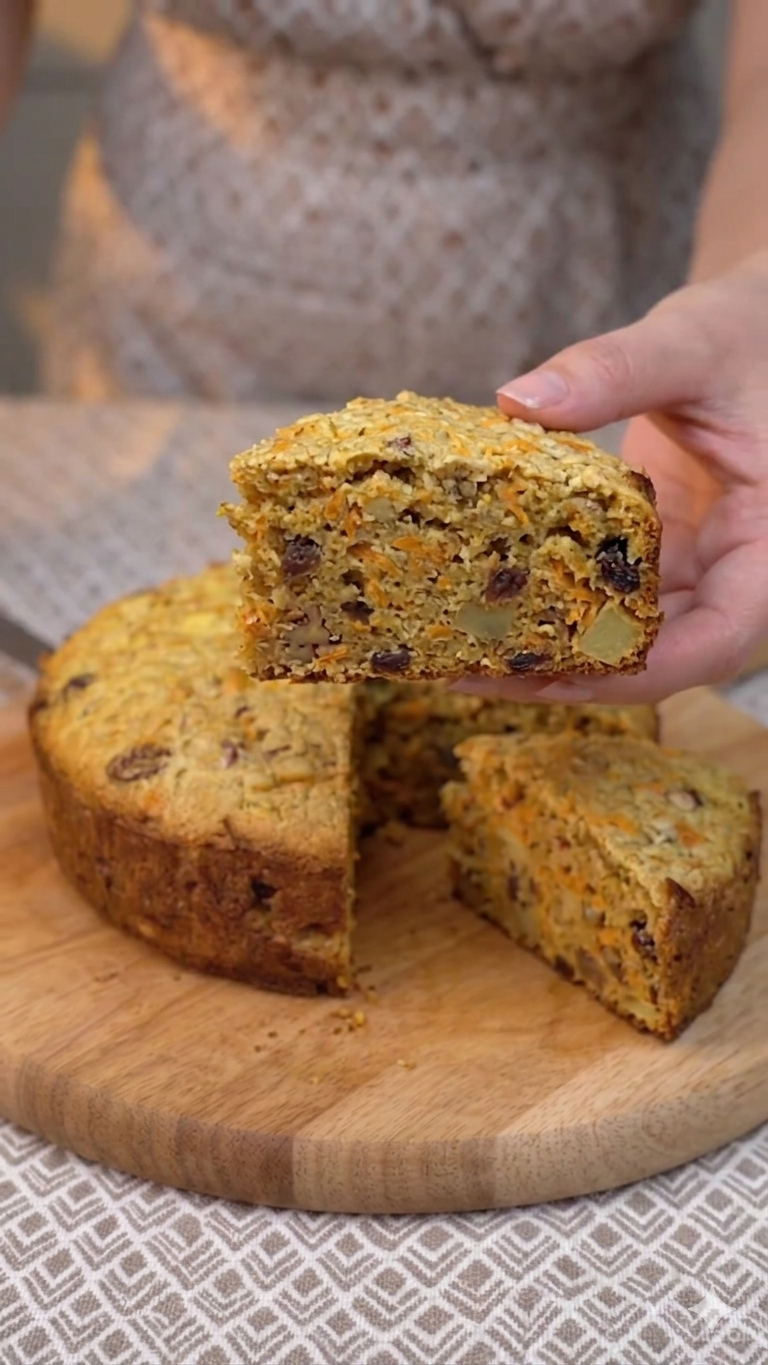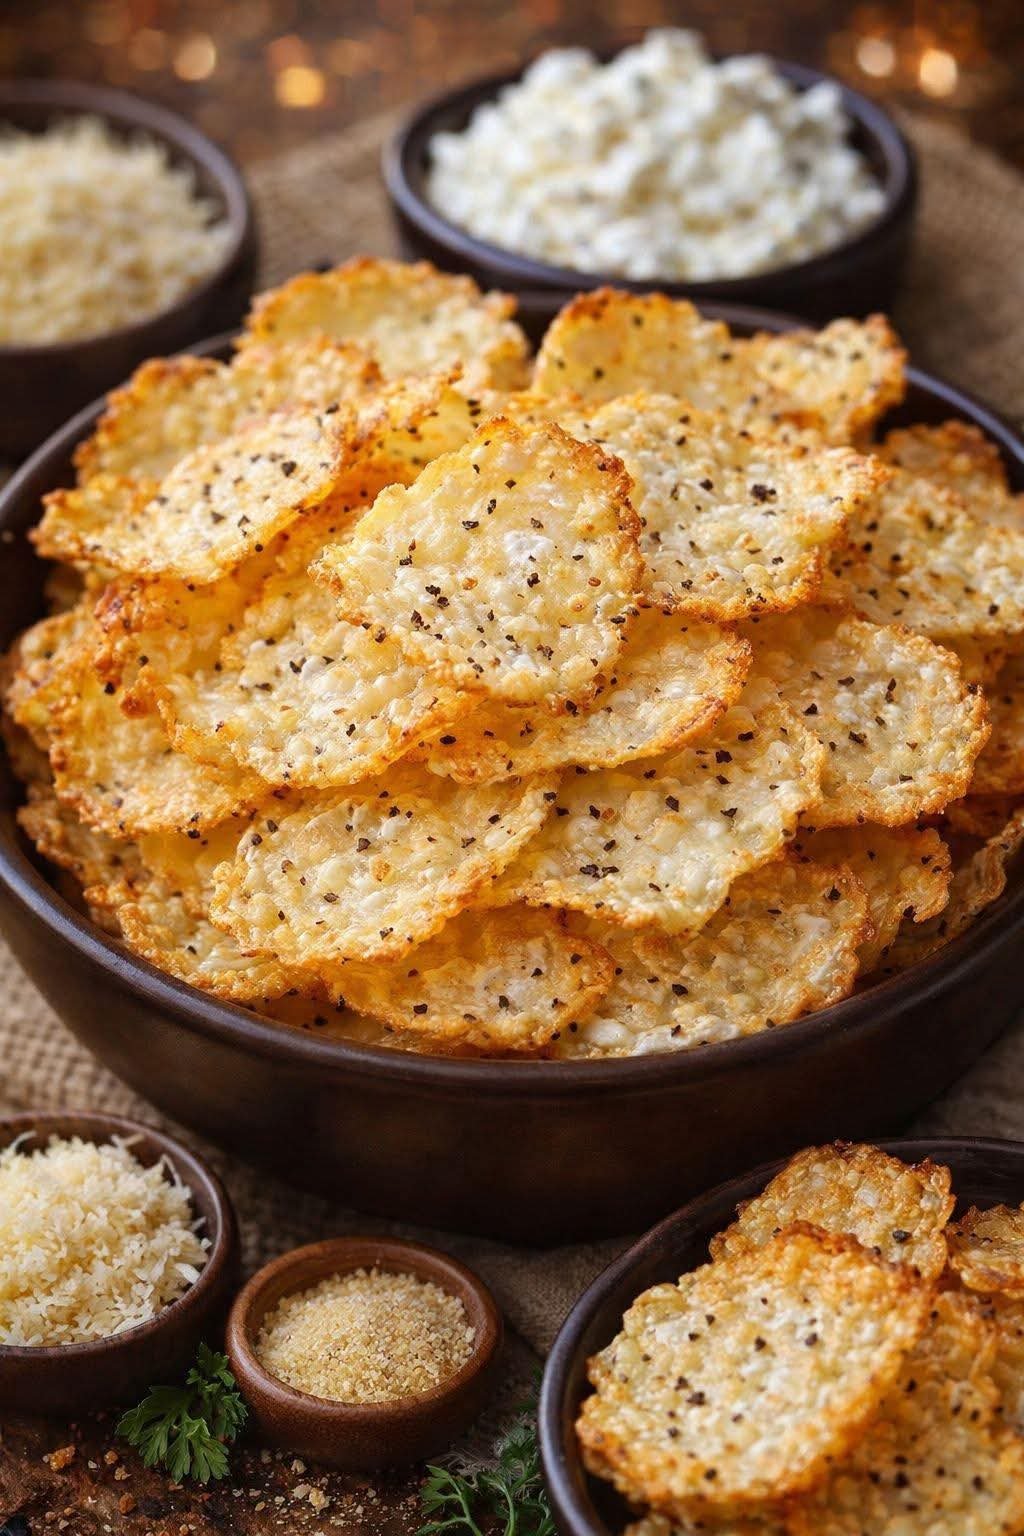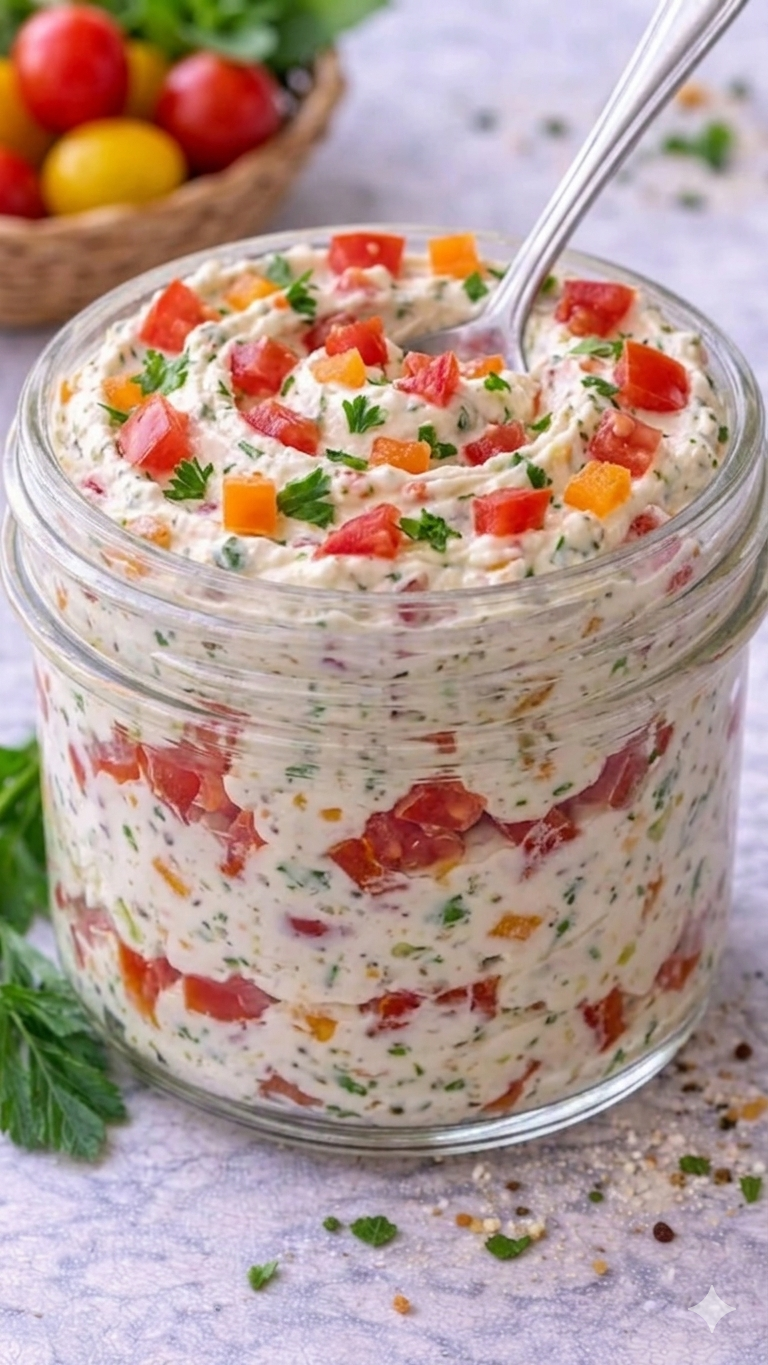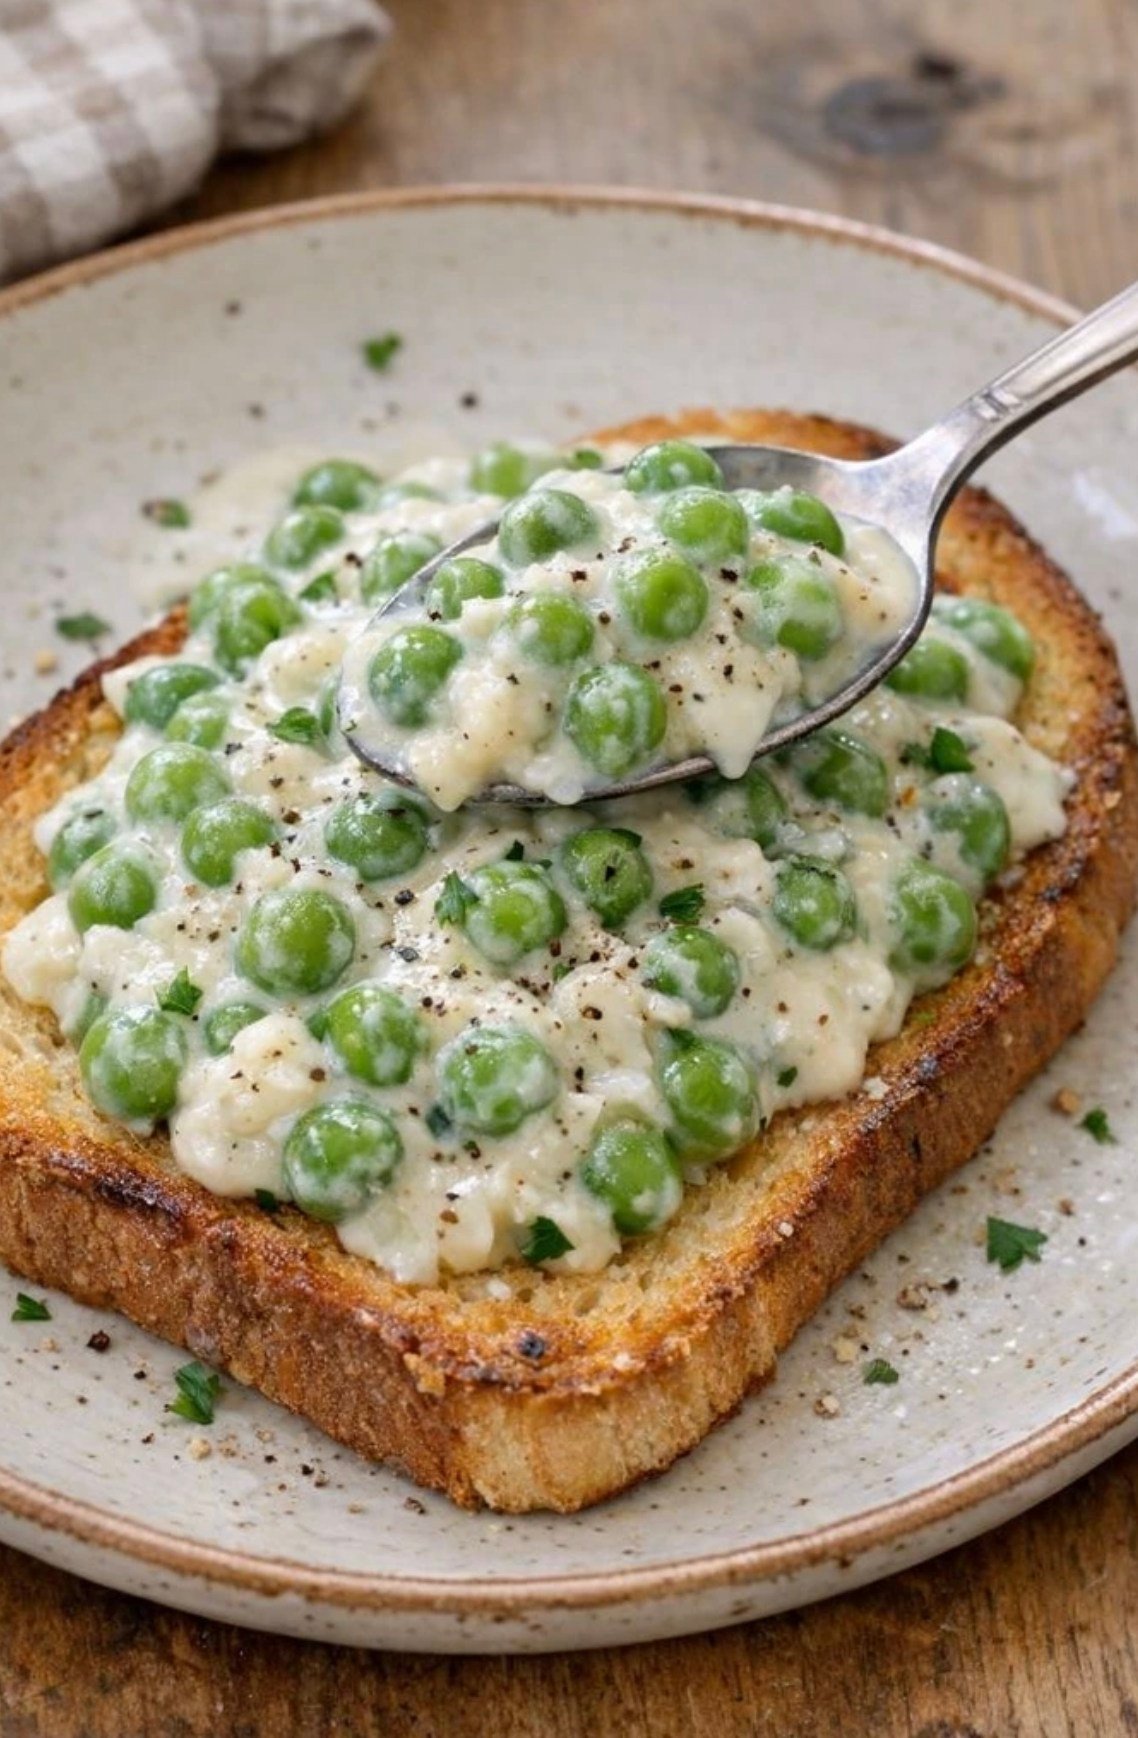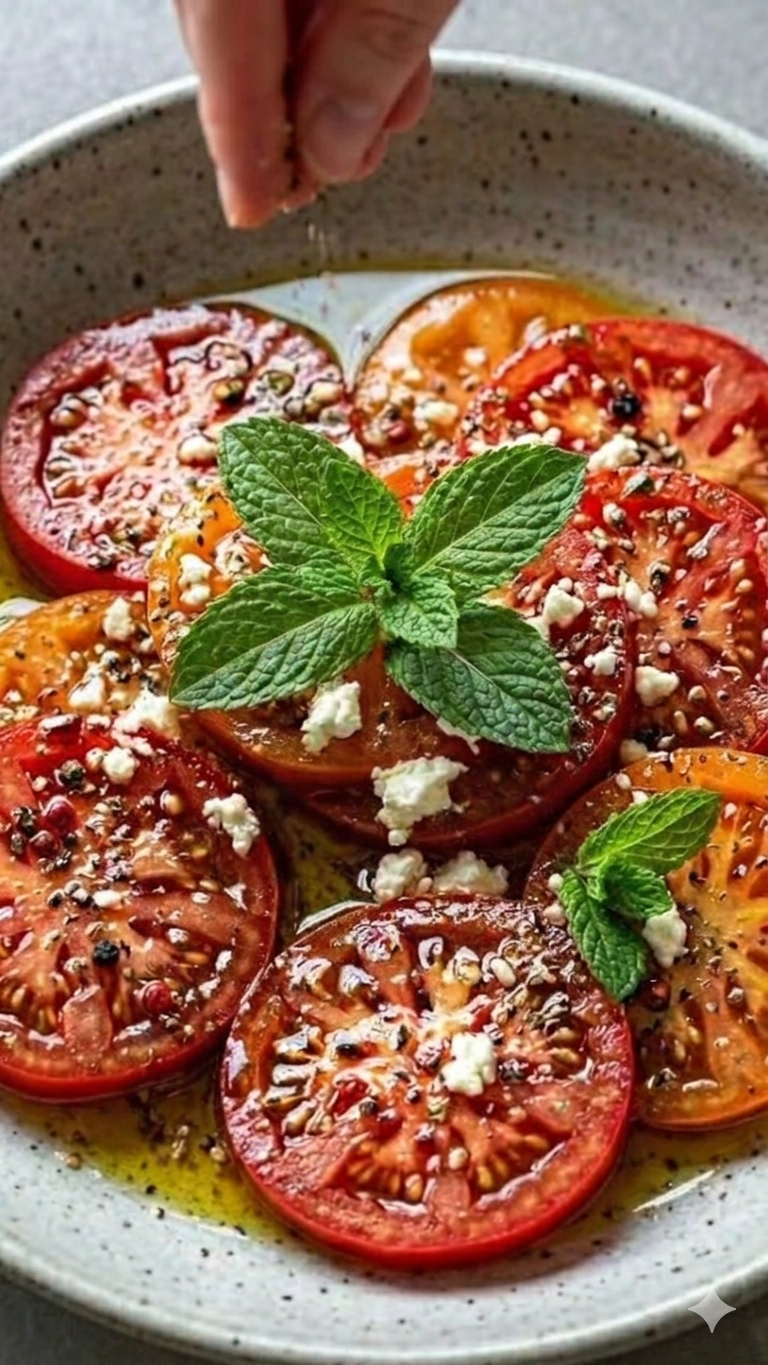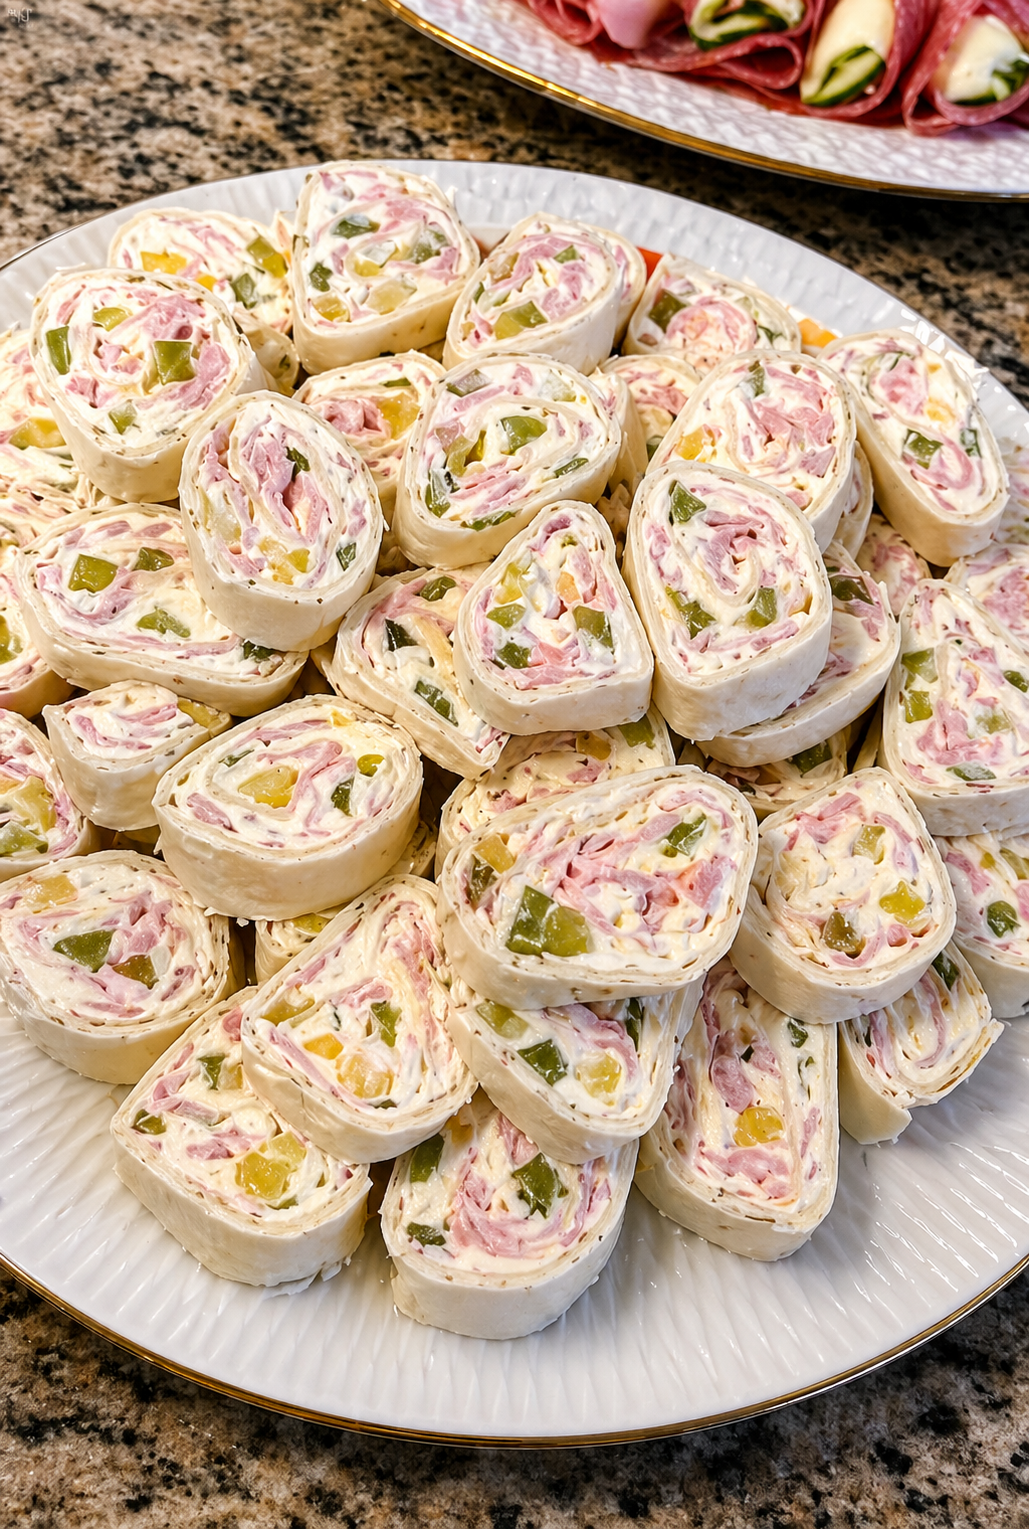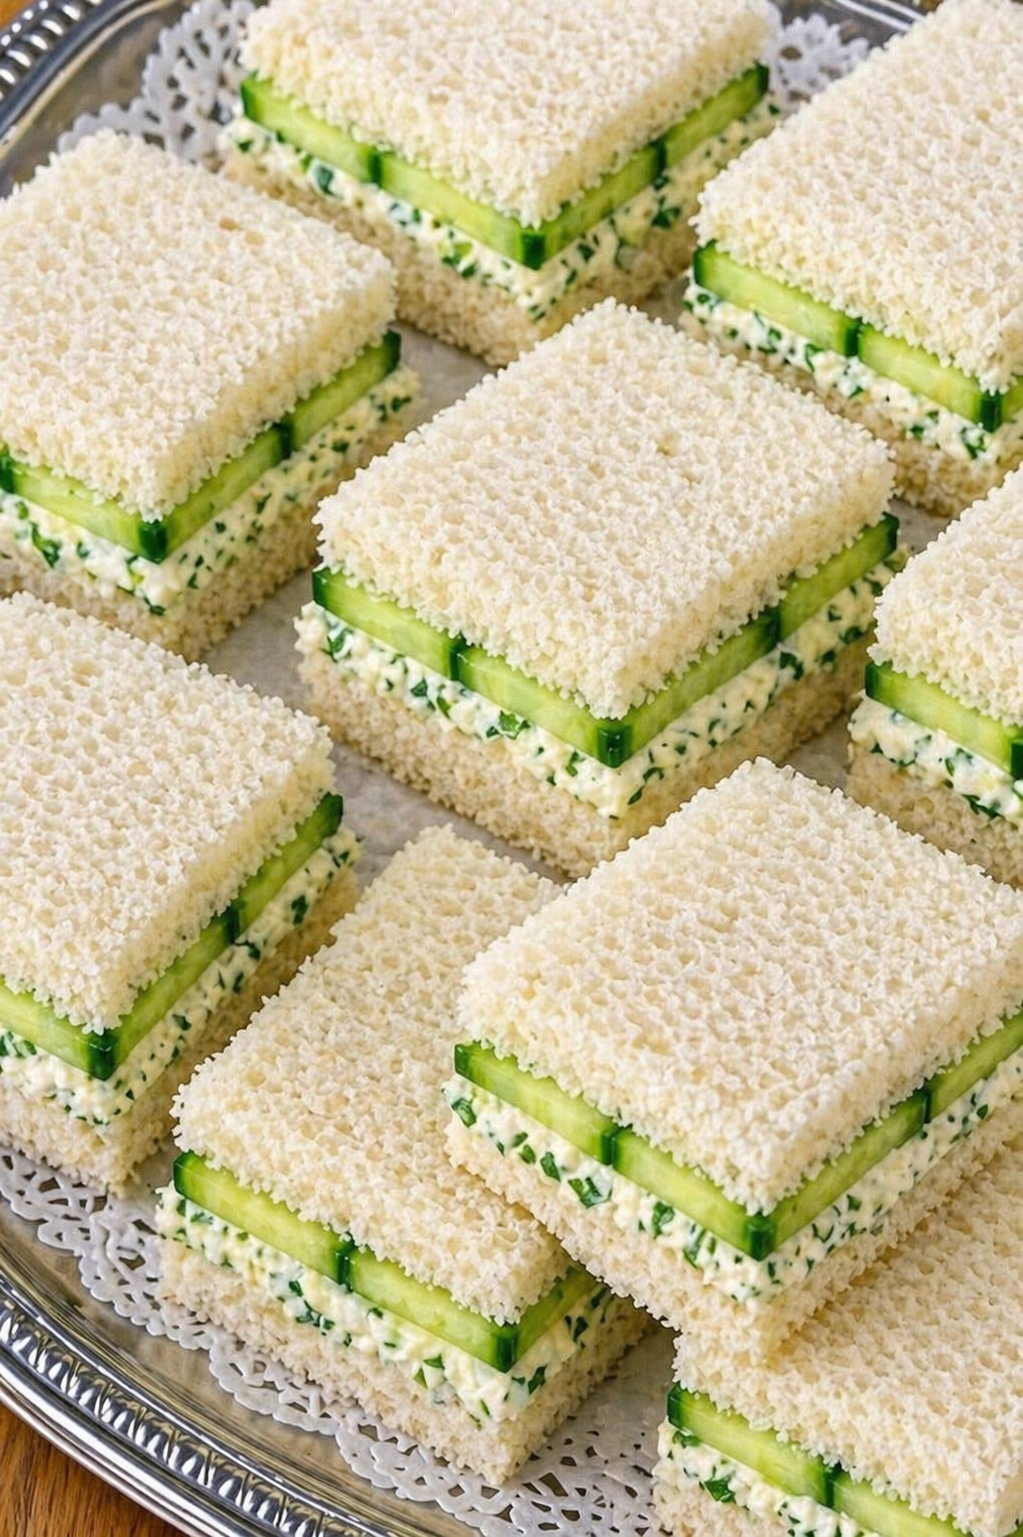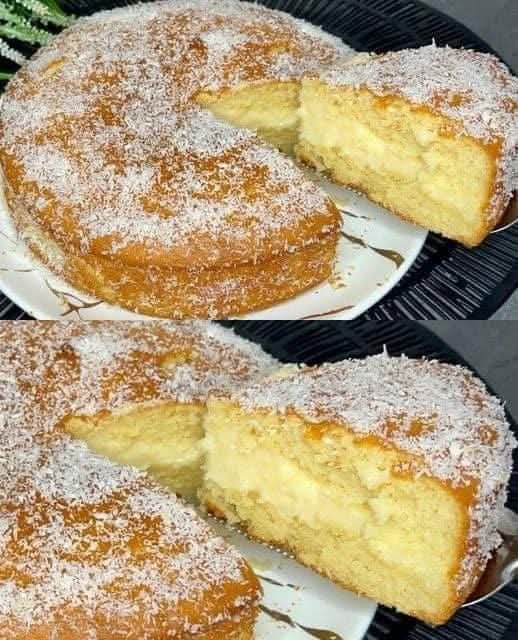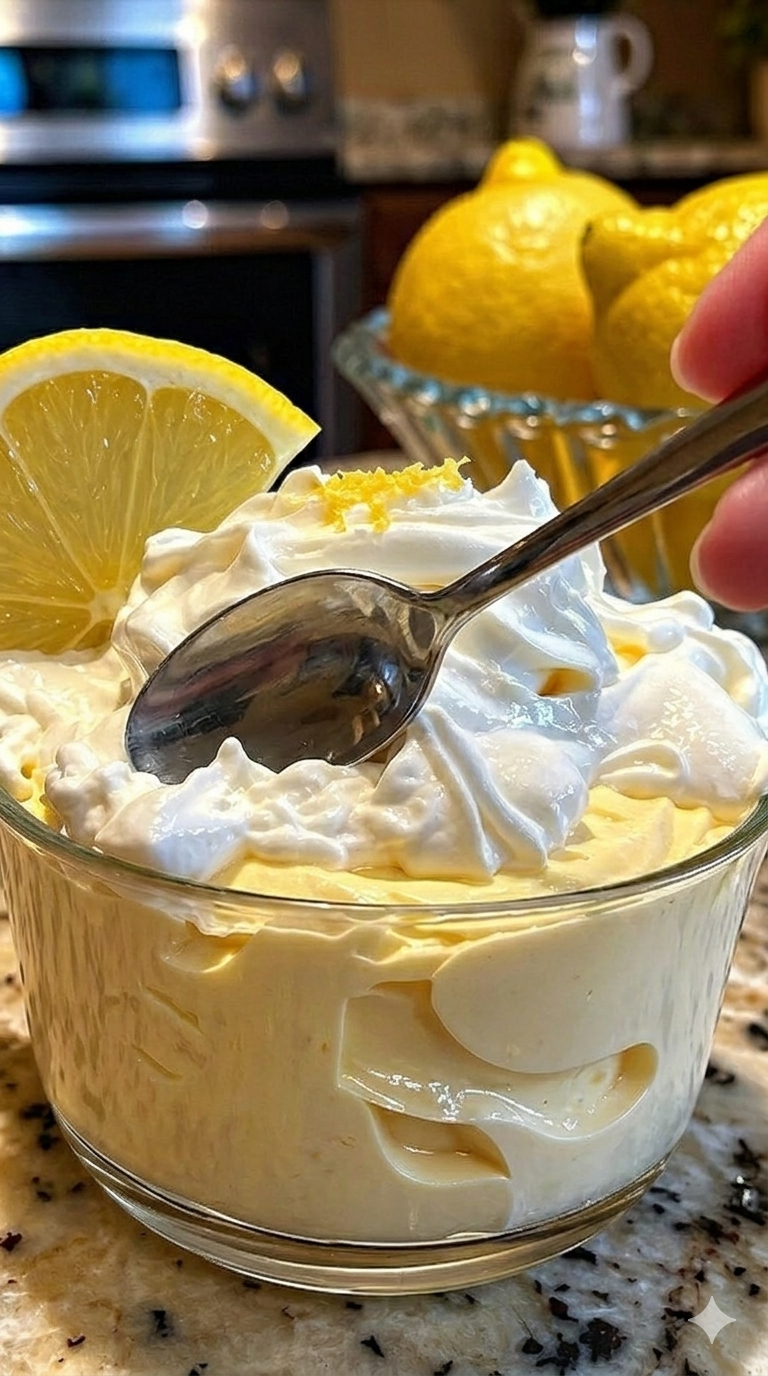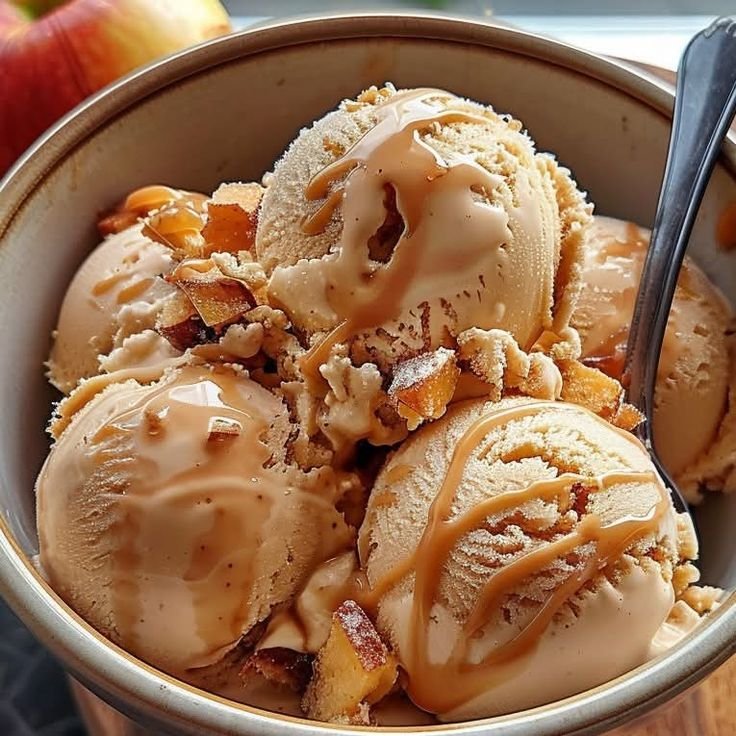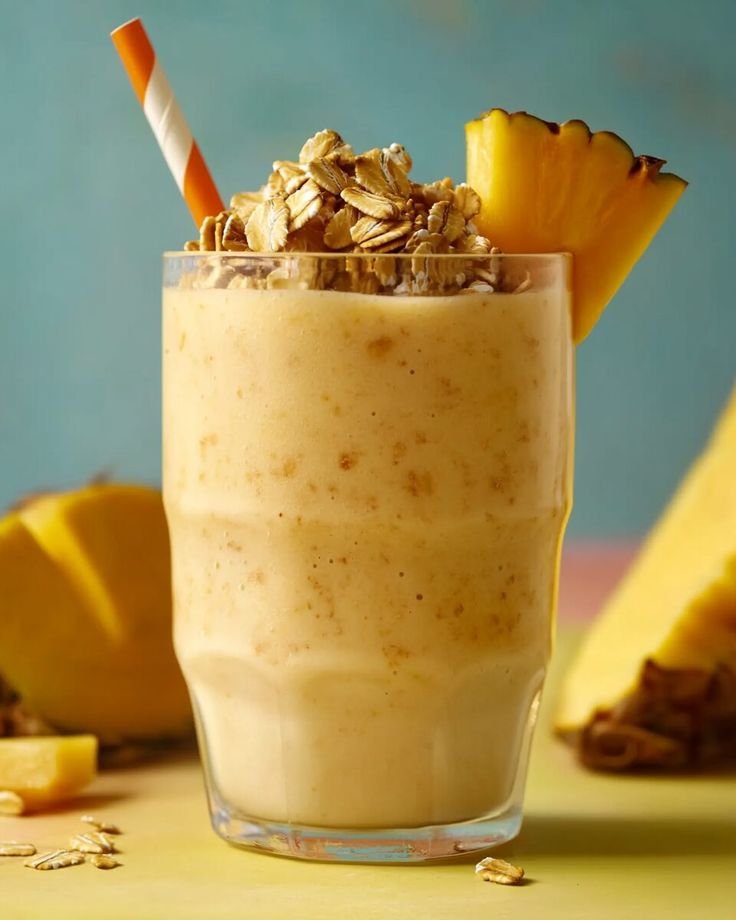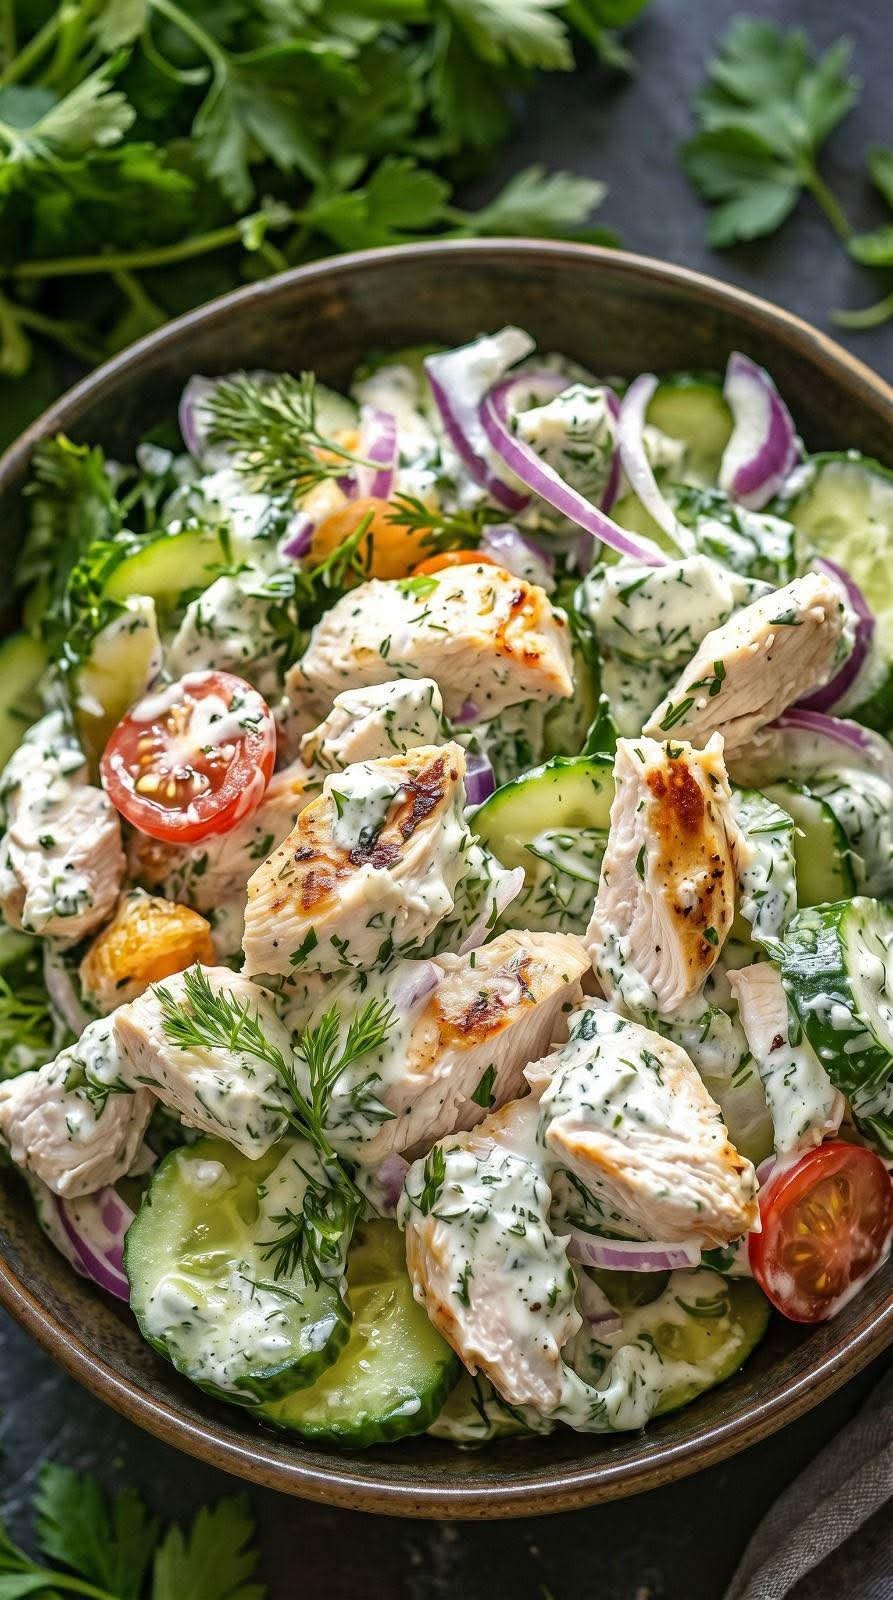
Crispy-Top Buttery Cake Squares

Crispy-Top Buttery Cake Squares

Ingredients

  • 1 cup (225g) Unsalted Butter: Melted and slightly cooled.

  • 1 ½ cups (300g) Granulated Sugar: Plus 2–3 extra tbsp for the topping.

  • 3 Large Eggs: At room temperature.

  • 1 tbsp Vanilla Extract: For a deep, aromatic flavor.

  • 1 ½ cups (190g) All-Purpose Flour: Sifted.

  • 1 tsp Baking Powder: To give it a light lift.

  • ½ tsp Salt: To balance the sweetness.

  • ½ cup (120ml) Milk: Whole milk provides the best texture.


Detailed Step-by-Step Instructions

  1. Preparation: Preheat your oven to 175°C (350°F). Grease an 8×8 or 9×9 inch square baking pan with butter and line the bottom with parchment paper, leaving an overhang on the sides for easy removal.

  2. Cream the Base: In a large mixing bowl, whisk together the melted butter and the 1 ½ cups of sugar until the mixture is smooth and pale.

  3. Incorporate Eggs and Vanilla: Add the eggs one at a time, whisking thoroughly after each addition. Stir in the vanilla extract until fully combined.

  4. Sift Dry Ingredients: In a separate medium bowl, whisk together the flour, baking powder, and salt. This ensures there are no lumps and the leavening agent is evenly distributed.

  5. Combine the Batter: Gradually add the dry ingredients to the butter mixture, alternating with the milk. Start and end with the flour. Mix only until the flour streaks disappear—do not overmix, as this can make the cake tough.

  6. The Secret Crust: Pour the batter into your prepared pan and smooth the top with a spatula. Evenly sprinkle the remaining 2–3 tablespoons of sugar over the entire surface. This is what creates that signature “shattered glass” crispy crust.

  7. Bake: Place in the center of the oven and bake for 30–35 minutes. The cake is ready when the edges are deep golden brown and a toothpick inserted into the center comes out with just a few moist crumbs.

  8. Cool and Slice: Allow the cake to cool in the pan for at least 15 minutes. This helps the sugary top set. Lift it out using the parchment paper and cut into 16 even squares.


Frequently Asked Questions (Q&A)

Q: Why is my cake texture more like a blondie than a sponge? A: This recipe uses melted butter and a high sugar-to-flour ratio, which naturally creates a denser, more fudgy “snack cake” texture rather than a tall, airy sponge. If it feels too heavy, ensure your baking powder is fresh.

Q: Can I use brown sugar for the topping? A: You can, but it will result in a softer, more caramel-like topping rather than a crisp, crackly crust. For the specific “crunch” shown in the photo, white granulated sugar works best.

Q: My sugar topping melted into the cake instead of staying crisp. What happened? A: This usually happens if the batter is too thin or if the oven temperature is too low. Ensure you measure your flour accurately (spoon and level method) and that your oven is fully preheated before the pan goes in.

Q: How should I store these to keep the top crispy? A: Store them in a container but leave the lid slightly cracked for the first few hours. If sealed completely while still slightly warm, the moisture will soften the crust. They stay fresh at room temperature for up to 3 days.

Q: Can I add fruit to this recipe? A: Yes! A handful of fresh blueberries or raspberries folded into the batter works beautifully. Just be aware that the extra moisture from the fruit might slightly soften the crispy top near where the fruit sits.

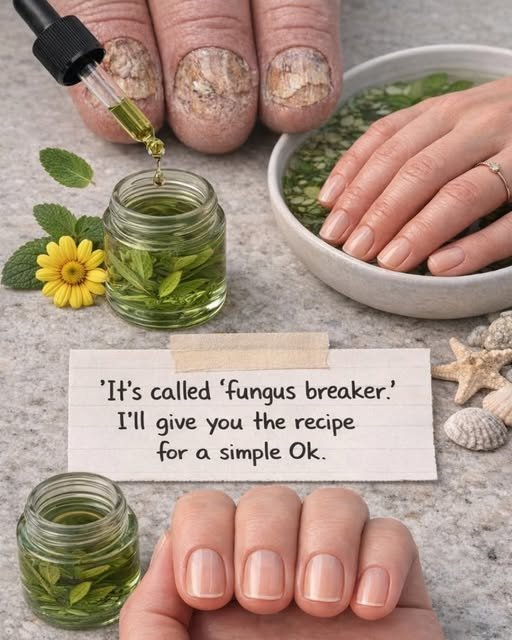
The Natural Soothing Rinse & Care Guide

The Natural Soothing Rinse & Care Guide

If you feel these bumps, the goal is to gently encourage them to dislodge while soothing the throat area.

Ingredients

  • 1 cup Warm Water: (Not hot, just comfortable to the touch).

  • 1/2 tsp Salt: Helps reduce inflammation and acts as a natural antiseptic.

  • 1/4 tsp Baking Soda: Helps neutralize acids and odors caused by the stones.

  • Optional: 1 drop of Peppermint oil for extra freshness.

Detailed Step-by-Step Instructions

  1. Prepare the Rinse: Mix the salt and baking soda into the warm water until completely dissolved.

  2. Gargle Deeply: Take a sip of the solution and gargle deeply at the back of your throat for 30 seconds. The vibration of the gargling can help loosen smaller stones naturally.

  3. Stay Hydrated: Drink plenty of water throughout the day. A dry mouth makes it easier for debris to build up in the tonsil crypts.

  4. Gentle Oral Hygiene: Use an alcohol-free mouthwash and brush your tongue regularly. This reduces the amount of bacteria available to form new stones.

  5. Manual Removal (Caution): If a stone is very visible and causing discomfort, some people use a clean, dampened cotton swab to very gently nudge the area. Never use sharp objects or apply heavy pressure, as tonsil tissue is delicate and bleeds easily.


Frequently Asked Questions (Q&A)

Q: Are tonsil stones a sign of an infection? A: Not necessarily. While they can appear after a bout of tonsillitis, they are often just a result of the shape of your tonsils. If you have deep “crypts” (holes) in your tonsils, you are more likely to get them even if your throat is healthy.

Q: Why do they smell so bad? A: Because they are made of trapped organic matter and bacteria, they undergo a process of decay. This releases sulfur compounds, which is why they often have a very strong, unpleasant odor.

Q: When should I see a doctor? A: You should consult a healthcare professional if you experience:

  • Severe throat pain or difficulty swallowing.

  • Tonsils that are very red, swollen, or bleeding.

  • Stones that are too large to come out on their own and cause constant discomfort.

Q: Can I prevent them from coming back? A: Good oral hygiene is the best defense. Using a water flosser on a low-pressure setting to gently rinse the tonsil area can also prevent debris from building up into stones.

Q: Are they contagious? A: No. Tonsil stones are not an infection or a virus; they are simply a physical buildup of material in your own throat.

10-Minute Creamy Carrot & Herb Spread


10-Minute Creamy Carrot & Herb Spread

Ingredients

  • 2 cups Carrots: Peeled and very finely grated.

  • 1 cup Cream Cheese: Softened to room temperature for easy mixing.

  • 1/2 cup Greek Yogurt or Sour Cream: Adds a nice tang and creamy texture.

  • 1/4 cup Fresh Parsley: Finely chopped.

  • 1/4 cup Fresh Dill or Chives: Finely chopped.

  • 1 Clove Garlic: Minced or pressed.

  • 1/2 tsp Salt: Adjust to taste.

  • 1/4 tsp Black Pepper: Freshly cracked.

  • 1/2 tsp Lemon Juice: To brighten the flavors.


Detailed Step-by-Step Instructions

  1. Prep the Carrots: Use the finest side of your grater for the carrots. If they are particularly juicy, place them in a clean kitchen towel and squeeze gently to remove excess moisture. This ensures the spread stays thick and creamy.

  2. Soften the Base: In a medium mixing bowl, beat the cream cheese with a spatula or hand mixer until it is completely smooth and free of lumps.

  3. Combine the Dairy: Add the Greek yogurt (or sour cream) and the minced garlic to the cream cheese. Stir until well incorporated.

  4. Fold in Vegetables and Herbs: Add the finely grated carrots, chopped parsley, and dill/chives. Fold them gently into the creamy base until the color is even and the herbs are distributed throughout.

  5. Season: Stir in the lemon juice, salt, and black pepper. Give it a quick taste and adjust the seasoning if necessary.

  6. Chill and Serve: While you can serve this immediately, letting it sit in the refrigerator for 30 minutes allows the garlic and herb flavors to meld beautifully. Serve with toasted bread, crackers, or fresh veggie sticks.


Frequently Asked Questions (Q&A)

Q: Can I make this spread ahead of time? A: Yes! In fact, it tastes even better the next day. You can store it in an airtight container in the refrigerator for up to 3 to 4 days.

Q: Is there a way to make this lighter? A: You can substitute the cream cheese for a low-fat version or use Neufchâtel cheese. Increasing the ratio of Greek yogurt will also make it lighter and add more protein.

Q: Can I use a food processor to save time? A: You can, but be careful not to over-process. Pulse the carrots first, remove them, then blend the dairy. If you process everything together for too long, the carrots may release too much water and make the spread runny.

Q: What else can I use this for besides a dip? A: This works wonderfully as a spread for wraps, a topping for grilled chicken, or even a creamy filling for finger sandwiches.

Q: Can I add nuts to this recipe? A: Absolutely. Adding 1/4 cup of crushed walnuts or toasted pecans provides a lovely crunch that pairs perfectly with the sweetness of the carrots.

Golden Crispy Vegetable Fingers

Golden Crispy Vegetable Fingers

Ingredients

  • 2 cups Potatoes: Boiled and grated (cold potatoes work best for a crispy texture).

  • 1 cup Carrots: Finely grated.

  • 1/2 cup Green Onions: Finely chopped.

  • 2 Large Eggs: To bind the mixture.

  • 1/2 cup Mozzarella or Cheddar Cheese: Grated (adds a beautiful melt).

  • 1/4 cup Cornstarch or Breadcrumbs: To help achieve that golden crunch.

  • Seasoning: 1 tsp Salt, 1/2 tsp Black Pepper, 1/2 tsp Garlic Powder, and 1/2 tsp Paprika.

  • Oil: For shallow frying.


Detailed Step-by-Step Instructions

  1. Prepare the Vegetables: Grate the boiled potatoes and fresh carrots into a large mixing bowl. If the carrots seem very watery, squeeze them slightly with a paper towel to remove excess moisture.

  2. Mix the Base: Add the finely chopped green onions, grated cheese, and the two eggs to the bowl. Stir everything together until well combined.

  3. Season and Bind: Sprinkle in the salt, pepper, garlic powder, paprika, and your choice of cornstarch or breadcrumbs. Mix thoroughly until the dough-like mixture holds its shape when pressed.

  4. Shape the Fingers: Take a small portion of the mixture (about 2 tablespoons) and roll it between your palms to form a cylinder shape, roughly 3 to 4 inches long.

  5. Heat the Pan: Pour enough oil into a large non-stick skillet to cover the bottom (about 1/4 inch). Heat over medium heat until the oil is shimmering.

  6. Fry to Perfection: Carefully place the vegetable fingers into the hot oil. Do not overcrowd the pan. Fry for 3–4 minutes per side, turning gently with tongs, until every side is deep golden brown and crispy.

  7. Drain and Serve: Remove the fingers and place them on a plate lined with paper towels to soak up any excess oil. Serve warm with your favorite dipping sauce.


Frequently Asked Questions (Q&A)

Q: Can I bake these instead of frying them? A: Yes! Arrange the fingers on a baking sheet lined with parchment paper. Spray them lightly with olive oil and bake at 200°C (400°F) for 20–25 minutes, flipping halfway through until they are golden and firm.

Q: My mixture is too soft to shape. What should I do? A: If the mixture feels too wet, add another tablespoon of cornstarch or breadcrumbs. Letting the mixture chill in the fridge for 15 minutes before shaping also helps it firm up significantly.

Q: Can I freeze these for later? A: Absolutely. Shape the fingers and place them on a tray in the freezer for an hour. Once they are firm, transfer them to a freezer bag. You can fry or bake them straight from frozen—just add 2 extra minutes to the cooking time.

Q: What other vegetables can I add? A: Finely chopped spinach, steamed broccoli florets, or corn kernels work wonderfully in this recipe. Just ensure any extra vegetables are chopped very small so the fingers stay together.

Q: How do I keep them crispy if I am making a large batch? A: Keep the finished fingers on a wire rack over a baking sheet in a warm oven (about 90°C) while you finish frying the rest. This prevents them from becoming soggy on the bottom.

The Vitamin-Rich Night Glow Balm

The Vitamin-Rich Night Glow Balm

This recipe combines the protective properties of coconut oil with the antioxidant power of Vitamin E and the brightening potential of citrus.

Ingredients

  • 1/2 cup Organic Cold-Pressed Coconut Oil: Acts as a deeply moisturizing base.

  • 1 tbsp Extra Virgin Olive Oil: Adds Vitamin A and E for skin repair.

  • 3 Vitamin E Capsules (400 IU): Helps protect the skin from oxidative stress.

  • 5 drops Lemon Essential Oil: Used for its brightening properties (Note: Essential oil is safer for the skin’s pH than fresh juice).

  • Optional: 1 tsp Beeswax pellets (if you prefer a firmer, more traditional “balm” texture).

Detailed Step-by-Step Instructions

  1. Sanitize Your Workspace: Before beginning, ensure your mixing bowl and final storage jar are completely clean and dry. Since this recipe does not contain water, it will last longer if kept free of bacteria.

  2. Melt the Base: Place the coconut oil (and beeswax, if using) in a heat-safe glass bowl. Use a double-boiler method by placing the bowl over a pot of simmering water. Gently melt until it is a clear liquid. Avoid high heat to preserve the nutrients.

  3. Cool Slightly: Remove the bowl from the heat. Let it sit for about 5 minutes so it is warm but not hot.

  4. Incorporate Vitamins: Carefully puncture the Vitamin E capsules with a clean pin and squeeze the oil into the mixture. Stir in the olive oil.

  5. Add the Brightening Agent: Add the 5 drops of lemon essential oil. Stir thoroughly with a glass or silicone spatula to ensure the oils are fully blended.

  6. Set the Texture: Pour the liquid into a dark glass jar. Place the jar in the refrigerator for 30–45 minutes until it solidifies into a creamy consistency.

  7. Final Whip (Optional): If you want a “fluffy” texture, remove it from the fridge once it is semi-solid and whip it with a clean hand mixer for 2 minutes before returning it to the jar.

Application Guide

  • Night Use Only: Because citrus oils can make skin sensitive to the sun, only apply this before bed.

  • Damp Skin: For best results, apply a pea-sized amount to skin that is still slightly damp from washing. This helps the oil “lock in” the moisture.


Frequently Asked Questions (Q&A)

Q: How often should I use this night balm? A: For the best results in skin texture and hydration, use it every night as the final step in your routine. Consistency is key to seeing a “natural glow.”

Q: Why do I need to store this in a dark glass jar? A: Vitamin E and essential oils are sensitive to light and heat. A dark glass jar (amber or cobalt) prevents the ingredients from breaking down, ensuring the balm stays effective for up to 3 months.

Q: Is this suitable for all skin types? A: This is a rich, oil-based balm. It is excellent for dry, mature, or combination skin. If you have very oily or acne-prone skin, use it sparingly or focus only on the areas around the eyes and neck.

Q: Can I use fresh lemon juice instead of oil? A: It is not recommended for a long-term balm. Fresh juice contains water, which will cause the oil to spoil quickly without a preservative. Additionally, fresh juice has a very low pH that can irritate the skin; the essential oil is a more stable choice for DIY recipes.

Q: When will I start seeing results? A: You will likely feel increased softness and see a “plump” look the very next morning due to the hydration. For visible improvements in skin tone and fine lines, expect to see a difference after 4 weeks of consistent nightly use.

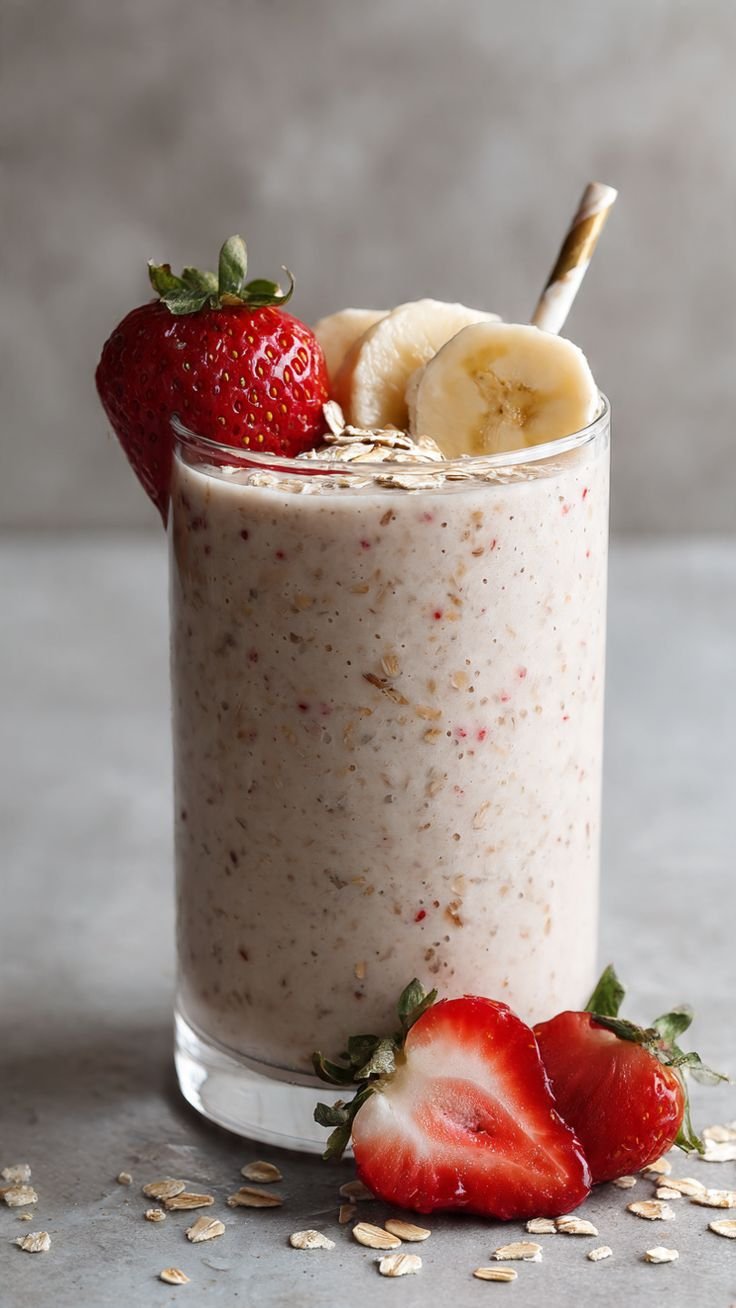
Strawberry Banana Swirl Smoothie.

Strawberry Banana Swirl Smoothie.


🍓 Ingredients

1 cup Fresh or frozen strawberries


1 Large ripe banana (frozen works best for creaminess)


½ cup Greek yogurt (plain or vanilla)


½ cup Milk of your choice (dairy, almond, or oat)


1 tsp Chia seeds (for the topping and extra fiber)


Optional: 1 tsp honey or maple syrup if you prefer extra sweetness.


🥣 Instructions

Prep the Swirl: Take 3–4 strawberries and mash them thoroughly in a small bowl with a fork (or a quick pulse in the blender) until you have a thick puree. Set this aside.


Blend the Base: In your main blender, combine the banana, the remaining strawberries, yogurt, and milk. Blend on high until the mixture is completely smooth and velvety.


The Assembly: Pour about one-third of the smoothie into a tall glass. Drop a spoonful of the strawberry puree on top. Repeat the layers until the glass is nearly full.


Create the Effect: Use a long spoon or a straw to gently swirl the puree through the smoothie. Don’t over-mix, or you’ll lose the beautiful marbled pattern!


Garnish: Top with fresh strawberry halves, a few banana slices, and a sprinkle of chia seeds just like in the photo.


Tip: If you want a thicker, “bowl-like” consistency, use less milk and ensure all your fruit is frozen!

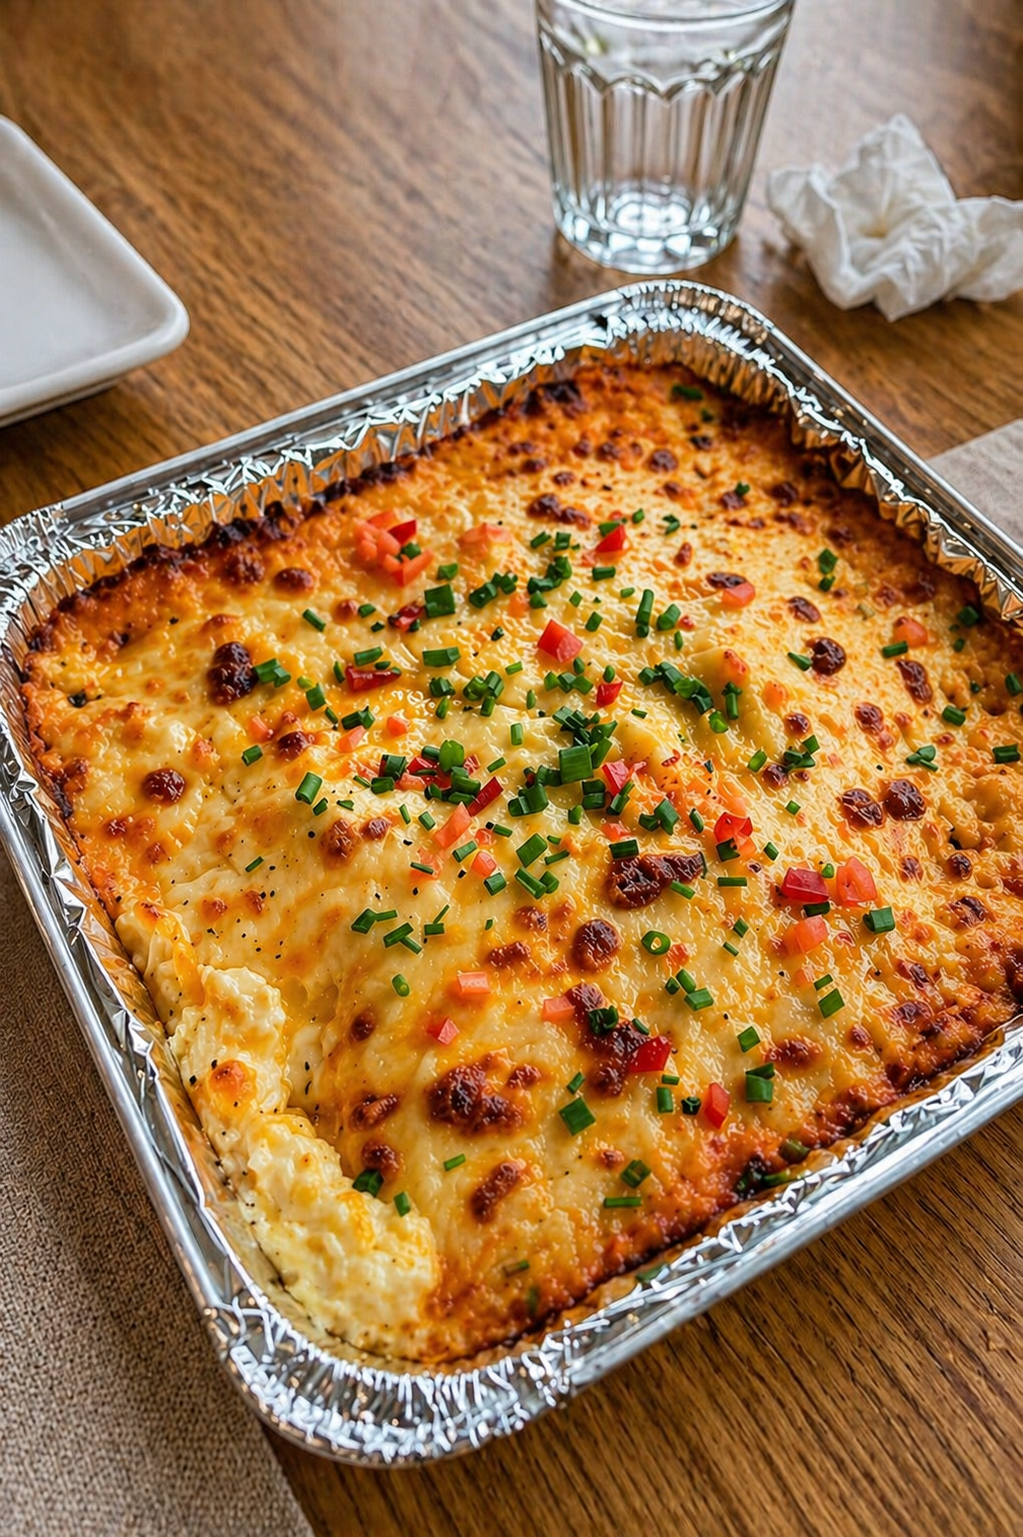
Cheesy Garlic Bread

Cheesy Garlic Bread


Ingredients

1 loaf French bread or baguette


1/2 cup unsalted butter (softened)


3 cloves garlic (minced)


1 tsp fresh parsley (finely chopped)


1.5 cups Shredded Mozzarella or Monterey Jack


1/4 cup Grated Parmesan


Optional: A pinch of red pepper flakes for heat.


Instructions

Prep: Preheat your oven to 200°C (400°F). Line a large baking sheet with parchment paper or foil for easy cleanup.


Slice: Cut the bread into thick diagonal slices (about 2cm thick). Arrange them in a single layer on the baking sheet.


The Spread: In a small bowl, mix the softened butter, minced garlic, and half of the parsley until smooth. Spread a generous layer onto each slice of bread, ensuring you reach the edges.


Cheese it Up: Pile a thick layer of shredded mozzarella on each slice, then sprinkle the Parmesan over the top. This blend gives you both the “stretch” and the salty flavor.


Bake: Place in the oven for 8–10 minutes until the cheese is bubbly. For those golden-brown toasted spots like in your photo, switch to the broiler for the last 1–2 minutes.


Finish: Remove from the oven and immediately sprinkle with the remaining fresh parsley.


Tip: Rub a raw garlic clove directly onto the toasted crust for an extra aromatic punch before serving!

Lemon Custard Tart.

Lemon Custard Tart.

Ingredients

For the Crust:


1 ½ cups All-purpose flour


½ cup Unsalted butter (cold, cubed)


¼ cup Powdered sugar


1 Egg yolk


For the Filling:


4 Large eggs


1 cup Granulated sugar


¾ cup Fresh lemon juice + 1 tbsp Zest


½ cup Heavy cream


The Method

Prepare the Crust: Pulse flour, sugar, and butter in a food processor until it looks like coarse crumbs. Add the egg yolk and pulse until the dough forms. Press it firmly into a rectangular tart pan. Freeze for 15 minutes, then bake at 175°C (350°F) for 15–18 minutes until lightly golden. Let it cool slightly.


Make the Filling: Whisk the eggs and granulated sugar until smooth. Stir in the lemon juice, zest, and heavy cream. Whisk gently to avoid creating too many air bubbles, which ensures that glass-like finish seen in your photo.


The Final Bake: Lower the oven to 150°C (300°F). Pour the lemon mixture into the warm crust. Bake for 30–35 minutes, or until the center has a slight wobble but the edges are set.


Chill: This is the hard part—let it cool to room temperature, then refrigerate for at least 4 hours. This ensures clean, sharp slices.


Pro Tip: For that extra glossy top, you can brush the finished tart with a thin layer of warmed apricot jam or a simple sugar glaze.

Tropical Citrus & Berry Smoothie

Tropical Citrus & Berry Smoothie


Ingredients

1 frozen banana: Provides that creamy, thick base.


1/2 cup Greek yogurt: For protein and a silky texture.


1/4 cup fresh orange juice: Use the juice from the orange pictured.


1/2 cup frozen mango or pineapple: Enhances the tropical yellow hue.


1 tsp chia seeds: These create the small dark specks seen in the drink.


1/4 cup milk of choice: To help everything blend smoothly.


Garnish: 1 orange slice, 2 fresh strawberries, and a sprig of mint.


Instructions

Prep the Fruit: Peel your banana and slice it before freezing for the best consistency. Slice your orange and strawberries for the garnish ahead of time so you can serve immediately.


Combine: Place the frozen banana, mango (or pineapple), yogurt, orange juice, and milk into a high-speed blender.


The “Speckle” Secret: Add the chia seeds last. If you want them whole (as pictured), pulse the blender gently at the end. For a smoother texture, blend them at high speed with the fruit.


Blend: Process until the mixture is thick, pale yellow, and completely smooth. If it’s too thick, add a splash more milk.


Assemble: Pour into a tall faceted glass. Slide an orange wheel and two strawberries onto the rim. Add a sprig of fresh mint and two striped straws for that classic aesthetic.

Classic Baked Custard Pie

Classic Baked Custard Pie

Prep time: 15 mins | Bake time: 45 mins | Servings: 8


Ingredients

1 unbaked 9-inch deep-dish pie crust


4 large eggs (room temperature)


3/4 cup granulated sugar


1/4 tsp salt


1 tsp vanilla extract


2 1/2 cups whole milk (scalded: heated just until tiny bubbles form)


1/4 tsp ground nutmeg (for dusting)


Instructions

Preheat & Prep: Heat your oven to 400°F (200°C). Place your pie crust in a glass or ceramic pie dish and crimp the edges.


Whisk: In a large bowl, gently whisk the eggs, sugar, salt, and vanilla. Avoid over-beating; you want a smooth mixture without too many air bubbles.


Temper the Milk: Slowly pour the warm milk into the egg mixture in a thin stream, whisking constantly. This prevents the eggs from scrambling.


Fill: Place the pie dish on the oven rack first, then pour the custard liquid into the crust. This avoids spills. Sprinkle the top generously with nutmeg.


Bake: Bake for 25–30 minutes or until a knife inserted halfway between the center and edge comes out clean. The center should still have a slight “jiggle.”


Cool: Allow it to cool completely on a wire rack before refrigerating. This ensures the custard sets perfectly.


Tip: For a richer flavor, swap 1/2 cup of milk for heavy cream.

rosemary focaccia bread

rosemary focaccia bread 


Ingredients:


4 cups all-purpose flour


2 ¼ teaspoons instant yeast


1 ½ teaspoons salt


1 teaspoon sugar


1 ¾ cups warm water


3 tablespoons olive oil (plus extra for topping)


1–2 teaspoons dried or fresh rosemary


Optional: coarse salt for topping


Instructions:


In a large mixing bowl, combine the warm water, sugar, and yeast. Let it sit for about 5 minutes until it looks slightly foamy. This helps ensure the yeast is active and ready to work.


Add the flour, salt, and 2 tablespoons of olive oil to the bowl. Mix everything together with a spoon or your hands until a soft, sticky dough forms. Knead the dough for about 8–10 minutes on a lightly floured surface until it becomes smooth and elastic.


Place the dough into a lightly oiled bowl, cover it with a clean cloth or plastic wrap, and let it rise in a warm place for 1–1.5 hours, or until it doubles in size.


Once risen, transfer the dough to a greased baking tray. Gently stretch and press it out to fill the tray evenly. Cover again and let it rest for another 20–30 minutes to become light and airy.


Preheat your oven to 200°C (400°F). Using your fingertips, press small dimples all over the surface of the dough. Drizzle olive oil generously over the top so it pools slightly in the dimples. Sprinkle rosemary and a pinch of coarse salt over the surface.


Bake for 20–25 minutes or until the top turns golden brown and the edges look crisp.


Remove from the oven and let the focaccia cool slightly before slicing. It is delicious served warm with soup, salad, or simply on its own with a drizzle of olive oil.

Berry-Banana Bliss Smoothie

Berry-Banana Bliss Smoothie

Prep time: 5 minutes | Servings: 1 large jar


Ingredients

Category Ingredient Quantity

The Base Frozen Strawberries 1 cup

Blueberries (Fresh or Frozen) ½ cup

Ripe Banana 1 medium

Liquid Milk (Dairy or Almond/Oat) 1 cup

Creaminess Greek Yogurt (Plain or Vanilla) ½ cup

Sweetener Honey or Maple Syrup 1 tbsp (optional)

Garnish Fresh Mint & Strawberries For the top

Instructions

Prep the Fruit: If you are using fresh fruit, give the strawberries and blueberries a good rinse. Peel the banana (pro-tip: use a spotted banana for extra sweetness).


Layer the Blender: Add the liquid first (this helps the blades move smoothly), followed by the yogurt, then the fruit.


Blend: Start on a low speed and gradually increase to high. Blend for about 45–60 seconds until the texture is completely smooth and those tiny berry seeds are well-incorporated.


Adjust Consistency: * If it’s too thick: Add a splash more milk.


If it’s too thin: Add a few ice cubes or more frozen fruit.


Serve: Pour into a large glass jar. Add a sprig of fresh mint and a couple of those fun striped straws to match the photo!


A Little Tip for Success

Using frozen fruit instead of fresh fruit with ice cubes will give you that thick, velvety “milkshake” consistency seen in the picture without watering down the flavor.

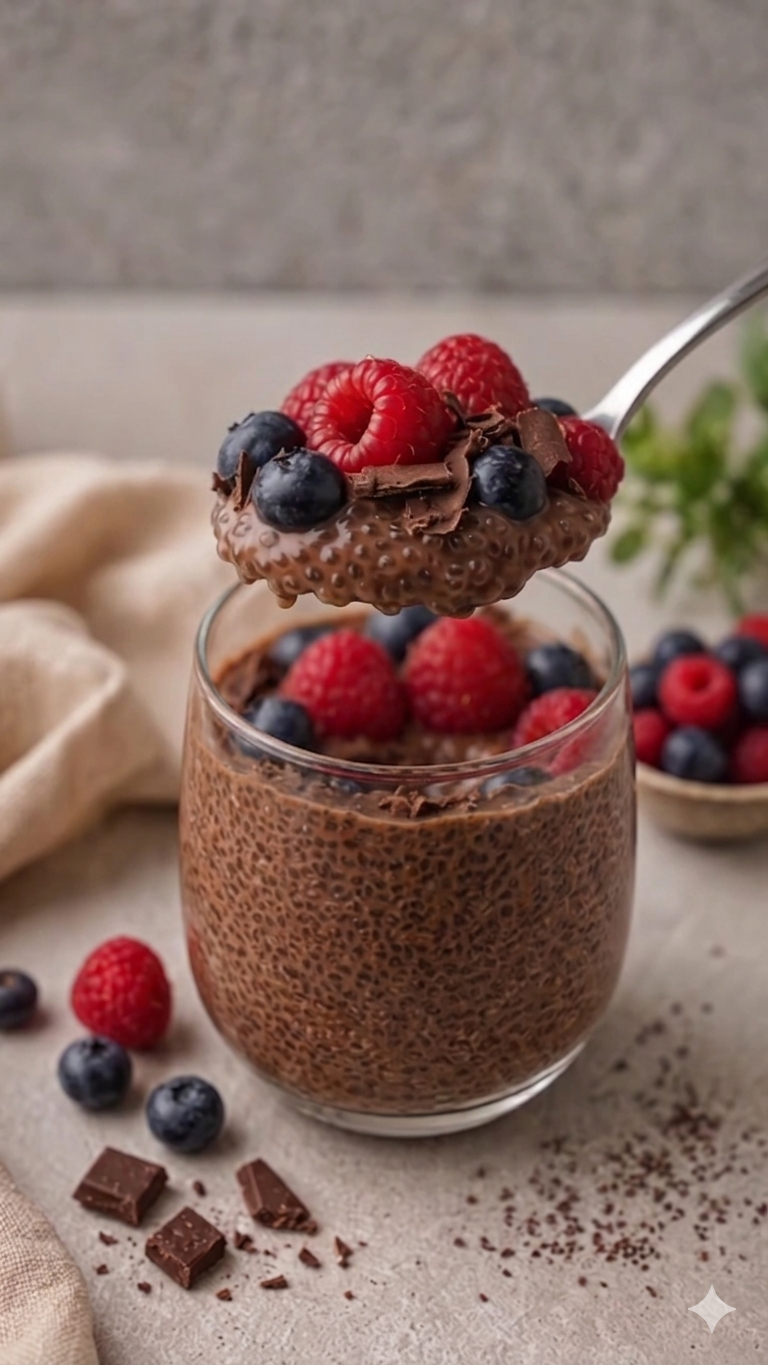
Creamy Chocolate Avocado Smoothie

Creamy Chocolate Avocado Smoothie

Prep time: 5 minutes | Servings: 1


Ingredients

1/2 Ripe Avocado: Pitted and peeled (this provides the “thick shake” texture).


1 Frozen Banana: (Peel before freezing for the best consistency).


1.5 cups Milk of choice: (Unsweetened almond, oat, or dairy milk).


2 tbsp Unsweetened Cocoa Powder: Use high-quality dark cocoa for that deep color.


1–2 tbsp Sweetener: Maple syrup, honey, or 2 pitted Medjool dates.


1/2 tsp Vanilla Extract: To enhance the chocolate flavor.


A pinch of Sea Salt: This balances the bitterness of the cocoa.


Toppings (as seen in the image)

A dusting of cocoa powder.


Roughly chopped dark chocolate chunks (70% cacao recommended).


Instructions

Layer the Blender: Pour the milk in first (this helps the blades spin freely), followed by the avocado, frozen banana, cocoa powder, sweetener, and vanilla.


Blend: Start on a low speed and gradually increase to high. Blend for about 45–60 seconds until the mixture is completely smooth and no green flecks remain.


Adjust Consistency: If it’s too thick, add a splash more milk. If you want it colder/thicker, add a handful of ice cubes and blend again.


Garnish: Pour into a tall glass. Sprinkle a light layer of cocoa powder over the top and add your chocolate chunks right in the center.


Quick Tips for Success

Ripeness Matters: Ensure the avocado is soft to the touch. An underripe avocado will leave tiny firm chunks in your drink.


Boost the Protein: You can easily swap one tablespoon of cocoa powder for a scoop of chocolate protein powder if you’re using this as a post-workout meal.

Pepperoni Pizza Roll-Ups

Pepperoni Pizza Roll-Ups

Prep time: 10 mins | Cook time: 15 mins | Serves: 4-6


Ingredients

Tortillas: 8-10 medium flour tortillas (soft taco size).


Cheese: 2 cups shredded mozzarella (or a pizza blend).


Pepperoni: 1 package of sliced pepperoni.


Sauce: ½ cup marinara or pizza sauce (plus extra for dipping).


Topping: 2 tbsp melted butter, ½ tsp garlic powder, and 1 tsp dried parsley or Italian seasoning.


Instructions

Preheat & Prep:

Preheat your oven to 200°C (400°F). Line a large baking sheet with parchment paper for easy cleanup.


Assemble the Rolls:


Lay a tortilla flat.


Spread about 1 tablespoon of pizza sauce in a thin line down the center.


Sprinkle a generous amount of mozzarella over the sauce.


Place a row of pepperoni slices (about 4–6) on top of the cheese.


Roll it Up:

Tightly roll the tortilla up like a cigar. Place it seam-side down on the baking sheet so it doesn’t unroll while cooking.


The “Glow-Up” Coating:

Mix the melted butter, garlic powder, and herbs in a small bowl. Brush the tops of the rolls generously with the mixture. For that extra look from the photo, sprinkle a little more cheese and a few pepperoni slices on top of the rolls.


Bake:

Bake for 12–15 minutes, or until the tortillas are golden brown and the cheese inside is bubbly and melting out the ends.


Serve:

Let them cool for 2–3 minutes (the cheese will be very hot!). Serve with a side of warm marinara or ranch dressing for dipping.


Pro Tips for the Best Result

Extra Crispy: If you want them extra crunchy, you can lightly pan-fry them in a little olive oil before putting them in the oven, or use an air fryer at 190°C for about 8 minutes.


Filling Variety: Feel free to add finely chopped bell peppers, onions, or cooked sausage inside for more flavor.

Berry Bliss Smoothie Recipe

Berry Bliss Smoothie Recipe

🛒 Ingredients

1 cup Mixed Berries (Frozen blueberries, strawberries, and raspberries work best for that thick texture).


1 medium Ripe Banana (Fresh for sweetness, or frozen for extra creaminess).


1 cup Milk of your choice (Dairy, Almond, or Oat milk all work beautifully).


1/2 cup Greek Yogurt (Plain or Vanilla) for a protein boost and creamy finish.


1 tsp Lemon juice (To brighten the flavors, as hinted by the lemon slices in your photo).


Optional: 1 tbsp Honey or Maple syrup if you prefer a sweeter treat.


🥣 Instructions

Prep: Peel the banana and wash any fresh fruit you might be using.


Combine: Place the liquid (milk) into the blender first. This helps the blades spin freely without getting stuck.


Layer: Add the yogurt, followed by the banana, lemon juice, and finally the frozen berries.


Blend: Start on a low speed and gradually increase to high. Blend for 45–60 seconds until the consistency is silky smooth and those tiny berry flecks are evenly distributed.


Serve: Pour into a tall glass. If you want to match your photo perfectly, add a red-and-white striped straw and garnish with a fresh mint leaf!


💡 Pro-Tips for the Best Texture

The “Frosty” Factor: If you use fresh berries instead of frozen, add 1/2 cup of ice to get that chilled, thick consistency.


Adjusting Thickness: If the smoothie is too thick, splash in a little more milk. If it’s too thin, add a few more frozen berries or a spoonful of oats.

Tropical Kiwi-Banana-Pineapple Smoothie

Tropical Kiwi-Banana-Pineapple Smoothie

This blend offers a perfect balance of tart kiwi, creamy banana, and sweet pineapple.


Ingredients

2 Ripe Kiwis: Peeled and sliced (save a few rounds for garnish).


1 Large Banana: Frozen slices work best for a thicker, creamier texture.


1 cup Pineapple Chunks: Fresh or frozen.


1/2 cup Coconut Water or Orange Juice: For a tropical liquid base.


1/4 cup Greek Yogurt (Optional): To add protein and extra creaminess.


A splash of Lime Juice: To brighten the flavors.


Ice: Only if you are using room-temperature fruit.


Instructions

Prepare the Fruit: Peel the kiwis and the banana. If you want the smoothie to look exactly like the photo, keep a few kiwi seeds intact by blending on a lower speed at the end.


Combine: Place the banana, pineapple, kiwi, and your choice of liquid into a high-speed blender.


Blend: Start on a low speed and gradually increase to high. Blend for about 45–60 seconds until completely smooth.


Check Consistency: If it’s too thick, add a splash more liquid. If it’s too thin, add a few more frozen pineapple chunks or a handful of ice.


Serve: Pour into a chilled glass. Garnish with banana slices on the rim and kiwi rounds as shown in the image.


Pro Tips for the Best Result

The “Seed” Look: If you want those distinct black kiwi seeds visible (like in the picture) without them being pulverized, add the kiwi last and pulse the blender just a few times.


Natural Sweetness: Ensure your bananas have a few brown spots; they provide more natural sweetness, so you won’t need to add honey or sugar.

Ground Beef & Red Onion Pizza

Ground Beef & Red Onion Pizza

Prep time: 20 mins | Cook time: 12-15 mins | Serves: 2-4


Ingredients

The Base:


1 lb Pizza dough (store-bought or homemade)


1/2 cup Pizza sauce (tomato-based)


1 1/2 cups Shredded mozzarella cheese


1 tbsp Olive oil


The Toppings:


1/2 lb Ground beef (lean)


1/2 Red onion, thinly sliced into rings


Fresh parsley or cilantro, chopped (for garnish)


Beef Seasoning: 1/2 tsp salt, 1/2 tsp black pepper, 1/2 tsp garlic powder, and 1/4 tsp smoked paprika.


Instructions

Prepare the Beef:

In a skillet over medium-high heat, brown the ground beef until fully cooked. Drain any excess fat. Stir in the salt, pepper, garlic powder, and paprika. Set aside.


Preheat & Prep:

Preheat your oven to 425°F (220°C). If you have a pizza stone, place it in the oven while it heats. Lightly grease a pizza pan or baking sheet with olive oil.


Stretch the Dough:

On a lightly floured surface, stretch or roll your dough into a 12-inch circle. Transfer it to your prepared pan.


Layer the Flavors:


Spread a thin, even layer of pizza sauce over the dough, leaving a 1-inch border for the crust.


Sprinkle about 1 cup of mozzarella over the sauce.


Distribute the seasoned ground beef and red onion rings evenly across the top.


Add the remaining cheese over the toppings to “lock” them in.


Bake:

Place in the oven and bake for 12–15 minutes, or until the crust is golden brown and the cheese is bubbly and starting to brown in spots.


The Finishing Touch:

Remove from the oven and let it sit for 2 minutes. Sprinkle with the fresh herbs before slicing.


Pro Tips for a Better Crust

Room Temp Dough: If using store-bought dough, let it sit on the counter for 30 minutes before stretching; it will be much easier to work with.


Crispy Bottom: For an extra crispy base, pre-bake the plain dough for 3 minutes before adding your sauce and toppings.

Golden Ham & Cheese Calzones

Golden Ham & Cheese Calzones

Prep time: 20 mins | Cook time: 15–20 mins | Yields: 4 large calzones


Ingredients

For the Dough:


1 lb (450g) Pizza dough (store-bought or homemade)


1 tbsp Olive oil (for brushing)


1 tsp Dried parsley or Italian seasoning


Optional: A pinch of garlic powder and sea salt for the crust


For the Filling:


1.5 cups Shredded mozzarella cheese


1/2 cup Ricotta cheese (makes it extra creamy)


1 cup Cooked ham, diced or chopped


1/2 cup Sharp cheddar or Swiss cheese (for extra flavor)


1 Egg (beaten, for egg wash)


Instructions

Preheat & Prep:

Preheat your oven to 200°C (400°F). Line a large baking sheet with parchment paper so the cheese doesn’t stick if it oozes out.


Divide the Dough:

Divide your pizza dough into 4 equal portions. On a lightly floured surface, roll each piece into a circle about 8 inches (20cm) wide.


Layer the Goodness:

On one half of each circle, spread a dollop of ricotta. Top with a generous handful of mozzarella, cheddar, and the diced ham. Tip: Leave about a 1-inch border around the edge so you can seal it properly.


Fold and Seal:

Fold the empty half of the dough over the filling to create a half-moon shape. Use your fingers to pinch and “roll” the edges (as seen in your photo) or simply press down firmly with the tines of a fork to seal.


The Secret to the Glow:

Brush the tops of the calzones with the beaten egg wash. This is what gives them that shiny, professional bakery look. Sprinkle the top with dried parsley, garlic powder, and a little extra salt.


Bake:

Cut 2 small slits in the top of each calzone to let steam escape. Bake for 15–20 minutes, or until the crust is a deep golden brown and the cheese is bubbling inside

Serve: Let them cool for about 5 minutes before biting in—the melted cheese inside will be very hot!

Air Fryer Crab Shack Style Crab Cakes

These crab cakes are inspired by the classic Crab Shack style: light, flaky, and packed with crab flavor, with a crispy exterior from the air fryer instead of deep frying. Perfect as an appetizer or main course.


Ingredients

Crab Cakes

  • 1 pound lump crab meat, picked over for shells
  • ½ cup mayonnaise
  • 1 large egg
  • 1 tablespoon Dijon mustard
  • 1 teaspoon Worcestershire sauce
  • 1 teaspoon Old Bay seasoning (or seafood seasoning)
  • ½ teaspoon garlic powder
  • ½ teaspoon onion powder
  • 1 teaspoon fresh lemon juice
  • 2 tablespoons chopped fresh parsley
  • ½ cup breadcrumbs (plus extra for coating)
  • Salt and black pepper, to taste

For Air Frying

  • 1–2 tablespoons olive oil or melted butter (for brushing)
  • Nonstick cooking spray

Optional Serving

  • Lemon wedges
  • Tartar sauce, remoulade, or aioli
  • Fresh herbs for garnish

Instructions

1. Prepare the crab mixture

In a large mixing bowl, gently combine the crab meat, mayonnaise, egg, Dijon mustard, Worcestershire sauce, Old Bay seasoning, garlic powder, onion powder, lemon juice, parsley, and ½ cup breadcrumbs. Be careful not to break up the crab too much—you want chunks for texture.

Taste the mixture and adjust salt and pepper as needed.

2. Form the crab cakes

Divide the mixture into 8 equal portions (for smaller cakes) or 4 larger portions. Shape each portion into a patty about ¾–1 inch thick. For extra crispiness, lightly coat each patty with additional breadcrumbs.

Place the formed crab cakes on a plate or tray lined with parchment paper. Chill in the refrigerator for 15–30 minutes. Chilling helps the crab cakes hold together during air frying.

3. Preheat the air fryer

Preheat your air fryer to 375°F (190°C) for 3–5 minutes. Preheating ensures even cooking and crisping.

4. Prepare for air frying

Lightly spray the air fryer basket with nonstick cooking spray. Brush the crab cakes with a small amount of olive oil or melted butter on both sides. This will help them brown evenly.

5. Air fry the crab cakes

Carefully place the crab cakes in a single layer in the air fryer basket, leaving space between them. Cook at 375°F (190°C) for 10–12 minutes, flipping halfway through.

The crab cakes should be golden brown and firm to the touch. If they are larger or thicker, cook for an extra 2–3 minutes.

6. Serve

Remove the crab cakes from the air fryer and let them rest for 1–2 minutes. Serve hot with lemon wedges and your favorite dipping sauce, such as tartar sauce, remoulade, or a garlic aioli. Garnish with fresh parsley if desired.


Tips for Best Results

  • Use lump crab meat for a premium texture; avoid imitation crab.
  • Chill the patties before air frying to prevent them from falling apart.
  • Do not overcrowd the air fryer; cook in batches if necessary.
  • Light brushing of oil helps achieve that golden, crispy exterior without deep frying.
  • Add chopped green onions or bell peppers to the mixture for extra flavor.

Storage and Reheating

  • Store leftover crab cakes in an airtight container in the refrigerator for up to 2 days.
  • Reheat in the air fryer at 350°F (175°C) for 3–5 minutes to restore crispiness. Avoid microwaving to keep the exterior crunchy.

Crispy Golden Fried Fish & Chips

Crispy Golden Fried Fish & Chips

Serves: 2-3 | Prep time: 20 mins | Cook time: 15 mins


1. The Ingredients

For the Fish:


Fish: 1 lb (450g) white fish fillets (Cod, Haddock, or Pollock), cut into large chunks.


Breading: 1 cup All-purpose flour + 1 cup Panko breadcrumbs (for extra texture).


Seasoning: 1 tsp Garlic powder, 1 tsp Paprika, ½ tsp Salt, and ½ tsp Black pepper.


Binder: 2 Large eggs (beaten).


Oil: Vegetable or Canola oil for frying.


For the Chips:


Potatoes: 3-4 Large Russet potatoes, cut into thick batons.


Seasoning: Sea salt to taste.


For the Quick Tartar Sauce:


½ cup Mayonnaise.


1 tbsp Finely chopped pickles or capers.


1 tsp Fresh lemon juice.


1 tsp Dried or fresh parsley.


2. Cooking Instructions

Step 1: Prep the Chips

Peel and cut your potatoes into fries. Soak them in cold water for 30 minutes to remove excess starch (this makes them crispier!).


Pat them completely dry with a paper towel.


Fry them in oil at 325°F (160°C) for about 5 minutes until soft but not browned. Remove and drain.


Increase oil heat to 375°F (190°C) and fry again for 2–3 minutes until golden and crispy. Salt immediately.


Step 2: Bread the Fish

Dry the fish: Use paper towels to remove all moisture from the fillets. This prevents the breading from falling off.


Dredge: Coat each piece of fish in flour (mixed with your seasonings), then dip into the beaten egg, and finally press firmly into the Panko breadcrumbs.


Step 3: Fry to Perfection

Carefully place the fish into the hot oil (350°F / 175°C).


Fry for 3–5 minutes per side depending on thickness. You are looking for a deep mahogany gold color like the image.


Drain on a wire rack (rather than a plate) to keep the bottom from getting soggy.


3. Serving Suggestions

Garnish: Sprinkle with fresh chopped parsley and serve with at least 4–5 lemon wedges to cut through the richness.


The Dip: Mix your tartar sauce ingredients in a small bowl and chill until ready to serve.


Pro Tip: For the most authentic “pub” look, serve your meal on parchment paper over a wooden board or in a small basket.

Fresh Amla Juice Recipe

Fresh Amla Juice Recipe

Ingredients

4–5 Fresh Amlas (Indian Gooseberries)


2 cups Water (chilled or room temperature)


1 inch Ginger (peeled and sliced)


1–2 tbsp Honey or Jaggery (optional, to balance the tartness)


A pinch of Black Salt (optional, for a savory kick)


4–5 Mint leaves (for extra freshness)


Step-by-Step Instructions

Prep the Fruit: Wash the amlas thoroughly. Use a knife to cut them into small pieces and discard the hard inner seeds.


Blend: Put the amla pieces, ginger, and mint leaves into a blender. Add about half a cup of water to help it blend smoothly into a fine paste.


Strain: Use a fine-mesh strainer or a clean muslin cloth to strain the pulp into a bowl or pitcher. Press down with a spoon to extract every bit of juice.


Dilute: Add the remaining 1.5 cups of water to the concentrated juice.


Season: Stir in your sweetener (honey/jaggery) and a pinch of black salt if you like.


Serve: Pour into a glass and enjoy immediately for the best flavor and nutrient retention.


Quick Tips

Drink it Fresh: Amla juice can oxidize and turn brown if left out too long, so it’s best to drink it right after making it.


Dilution is Key: Pure amla juice is very strong. If it feels too “sharp” on your tongue, simply add a little more water.

Classic Fresh Carrot Juice

Classic Fresh Carrot Juice

Yields: Approximately 1 large glass


Ingredients

Carrots: 6–8 large carrots (organic is preferred if you don’t want to peel them).


Water: 1/2 cup (only needed if using a blender).


Optional Boosters:


Lemon: 1/2 a lemon (peeled) for brightness.


Ginger: A 1-inch knob for a spicy kick.


Apple: 1 green apple if you prefer a bit more sweetness.


Equipment

A high-speed juicer OR a powerful blender and a nut milk bag (or fine-mesh strainer).


Instructions

Step 1: Prep the Carrots

Wash the carrots thoroughly under cold water. Scrub off any dirt. If they aren’t organic, you may want to peel them to remove any bitterness from the skin. Trim off the green tops (though you can save a small sprig for garnish like in your photo!).


Step 2: Juice or Blend

If using a Juicer: Simply feed the carrots through the chute one by one. The machine will separate the pulp automatically.


If using a Blender: Chop the carrots into 1-inch chunks. Place them in the blender with 1/2 cup of water. Blend on high until it becomes a thick puree.


Step 3: Strain (Blender Method only)

Place a nut milk bag or a fine-mesh strainer over a pitcher. Pour the carrot puree into the bag and squeeze firmly until all the liquid is extracted. You’ll be left with dry pulp in the bag and smooth juice in the pitcher.


Step 4: Serve

Pour the juice into a tall glass over ice if desired. Drink it immediately to get the maximum nutrient benefit, as fresh juice oxidizes quickly.


Pro Tip: Adding a tiny drop of high-quality oil (like olive or avocado oil) to your juice can actually help your body absorb the fat-soluble Vitamin A in the carrots more effectively!

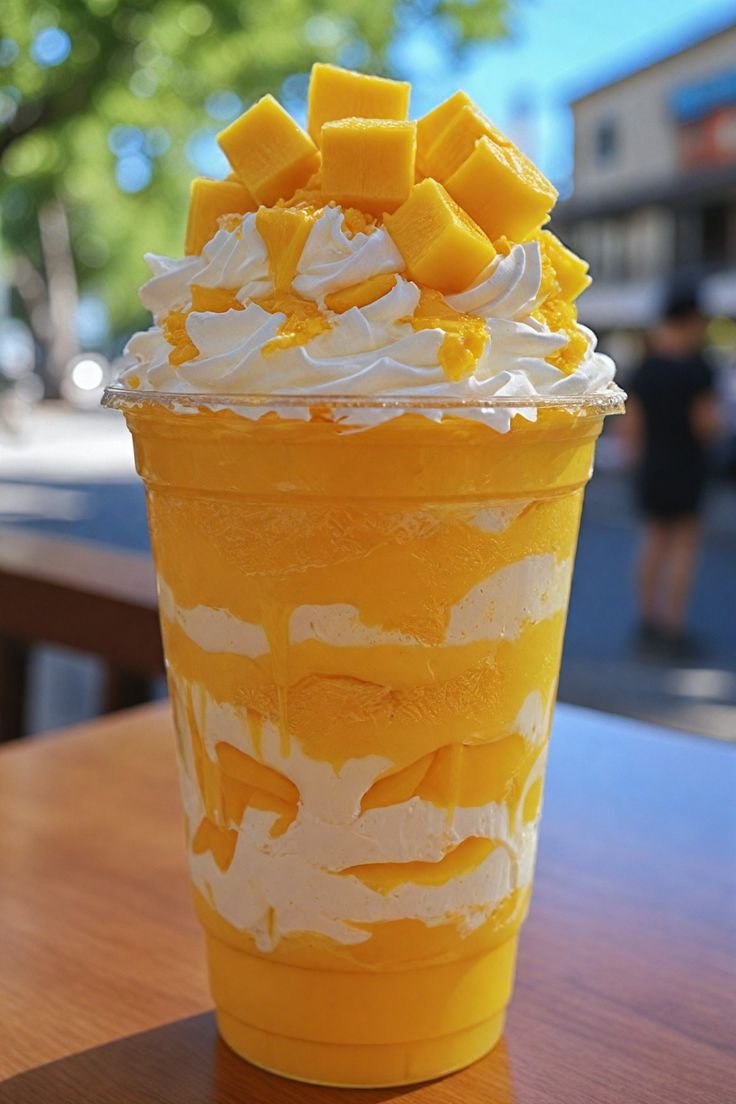
🥭 The Ultimate Mango Cream Parfait

🥭 The Ultimate Mango Cream Parfait

Ingredients

For the Mango Base: 2 cups frozen mango chunks, 1/2 cup mango nectar (or orange juice), and 1 tbsp honey or condensed milk (optional).


For the Cream Layers: 1 cup heavy whipping cream (cold), 2 tbsp powdered sugar, and 1/2 tsp vanilla extract.


For the Topping: 1 fresh ripe mango (cubed) and extra whipped cream.


Instructions

Prep the Cream: In a chilled bowl, whip the heavy cream, powdered sugar, and vanilla until stiff peaks form. You want it thick enough to hold those beautiful white layers without sinking.


Blend the Mango: Place the frozen mango and nectar into a blender. Blend until completely smooth and thick—it should have a “soft serve” consistency. If it’s too thin, add more frozen mango.


The “Swirl” Technique: * Start by dropping a generous spoonful of mango puree into the bottom of a clear glass.


Add a layer of whipped cream, using a spoon to push it against the sides of the glass so the layers are visible.


Repeat until you reach the top.


The Grand Finale: Pipe a high swirl of whipped cream on top. Pile on the fresh mango cubes and perhaps a drizzle of mango syrup if you’re feeling extra indulgent.


Pro-Tips for Success

Temperature is Key: Keep your whipped cream in the fridge until the very second you are ready to layer. If it gets warm, the layers will bleed together.


The Mango: For that bright yellow color, use Alphonso or Ataulfo (Honey) mangoes. They are less fibrous and much sweeter.


Texture Add-on: To turn this into a “Mango Graham” style, sprinkle crushed graham crackers between the layers for a nice crunch.

The Best Spinach and Cheese Omelette Recipe

The Best Spinach and Cheese Omelette Recipe

Ingredients

3 large eggs

1 teaspoon of butter or olive oil

1 cup of fresh spinach

½ cup of shredded cheese (mozzarella, cheddar, or your preferred cheese)

1 tablespoon of milk (optional)

Salt and pepper to taste

Instructions

Wash and drain the spinach.

Beat the eggs with the milk, salt and pepper.

In a frying pan with oil or butter, sauté the spinach for 1-2 minutes.

Pour the beaten eggs over the spinach in the pan.

Add the grated cheese on top.

Fold it with a spatula and cook for another 1-2 minutes.

Serve hot, alone or with company.

Notes

Use well-drained frozen spinach if you don’t have fresh.

Try different types of cheese to vary the flavor.

Ideal with a salad or toasted bread.

Prep Time: 5 minutes

Cook Time: 5 minutes

Nutrition

Serving Size: 1 tortilla

Calories: 280 kcal

Sugar: 1 g

Sodium: 360 mg

Fat: 20 g

Saturated Fat: 8 g

Unsaturated Fat: 10 g

Trans Fat: 0 g

Carbohydrates: 3 g

Fiber: 1 g

Protein: 18 g

Cholesterol: 220 mg

French Dip Bicuits

French Dip Bicuits

Why You’ll Love This French Dip Bicuits

You’ll love these French Dip Biscuits because they’re the perfect combo of tender, flaky biscuits and savory roast beef, all drenched in flavorful au jus. They’re easy to make, super satisfying, and ideal for a quick weeknight meal or a cozy weekend treat. Plus, they have that melt-in-your-mouth goodness with a touch of elegance!

Easy to Make: These French Dip Biscuits come together quickly with simple ingredients, perfect for busy weeknights.

Comforting Flavors: The tender beef, gooey cheese, and savory au jus create a cozy, irresistible bite every time.

Crowd-Pleaser: Whether for a family dinner or a casual gathering, everyone will love these handheld treats!

Customizable: You can easily add your favorite cheeses or seasonings to make them your own!

Ingredients for French Dip Bicuits


Refrigerated biscuits (16.3 oz, 8-count): Make sure to use canned biscuits for convenience, preferably flaky or buttermilk varieties for texture.

Thinly sliced deli roast beef (1 lb): Opt for a high-quality deli roast beef, preferably one with a good balance of fat and lean for the best flavor.

Creamy horseradish sauce (2 Tbsp or to taste): Adjust to taste depending on how much of a spicy kick you prefer.

Provolone cheese (8 slices): Use a mild or sharp provolone depending on the flavor intensity you prefer.

Au Jus Gravy mix (1 oz packet): A dry mix that typically just needs water to prepare, great for dipping.

How To Make This French Dip Bicuits


Preheat the oven to 400ºF and line a baking sheet with parchment paper.

Separate each biscuit into two layers. Spread horseradish sauce on each layer.

Assemble by placing a slice of provolone cheese and some roast beef on half of the biscuit layers. Top with the remaining biscuit layers and pinch the edges to seal.

Place the assembled biscuits on the prepared baking sheet.

Bake for 12 to 15 minutes, or until golden brown.

Prepare the Au Jus gravy according to the package directions while the biscuits are baking.

Storage Options


To store French Dip Biscuits, follow these tips:

  1. Refrigerator: Place biscuits in an airtight container and refrigerate for up to 3-4 days. Reheat in the oven for a crispier texture.
  2. Freezer: Wrap individually in plastic wrap or foil, then place in a freezer-safe bag. They can be frozen for up to 2 months. Thaw overnight in the fridge before reheating.
  3. Reheating: For the best results, reheat in the oven at 350°F until warmed through, about 10-15 minutes.

This keeps them fresh and delicious for later!

Variations and Substitutions

Looking to mix things up with your French Dip Biscuits? Try swapping out the roast beef for turkey or shredded chicken for a lighter twist. For a cheesy upgrade, use Swiss, provolone, or even pepper jack if you like a little heat! You can also add sautéed mushrooms, onions, or a hint of horseradish for extra flavor. Want to make it gluten-free? Use your favorite gluten-free biscuit mix, and you’re good to go!

Ingredients

  • 1 16.3 oz can of refrigerated biscuits (8-count)
  • 1 lb thinly sliced deli roast beef
  • 2 Tbsp creamy horseradish sauce adjust to taste
  • 8 slices provolone cheese
  • 1 1 oz packet of Au Jus gravy mix

Instructions

  • Preheat the oven to 400°F and line a baking sheet with parchment paper.
  • Split each biscuit in half horizontally. Spread a layer of horseradish sauce on each piece.
  • On half of the biscuit layers, place a slice of provolone cheese followed by a portion of roast beef. Cover with the remaining biscuit layers and press the edges together to seal.
  • Arrange the biscuits on the lined baking sheet and bake for 12-15 minutes, or until they turn golden brown.
  • While the biscuits bake, prepare the Au Jus gravy according to the package instructions. Serve alongside the biscuits for dipping.