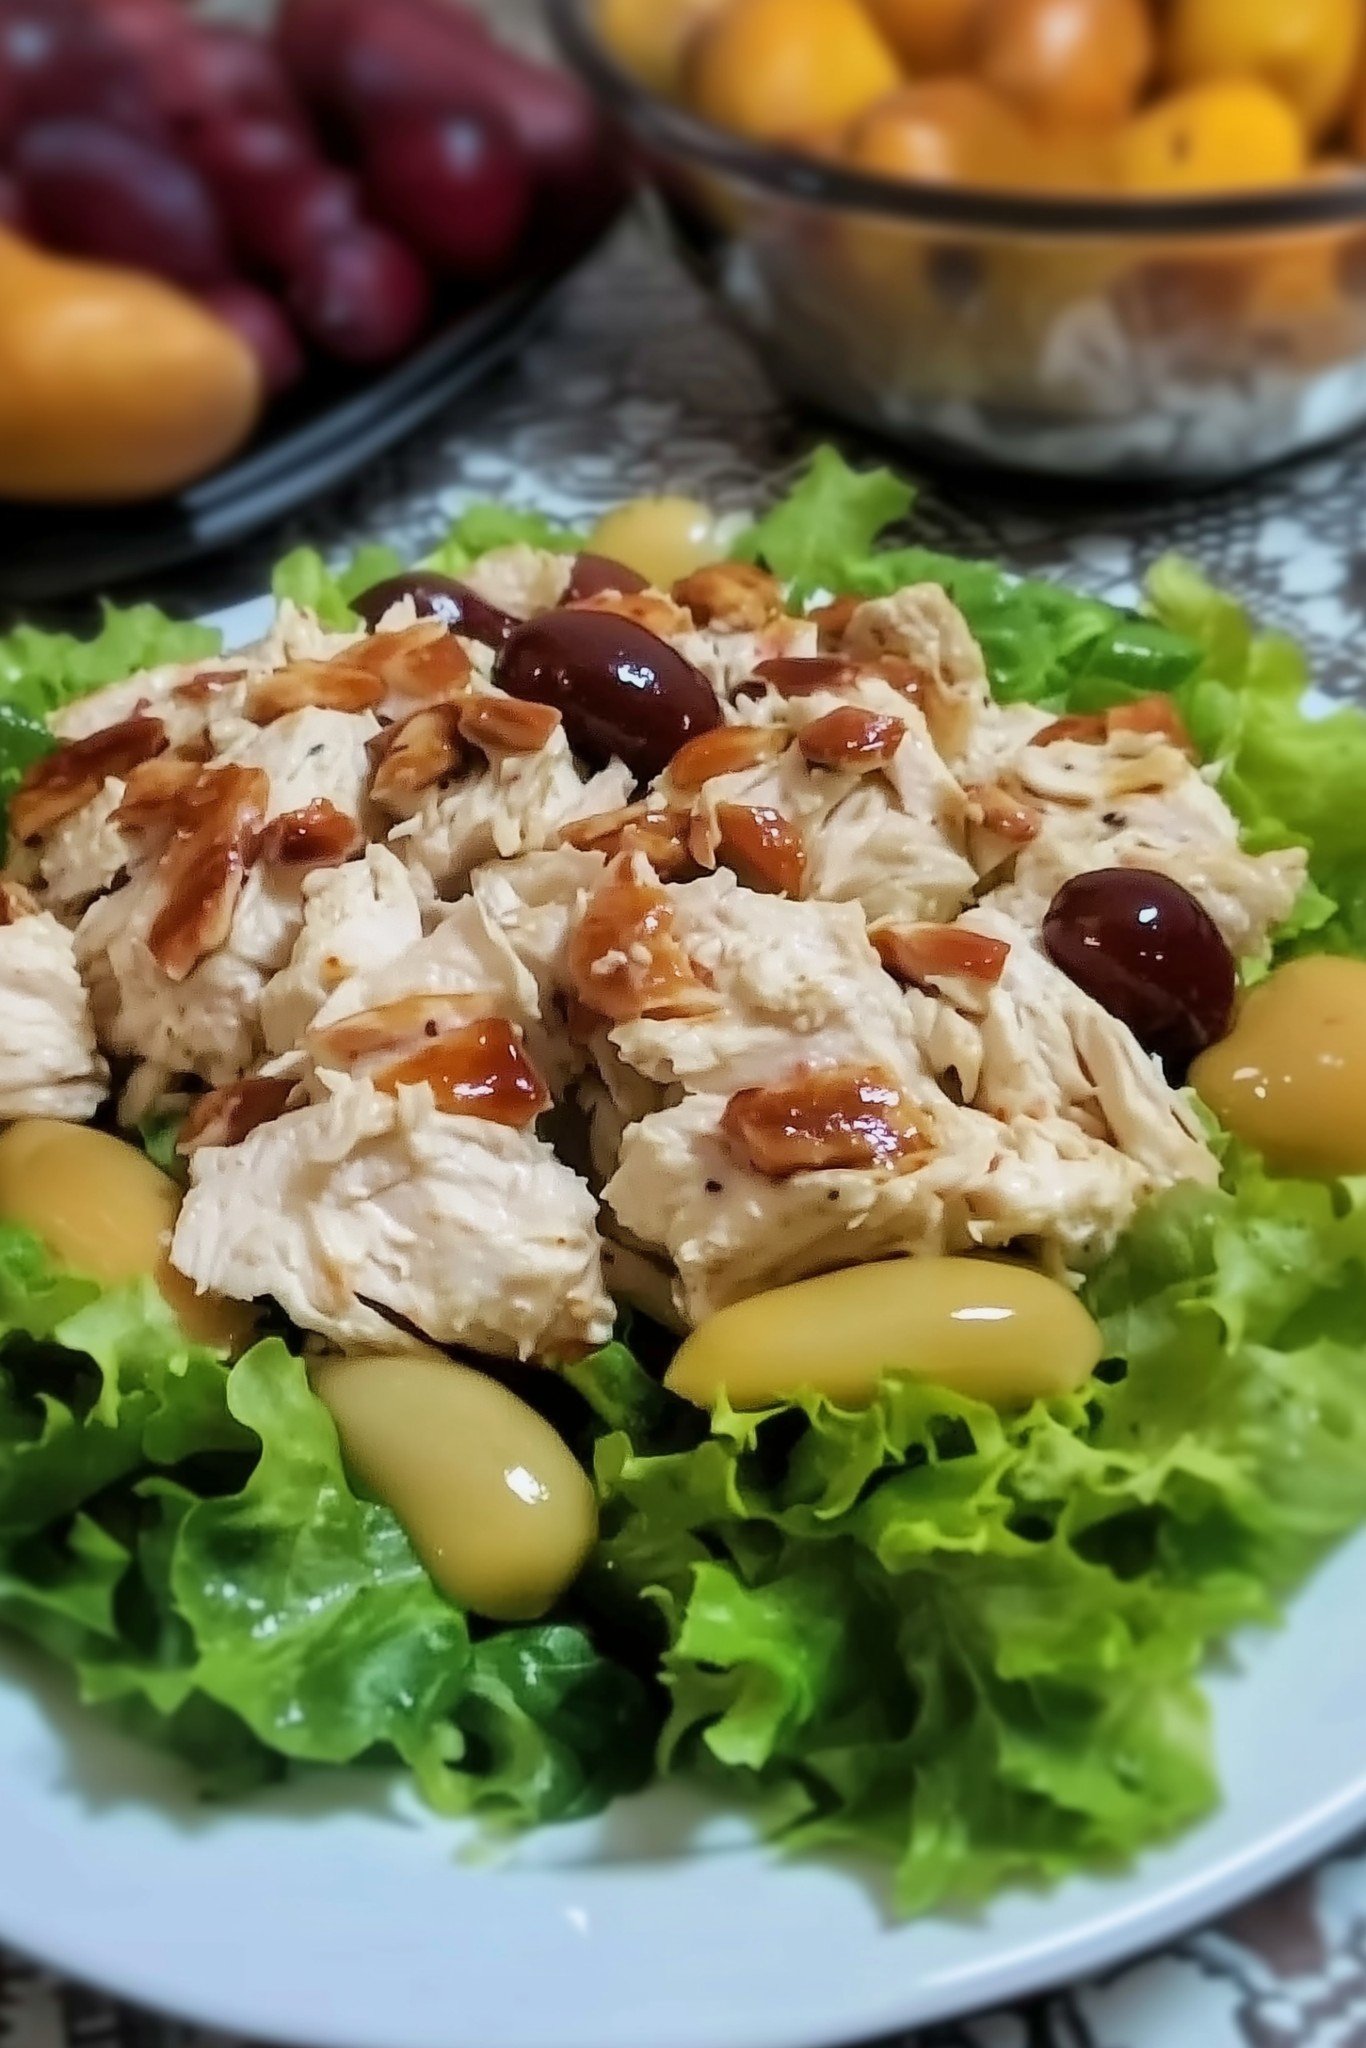
Creamy Shredded Fowl and Nut Mixture
Oh my goodness, I have a recipe that is truly a lifesaver on busy nights! This Quick Baked Fowl, Grain, and Vegetable Medley is the perfect family dinner when you need something nutritious, comforting, and fast. It’s one of those amazing one-pan meals where you can basically just toss everything together and let the oven do all the hard work. Seriously, who has time for scrubbing endless pots?
I swear, this recipe was born out of pure desperation one night when I was staring into the fridge, trying to figure out how to feed four hungry kids without calling for pizza. I realized I could combine a few staples with some seasoning and let it bake. The result? A perfectly tender fowl, savory rice, and soft vegetables all cooked to perfection in a single dish!
This medley is easily customizable to whatever veggies you have rolling around in your crisper drawer, which makes it totally budget-friendly, too. It’s simple enough for beginners but tastes sophisticated enough for company. Trust me, if you need a hearty, flavorful, and effortless meal that saves you time and stress, you need to add this baked medley to your rotation immediately!
Why You’ll Love This Recipe
- True One-Pan Dinner: Everything cooks together in a single baking dish for easy cleanup.
- Quick Assembly: Mixes together in about 10 minutes before going into the oven.
- Tender Fowl & Grain: The clear liquid and covered baking method keep the fowl and grain moist.
- Budget-Friendly: Great for using staple grains and whichever fowl cut is cheapest.
- Family Favorite: A simple, savory flavor that appeals to even picky eaters.
Ingredients You’ll Need
- Fowl meat pieces that provide the main protein, which cook up tender and flavorful.
- Long-grain dried cereal that forms the hearty, fluffy base of the meal.
- Savory clear fowl liquid stock that serves as the essential cooking liquid for the grain.
- Frozen mixed colorful legumes and chopped tubers that soften and add necessary nutrients.
- A mild bulb vegetable that releases aromatic flavor as it cooks.
- A robust, dried herb blend that seasons the entire dish.
- Solid dairy fat that melts over the top to enhance richness and moisture.
- Crystalline minerals and coarse ground spice used for overall flavor balance.
How It’s Made
The preparation involves combining the dry and wet ingredients in the baking dish. First, the washed grain and chopped raw vegetables are mixed with the fowl pieces and dry seasoning. This mixture is then completely covered with the savory clear liquid stock and topped with portions of the solid dairy fat. The dish is sealed tightly and baked in the oven for a set amount of time. Once baked, the lid is removed, the medley is fluffed, and it’s ready to serve immediately.
Tips, Variations & Storage
- Tip: Make sure to seal the baking dish very tightly with heavy-duty foil. Trapping the steam is crucial for cooking the raw grain completely and keeping the fowl moist.
- Substitution: If you don’t have long-grain dried cereal, you can substitute with a similar grain, but you may need to adjust the amount of savory liquid stock.
- Add-ins: For a cheesy twist, sprinkle shredded curds (cheese) over the top during the last 5 minutes of baking, once the foil is removed.
- Dietary Swap: Use all water instead of the clear fowl liquid stock for a lower-sodium option, but increase the robust dried herb blend for flavor.
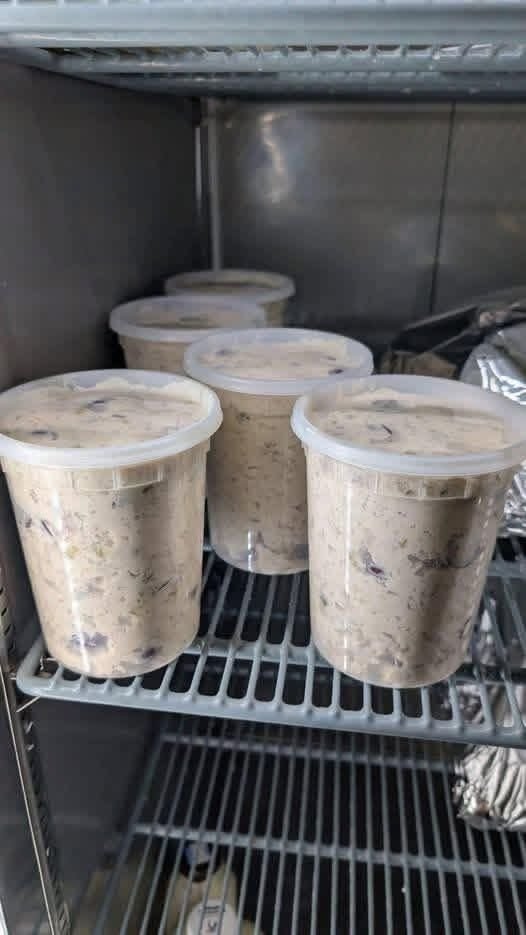
- Storage: Store cooled leftovers in an airtight container in the refrigerator for up to 3 days.
- Freezer Notes: This meal does not freeze well due to the cooked grain becoming mushy when thawed and reheated. Best consumed fresh or refrigerated shortly after baking.
FAQ Section
1. Do I need to use raw fowl meat or can I use cooked?
For this recipe, you must use raw fowl pieces (like breast or thigh). The long baking time is necessary to fully cook the fowl and the dry grain simultaneously.
2. Is it necessary to wash the grain before using it?
Washing the grain (rice) before adding it is recommended. It removes excess starch, which helps the finished dish turn out fluffier and less sticky.
3. What can I use if I don’t have the clear fowl liquid stock?
You can use plain water, but for flavor, stir in one to two teaspoons of concentrated fowl bullion powder or cubes into the water before adding it to the dish.
4. How do I know when the grain and fowl are cooked completely?
The fowl is done when it registers 165 Fahrenheit internally. The grain is done when it has absorbed all the liquid and is tender to the bite, not crunchy.
5. What is the best way to serve this medley?
Serve this dish hot, right out of the oven. It is a complete meal on its own, but a sprinkle of fresh chopped herb leaves on top adds color and flavor.
Main Mix
- 1 : Pre-cooked shredded fowl (Rotisserie chicken), shredded
- 1 C.: Dried sweet tart berries Dried cranberries
- 1 C.: Chopped edible tree seeds Chopped pecans
- 1 C.: Slivered edible tree seeds Almond slivers
Creamy Binder
- ⅓ C.: Light oil-based binder Light mayo
- ½ tsp.: Pungent dried bulb powder Garlic powder
- ¼ tsp.: Crystalline minerals Kosher salt
- ¼ tsp.: Coarse ground spice Black pepper
-
In a large mixing vessel, combine the shredded fowl meat, dried sweet tart berries, chopped edible tree seeds, slivered tree seeds, crystalline minerals, coarse ground spice, and pungent dried bulb powder.
-
Gently mix all the dry and savory ingredients together until they are evenly distributed.
-
Add the light oil-based binder to the mixture. Mix thoroughly until all the ingredients are fully coated in the creamy dressing.
-
Serve immediately, or chill before enjoying.


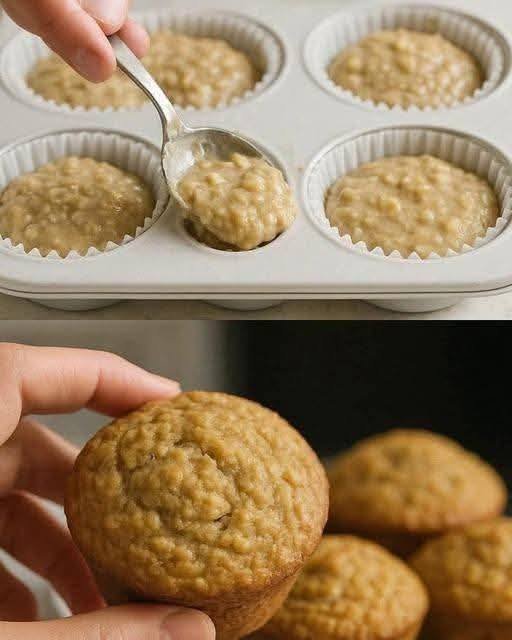
 Note: While this recipe contains no added sugar, it is not zero-calorie. Apples and oats contain natural carbohydrates.
 Diabetic-Friendly
 Oats
Oats Apples
 Egg
Egg
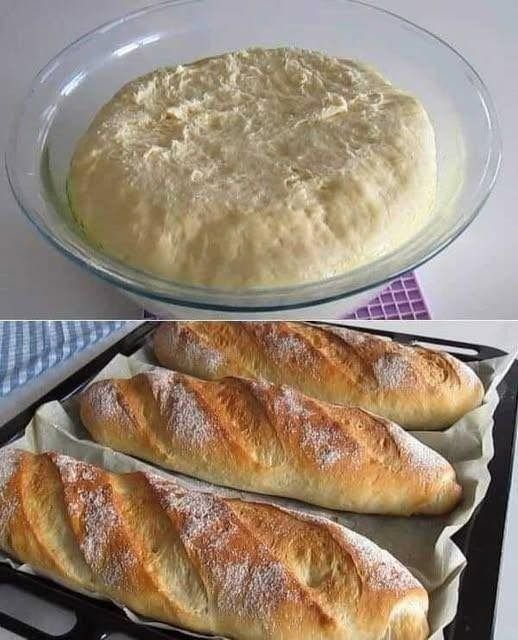
 Homemade White Bread
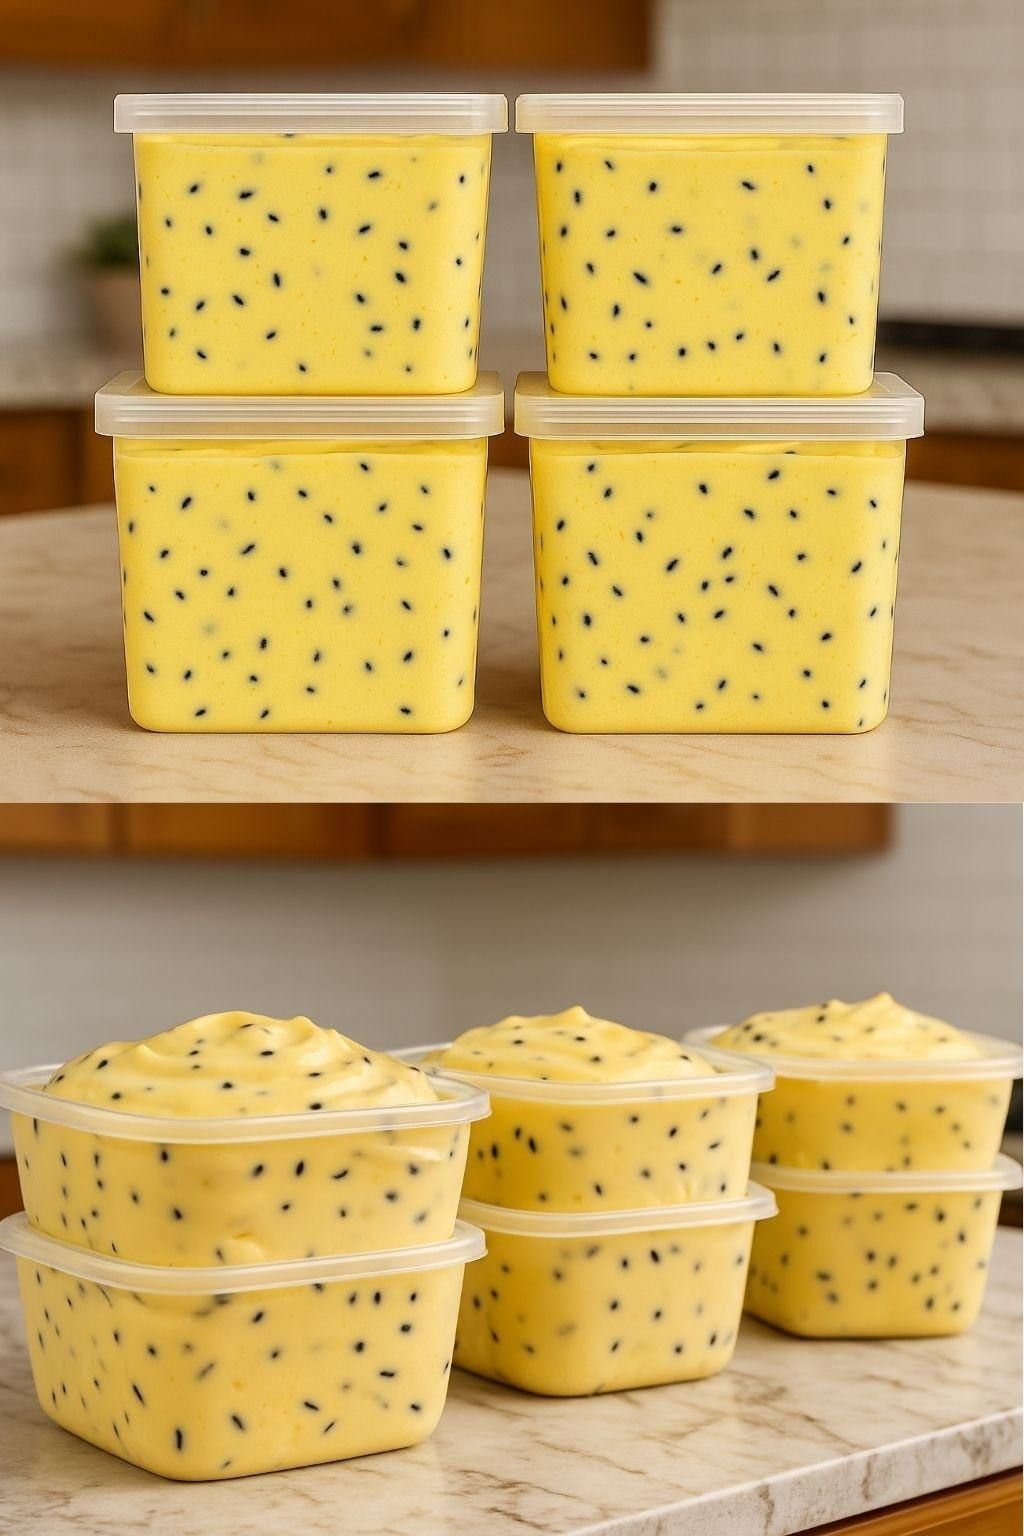


 Look At The Recipe
 Ingredients Needed
 How To Make Our SmartPoints Chicken Salad
 Storage & Serving Suggestions
 Tips & FAQs