3-Ingredient Chocolate Mousse Bites
Prep time: 15 minutes
Chilling time: 2–4 hours
Yields: 12–15 bites
Ingredients
-
1 ½ cups Egg Whites (You can use liquid egg whites from a carton for convenience)
-
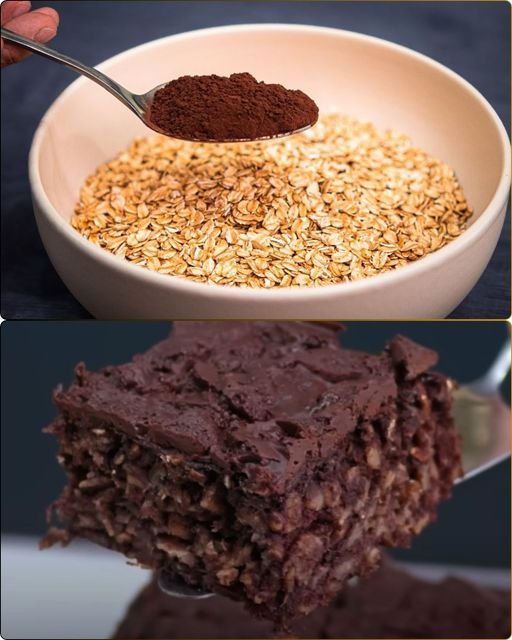
½ cup Cocoa Powder (Unsweetened, high-quality)
-
½ cup Sugar-Free Sweetener (Granulated monk fruit or erythritol works best)
-
Optional: A pinch of salt or a splash of vanilla extract for depth.
Detailed Step-by-Step Instructions
-
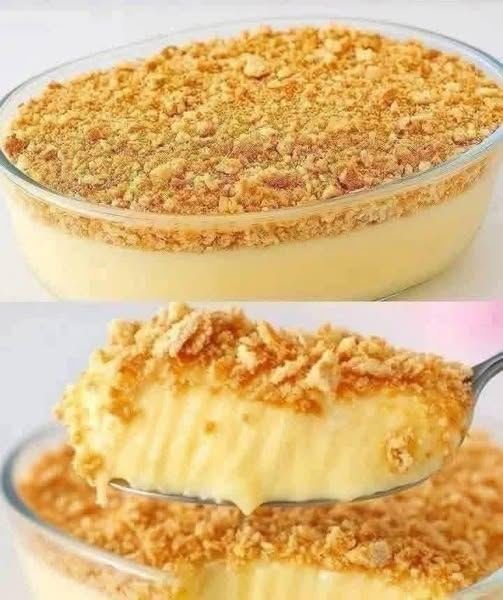
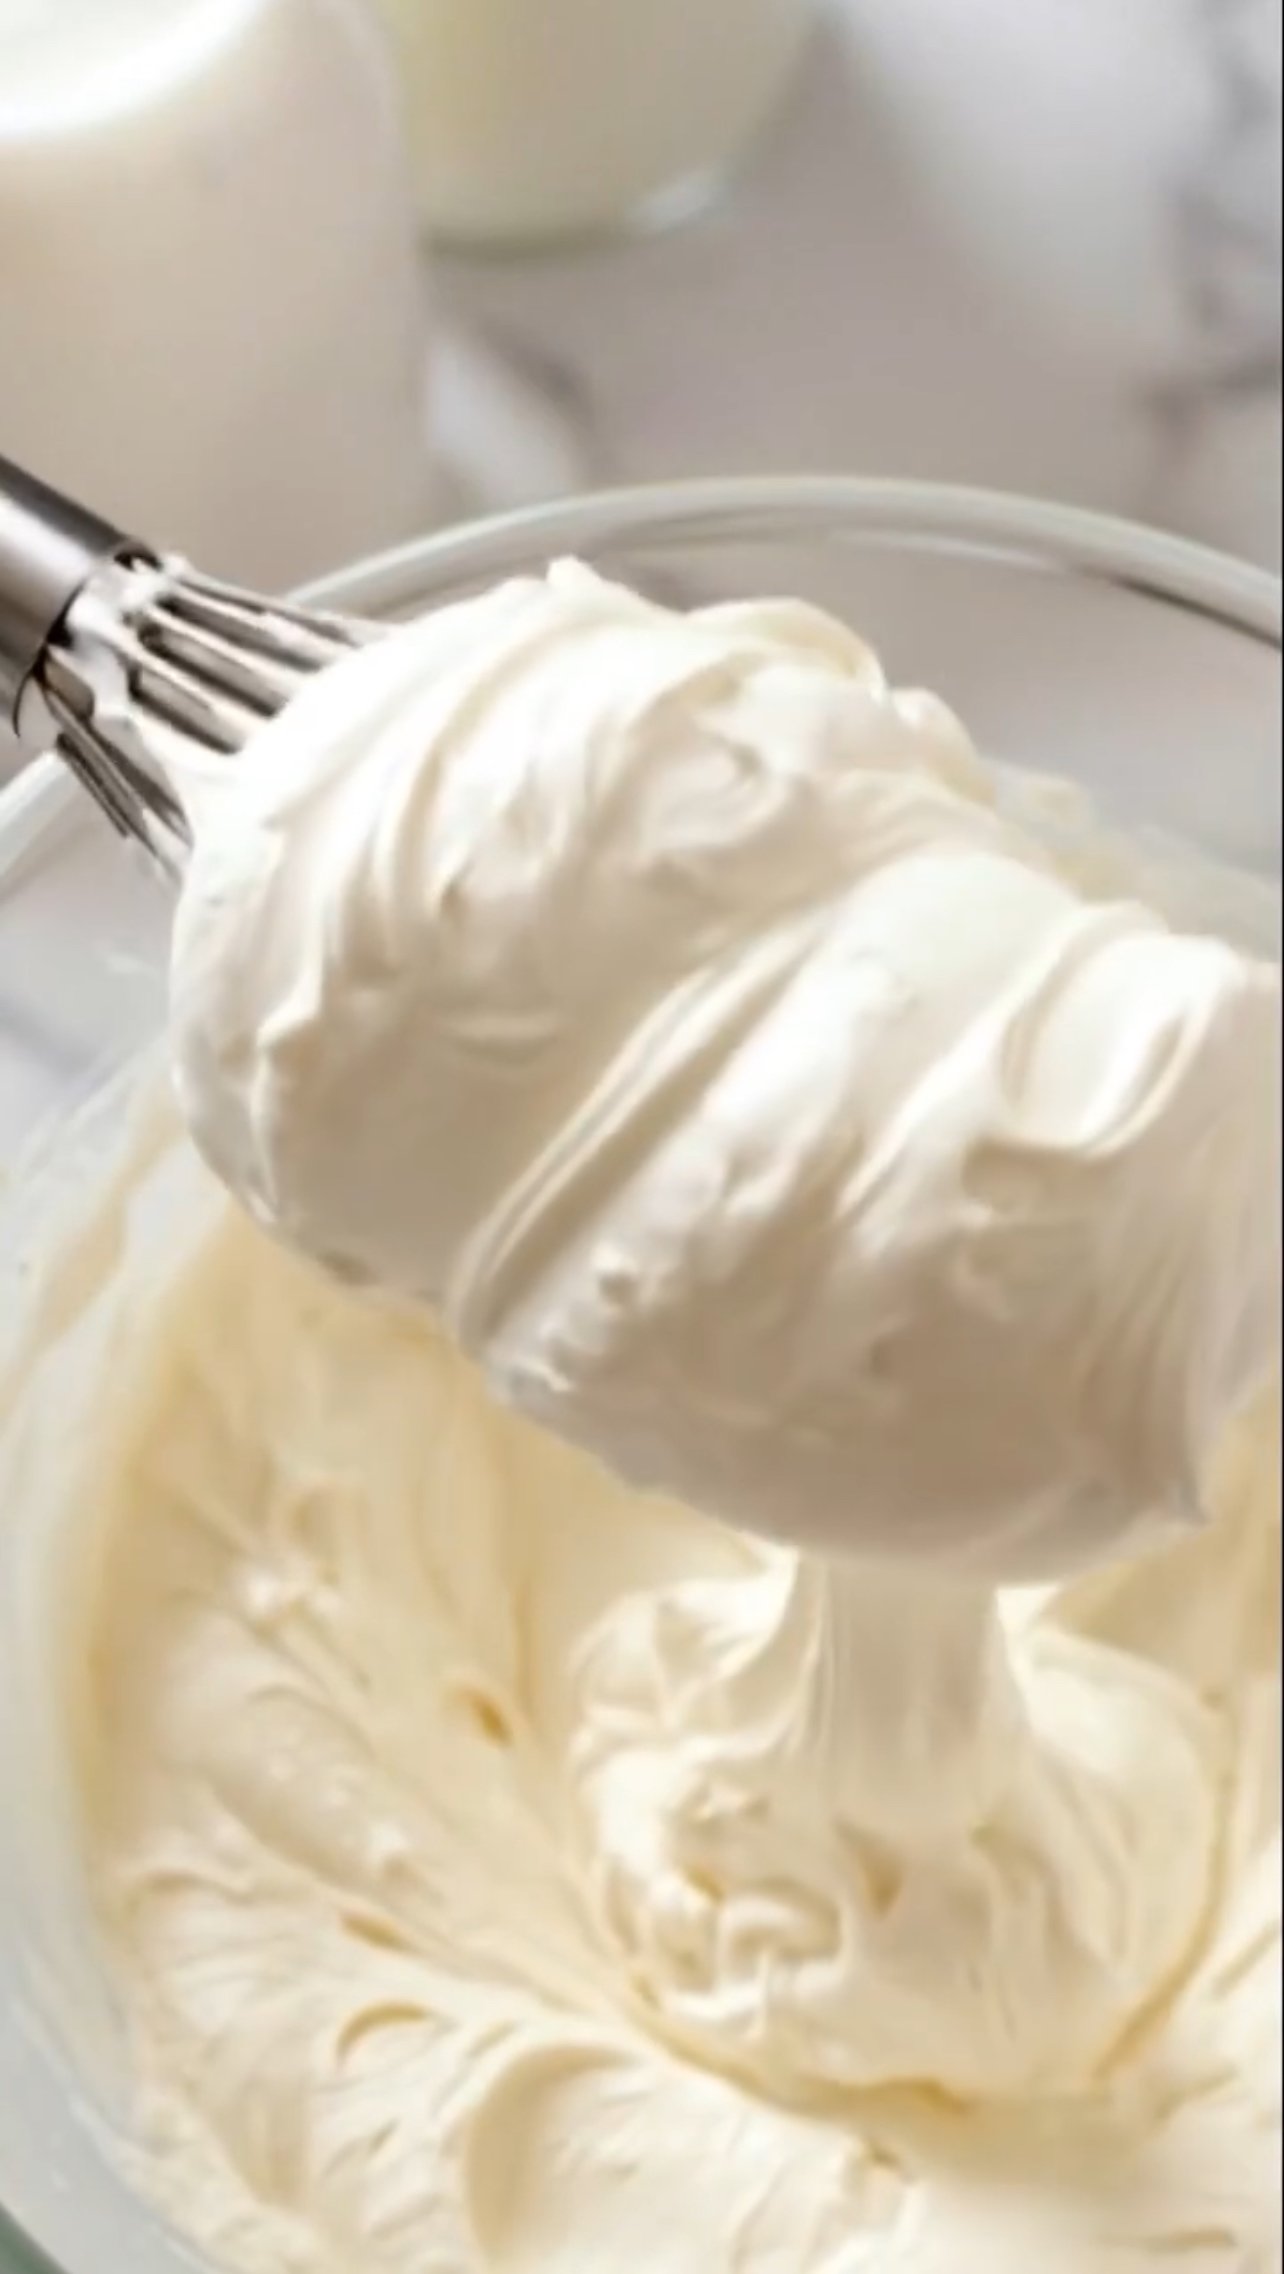
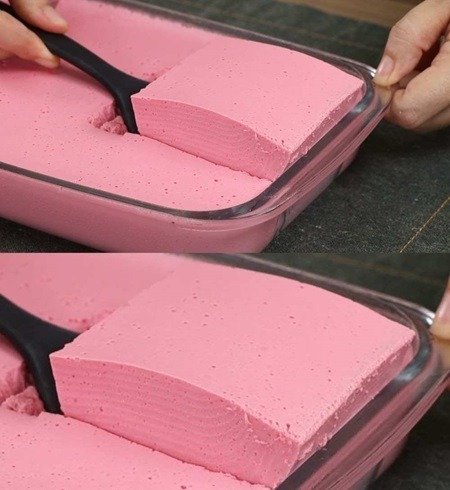
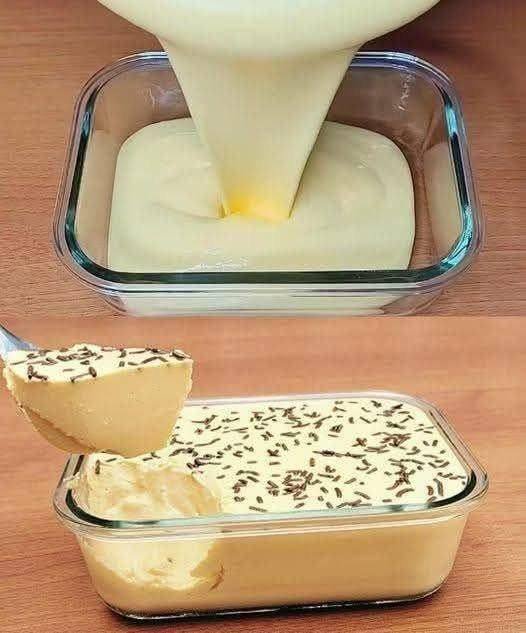
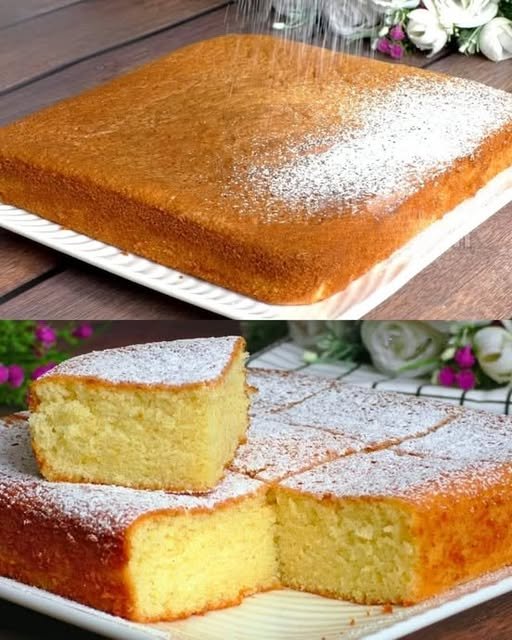
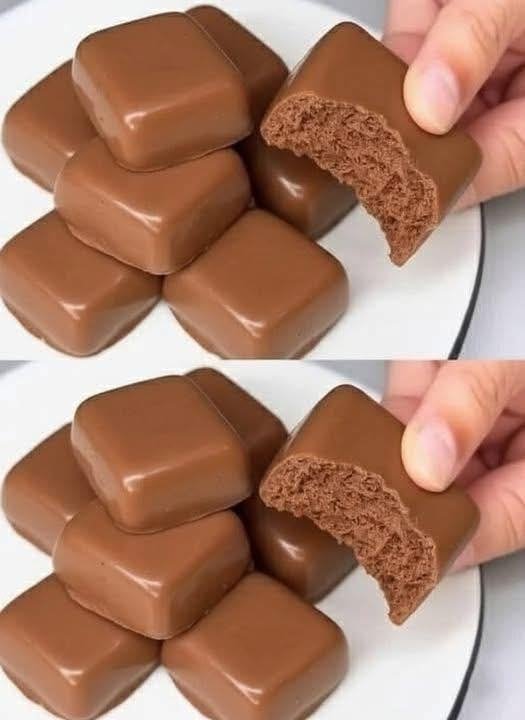
Whip the Egg Whites: In a large, clean glass or metal bowl, beat the egg whites on high speed using a hand mixer or stand mixer. Continue until they form stiff peaks. This is the secret to that airy, “bitten” texture shown in the image.
-
Sift and Fold: Gently sift the cocoa powder and sweetener over the whipped egg whites. Using a rubber spatula, slowly fold the dry ingredients into the foam. Do not stir aggressively, or you will deflate the air bubbles.
-
Prepare the Mold: Lightly grease a silicone square mold or a mini-muffin tin with a tiny bit of coconut oil spray.
-
Fill and Smooth: Spoon the mixture into the molds, smoothing the tops with the back of a spoon.
-
Setting the Bites:
-
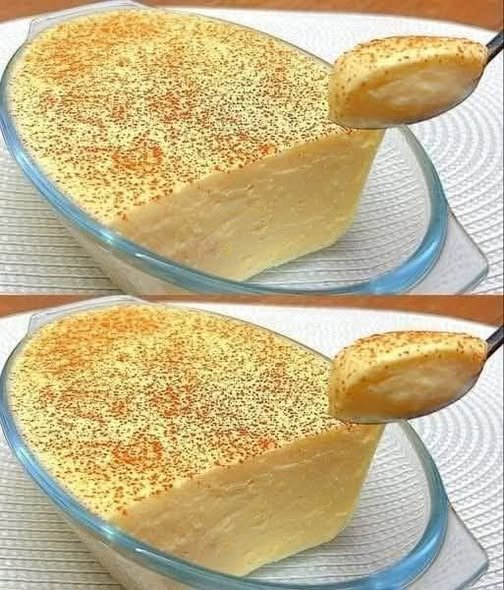
Option A (Frozen): Place the mold in the freezer for about 2–3 hours until firm. This gives them a fudge-like, “ice cream” consistency.
-
Option B (Baked): For a more cake-like sponge texture, bake at 150°C (300°F) for about 12–15 minutes until set, then let them cool completely.
-
-
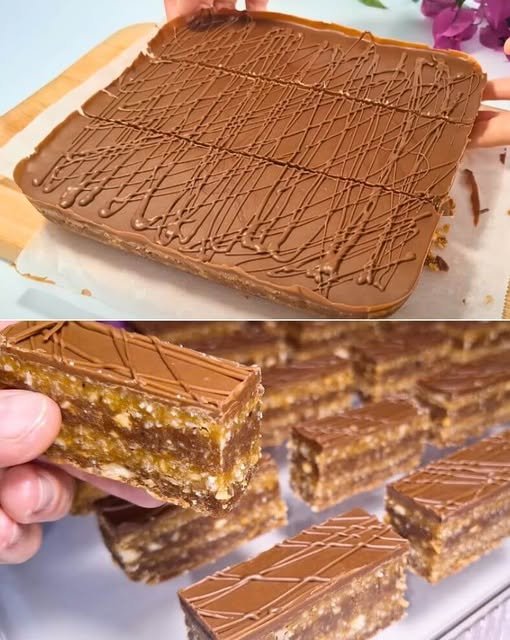
The Chocolate Coating (Optional): If you want the smooth exterior seen in the photo, melt a small amount of sugar-free chocolate chips with a teaspoon of coconut oil and dip the chilled bites into the glaze.
-
Serve: Keep these stored in the refrigerator or freezer until you are ready to enjoy them.
A Quick Tip for Success
To get that perfectly smooth, glossy look on the outside, using a silicone mold is highly recommended. It allows you to “pop” the bites out without breaking the delicate mousse structure inside.