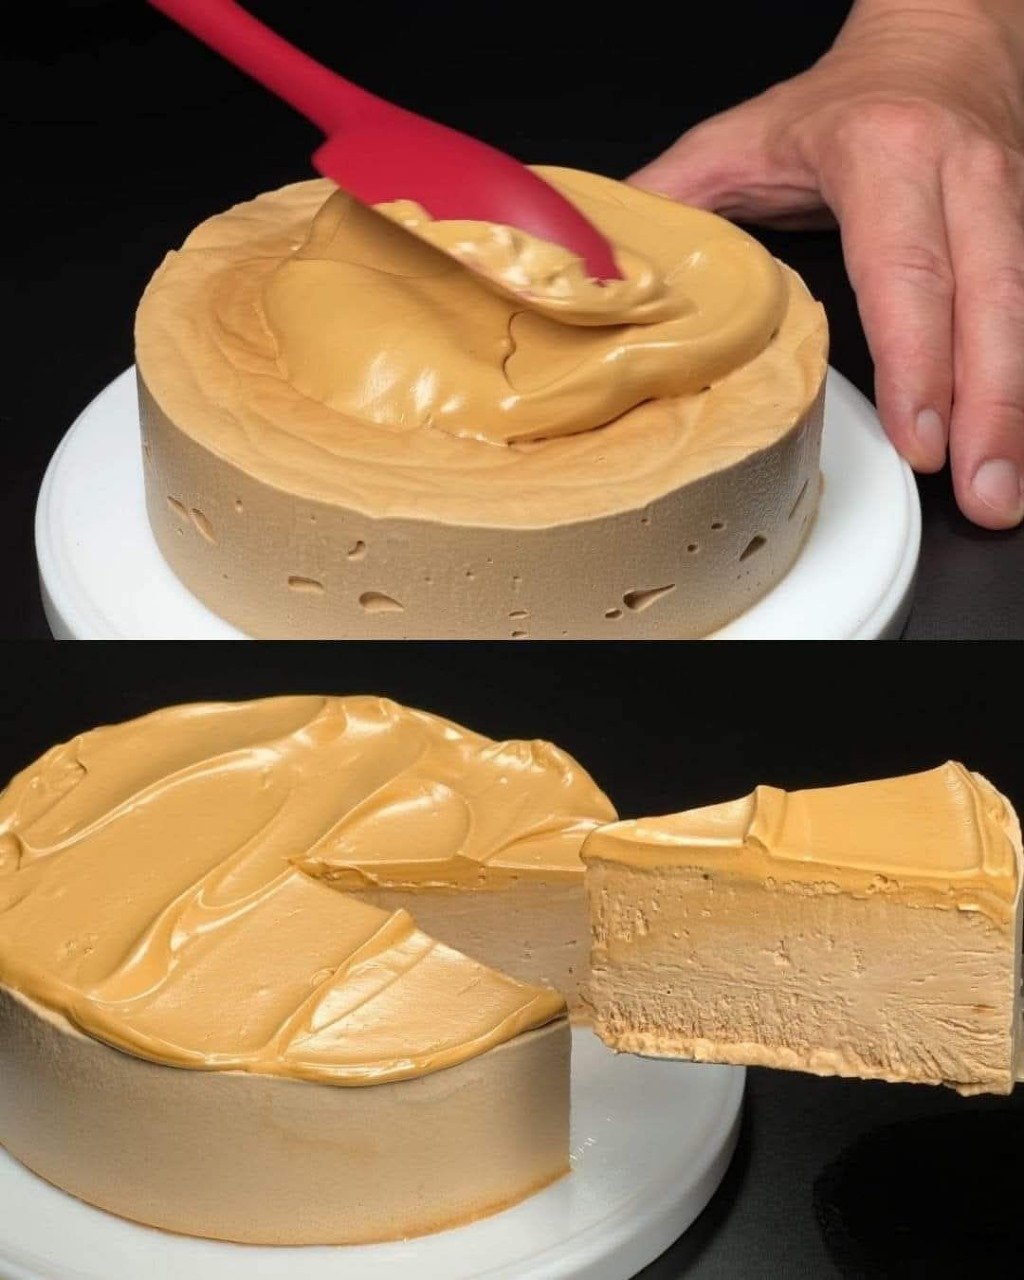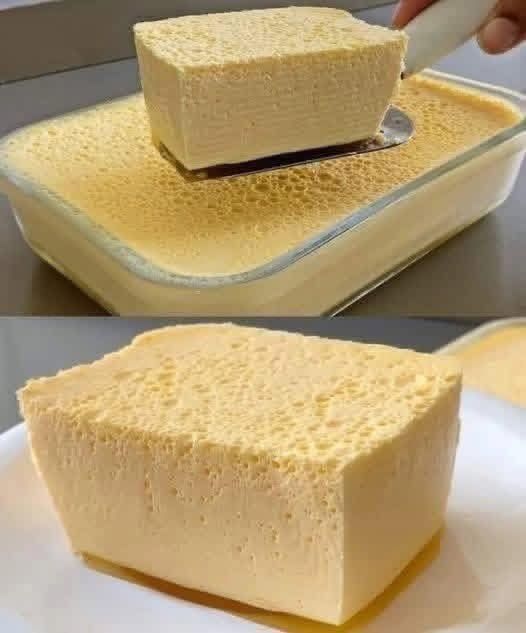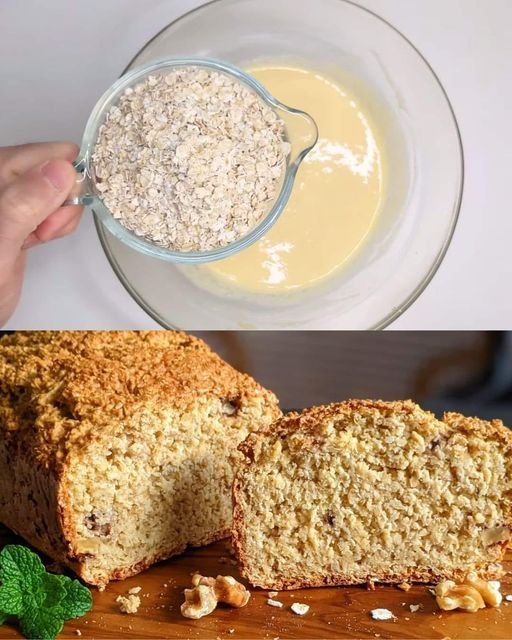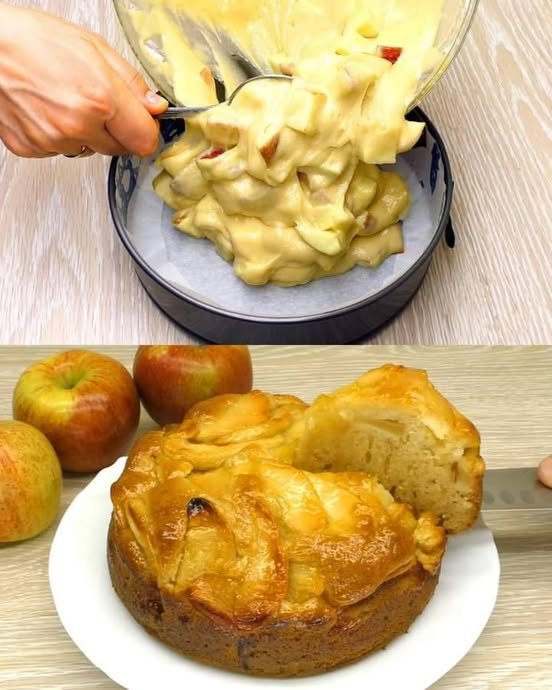
3-Ingredient Yogurt Cake
Yield: 1 round cake (8 slices)
Prep Time: 10 minutes
Bake Time: 45–55 minutes
This cake is soft, creamy, and lightly sweet. It’s perfect for tea time or as a simple dessert when you want something comforting with very few ingredients.
🧾 Ingredients
-
500 g (2 cups) plain yogurt
(Greek yogurt or any thick yogurt works best) -
4 large eggs
-
½ cup (100 g) sugar
✔ Optional for flavor (not counted as ingredients):
-
1 teaspoon vanilla extract
-
Powdered sugar for dusting
👩🍳 Instructions
1. Prepare the Pan and Oven
Preheat the oven to 170°C (340°F).
Line a round cake pan with parchment paper, allowing some paper to rise up the sides. This helps remove the cake easily after baking.
2. Mix the Batter
In a large bowl, add the yogurt and sugar.
Whisk until smooth and creamy.
Add the eggs one at a time, whisking well after each addition until the mixture is fully blended and silky.
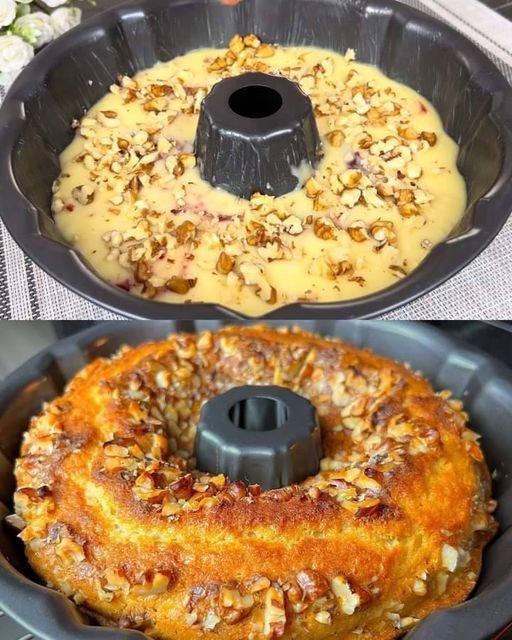
3. Pour and Level
Pour the batter into the prepared pan.
Gently tap the pan on the counter once or twice to release air bubbles.
4. Bake
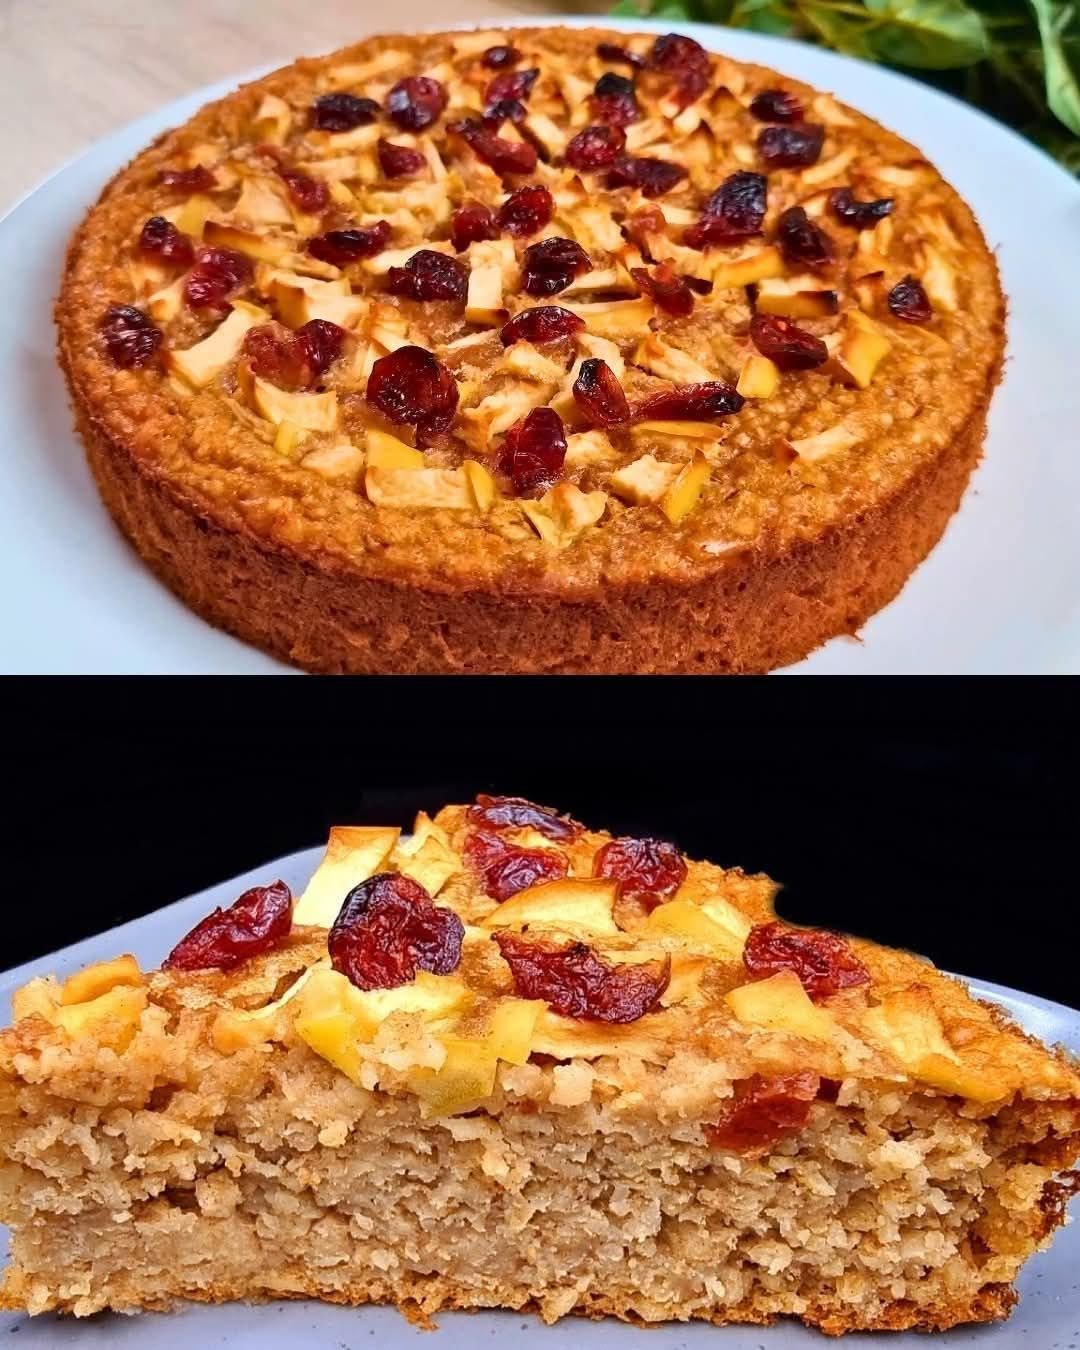
Place the pan in the oven and bake for 45–55 minutes, until the top is lightly golden and the center is set.
The cake should look firm around the edges and slightly soft in the center.
5. Cool
Remove from the oven and let the cake cool completely in the pan.
As it cools, it will gently settle and become more compact.
6. Serve
Lift the cake out using the parchment paper.
Dust with powdered sugar if desired.
Slice and serve chilled or at room temperature.
🌟 Helpful Tips
-
Use thick yogurt for the best texture.
-
Do not overbake; this keeps the cake creamy inside.
-
Refrigerate for 2–3 hours for clean slices.
-
Store in the refrigerator up to 3 days.