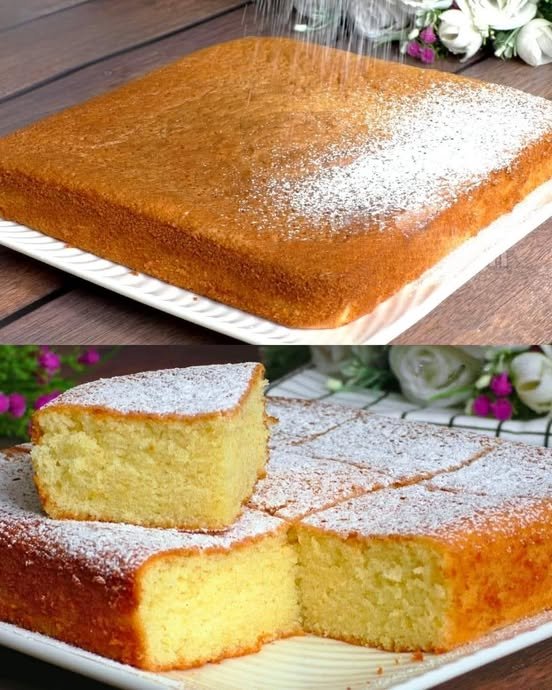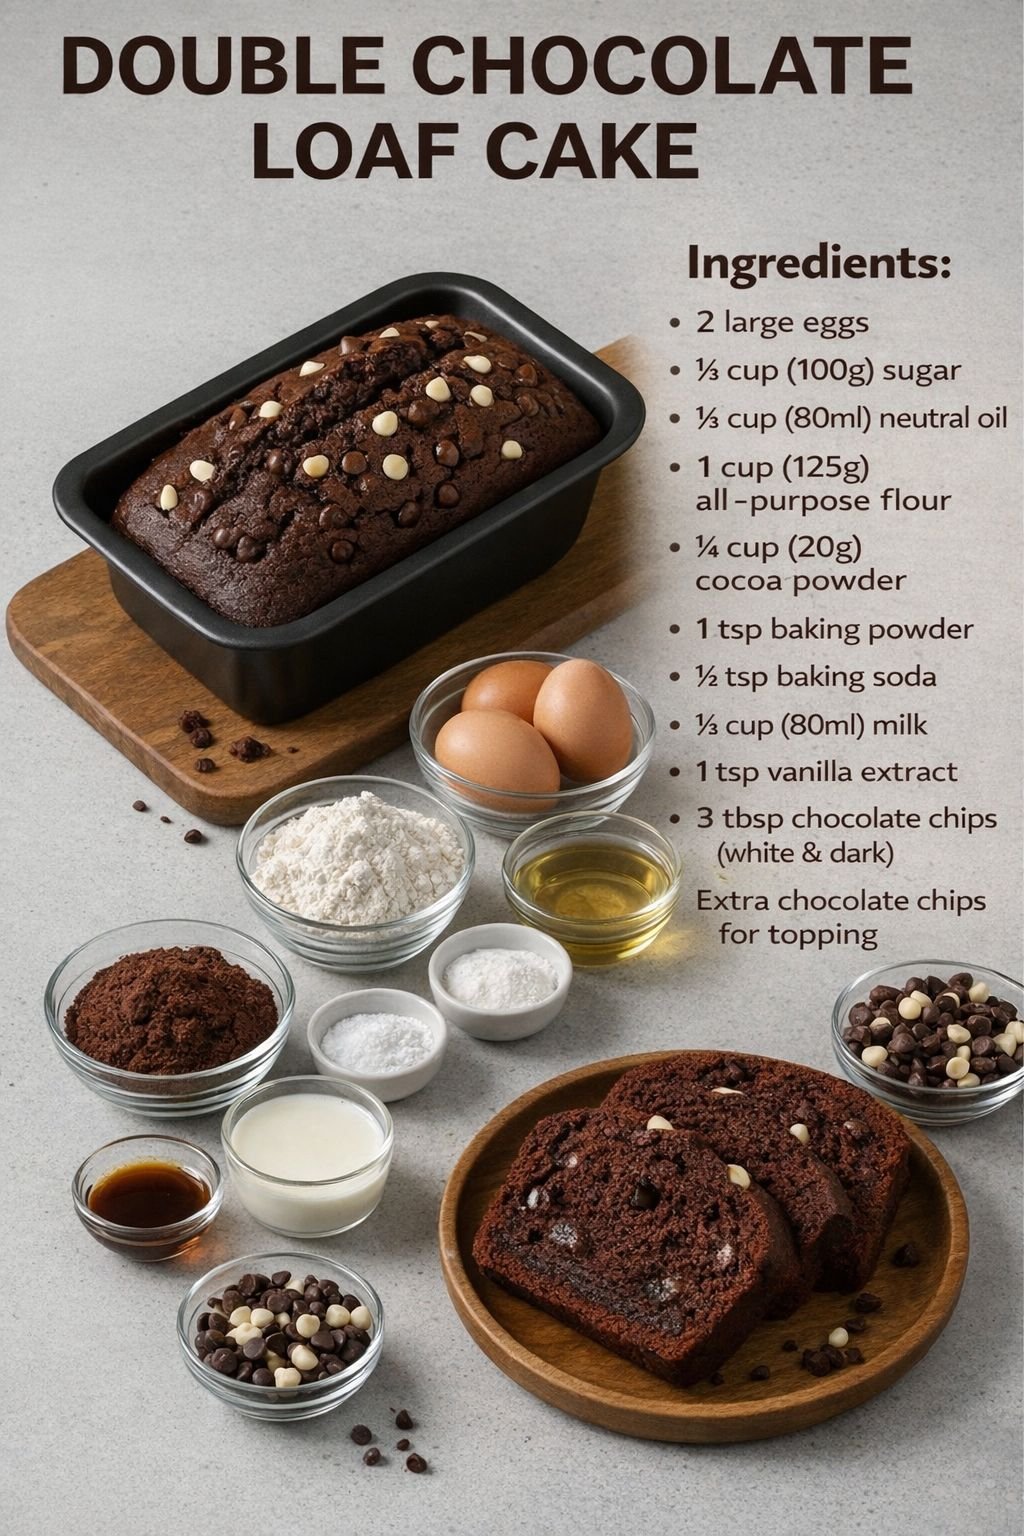
🍫 Double Chocolate Loaf Cake
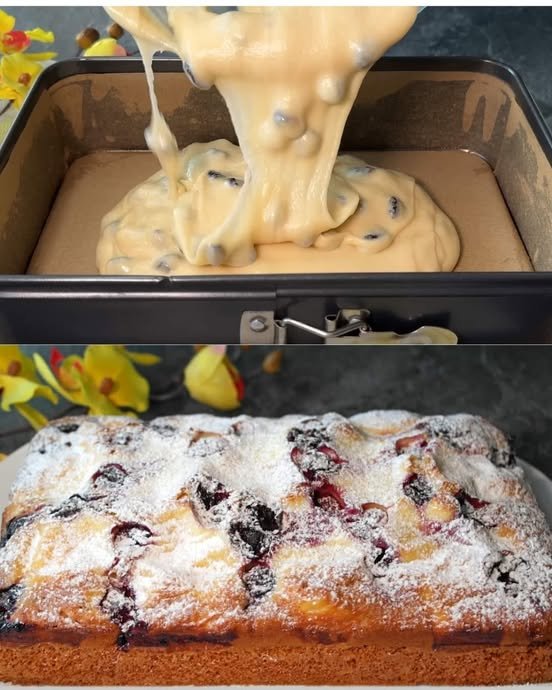
A rich, moist chocolate loaf packed with chocolate chips. Perfect for breakfast, dessert, or an afternoon treat.
📝 Ingredients
-
2 large eggs
-
⅓ cup (100 g) sugar
-
⅓ cup (80 ml) neutral oil (vegetable or canola)
-
⅓ cup (80 ml) milk
-
1 teaspoon vanilla extract
-
1 cup (125 g) all-purpose flour
-
¼ cup (20 g) cocoa powder
-
1 teaspoon baking powder
-
½ teaspoon baking soda
-
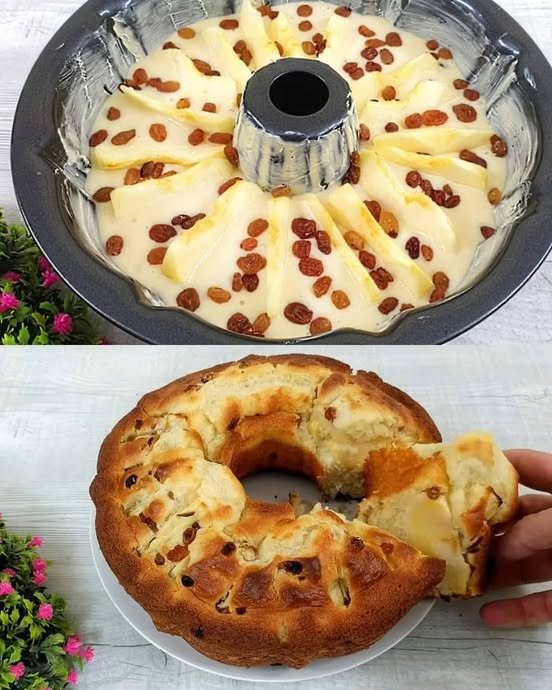
3 tablespoons chocolate chips (white or dark, or a mix)
-
Extra chocolate chips for topping
👩🍳 Instructions
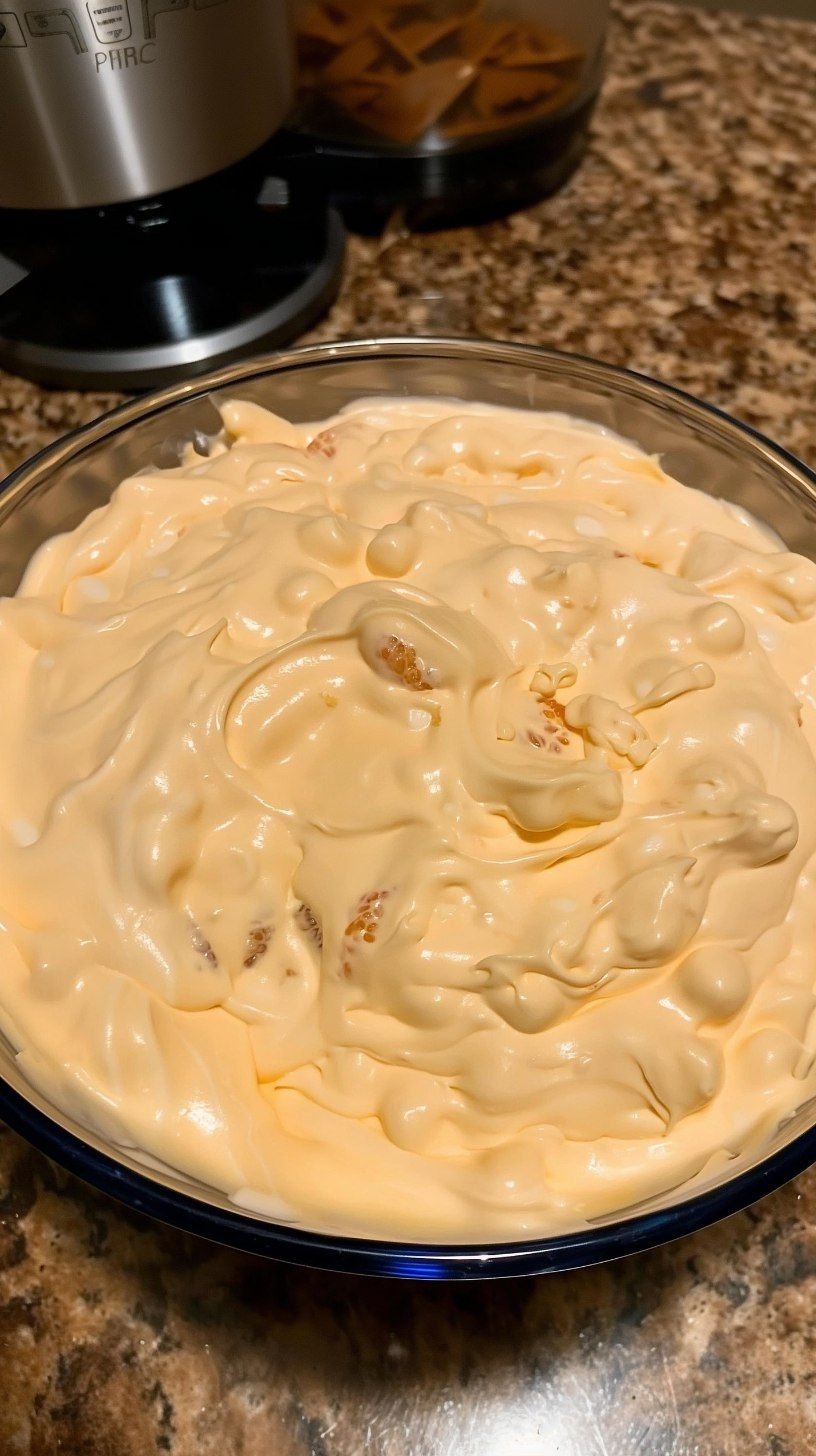
1️⃣ Mix the Wet Ingredients
-
In a medium bowl, whisk the eggs and sugar until slightly pale and well combined.
-
Add the oil, milk, and vanilla extract. Stir until smooth.
2️⃣ Combine with Dry Ingredients
-
Sift together the flour, cocoa powder, baking powder, and baking soda.
-
Gently fold the dry ingredients into the wet mixture until just combined. Avoid overmixing to keep the cake tender.
-
Fold in 3 tablespoons of chocolate chips.
3️⃣ Prepare for Baking
-
Preheat the oven to 175°C (350°F).
-
Grease a standard loaf pan or line it with parchment paper.
-
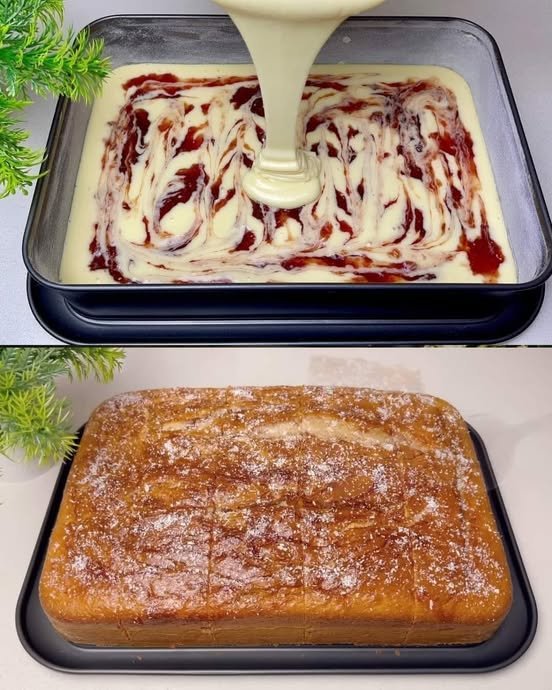
Pour the batter into the pan and smooth the top with a spatula.
-
Sprinkle extra chocolate chips over the surface.
4️⃣ Bake
-
Bake for 35–45 minutes.
-
Test doneness by inserting a toothpick into the center; it should come out clean or with a few moist crumbs.
-
Let the cake cool in the pan for 10 minutes, then transfer to a wire rack to cool completely.
🍽 Serving Suggestions
-
Serve slightly warm so chocolate chips are melty
-
Pair with a cold glass of milk or a cup of coffee
-
Slice thick for an indulgent snack
🧁 Tips
✔️ Use high-quality cocoa powder for deeper flavor
✔️ Fold gently to keep the cake soft and airy
✔️ Store in an airtight container for 2–3 days
✔️ Freeze slices for up to 1 month