Servings & Timing
- Yield: 1 large serving or 2 smaller cups
- Prep Time: 10 minutes
- Cook Time: 22–26 minutes
- Total Time: 35 minutes
- Dietary Badges: High-Protein, WW-Friendly, Low Sugar, Gluten-Free (if using GF protein powder/granola)
INGREDIENTS
Blueberry Layer
- 1 cup fresh blueberries
- 1–2 tbsp sugar-free syrup or monk fruit sweetener, to taste
- 1 tbsp water
- Optional: zest or squeeze of lemon
Protein Yogurt Layer
- ¾ cup nonfat plain Greek yogurt
- ¾ cup fat-free cottage cheese, blended until smooth
- ½ scoop vanilla or unflavored protein powder
- 1–2 tbsp sugar-free syrup or monk fruit sweetener
- ½ tsp vanilla extract
- 1 tbsp cornstarch
Light Crunch Topping (Optional)
- 2 tbsp high-protein granola or crushed high-protein cereal
- Pinch of cinnamon
Serving Suggestions
- Enjoy warm or chilled. Perfect on its own or topped with extra fresh blueberries.
Notes:
- Use fully cooled blueberry base to prevent curdling in yogurt layer.
- Can be made in ramekins, oven-safe jars, or a small baking dish.
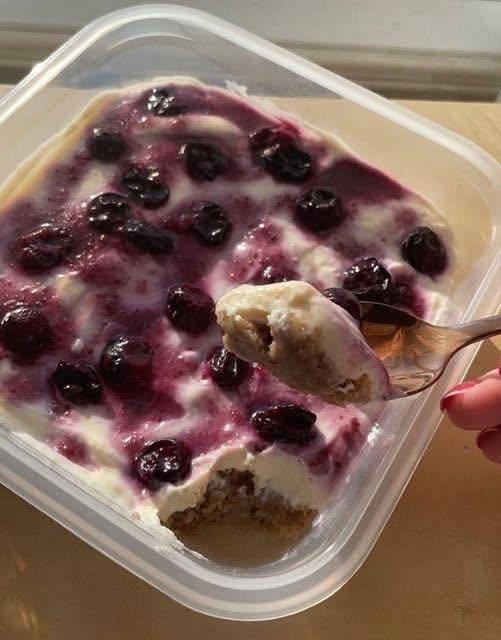
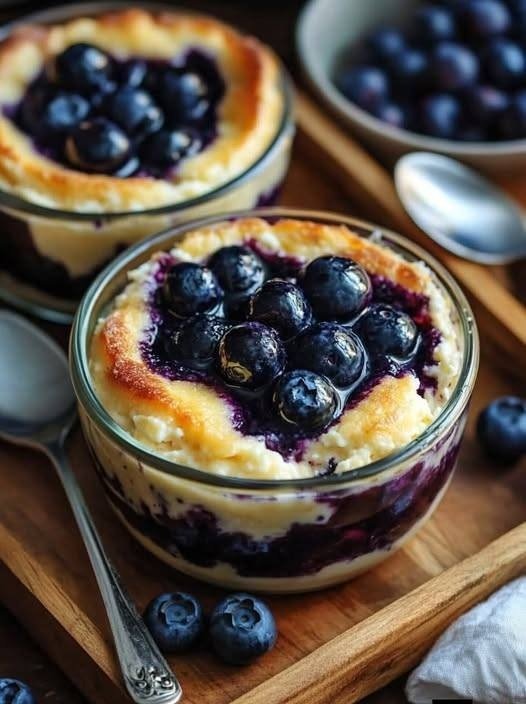
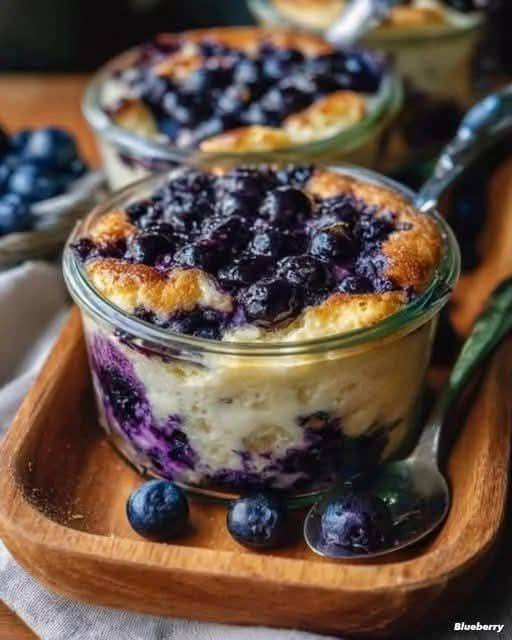
BRIEF INTRODUCTION
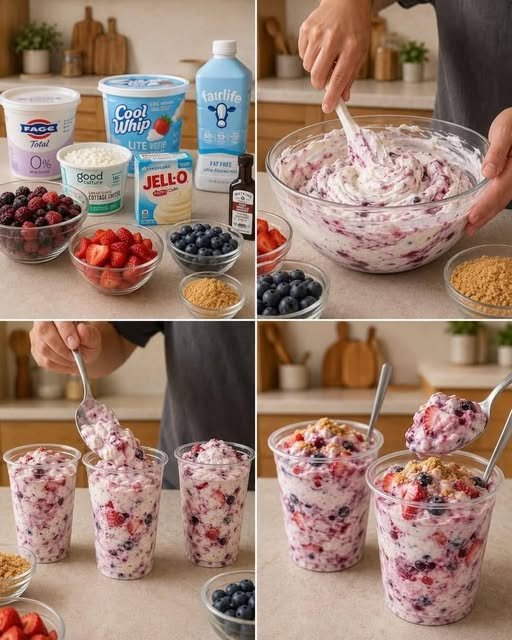
If you love a protein-packed breakfast or a healthy dessert, these Baked Blueberry Greek Yogurt Cups are for you. Creamy and rich like a cheesecake but lighter, they combine juicy blueberries with a smooth, high-protein yogurt layer. I created these for a busy morning when I wanted a satisfying, low-sugar breakfast I could make ahead. The lightly golden top and optional crunchy topping give it a fun texture that makes this treat feel indulgent without the guilt.
STEP-BY-STEP COOKING GUIDE
1. Make The Blueberry Base
- Combine blueberries, sweetener, and water in a small saucepan.
- Cook over low heat for 3–4 minutes until berries soften and release their juices.
- Remove from heat and allow to cool slightly; the mixture will thicken as it rests.
Tip: For extra brightness, add a teaspoon of lemon juice or a pinch of zest.
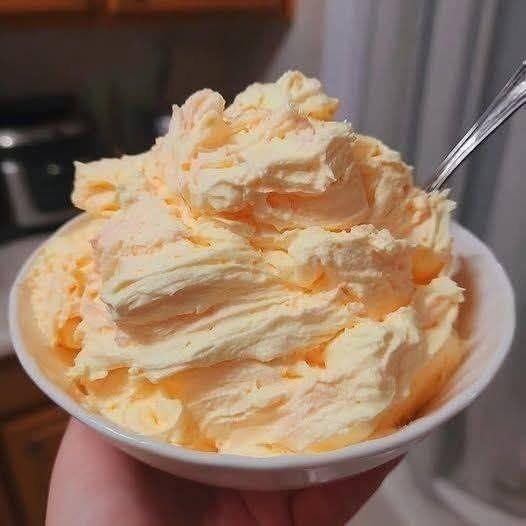
2. Prepare The Protein Yogurt
- Blend the cottage cheese until smooth to remove any lumps.
- In a bowl, whisk together the blended cottage cheese, Greek yogurt, protein powder, sweetener, vanilla, and cornstarch.
- Mix until thick, smooth, and pourable, with a cheesecake-batter consistency.
Tip: Ensure the blueberry mixture has cooled so it doesn’t affect the yogurt layer’s texture.
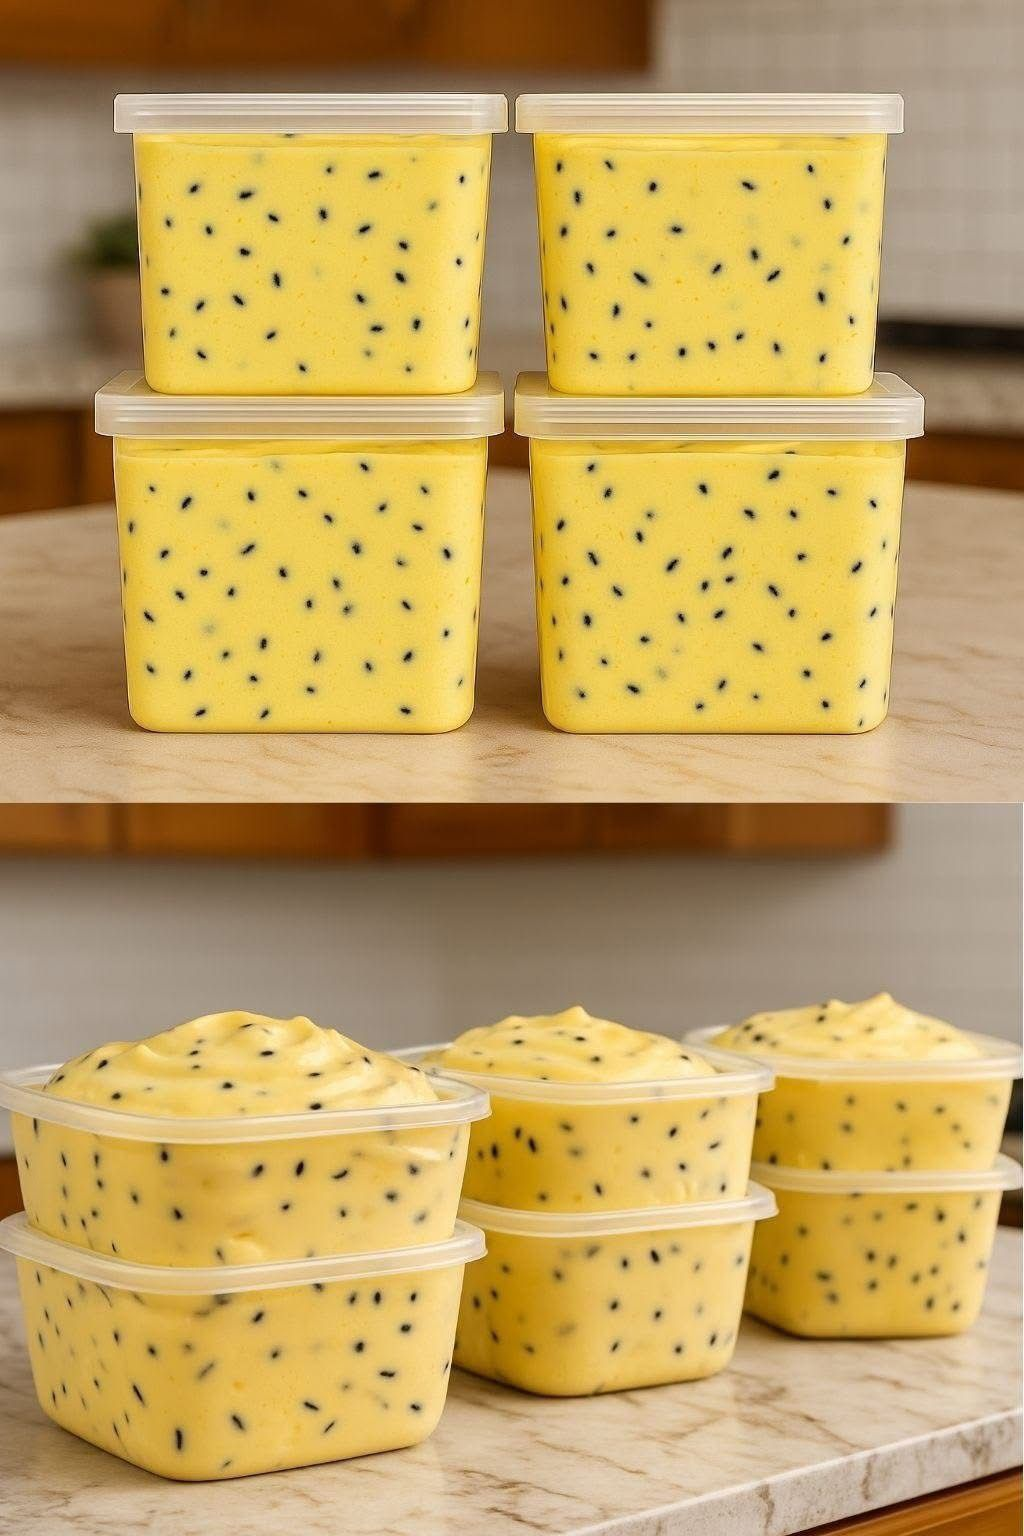
3. Assemble The Cups
- Lightly grease oven-safe glass jars or ramekins.
- Spoon the blueberry mixture evenly into the bottom of each dish.
- Pour the protein yogurt mixture on top of the berries.
- Sprinkle lightly with the optional crunchy topping.
Tip: Use a spatula to smooth the yogurt layer for a clean, professional look.
4. Bake
- Bake at 350°F (175°C) for 22–26 minutes.
- Centers should be set but slightly jiggly; tops should be lightly golden and puffed.
- Let cool for 5–10 minutes before serving.
Tip: For a chilled version, refrigerate for 30–60 minutes after baking.

INGREDIENT DETAILS & SUBSTITUTIONS
- Cottage Cheese: Blending removes texture for a smooth custard. Use low-fat if desired.
- Protein Powder: Any whey or plant-based protein works. Adjust sweetener if using flavored powder.
- Cornstarch: Helps the yogurt layer set without baking into a solid. Arrowroot powder works as a substitute.
- Sweetener: Sugar-free syrup or monk fruit can be swapped for stevia or erythritol blends.
- Crunchy Topping: Optional, but adds texture. Nuts, seeds, or granola work.
RECIPE VARIATIONS & SERVING SUGGESTIONS
- Flavor Twists: Add ½ tsp cinnamon or nutmeg to the yogurt layer.
- Berry Swap: Use raspberries, blackberries, or mixed berries instead of blueberries.
- Vegan Option: Replace Greek yogurt and cottage cheese with a thick, unsweetened plant-based yogurt and silken tofu; use plant-based protein powder.
- Serving Ideas: Great with fresh fruit, a drizzle of sugar-free syrup, or a sprinkle of chia seeds.
STORAGE & MAKE-AHEAD TIPS
- Refrigeration: Store in an airtight container for up to 3 days.
- Freezing: Not recommended, as texture may change.
- Make-Ahead: Blueberry base can be made 1 day ahead; assemble and bake the next morning.
NUTRITION FACTS (APPROXIMATE PER LARGE SERVING)
- Calories: 260–280
- Protein: 47–50 g
- Fat: 2–3 g
- Net Carbs: ~15 g
- WW SmartPoints: 2–3 points
Dietary Highlights: High-protein, low-sugar, WW-friendly, gluten-free (if protein powder is GF).
FREQUENTLY ASKED QUESTIONS (FAQS)
Q: Can I use frozen blueberries?
A: Yes, thaw slightly and drain excess liquid before cooking to avoid a watery base.
Q: Can I skip the cornstarch?
A: You can, but the yogurt layer will be softer and less custard-like.
Q: Can this be doubled?
A: Yes, double all ingredients and bake in a larger dish; bake time may need 3–5 minutes longer.
Q: Can I make these dairy-free?
A: Use plant-based yogurt and silken tofu; adjust protein powder if needed.
Q: Can I add extra sweetener?
A: Taste before assembling; adjust to your preference.
OPTIONAL PERSONAL NOTES
I developed these Baked Blueberry Greek Yogurt Cups as a healthier alternative to cheesecake cups. After a few trials, I found that blending the cottage cheese gives a creamy texture without curdling and keeps the protein content high. The optional topping adds a touch of fun without ruining the low-sugar profile. It’s my go-to make-ahead breakfast for busy mornings or a post-workout treat.
Call-to-Action: Try this recipe, leave a comment with your favorite berry swap, and share your version with friends. These cups are flexible, delicious, and perfect for anyone chasing high-protein, low-sugar meals.