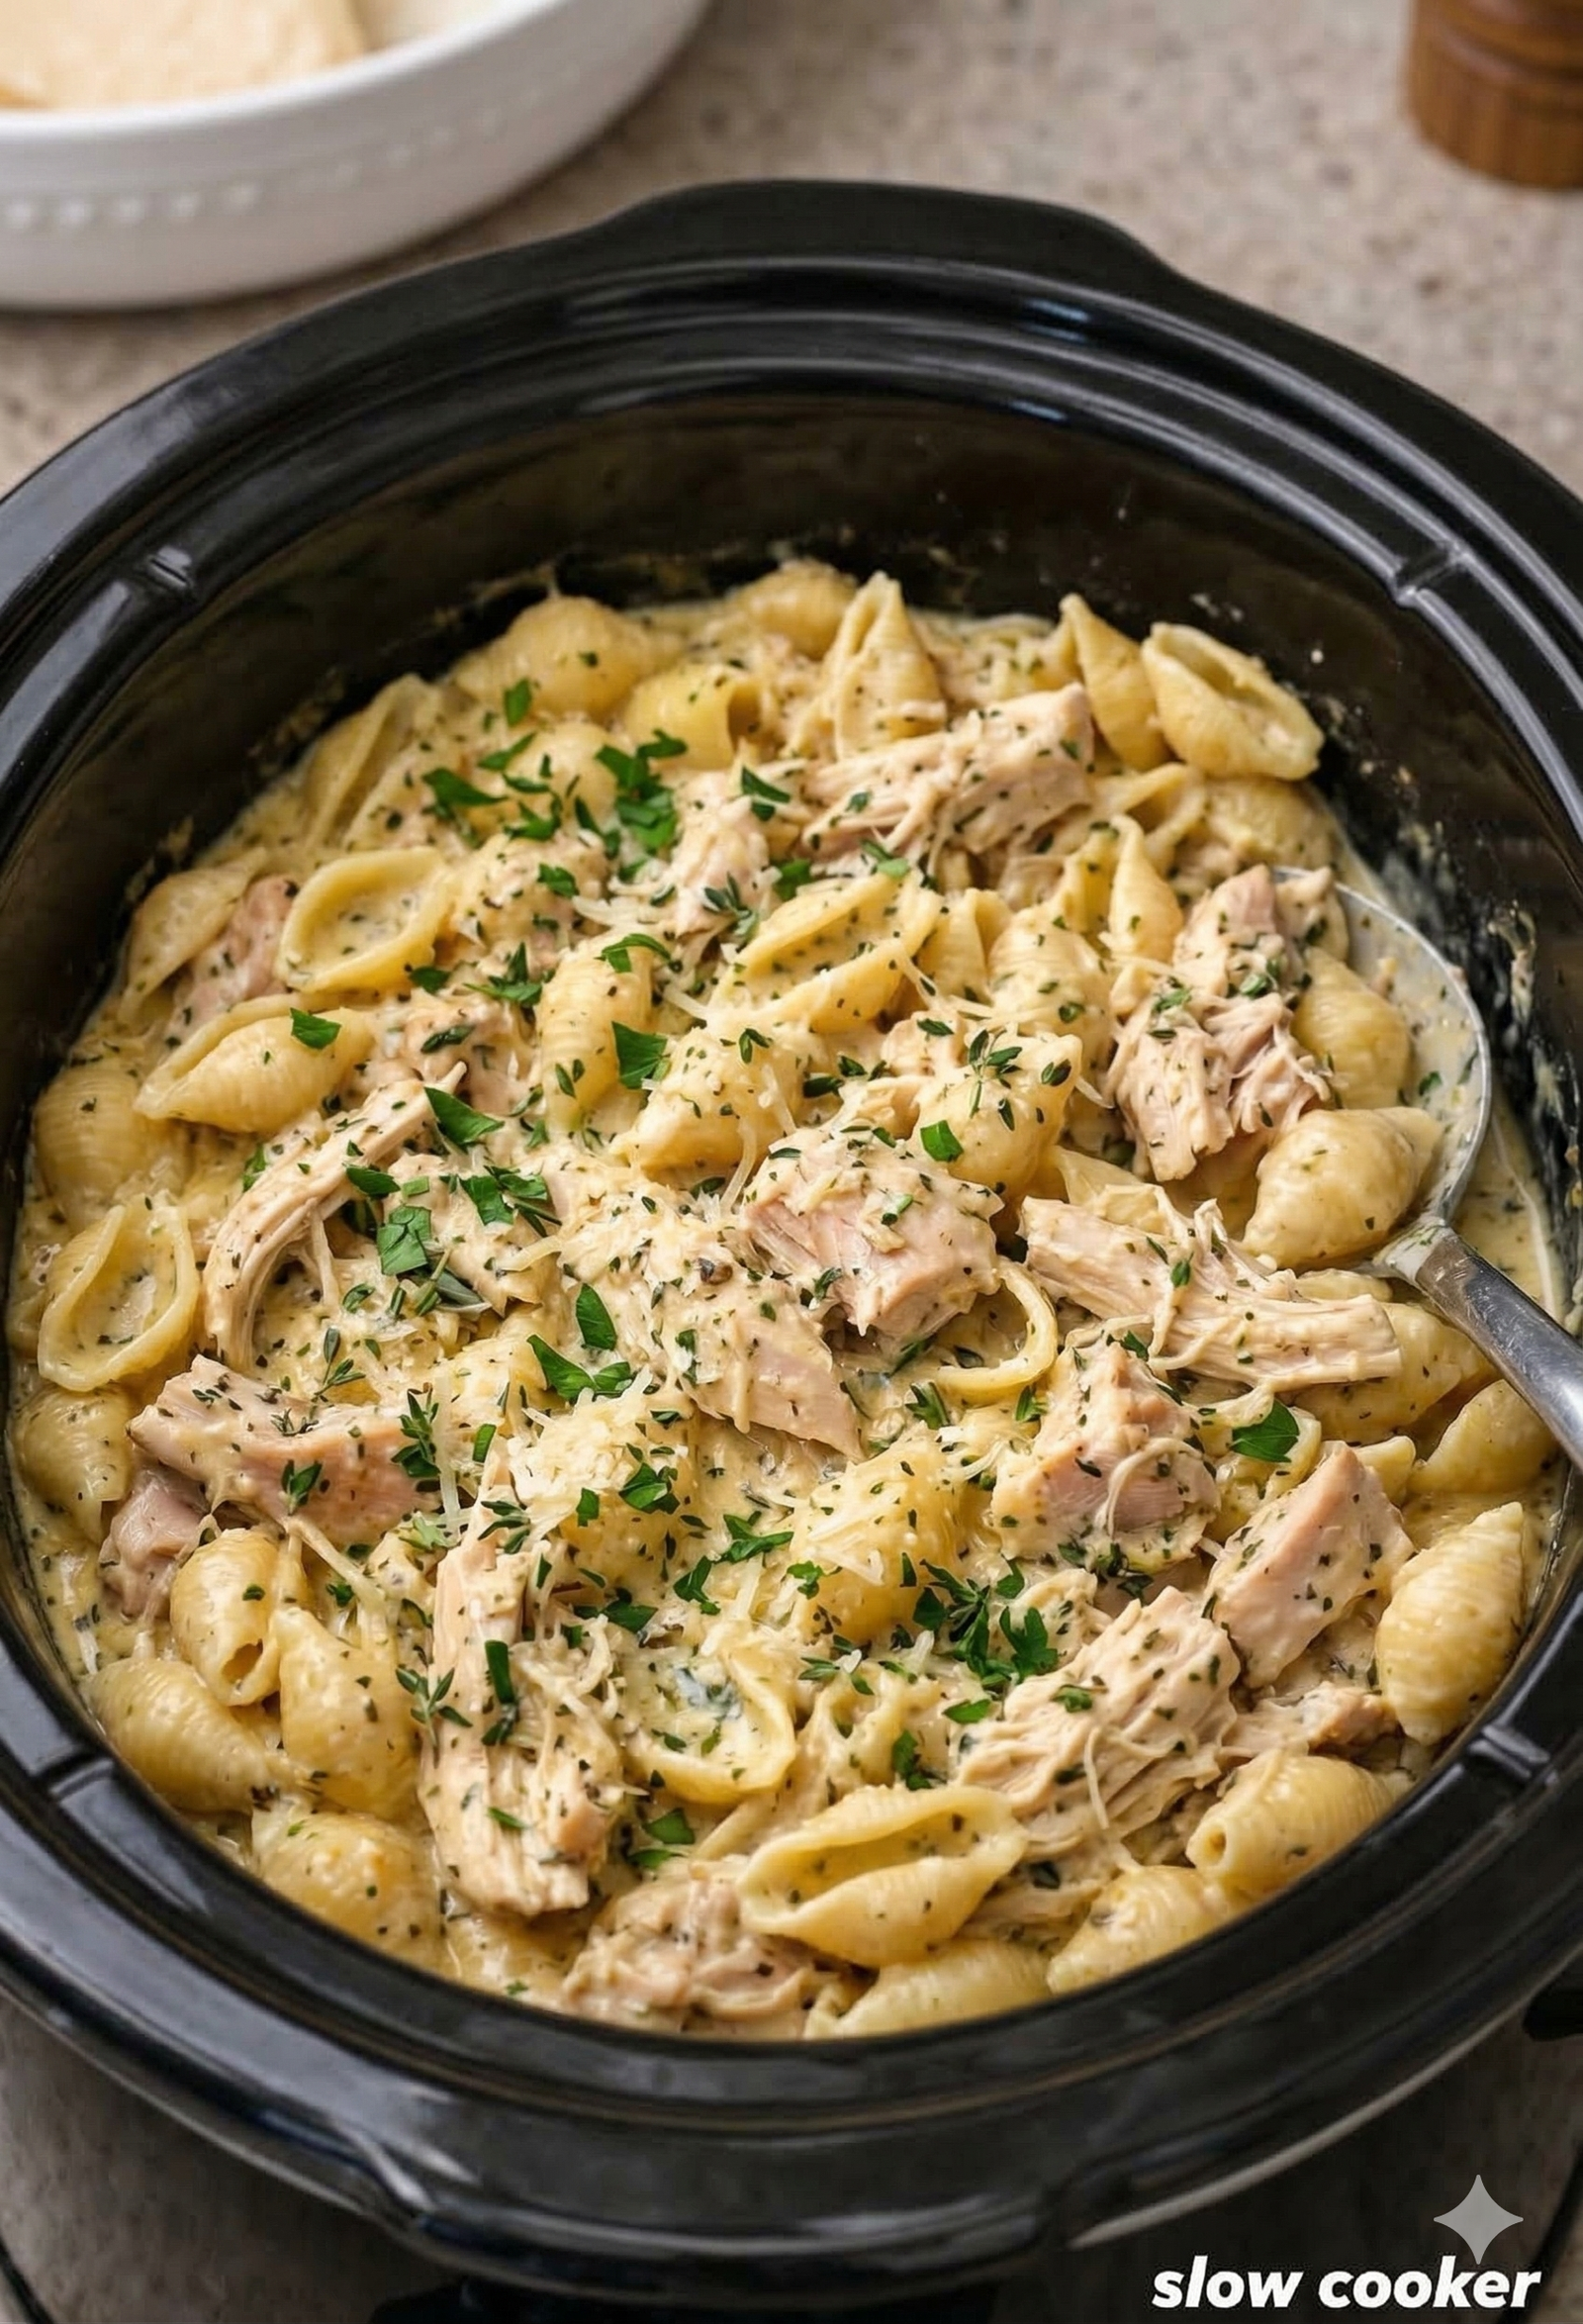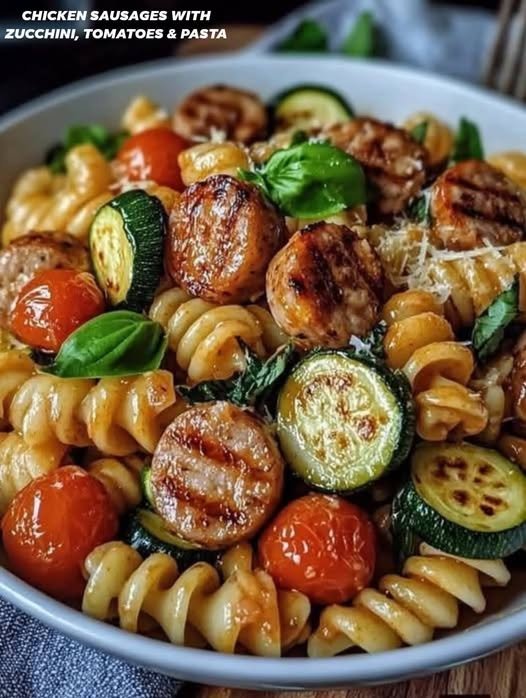
Chicken Sausage, Zucchini, & Burst Tomato Pasta
Prep time: 10 mins | Cook time: 20 mins | Serves: 4
Ingredients
-
Pasta: 12 oz (340g) Fusilli or Rotini
-
Protein: 4-5 Pre-cooked Chicken Sausages (Italian herb or Garlic flavors work best), sliced into rounds
-
Vegetables: 2 medium Zucchinis (sliced into half-moons), 1 pint Cherry Tomatoes
-
Aromatics: 3 cloves Garlic (minced), 1 small Shallot (finely diced)
-
Sauce/Finish: 1/4 cup Olive oil, 1/2 cup Pasta water (reserved), Fresh Basil leaves, Grated Parmesan cheese
-
Seasoning: Salt, Black pepper, and a pinch of Red pepper flakes
Instructions
-
Boil the Pasta: Bring a large pot of salted water to a boil. Cook the pasta according to package directions until al dente. Crucial step: Reserve at least 1/2 cup of the starchy pasta water before draining.
-
Sear the Sausage: While the water boils, heat 1 tablespoon of olive oil in a large skillet over medium-high heat. Add the sausage slices and sear for 2–3 minutes per side until they have those nice dark grill marks. Remove and set aside.
-
Char the Veggies: In the same skillet, add another tablespoon of oil. Add the zucchini in a single layer. Let them sit undisturbed for 2 minutes to get a golden-brown sear, then toss. Add the cherry tomatoes and cook until they begin to soften and “burst.”
-
Build the Flavor: Lower the heat to medium. Stir in the shallots and garlic (and red pepper flakes if you like a kick). Sauté for 1 minute until fragrant—don’t let the garlic burn!
-
Emulsify: Add the cooked pasta and seared sausage back into the skillet. Pour in the reserved pasta water and the remaining olive oil. Toss vigorously over medium heat for 1–2 minutes; the water and oil will combine with the tomato juices to create a light, glossy sauce.
-
The Grand Finale: Turn off the heat. Fold in a generous handful of torn fresh basil and a dusting of Parmesan cheese. Season with extra salt and pepper to taste.
A Couple of Pro-Tips
-
The Sear: To get those “photo-ready” char marks on the zucchini, make sure your pan is quite hot before they hit the oil, and don’t overcrowd the pan.
-
The Sauce: If the pasta looks a bit dry, add an extra splash of olive oil or a squeeze of fresh lemon juice to brighten the fats.


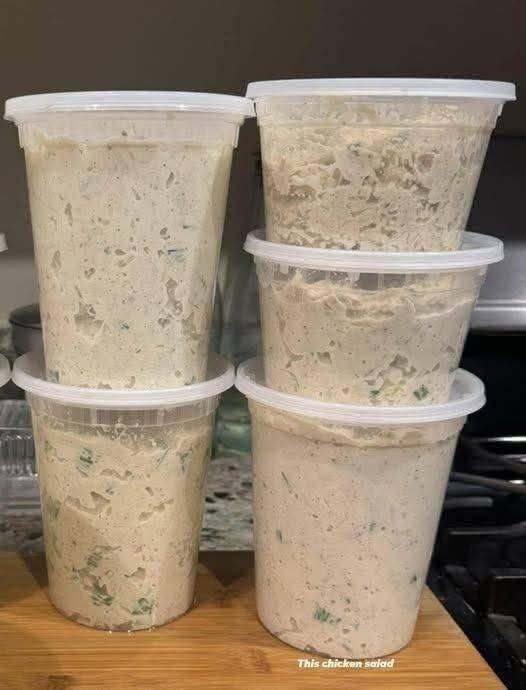


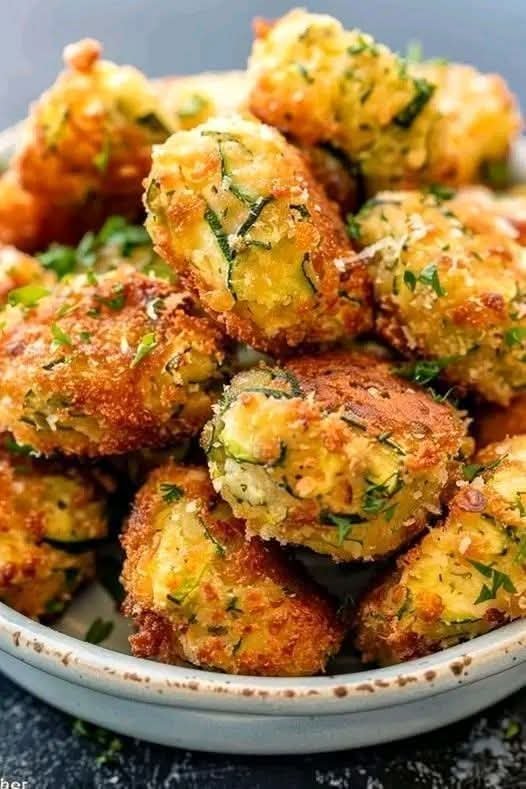
 Mediterranean Grilled Chicken Bites with Garlic Yogurt Sauce
 High in lean protein – great for energy and muscle repair