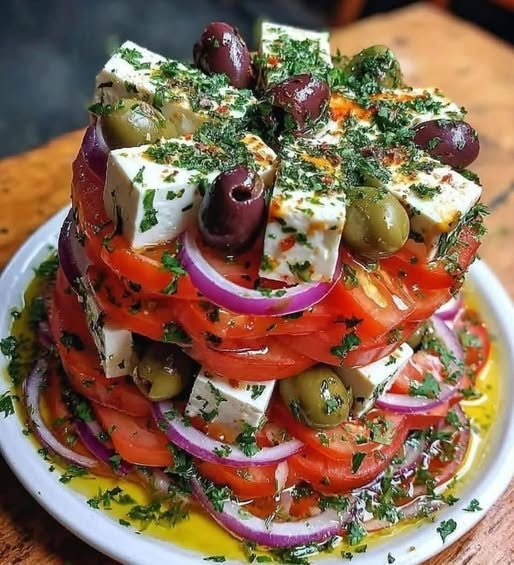
Greek Feta Salad Tower (Fresh Mediterranean Layered Salad)
A beautiful, stacked presentation of the classic Greek salad — fresh vegetables layered neatly and topped with creamy feta and a bright oregano dressing. Perfect for entertaining or a light, refreshing meal.
Description
This “salad tower” version elevates traditional Greek salad by layering:
-
Juicy tomatoes
-
Crisp cucumber
-
Thin red onion
-
Briny olives
-
Creamy feta
-
Fresh herbs
-
Simple olive oil–lemon dressing
It’s vibrant, refreshing, and naturally gluten-free.
Ingredients (Serves 2–4)
For the Salad Layers:
-
2 large ripe tomatoes, sliced thick
-
1 large cucumber, sliced into rounds
-
¼ small red onion, very thinly sliced
-
½ cup Kalamata olives, pitted
-
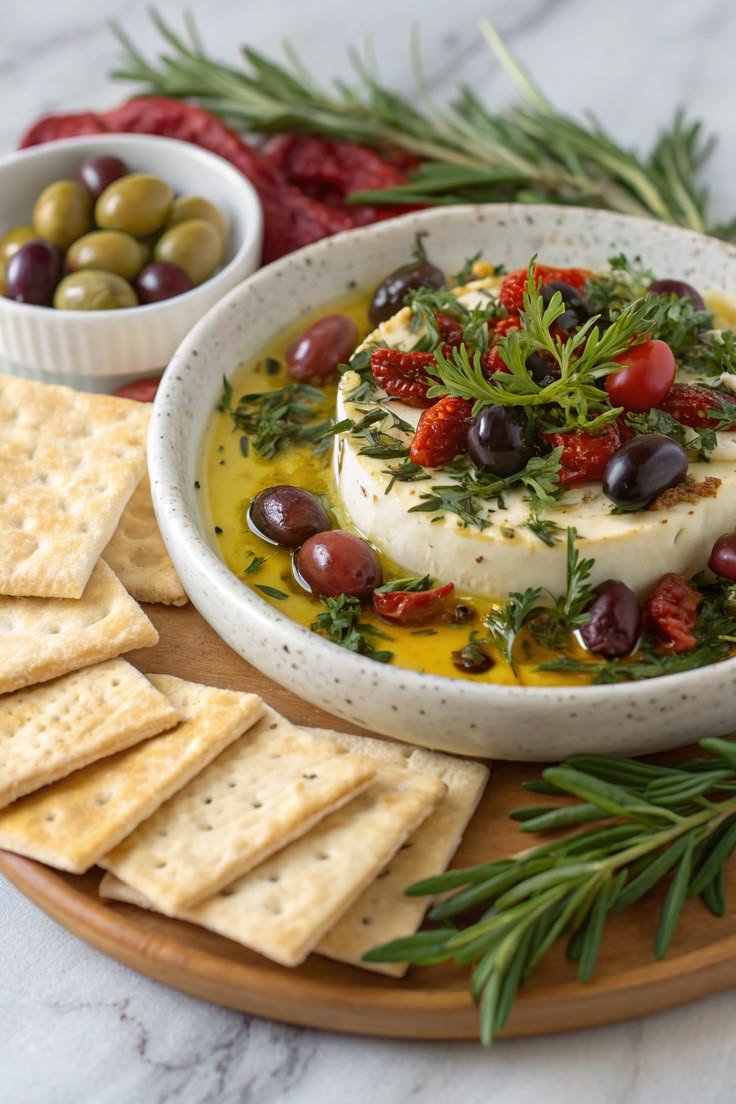
4–6 oz block feta cheese (cut into thick squares or rounds)
-
1 tablespoon fresh parsley or oregano (optional)
-
Freshly cracked black pepper
For the Dressing:
-
3 tablespoons extra virgin olive oil
-
1 tablespoon fresh lemon juice (or red wine vinegar)
-
½ teaspoon dried oregano
-
Pinch of sea salt
-
Optional: ½ teaspoon Dijon mustard for slight creaminess
Instructions
 Prepare Vegetables
-
Slice tomatoes and cucumber evenly (about ½-inch thick).
-
Soak sliced red onions in cold water for 5–10 minutes to reduce sharpness.
 Make the Dressing
Whisk together olive oil, lemon juice, oregano, salt, pepper, and Dijon (if using).
 Build the Tower
Using a food ring mold (or freehand stacking):
-
Start with a tomato slice.
-
Add cucumber slice.
-
Sprinkle a few onions and olives.
-
Repeat layers once or twice.
-
Finish with a thick piece of feta on top.
Gently remove ring mold if used.
 Finish
-
Drizzle dressing over the top.
-
Sprinkle herbs and cracked black pepper.
-
Serve immediately.
Serving Size
-
Serves 2 as a main
-
Serves 4 as a side dish
Nutritional Information (Approximate per serving, serves 4)
-
Calories: 220–250
-
Protein: 6–8g
-
Carbohydrates: 8–10g
-
Fat: 20g
-
Fiber: 2–3g
-
Low carb & gluten-free
Tips for Best Results
-
Use block feta, not crumbles — it holds shape better.
-
Choose ripe but firm tomatoes.
-
Chill ingredients before stacking for clean layers.
-
Add avocado slices for a creamy twist.
-
Serve with warm pita or grilled chicken for a complete meal.
Health Benefits
 Heart-healthy fats from olive oil Rich in antioxidants (tomatoes + olive oil combo enhances absorption) Good source of calcium from feta Hydrating and low-calorie Naturally Mediterranean diet–friendly
Q & A
Q: Can I make it ahead?
Yes, prep ingredients ahead but assemble just before serving.
Q: Can I add protein?
Grilled chicken, shrimp, or chickpeas work beautifully.
Q: What if I don’t have a ring mold?
Stack carefully by hand or serve layered in a clear glass for a “parfait” look.
Q: Is this keto-friendly?
Yes, it’s naturally low-carb.


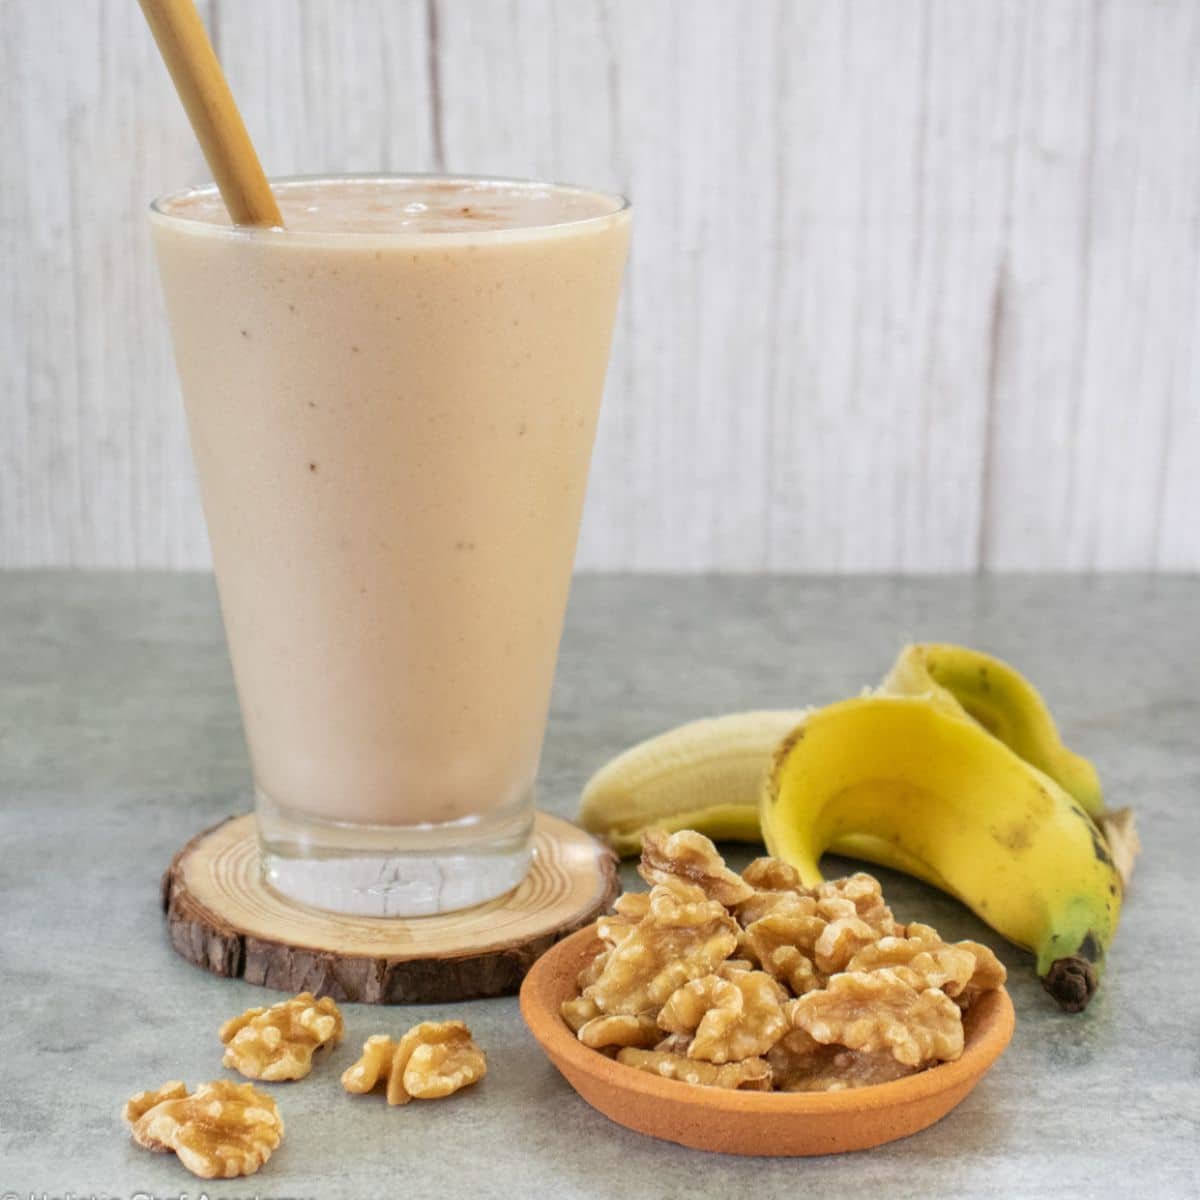
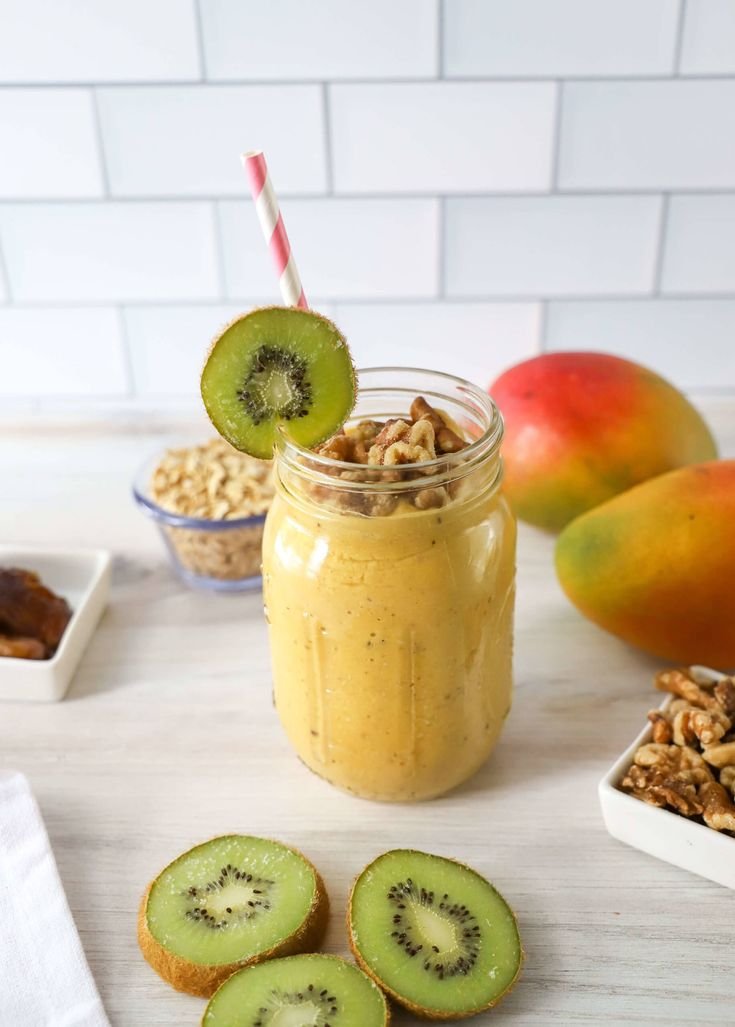
 Banana Walnut Smoothie Recipe


 Ingredients
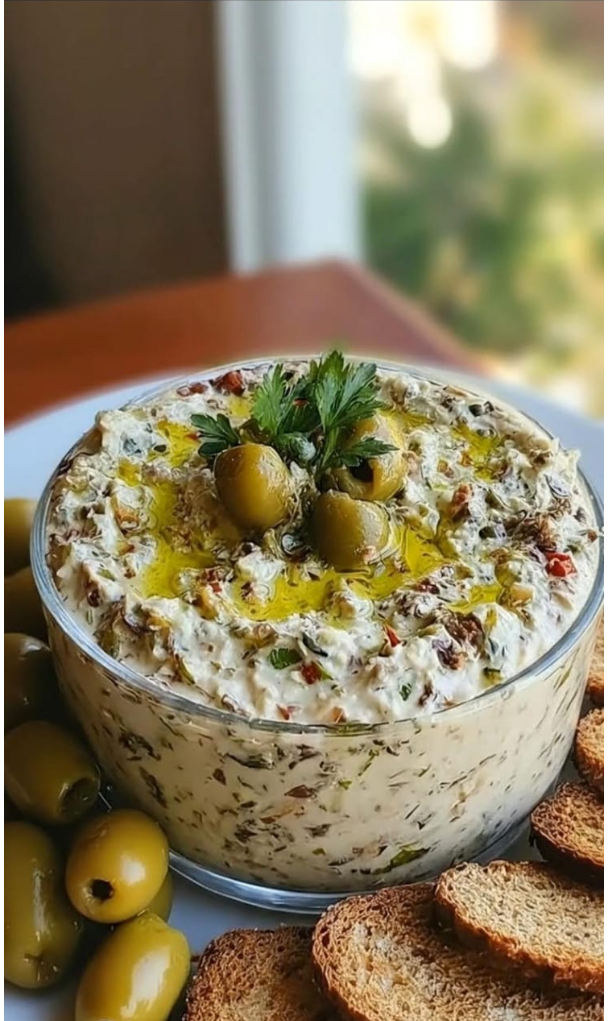
 For the Spread
 For Garnish
 For Serving
 Step-by-Step Instructions
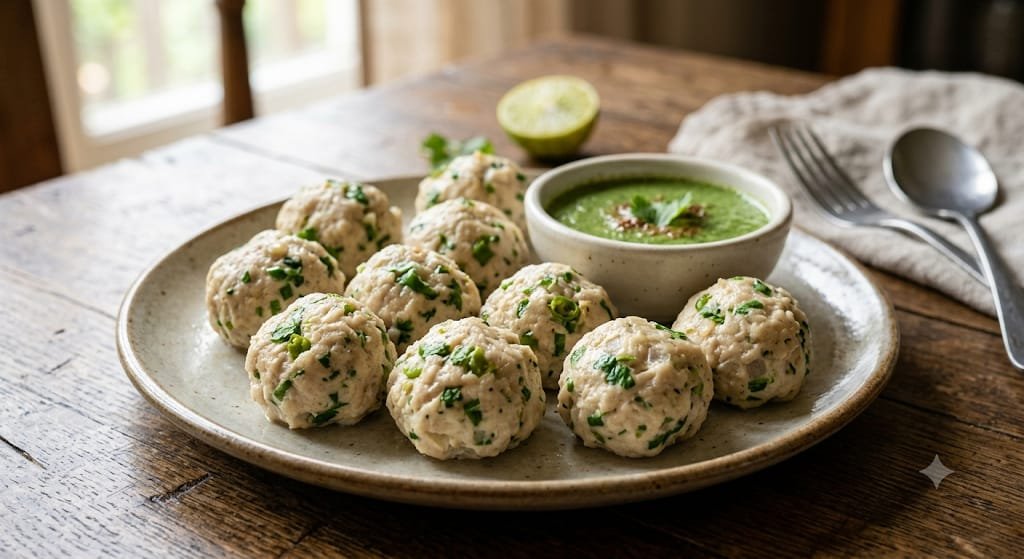
 Finely chop the green olives and fresh parsley.
 Chill
Chill Serve
Serve Tips
Tips Use full-fat cream cheese for the creamiest texture.
 Q&A
Q&A Servings
 Estimated Nutrition (Per Serving)