HomeLUNCH RECIPESTuna Salad
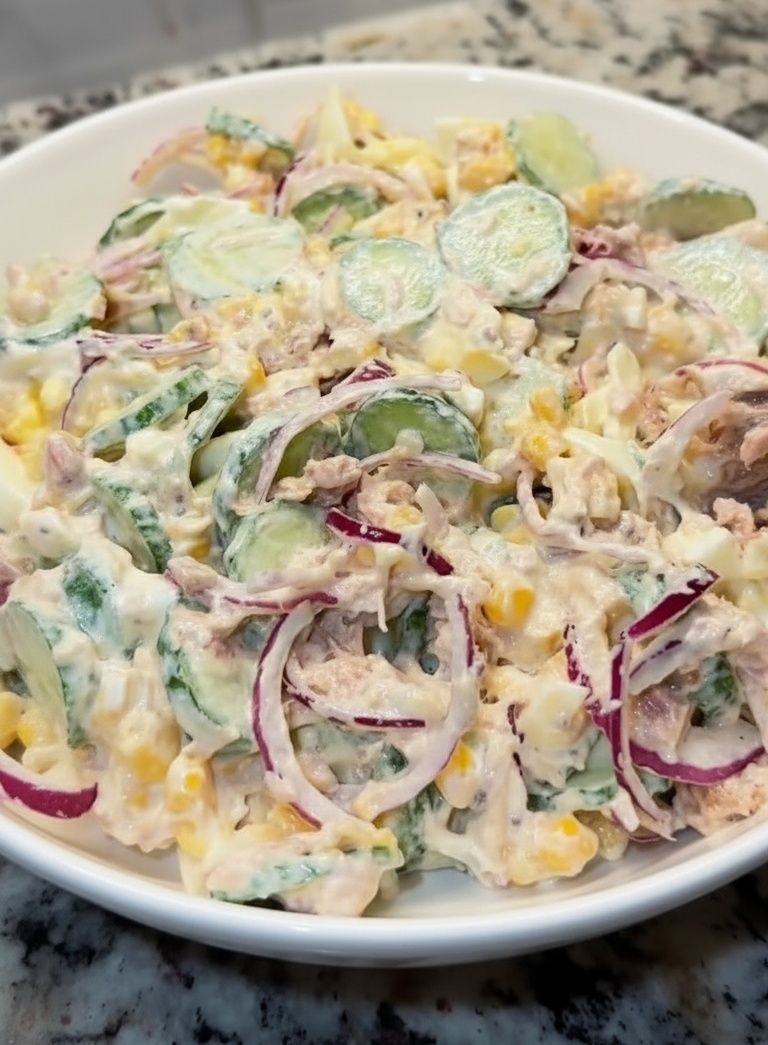
Tuna Salad
March 16, 2026
Tuna Salad
Have you ever wondered why tuna salad remains one of the most beloved comfort foods across the globe? This creamy, protein-packed dish is more than just a quick lunch option. It’s a versatile recipe that brings together the rich flavor of tuna with fresh vegetables and a satisfying dressing. Making tuna salad at home means you control the quality of ingredients, adjust flavors to your preference, and create a healthier version than store-bought alternatives. Plus, it takes less than 15 minutes from start to finish, making it perfect for busy weekdays or spontaneous gatherings.
I still remember my grandmother making huge bowls of this salad for family picnics. The smell of fresh cucumber mingling with the savory tuna would fill her kitchen, and we kids would hover around waiting for a taste. Today, I make my own version, and it brings back those warm summer memories every single time.
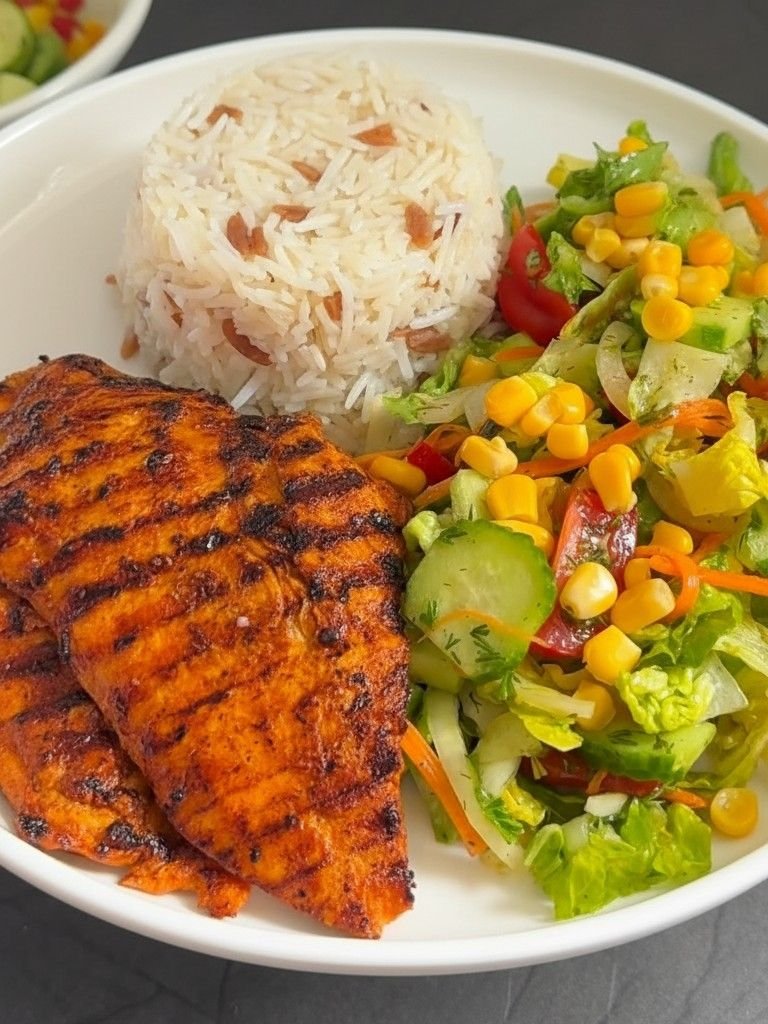
This international favorite adapts beautifully to different tastes and dietary needs. Whether you’re meal prepping for the week, packing lunch boxes, or hosting a casual get-together, this recipe delivers every time. The combination of textures is what makes it special: tender tuna, crisp cucumber, sweet corn kernels, and that sharp bite from red onion.
Ingredients List
2 cans (5 oz each) of tuna in water, drained
1 medium cucumber, diced (about 1 cup)
1/2 medium red onion, finely chopped
1 cup sweet corn (canned, frozen, or fresh)
2 hard-boiled eggs, chopped
Salt and pepper to taste
Fresh dill or parsley for garnish (optional)
For the Dressing:
1/2 cup mayonnaise
1 tablespoon lemon juice
1 teaspoon Dijon mustard (optional)
1/2 teaspoon garlic powder
Timing / Cooking Schedule
Prep time: 12 minutes
Cooking time: 10 minutes (for boiling eggs)
Total time: 22 minutes
If you boil eggs ahead of time, you can have this salad ready in just 12 minutes. Perfect for those days when you need something nutritious fast.
Step-by-Step Instructions
Step 1: Prepare the Eggs
Start by boiling your eggs if you haven’t already. Place them in a pot, cover with cold water by about an inch, and bring to a rolling boil. Once boiling, remove from heat, cover, and let sit for 10 minutes. Transfer to an ice bath immediately. This method gives you perfectly cooked eggs with bright yellow yolks and no green ring. Peel and chop them into bite-sized pieces.
Step 2: Drain and Flake the Tuna
Open your tuna cans and drain them thoroughly. Press gently with a fork to remove excess liquid. You don’t want a watery salad. Break up the tuna into chunks, but don’t over-mash it. I like to keep some texture here. This classic tuna salad method ensures each bite has that satisfying flakiness.
Step 3: Chop the Vegetables
Dice your cucumber into small, uniform pieces. Remove the seeds if your cucumber is particularly watery. Finely chop the red onion, making sure the pieces aren’t too large or they’ll overpower everything else. If your onion is particularly strong, soak the chopped pieces in cold water for 5 minutes, then drain. This mellows the sharpness while keeping that wonderful crunch.
Step 4: Prepare the Corn
If using canned corn, drain and rinse it well. For frozen corn, thaw it first and pat dry. Fresh corn should be cooked briefly and cooled. Room temperature corn works best as it won’t make the mayonnaise separate.
Step 5: Make the Dressing
In a small bowl, whisk together the mayonnaise, lemon juice, garlic powder, and mustard if using. The lemon juice brightens everything and cuts through the richness. Taste and adjust seasoning with salt and pepper. This creamy base is what binds everything together beautifully.
Step 6: Combine Everything
In a large mixing bowl, add the flaked tuna, chopped eggs, cucumber, red onion, and corn. Pour the dressing over the top and fold gently with a spatula. Don’t stir too vigorously or you’ll turn everything into mush. You want distinct pieces throughout. The vegetables should stay crisp, and the tuna should remain in tender flakes.
Step 7: Chill and Serve
Cover and refrigerate for at least 30 minutes before serving. This resting time lets all the flavors marry together. The cucumber releases a bit of moisture, the onion mellows, and everything becomes cohesive. Garnish with fresh herbs right before serving.
Nutritional Information
Per serving (serves 4):
Calories: 285
Protein: 22g
Carbohydrates: 14g
Fat: 16g
Fiber: 2g
Vitamin C: 15% DV
Iron: 12% DV
Tuna Salad
This salad packs serious nutritional value with high-quality protein from tuna and eggs, healthy fats, and vitamins from fresh vegetables. Tuna provides omega-3 fatty acids that support heart and brain health, while eggs add essential amino acids. The vegetables contribute fiber, vitamins, and minerals, making this a well-rounded meal.
Tips, Variations, or Cooking Advice
For a Lighter Version: Replace half the mayonnaise with Greek yogurt. You’ll still get creaminess but with added protein and fewer calories. The tanginess of yogurt complements the tuna beautifully.
Add More Crunch: Toss in diced celery, bell peppers, or even some chopped pickles. These additions bring extra texture and flavor complexity.
Spice It Up: Add a pinch of cayenne pepper, some hot sauce, or finely diced jalapeños for heat. A dash of smoked paprika adds depth without spiciness.
Make It Dairy-Free: Use vegan mayonnaise made from aquafaba or soy. The texture and flavor are remarkably similar to traditional mayo.
Protein Swap: Try canned salmon, chicken breast, or even chickpeas for a vegetarian version. Each brings its own character while maintaining that creamy salad structure.
Meal Prep Friendly: Keep the dressing separate from the vegetables until serving day if prepping for the week. This prevents sogginess. Store in individual containers for grab-and-go lunches.
Serving Suggestions: Pile it onto toasted bread for sandwiches, stuff into avocado halves, wrap in lettuce leaves for low-carb options, or serve over mixed greens as a full salad bowl.
Budget Tip: Buy tuna in larger cans when on sale. It stores for ages in the pantry, making this recipe a lifesaver when fresh groceries run low.
Common Mistakes to Avoid
Not Draining Properly: Excess liquid from the tuna or vegetables makes the salad watery and dilutes flavors. Always press out moisture from tuna thoroughly and pat vegetables dry.
Over-Mixing: Aggressive stirring breaks down the tuna and eggs into paste. Fold gently to maintain texture and visual appeal.
Using Too Much Onion: Raw red onion is powerful. Start with less than you think you need. You can always add more, but you can’t take it out.
Skipping the Chill Time: Serving immediately doesn’t give flavors time to blend. That 30-minute rest makes a noticeable difference in taste.
Wrong Mayonnaise Ratio: Too much makes it gloppy, too little leaves it dry. Start with less and add gradually until you reach your preferred consistency.
Forgetting Seasoning: Tuna and vegetables need proper salt and pepper. Taste before serving and adjust. The salad should be vibrant, not bland.
Using Low-Quality Tuna: The tuna is your star ingredient. Choose good quality tuna packed in water, not oil, for better texture and cleaner flavor.
Storage / Leftovers Tips
Store your tuna salad in an airtight container in the refrigerator for up to 3 days. The quality stays best within the first two days, as the vegetables may release more moisture over time. Keep it in the coldest part of your fridge, usually the back of the middle shelf.
I don’t recommend freezing this salad. The mayonnaise separates when frozen and thawed, and the cucumber and eggs become mushy. If you must make it ahead, prep all ingredients separately and combine them the day you plan to serve.
For packed lunches, use an insulated lunch bag with an ice pack to keep everything food-safe until mealtime. The salad should never sit at room temperature for more than 2 hours due to the mayonnaise and eggs.
If your leftover salad seems a bit dry after a day, stir in a tablespoon of extra mayonnaise or a splash of lemon juice to refresh it. The flavors actually deepen overnight as the ingredients meld together, so day-two servings often taste even better.
To extend freshness, store any garnishes like fresh herbs separately and add them just before eating. This keeps them bright and aromatic rather than wilted.
Watch for any off smells or discoloration. If the salad develops an unpleasant odor or the mayonnaise looks separated and oily, discard it. Food safety always comes first, especially with seafood and egg dishes.