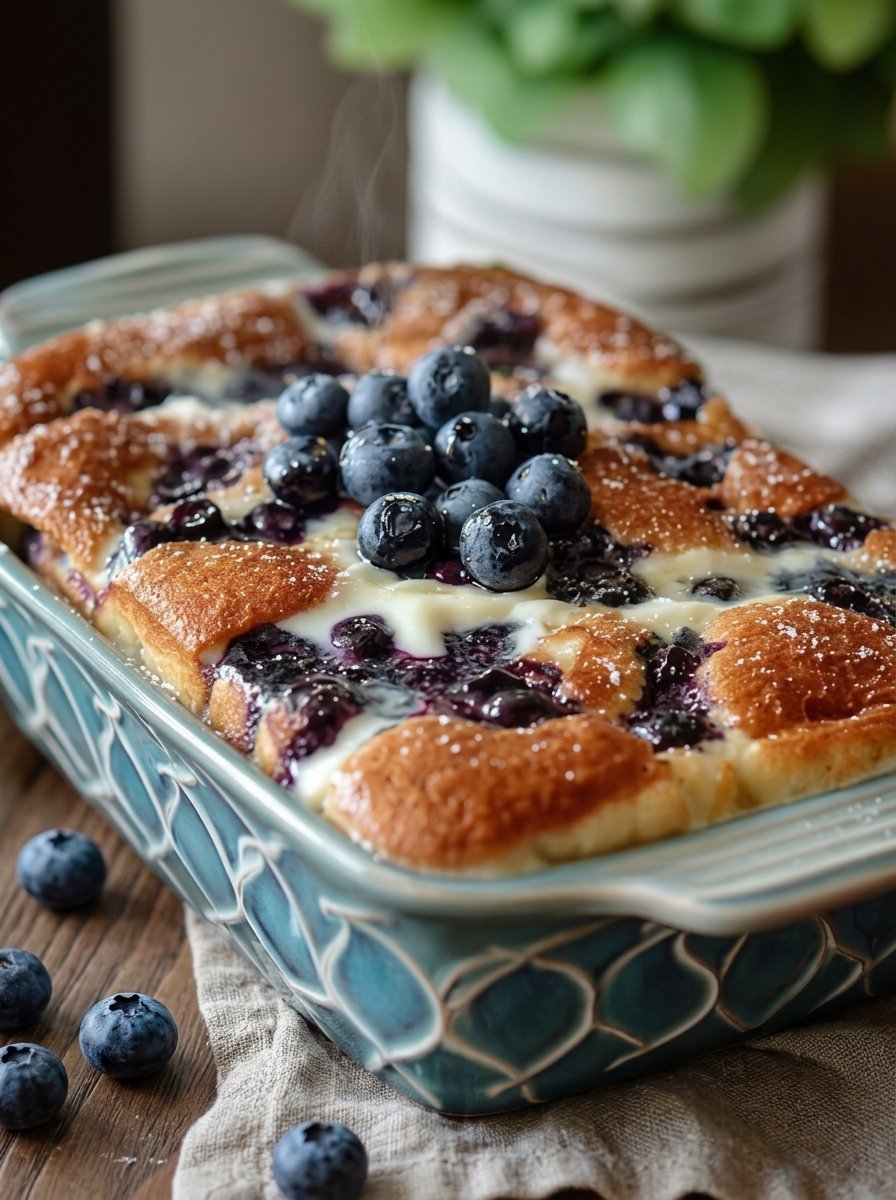
🫐🍰 No-Added-Sugar Blueberry Yogurt Bake
A light, creamy dessert with a soft custard-like texture and natural sweetness from juicy blueberries.
🛒 Ingredients
- Plain Greek yogurt 🥛
- Eggs 🥚
- Blueberries 🫐
👩🍳 Step-by-Step Recipe
🔹 Step 1: Prepare the Baking Dish
- 🔥 Preheat the oven to 350°F (175°C).
- 🧈 Lightly grease a small baking dish to prevent sticking.
- 📏 An 8×8-inch dish works perfectly for this recipe.
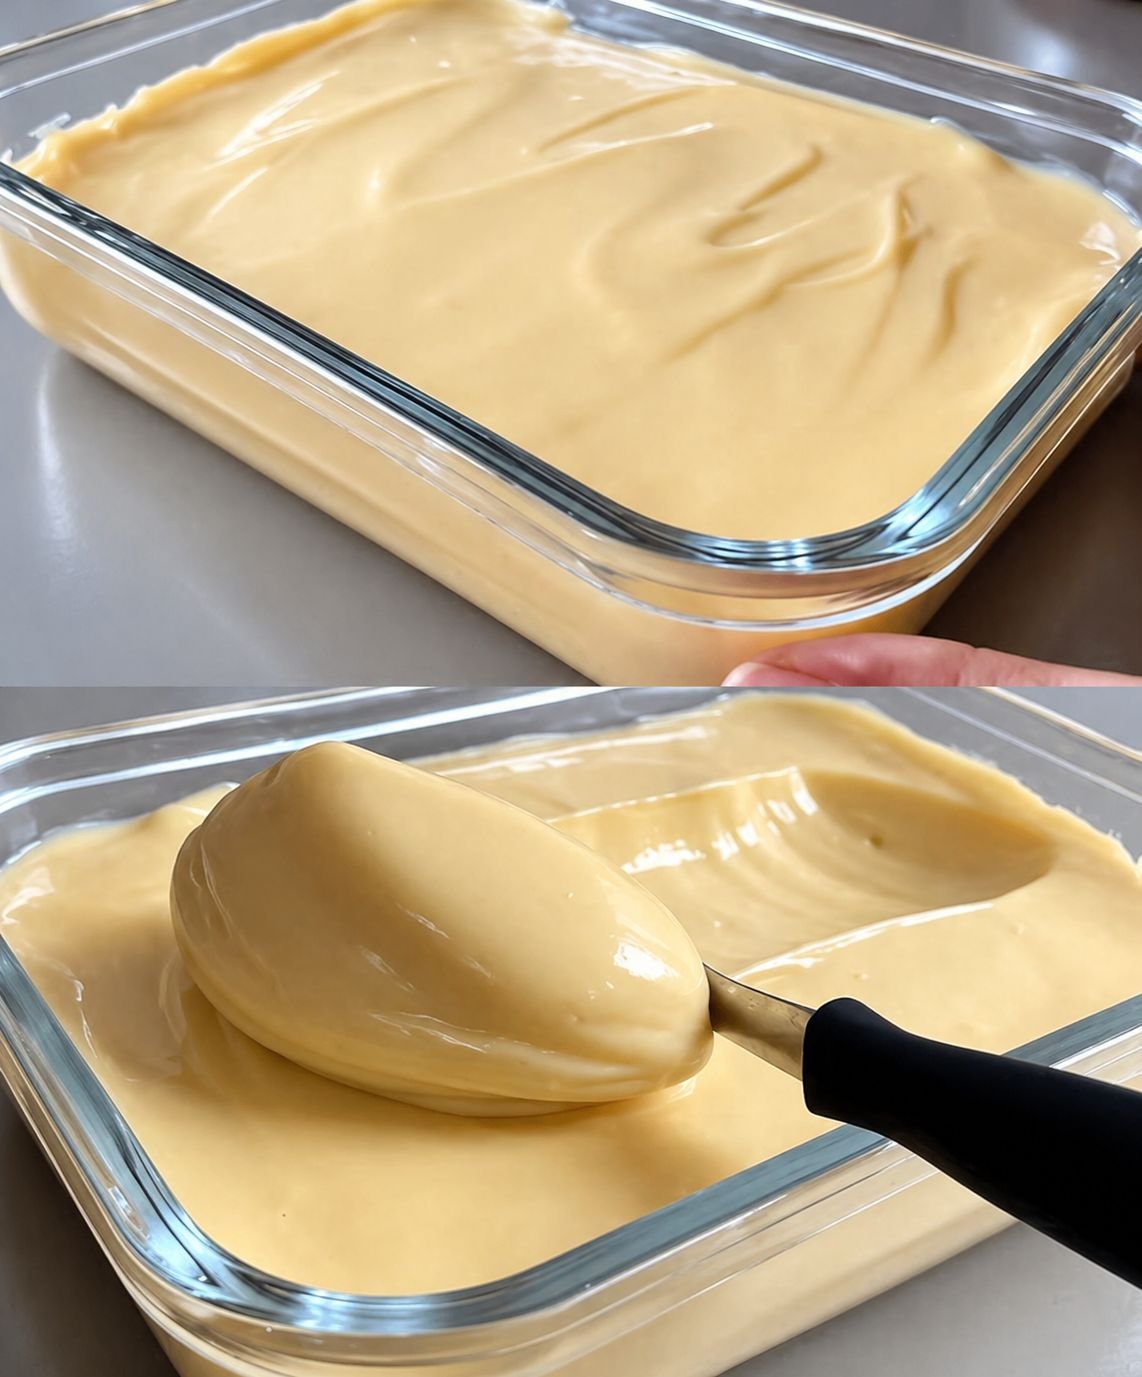
🔹 Step 2: Make the Creamy Base
- 🥣 Add the Greek yogurt and eggs into a large mixing bowl.
- 🥄 Whisk thoroughly until the mixture becomes silky smooth and fully combined.
- ✨ Make sure there are no egg streaks remaining.
🔹 Step 3: Add the Blueberries
- 🫐 Gently fold the blueberries into the yogurt mixture.
- 🥄 Stir carefully so the berries stay whole and evenly distributed.
- 🌟 The blueberries will burst beautifully while baking and naturally sweeten the dessert.
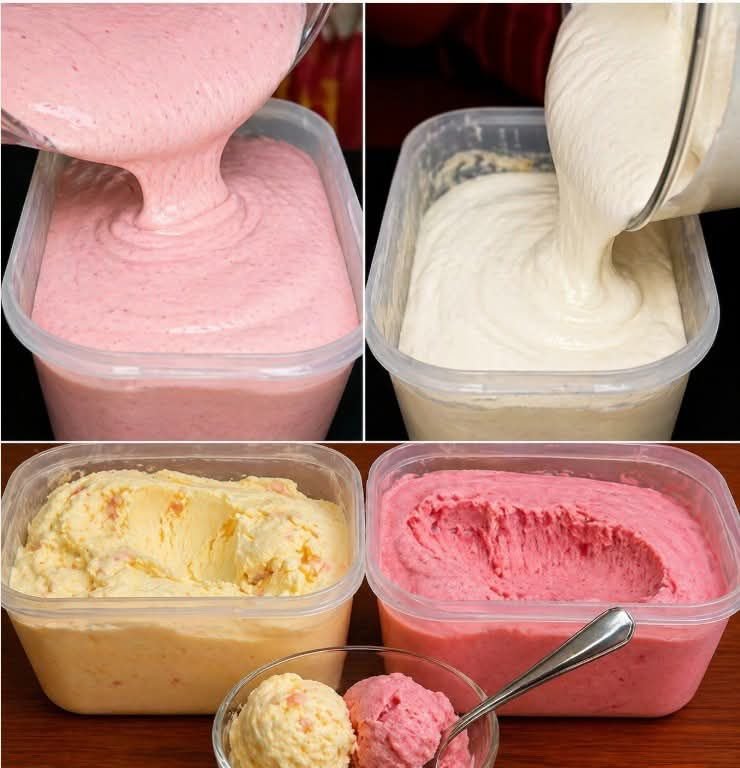
🔹 Step 4: Fill the Baking Dish
- 🍰 Pour the mixture into the prepared baking dish.
- 🥄 Spread evenly using the back of a spoon or spatula.
- ✨ Smooth the top gently for even baking.
🔹 Step 5: Bake Until Set
- 🔥 Bake for 30–40 minutes until the center is set.
- 🌟 The top should look lightly golden and slightly puffed.
- 👀 The middle may jiggle slightly but will firm up while cooling.
🔹 Step 6: Cool & Serve
- ❄️ Let the bake cool for 10–15 minutes before slicing.
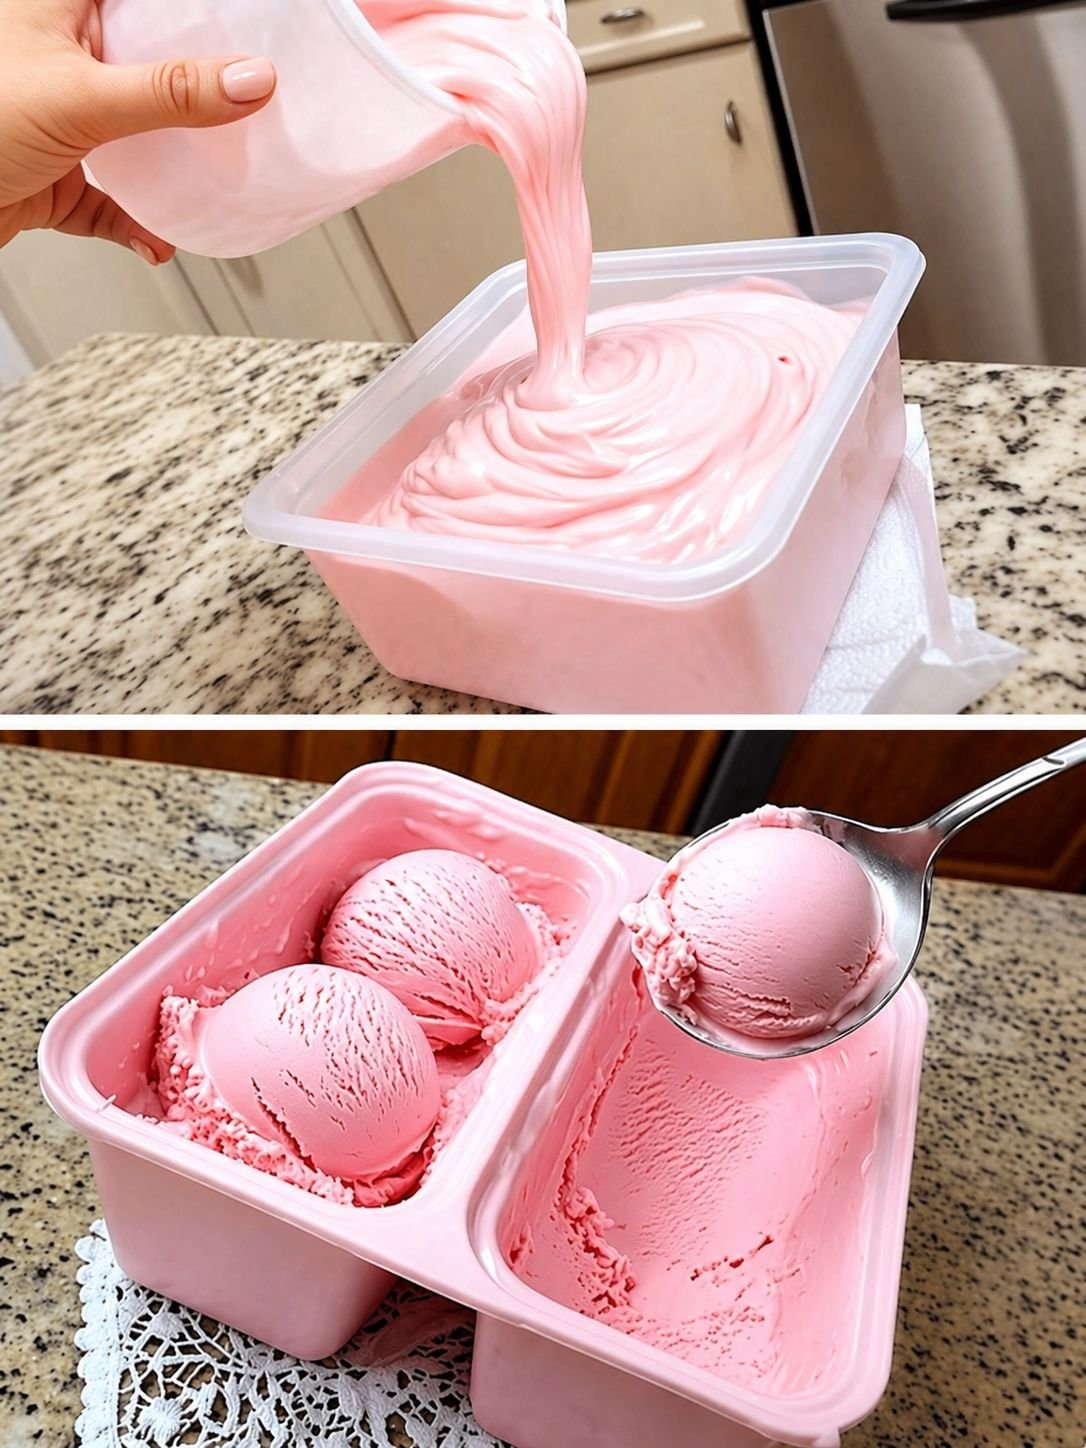
- 🍽️ Serve warm for a soft custard-like texture.
- 🧊 Or chill in the refrigerator for a firmer cheesecake-style dessert.
- 😋 Enjoy plain or topped with extra blueberries.
💡 Tips
- 🥛 Thick Greek yogurt gives the best creamy texture.
- 🫐 Frozen blueberries can be used directly without thawing.
- ✨ For a firmer texture, mix in a little cornstarch if desired.
- 🧊 Store covered in the refrigerator for up to 4 days.
❓Q/A
❓Can I use frozen blueberries?
✅ Yes! Add them straight from the freezer.
❓Why did my bake turn watery?
✅ Thin yogurt contains extra moisture, so thick Greek yogurt works best.
❓Can I make it ahead of time?
✅ Absolutely! It tastes even better chilled the next day.
❓Can I double the recipe?
✅ Yes! Use a larger baking dish and bake slightly longer.