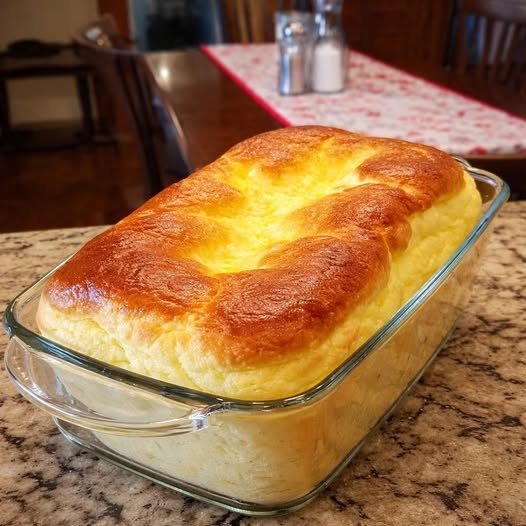
Old-Fashioned Southern Milk Muffins
Ingredients
-
All-Purpose Flour: 2 cups
-
Sugar: 1 cup (or a sugar-substitute for a lighter version)
-
Whole Milk: 1 cup, room temperature
-
Butter: ½ cup (1 stick), melted and cooled
-
Eggs: 2 large, room temperature
-
Baking Powder: 2 teaspoons
-
Vanilla Extract: 1 tablespoon
-
Salt: ½ teaspoon
-
Optional: A pinch of nutmeg or cinnamon for extra warmth
Detailed Step-by-Step Instructions
-
Preheat and Prep: Preheat your oven to 190°C (375°F). Line a 12-cup muffin tin with paper liners or grease it thoroughly with butter.
-
Whisk Dry Ingredients: In a medium bowl, sift together the flour, baking powder, and salt. Sifting helps keep the muffins airy and prevents lumps.
-
Cream Eggs and Sugar: In a large mixing bowl, beat the eggs and sugar together until the mixture is pale and slightly frothy (about 2 minutes).
-
Add Wet Ingredients: Stir in the melted butter, room-temperature milk, and vanilla extract. Whisk until well combined.
-
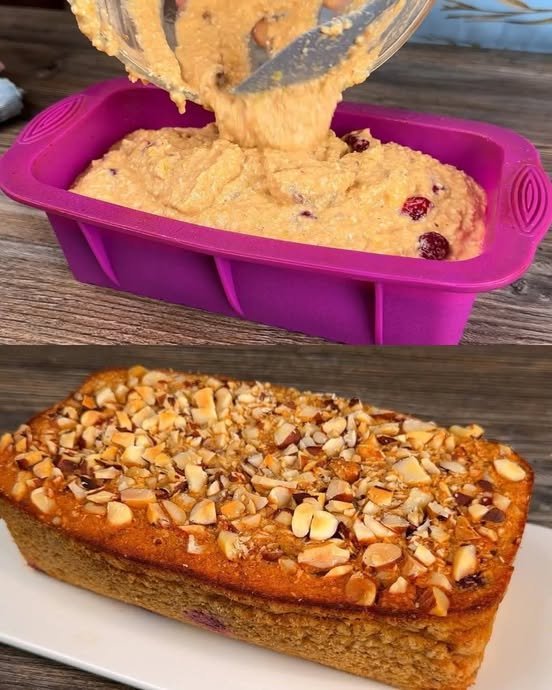
Combine: Gradually add the dry flour mixture into the wet ingredients. Fold gently with a spatula just until the flour disappears. Do not overmix, or the muffins will become tough.
-
Fill the Tin: Scoop the batter into the prepared muffin tin, filling each cup about ¾ of the way full.
-
Bake: Bake for 18–22 minutes. They are done when the tops are golden brown and a toothpick inserted into the center comes out clean.
-
Cool: Let the muffins rest in the tin for 5 minutes before moving them to a wire rack.
Tips for the Perfect Muffin
-
The “Tops” Trick: For high, domed tops, let the batter rest for 10 minutes before putting it in the oven.
-
Flavor Variation: You can add a handful of blueberries or chocolate chips to the batter for a different twist.
-
Serving: These are best served warm with a small pat of butter.