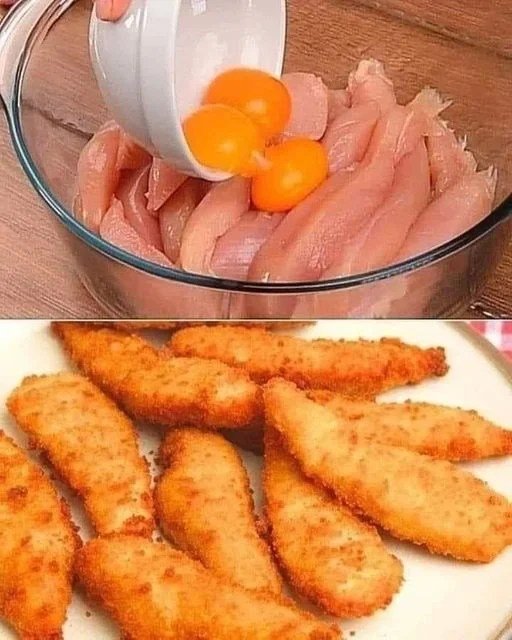
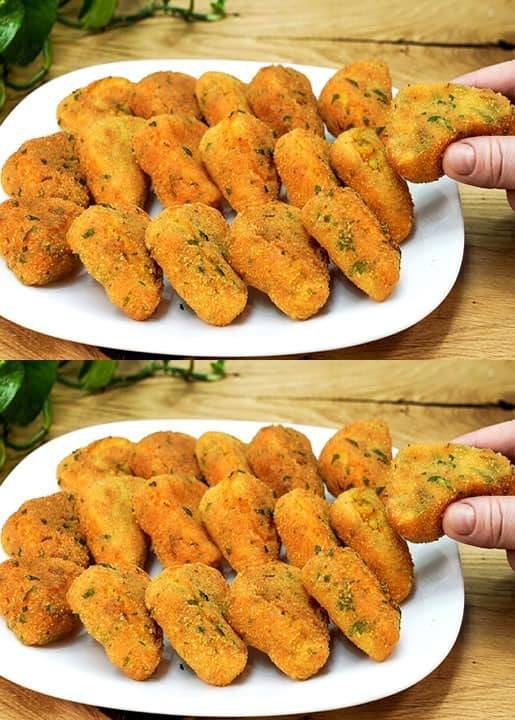
Crispy Fried Chicken Tenders
-
Prep time: 15 minutes
-
Cook time: ~4 minutes per side
-
Yield: Approx. 8–10 tenders
Ingredients
-
Chicken: 1.5–2 lbs chicken breast, cut into 1-inch thick strips, or store-bought tenderloins.
-
Dry Dredge: 1 cup all-purpose flour.
-
Wet Wash: 2–3 large eggs, beaten with 1 tbsp water or milk.
-
Final Coating: 2 cups Panko or plain breadcrumbs.
-
Seasoning: 1 tsp salt, ½ tsp black pepper, 1 tsp garlic powder, 1 tsp onion powder, and ½ tsp paprika.
-
Oil: Canola, vegetable, or peanut oil for frying.
Instructions
1. Prepare the Chicken
-
Pat the chicken strips very dry with paper towels.
Season the raw chicken directly with a pinch of salt and pepper.
2. Set Up the Breading Station
-
Bowl 1: Flour mixed with half of the seasonings.
-
Bowl 2: Whisked eggs and water.
-
Bowl 3: Breadcrumbs mixed with the remaining seasonings.
3. Coat the Tenders
-
Dredge: Coat a chicken strip in flour and shake off the excess.
-
Dip: Submerge the floured strip into the egg wash until fully covered.
-
Crumb: Press the chicken firmly into the breadcrumbs, ensuring an even and thick coating.
4. Fry to Perfection
-
Heat about 1/2 inch of oil in a large skillet over medium-high heat until it reaches $375^\circ\text{F}$.
-
Fry the tenders in batches (3–4 at a time) to avoid overcrowding the pan.
-
Cook for 3–4 minutes per side until the crust is golden brown and the internal temperature reaches $165^\circ\text{F}$.
-
Drain on a wire rack or paper towels to maintain crispiness.
Quick Tips for Success
-
The “Dry Hand/Wet Hand” Rule: Use one hand for the dry flour/crumbs and the other for the egg wash to avoid your fingers getting heavily breaded.
-
Don’t Rush the Oil: If the oil isn’t hot enough, the breadcrumbs will soak up grease and become soggy.
-
Air Fryer Alternative: Spray breaded tenders with oil and cook at 10–12 minutes, flipping halfway through.

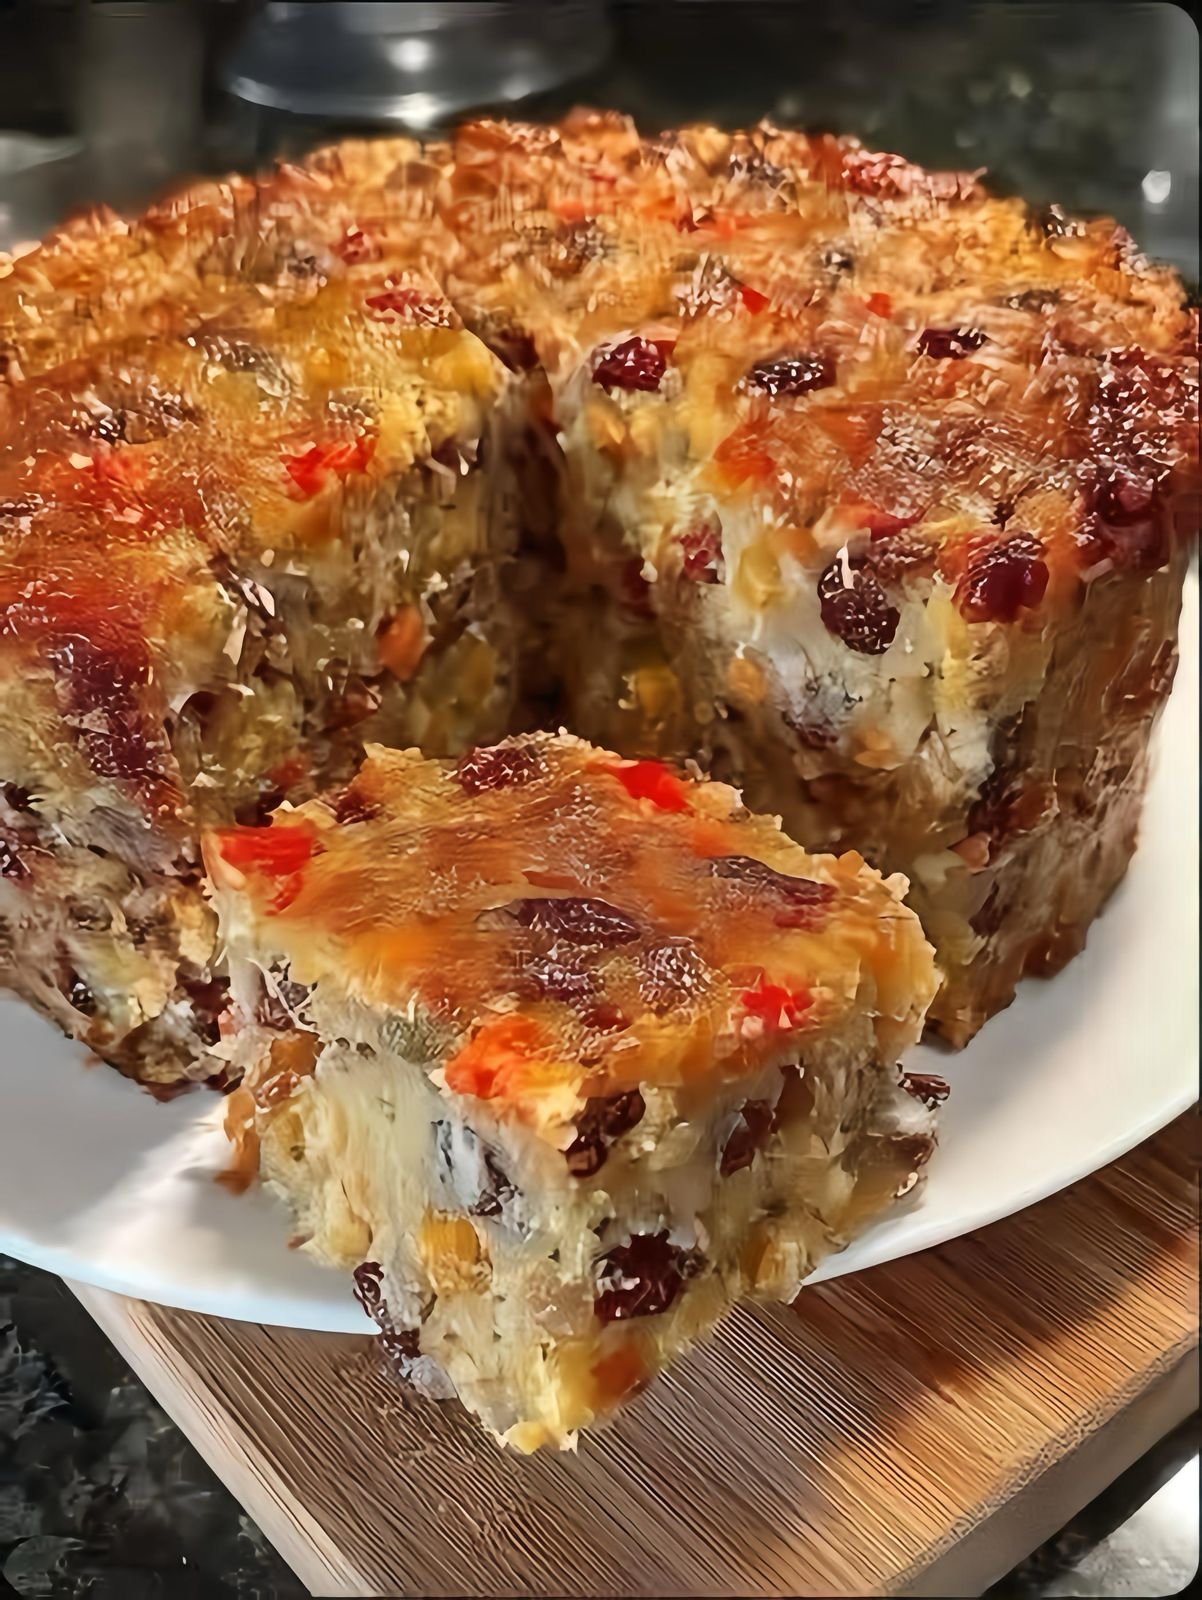
 Strawberry Cheesecake Dump Cake
 Description
 Ingredients (Only 5!)
 Instructions
 Serving Ideas
 Q & A
Q & A


 Tips for Best Results
 Use rolled oats, not instant flavored oats.
 Keeps You Full Longer
 Supports Digestion
 Helps Control Blood Sugar
 Boosts Metabolism
 Heart Healthy