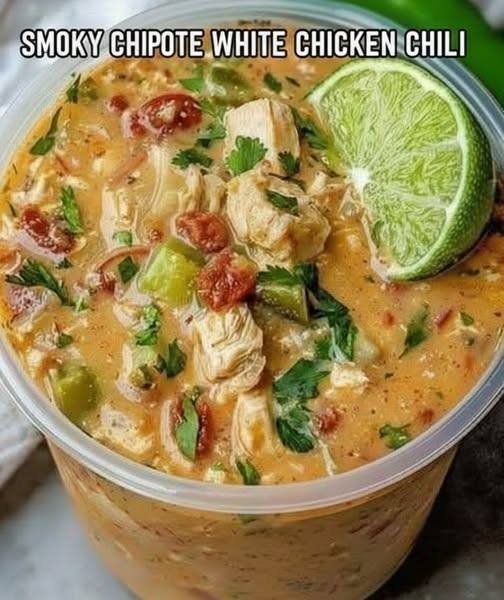
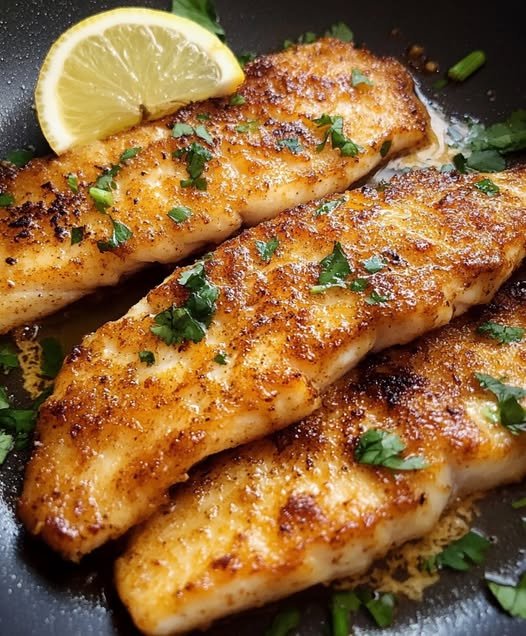
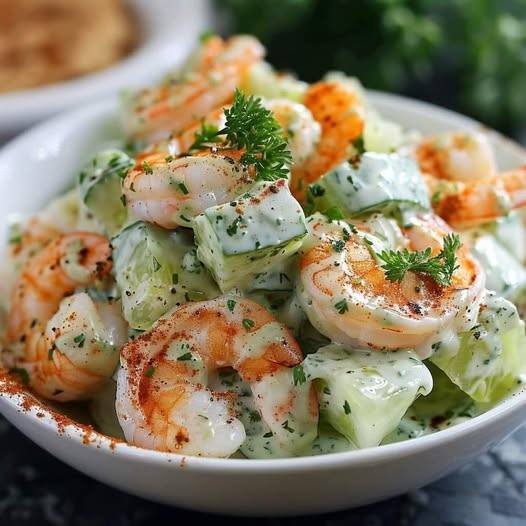
Smoky Chipotle White Chicken Chili
This recipe swaps the traditional heavy cream for Greek yogurt and uses chipotle and roasted tomatillo to create a deep, smoky profile.
Ingredients
Proteins & Base
-
1 lb smoked chicken sausage, sliced (substitute andouille for extra spice)
-
1 lb boneless, skinless chicken breasts, cut into bite-sized pieces
-
1 tbsp olive oil
Vegetables & Aromatics
-
1 cup diced onion
-
1 cup diced celery
-
1 cup diced poblano pepper
-
1 small chipotle pepper in adobo, minced
-
4 cloves garlic, minced
Broth, Beans & Flavor
-
4 cups chicken broth
-
2 cans (15 oz each) cannellini beans, drained and rinsed
-
½ cup roasted tomatillo salsa
-
1 tsp smoked paprika
-
1 tsp chipotle chili powder
-
1 tsp ground cumin
-
1 tsp oregano
-
To taste: Salt and freshly cracked black pepper
Creamy Finish & Garnishes
-
½ cup Greek yogurt
-
¼ cup crumbled queso fresco (or Parmesan)
-
For Serving: Fresh lime wedges, chopped cilantro, sliced radishes, and a drizzle of olive or avocado oil
Instructions
-
Sear the Proteins: In a large pot over medium heat, sauté the sliced sausage until lightly browned. Remove the sausage and set aside. In the same pot, cook the chicken pieces until golden on all sides.
-
Sauté Aromatics: Add the onions, celery, and poblano peppers to the pot. Cook for 5–7 minutes until softened. Stir in the garlic and minced chipotle pepper, cooking for 1 minute until fragrant.
-
Simmer: Pour in the chicken broth. Add the beans, tomatillo salsa, smoked paprika, chipotle chili powder, cumin, oregano, salt, and pepper. Bring the mixture to a simmer and let it cook for 15 minutes.
-
Make it Creamy: Stir in the Greek yogurt and crumbled queso fresco. Return the browned sausage to the pot and simmer for an additional 5 minutes to allow the flavors to meld. Taste and adjust seasoning with extra salt, pepper, or lime juice if needed.
-
Serve: Ladle the chili into bowls. Top with fresh cilantro, crunchy radish slices, a squeeze of lime, and a light drizzle of oil.
Pro Tip: If you want a thicker texture, take a half-cup of the cannellini beans and mash them with a fork before adding them to the pot.

 Note: While this recipe contains no added sugar, it is not zero-calorie. Apples and oats contain natural carbohydrates.
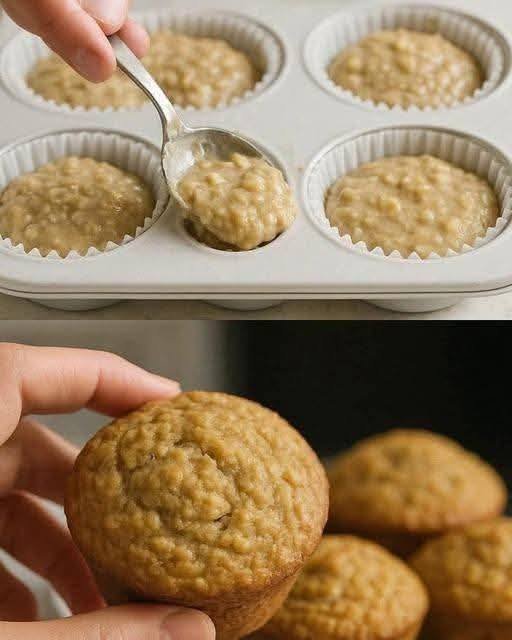
 Diabetic-Friendly
 Oats
Oats Apples
 Egg
Egg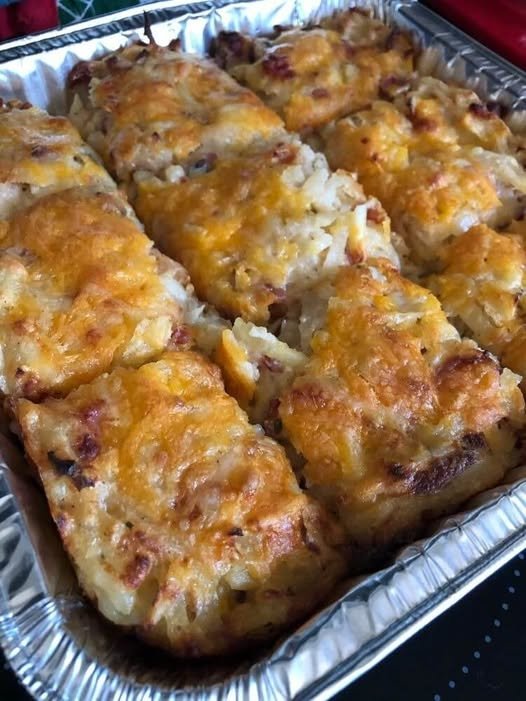


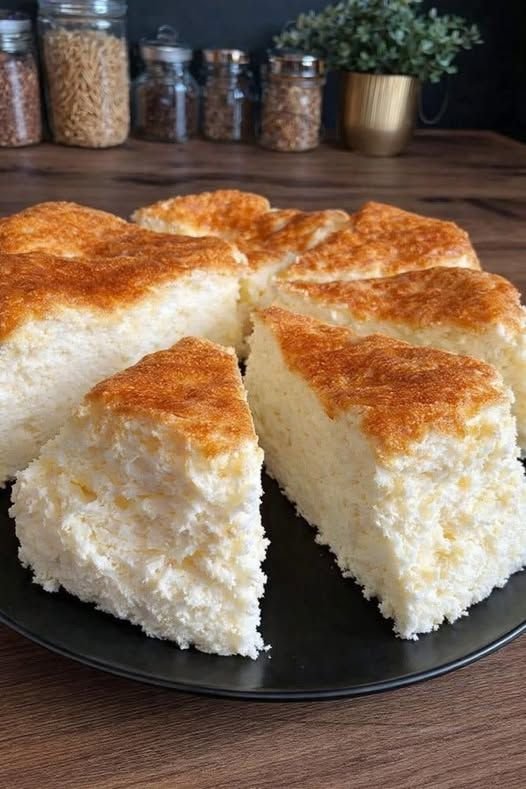
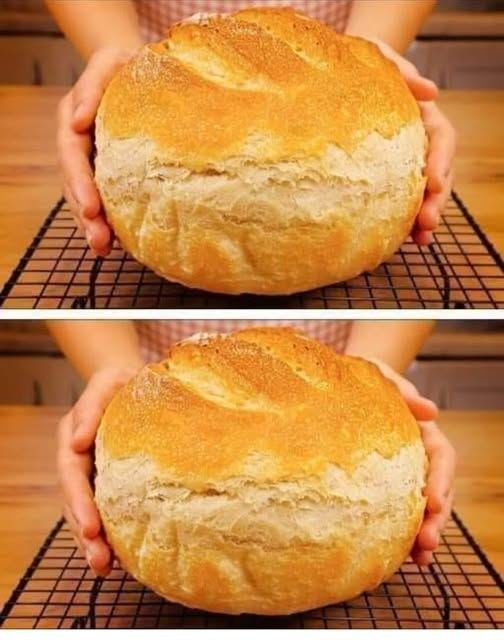
 Homemade White Bread

 Description
 Ingredients
 Instructions
 Preheat Oven
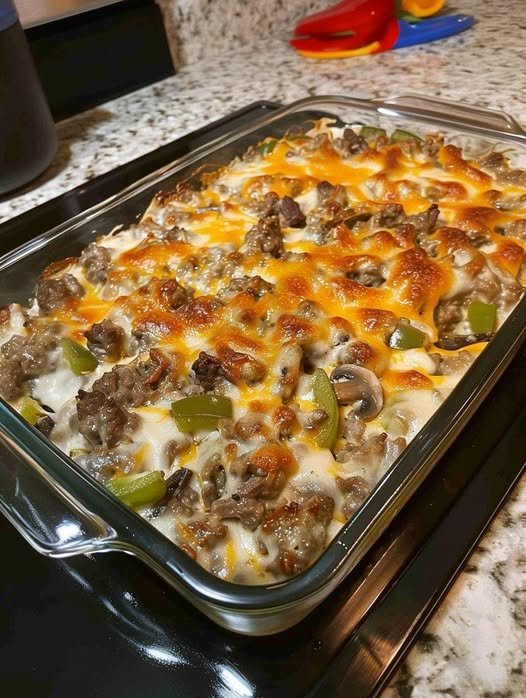
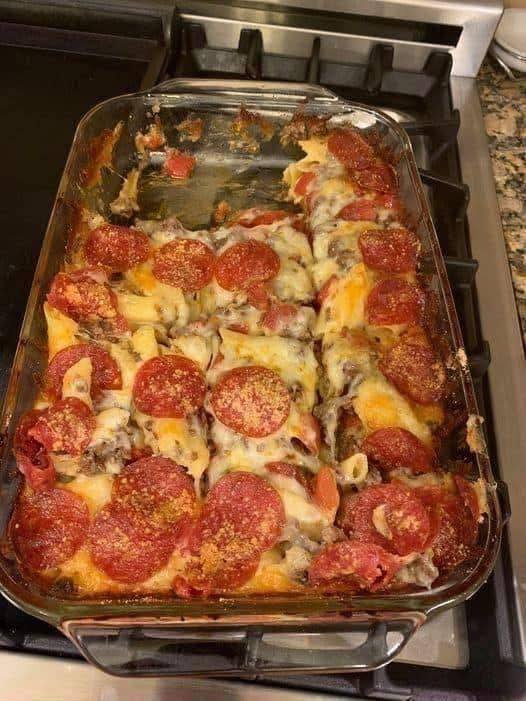
 Cook the Beef
 Layer the Casserole
 Bake
Bake Broil (Optional but Recommended)
 Rest & Serve
 Serving Suggestions
 Variations
 Nutrition (Approx. Per Serving – 6 servings)
 Common Questions
 Final Thoughts