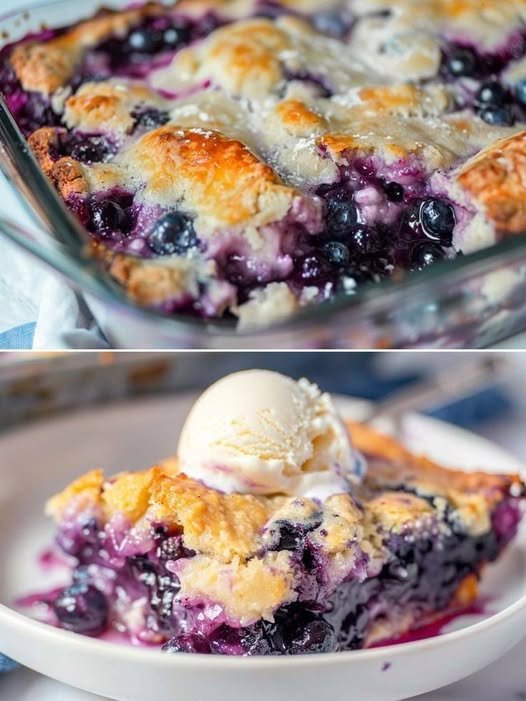
This Keto Blueberry Cream Cheese Cobbler is a brilliant way to enjoy a classic dessert while staying within your ketogenic goals. By swapping traditional grains for almond and coconut flours, it delivers a satisfying, nutty texture with significantly fewer carbs.
Following your request for full recipes, here is the complete guide organized for easy kitchen use.
Keto Blueberry Cream Cheese Cobbler
A decadent, low-carb dessert featuring a jammy fruit base, a velvety cheesecake layer, and a golden almond flour topping.
Prep time: 15 mins | Cook time: 40 mins | Yield: 8 servings
Ingredients
Blueberry Layer:
-
2 cups Fresh or frozen unsweetened blueberries
-
2 tbsp Erythritol (powdered preferred)
-
1/2 tsp Xanthan gum (acts as a thickener)
-
1 tsp Lemon juice
Cream Cheese Layer:
-
8 oz Full-fat cream cheese, softened to room temperature
-
1/4 cup Erythritol
-
1 large Egg
-
1 tsp Vanilla essence
Cobbler Topping:
-
1 1/2 cups Almond flour
-
2 tbsp Coconut flour
-
1/4 cup Erythritol
-
1 tsp Baking powder
-
1/4 tsp Salt
-
1/2 cup Unsalted butter, melted
-
1 large Egg
-
1 tsp Vanilla essence
Step-by-Step Instructions
-
Preheat and Prep: Set your oven to 175°C (350°F). Grease a ceramic or glass baking dish with oil or line it with parchment paper for easy removal.
-
Prepare the Fruit: In a mixing bowl, toss the blueberries with the erythritol, xanthan gum, and lemon juice until well combined. Spread the mixture evenly across the bottom of your prepared baking dish.
-
Mix the Cream Cheese: In a separate bowl, use an electric hand or stand mixer to beat the softened cream cheese and erythritol until velvety. Add the egg and vanilla essence, beating again until the mixture is smooth and creamy.
-
Layer the Filling: Carefully pour the cream cheese mixture over the blueberry layer, spreading it out to cover the fruit.
-
Make the Topping: In a large bowl, whisk together the almond flour, coconut flour, baking powder, erythritol, and salt. Add the melted butter, egg, and vanilla. Mix until a thick, dough-like batter forms.
-
Assemble and Bake: Using a spoon, drop dollops of the batter over the cream cheese layer. Use a spatula to spread it slightly, but leave some gaps so the blueberries can “peek through” as it bakes.
-
Bake: Place in the oven and bake for approximately 40 minutes, or until the topping is firm and a beautiful golden brown.
-
Cool and Serve: Remove from the oven and let the cobbler rest on the counter for at least 20 minutes to allow the layers to set. Serve warm or chilled.
Quick Substitutions
-
Nut-Free: Swap the almond flour for an equal amount of sunflower seed flour.
-
Dairy-Free: Replace the butter with ghee or coconut oil.
-
Berries: If you want even fewer carbs, you can replace the blueberries with raspberries or blackberries.


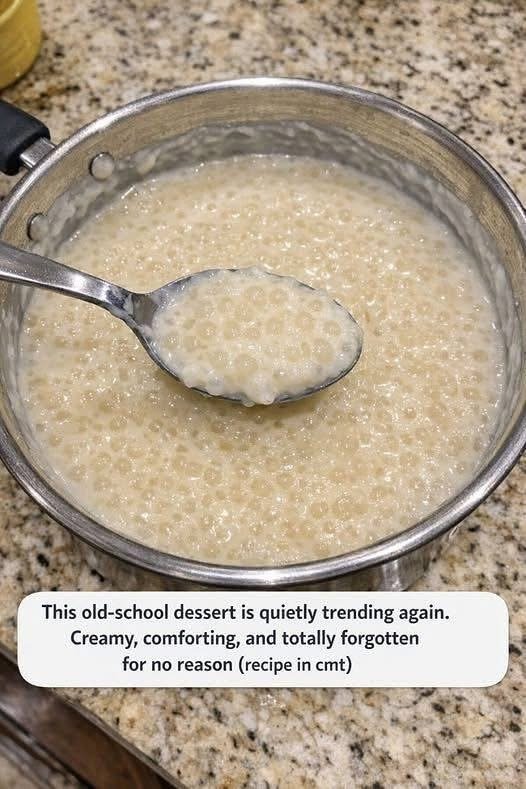
 Use whole milk for creaminess (low-fat works but less rich).


 Notes
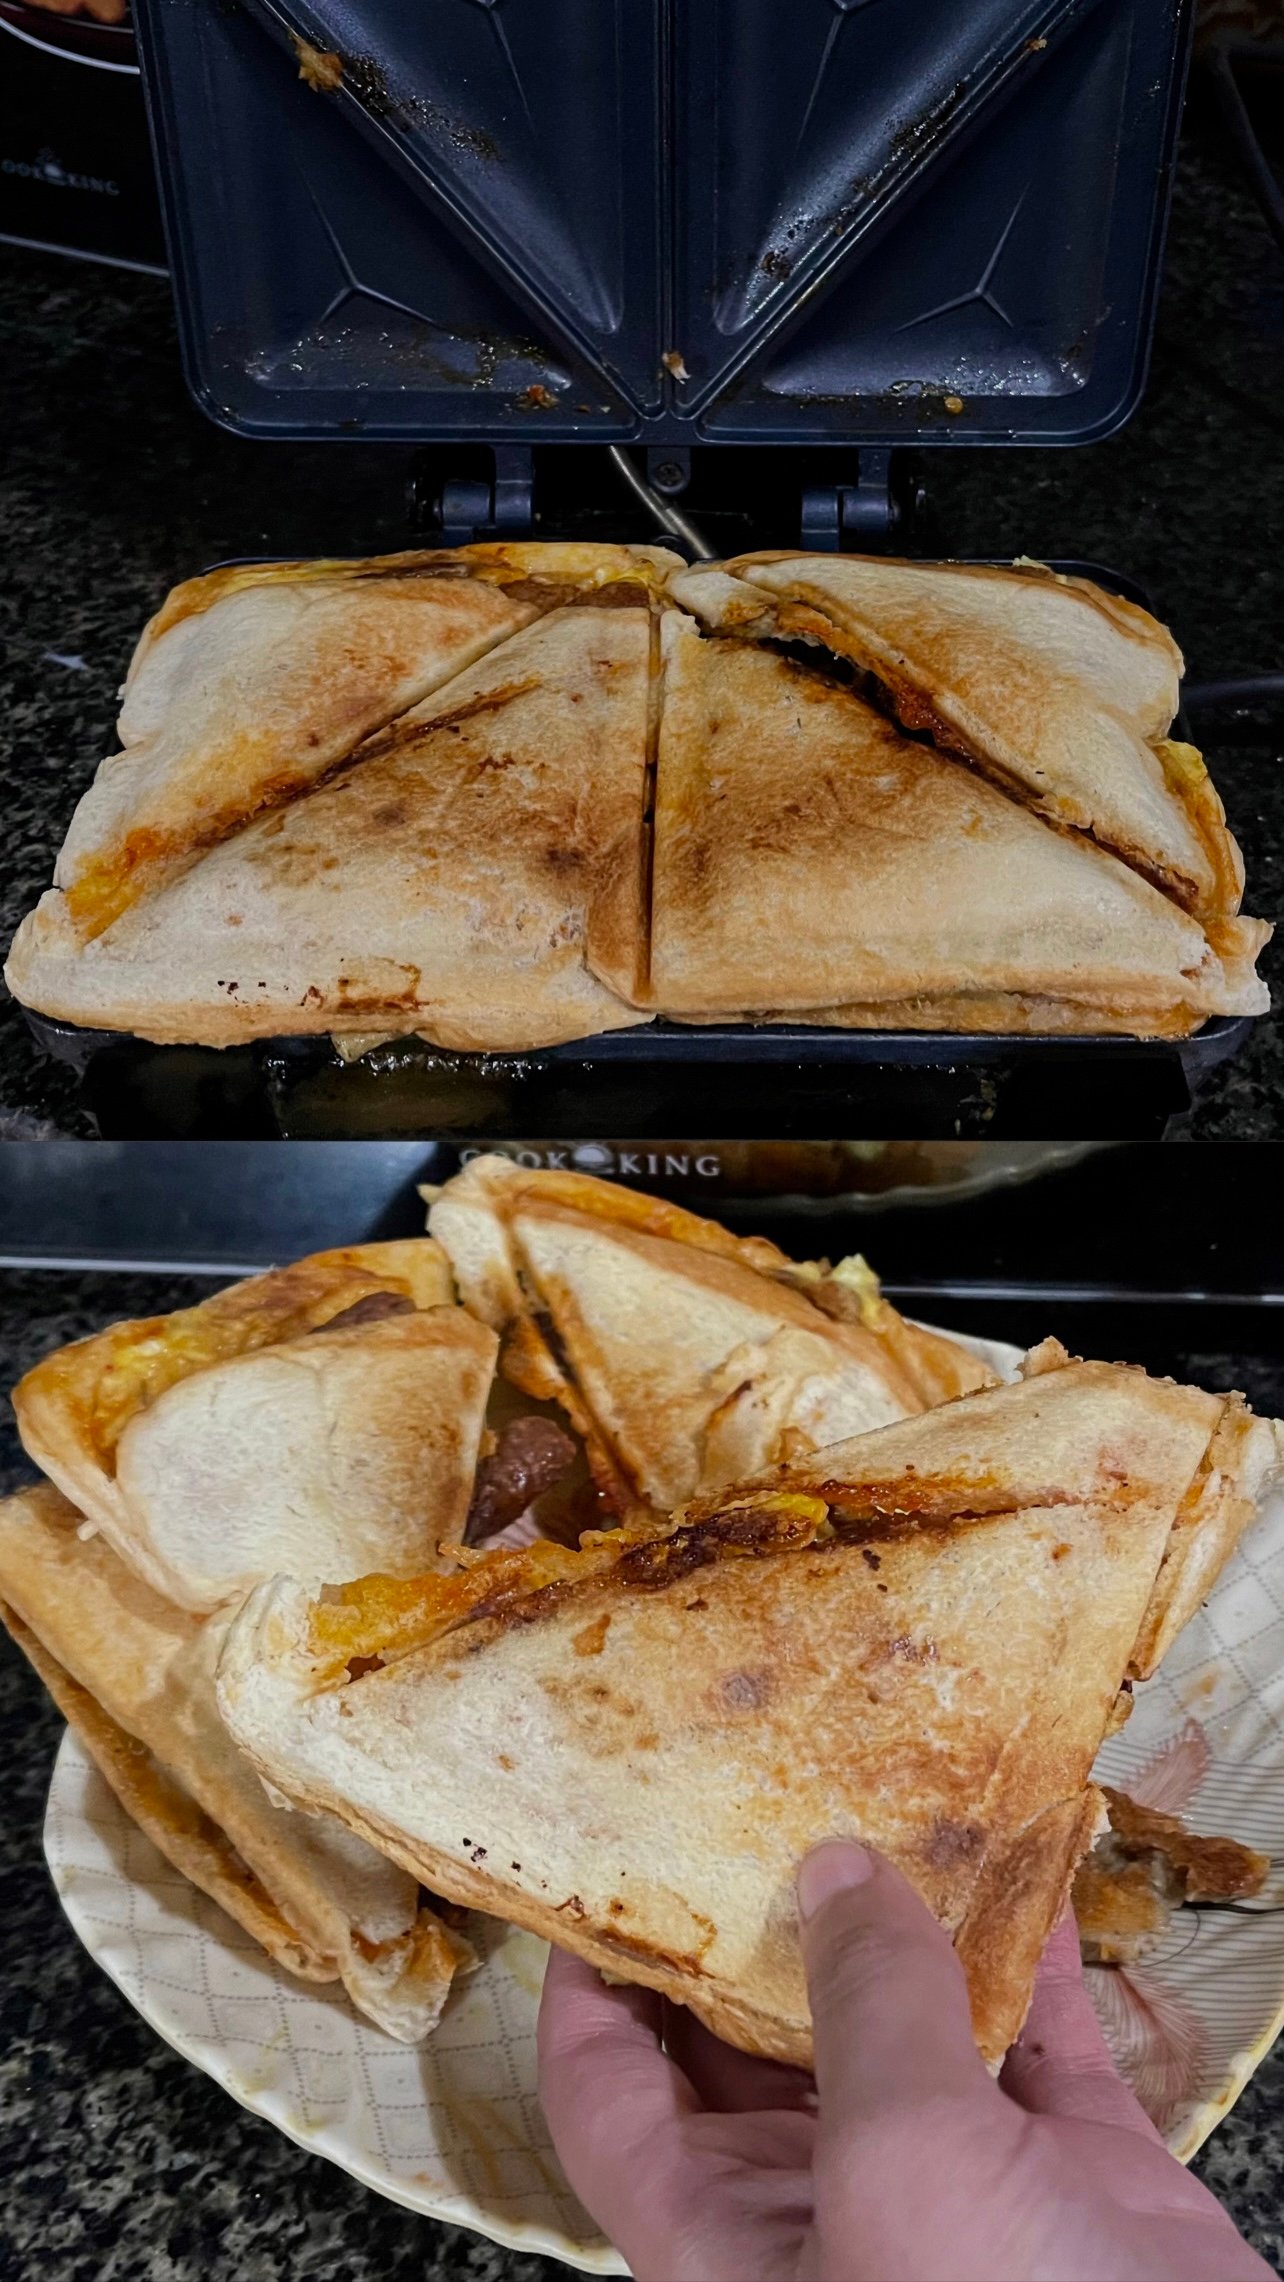
Notes High in protein from chicken