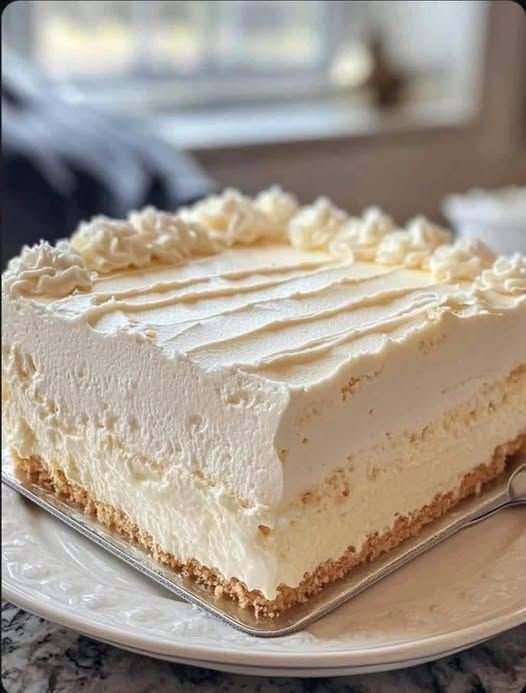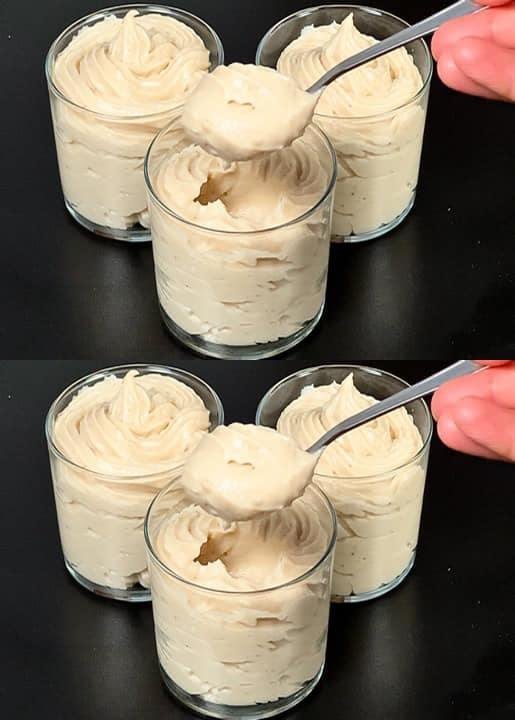
5-Minute Banana Mousse
This recipe creates a light, airy, and naturally sweet treat that tastes like a professional pastry shop dessert.
Ingredients
-
2 large ripe bananas: Using overripe bananas (with some brown spots) provides the best natural sweetness and flavor.
-
1 ½ cups heavy whipping cream: Ensure it is very cold for the best volume.
-
¼ cup powdered sugar: Adjust based on the ripeness of your bananas.
-
1 tsp lemon juice: This helps prevent the bananas from browning and adds a tiny bright note.
-
Optional: 1 tsp vanilla extract or a pinch of cinnamon.
Instructions
-
Prepare the Bananas:
-
Peel the bananas and place them in a bowl.
-
Add the lemon juice and mash them thoroughly with a fork until they form a smooth paste. For an even silkier texture, you can use a blender or food processor.
-
-
Whip the Cream:
-
In a separate chilled large bowl, pour in the cold heavy whipping cream.
-
Using a hand mixer or stand mixer, beat the cream on medium-high speed.
-
As it begins to thicken, gradually add the powdered sugar (and vanilla if using).
-
Continue beating until stiff peaks form (the cream should hold its shape firmly when you lift the beaters).
-
-
Combine:
-
Gently fold the banana puree into the whipped cream using a spatula.
-
Note: Use a folding motion (cutting through the center and lifting over) rather than stirring to keep the air in the mousse and maintain that fluffy texture.
-
-
Serve:
-
Spoon or pipe the mousse into serving glasses.
-
You can serve it immediately for a soft texture, or chill in the refrigerator for 30 minutes to let it set further.
-
Serving Suggestions
-
Garnish: Top with a few fresh banana slices, a drizzle of caramel, or some crushed vanilla wafers.
-
Chocolate Twist: Fold in a handful of mini chocolate chips or shave dark chocolate over the top before serving.