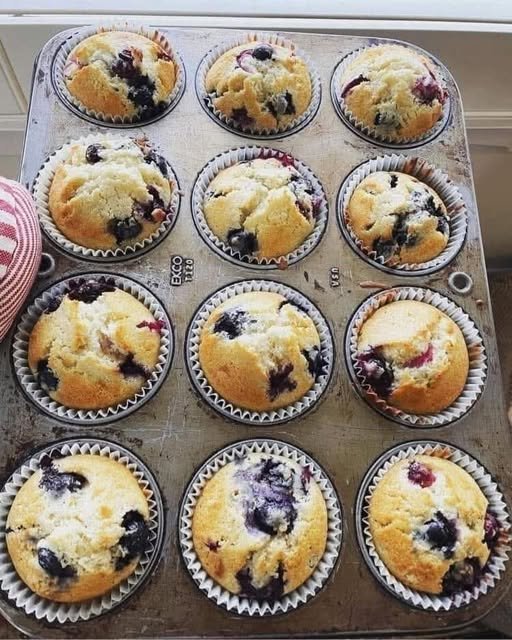
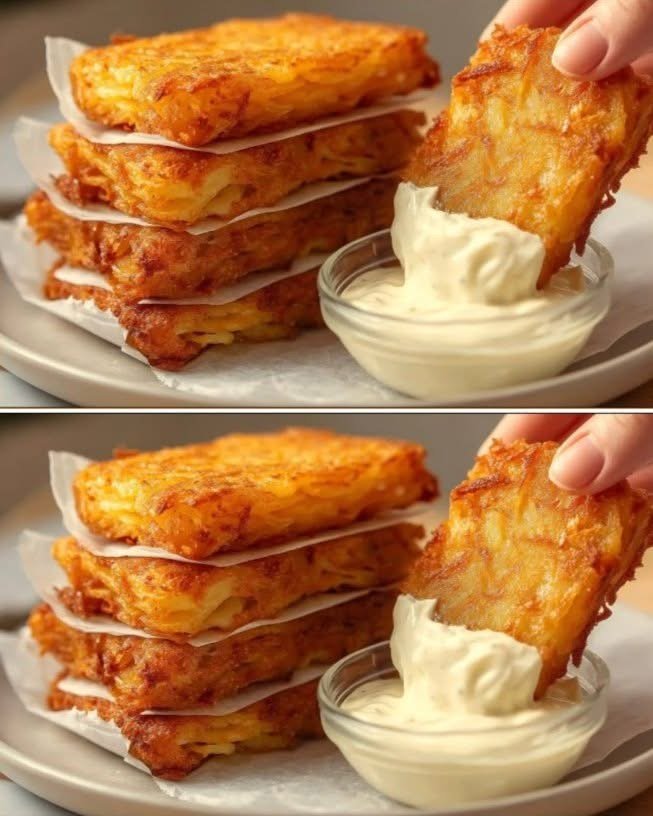
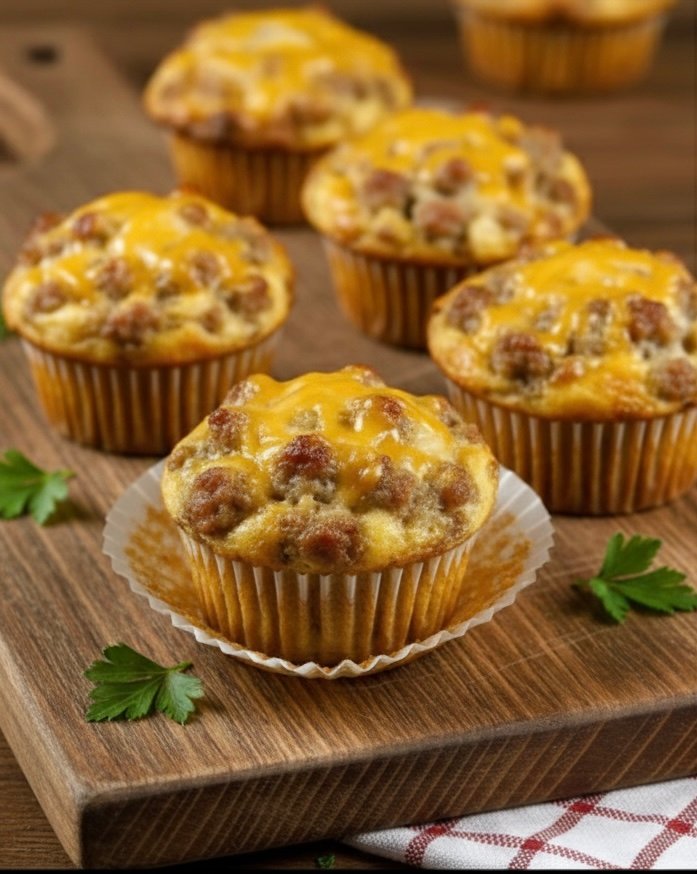
Flourless Fluffy Cottage Cheese Pancakes
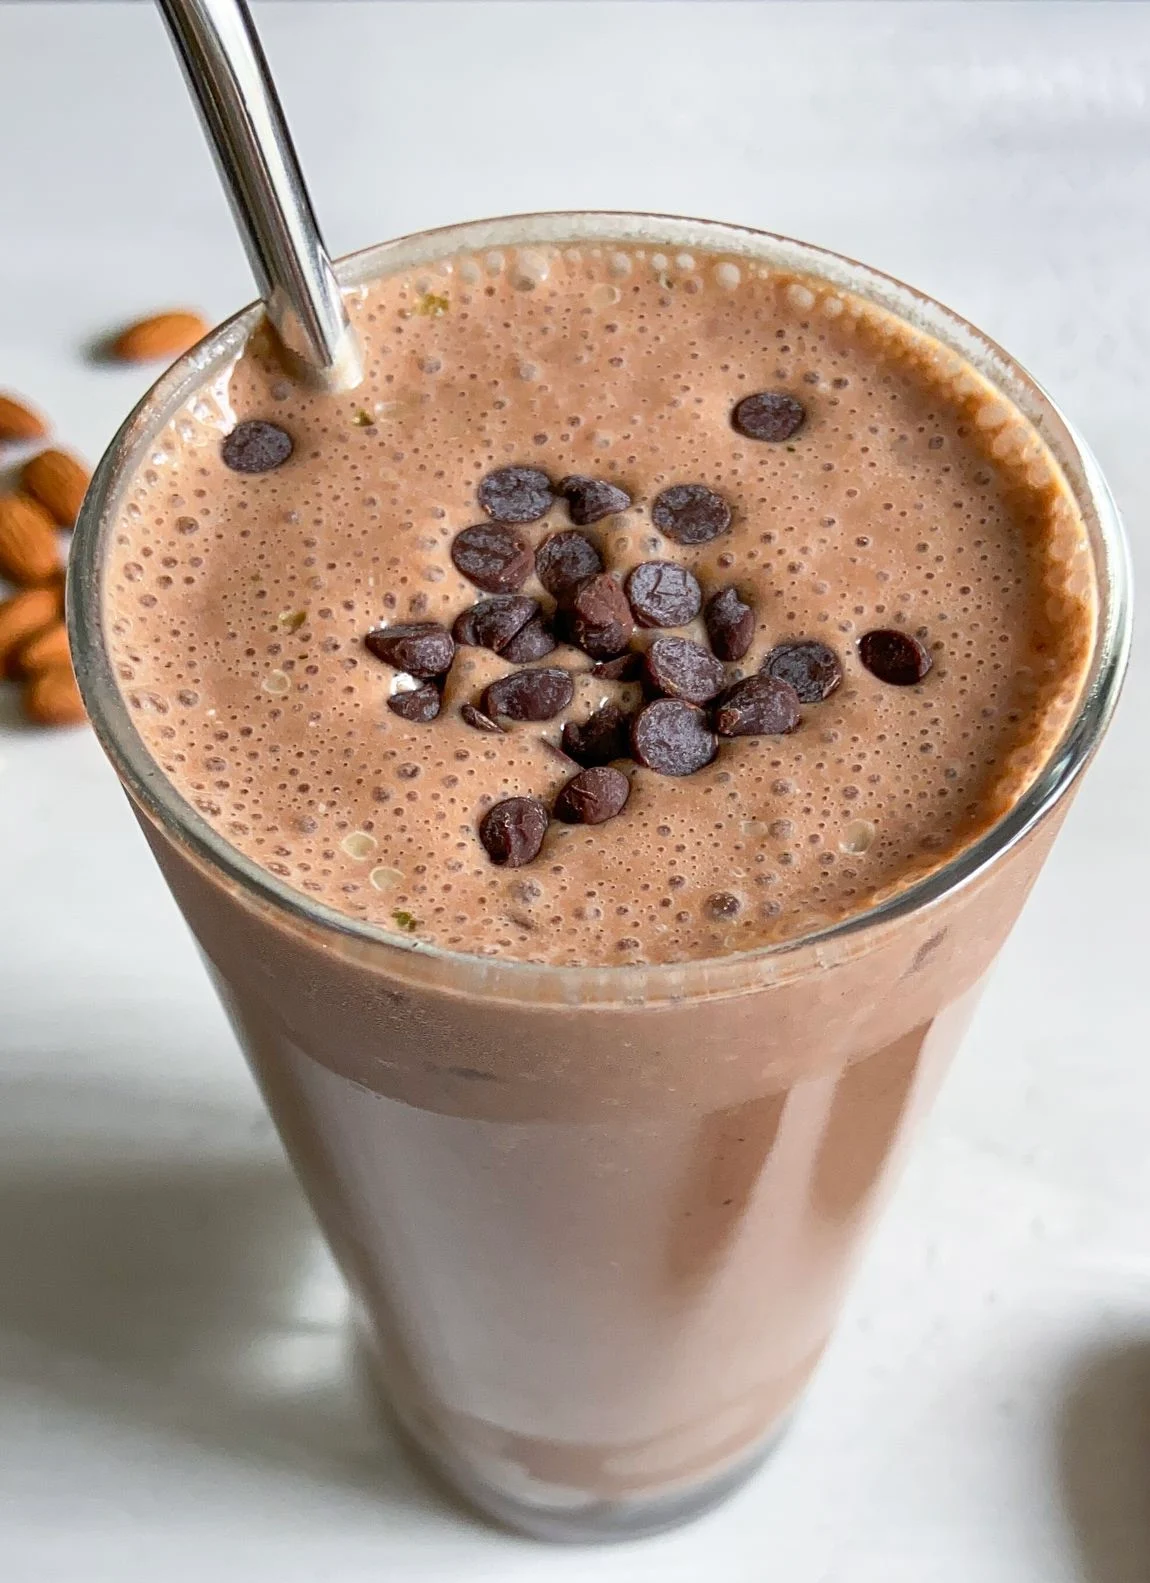
These high-protein pancakes use cottage cheese to achieve a creamy, “melt-in-your-mouth” center without any flour.
-
Prep time: 5 minutes
-
Cook time: 10 minutes
-
Servings: 2
Ingredients
-
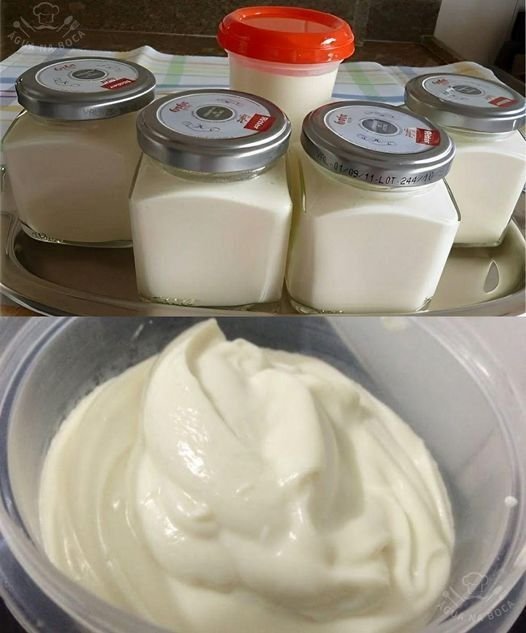
1 cup cottage cheese (small curd)
-
3 large eggs
-
½ teaspoon vanilla extract
-
1 tablespoon honey or maple syrup (optional)
-
¼ teaspoon cinnamon
-
Butter or oil for the pan
Directions
-
Blend: Place the cottage cheese, eggs, vanilla, sweetener, and cinnamon in a blender. Blend until completely smooth and bubbly.
-
Heat: Heat a non-stick skillet over medium-low heat and add a small amount of butter or oil.
-
Cook: Pour small circles of batter into the pan (about 2–3 tablespoons per pancake). Cook for 2–3 minutes until the edges are set and bubbles form.
-
Flip: Carefully flip and cook for another 1–2 minutes until golden brown.
-
Serve: Enjoy warm with fresh fruit or a drizzle of syrup.

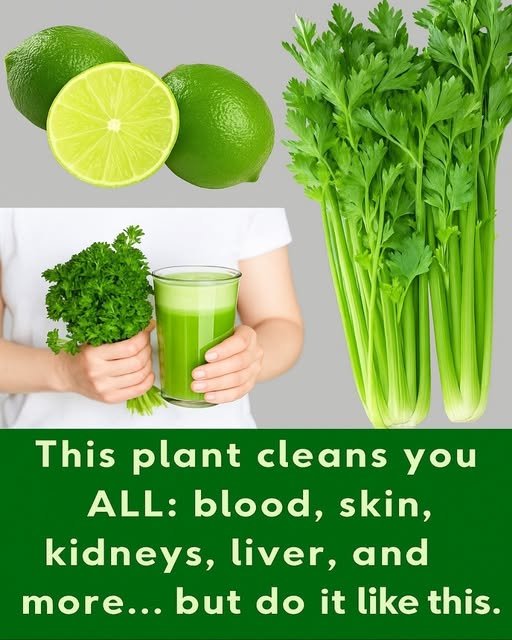

 May help with:
 Will NOT:

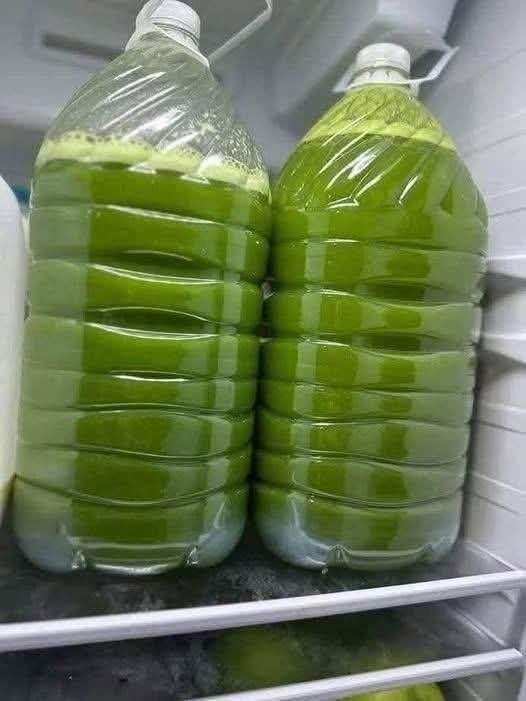
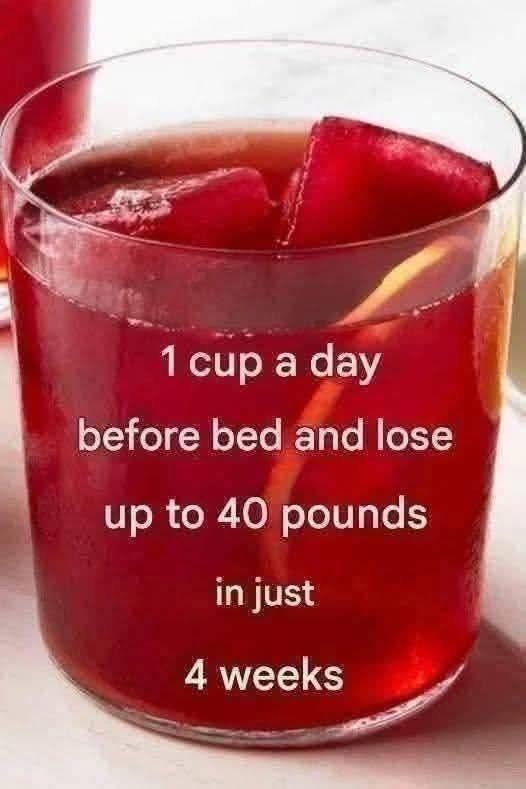
 Reduce bloating
 Why This Juice Can Support Healthy Weight Management
 Benefits of Each Ingredient
 Apple – Satiety and Hunger Control