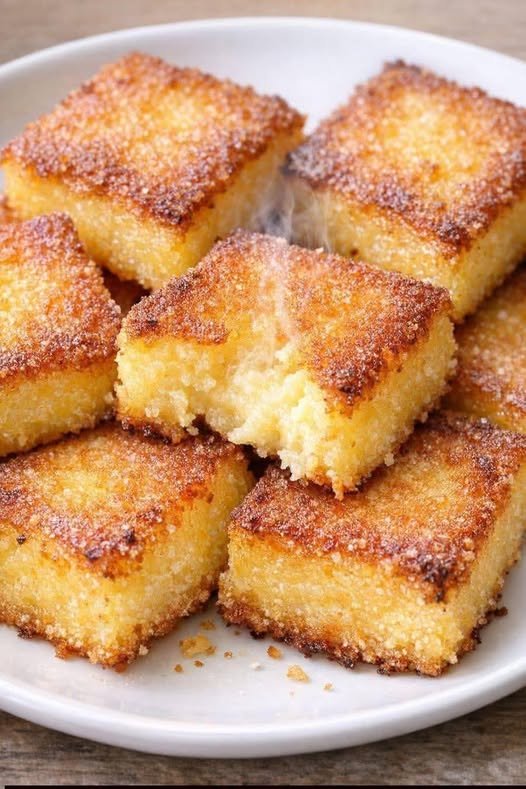
Golden Coconut Crust Cake
This vibrant, crusty coconut cake is the perfect solution for a healthy, satisfying dessert. It is completely free of flour and sugar, relying on the natural sweetness and texture of coconut.
Ingredients
-
2 cups unsweetened shredded coconut
-
4 large eggs
-
1 cup full-fat coconut milk (canned)
-
1/2 cup granulated monk fruit or erythritol (or your preferred sugar-free sweetener)
-
1/4 cup melted coconut oil
-
1 tsp vanilla extract
-
1/2 tsp baking powder
-
A pinch of salt
Instructions
-
Preparation: Preheat your oven to 180°C (350°F). Lightly grease a glass baking dish with coconut oil.
-
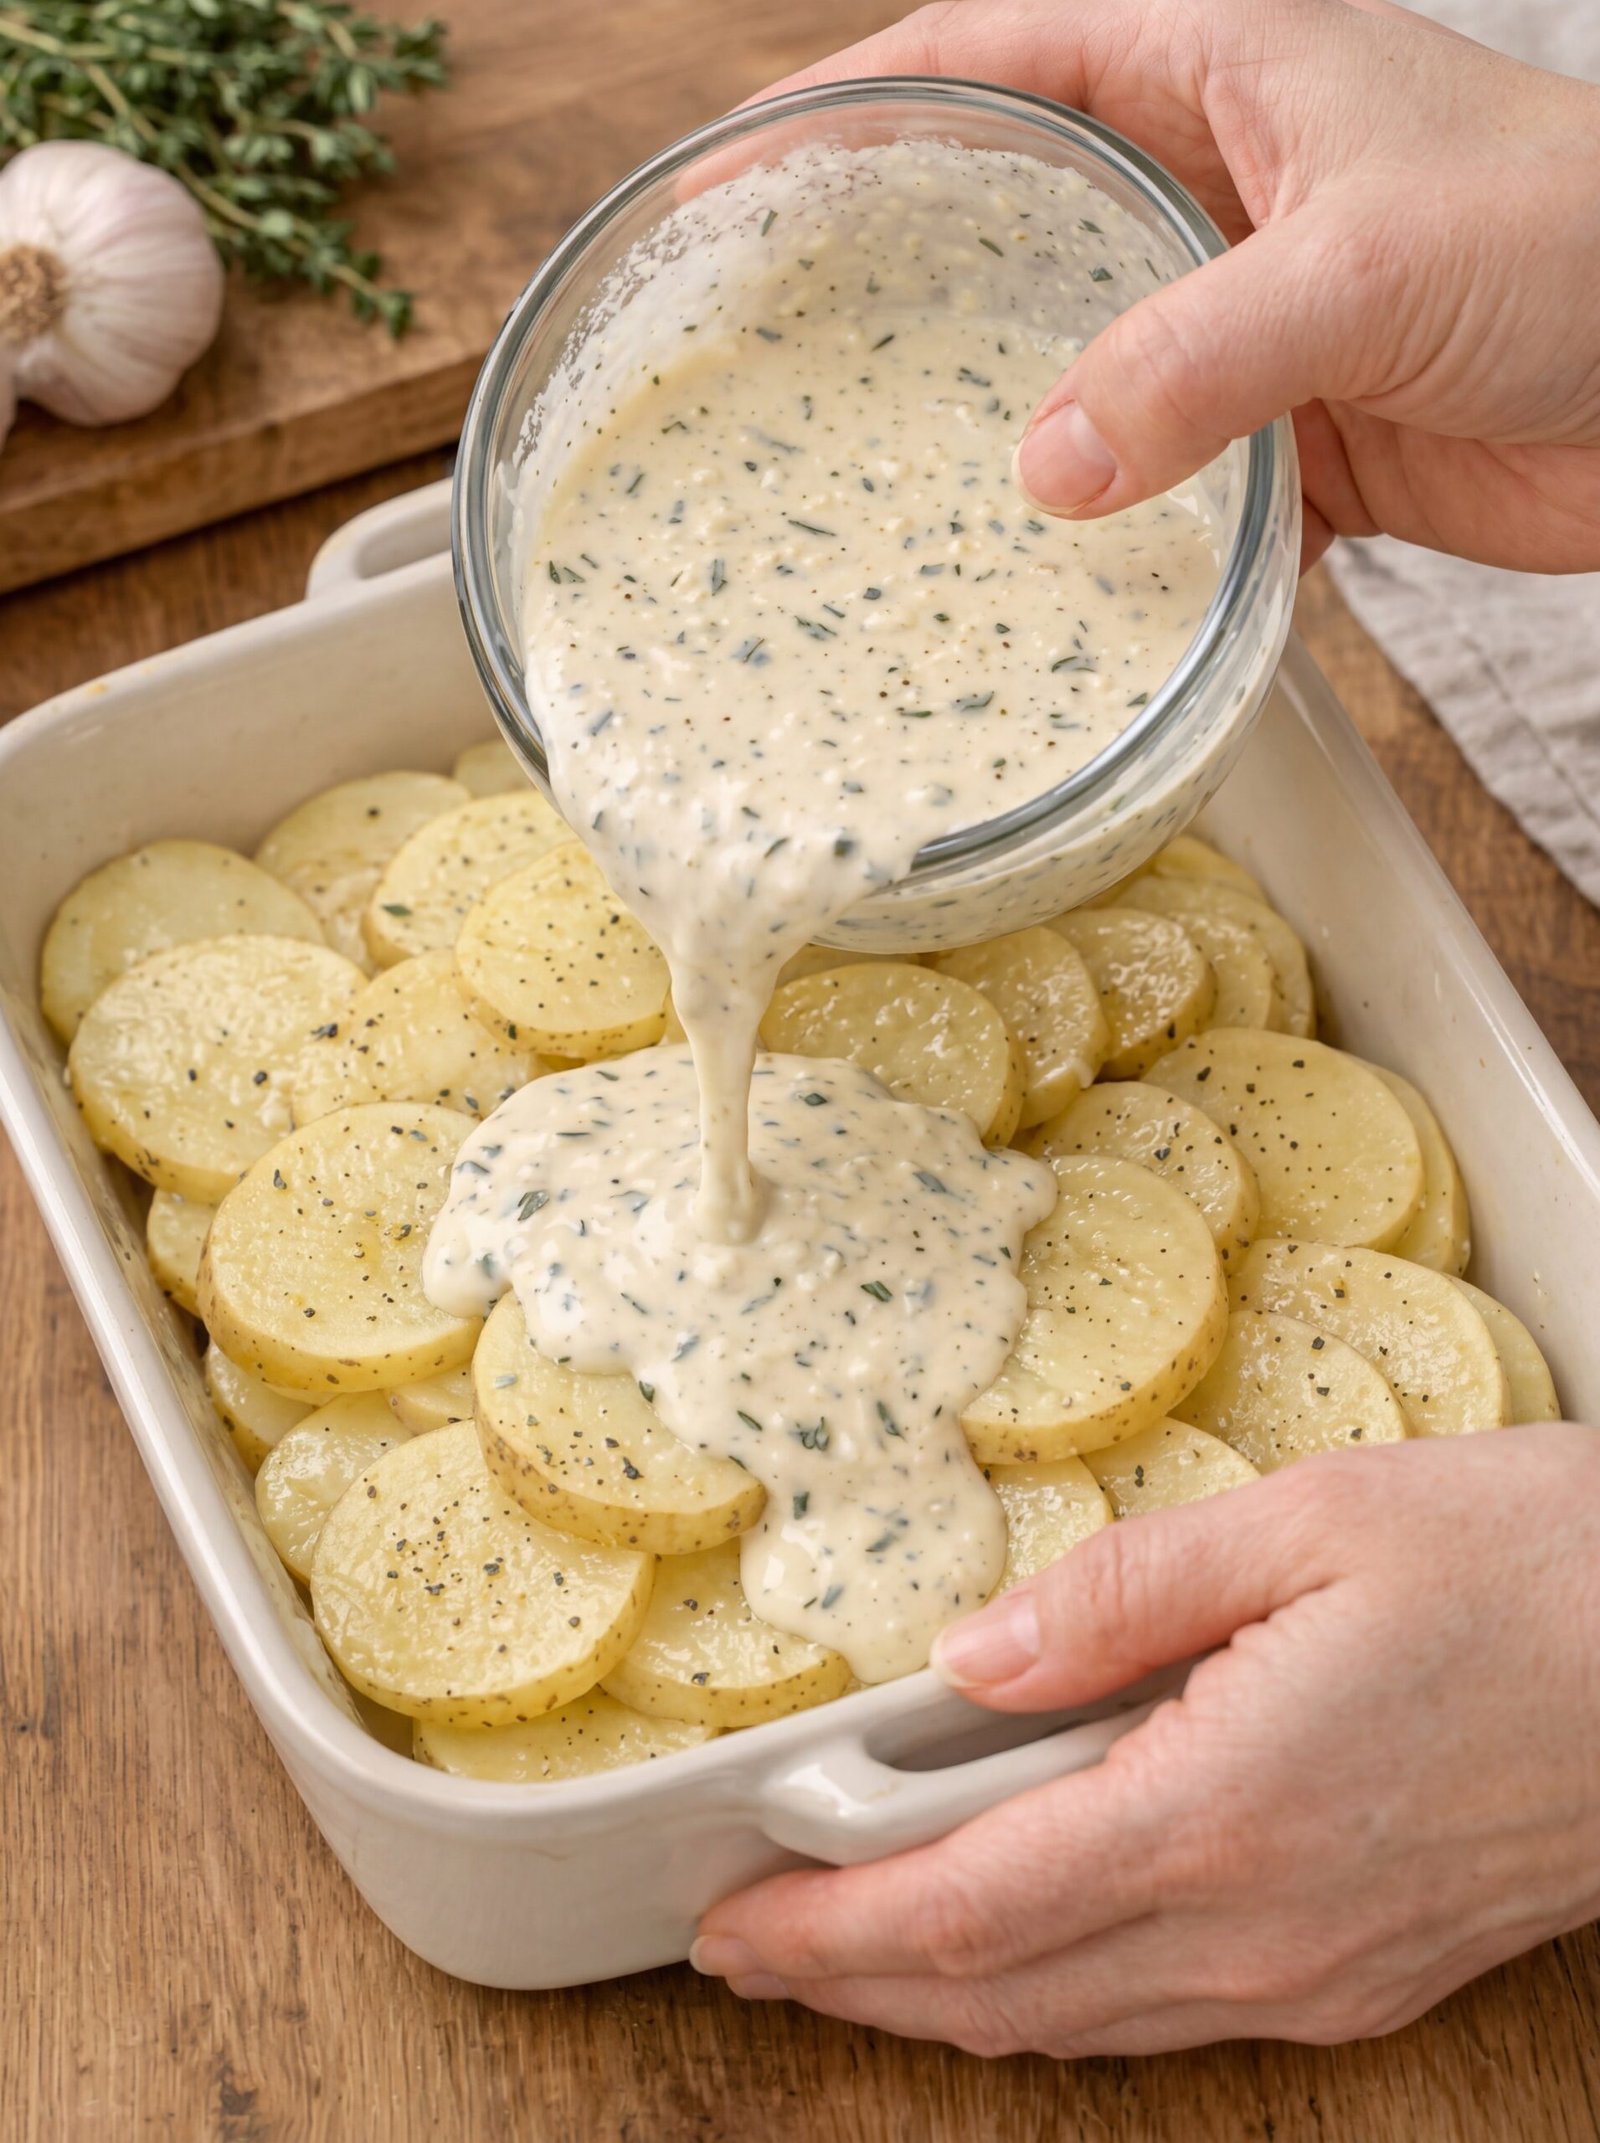
Whisk Wet Ingredients: In a large mixing bowl, beat the eggs until they are light and fluffy. Stir in the coconut milk, melted coconut oil, vanilla extract, and your sugar-free sweetener until well combined.
-
Combine Dry Ingredients: Add the shredded coconut, baking powder, and salt to the wet mixture. Fold everything together gently until the coconut has fully absorbed the liquid.
-
Transfer: Pour the batter into your prepared baking dish. Use a spatula to smooth the surface for an even bake.
-
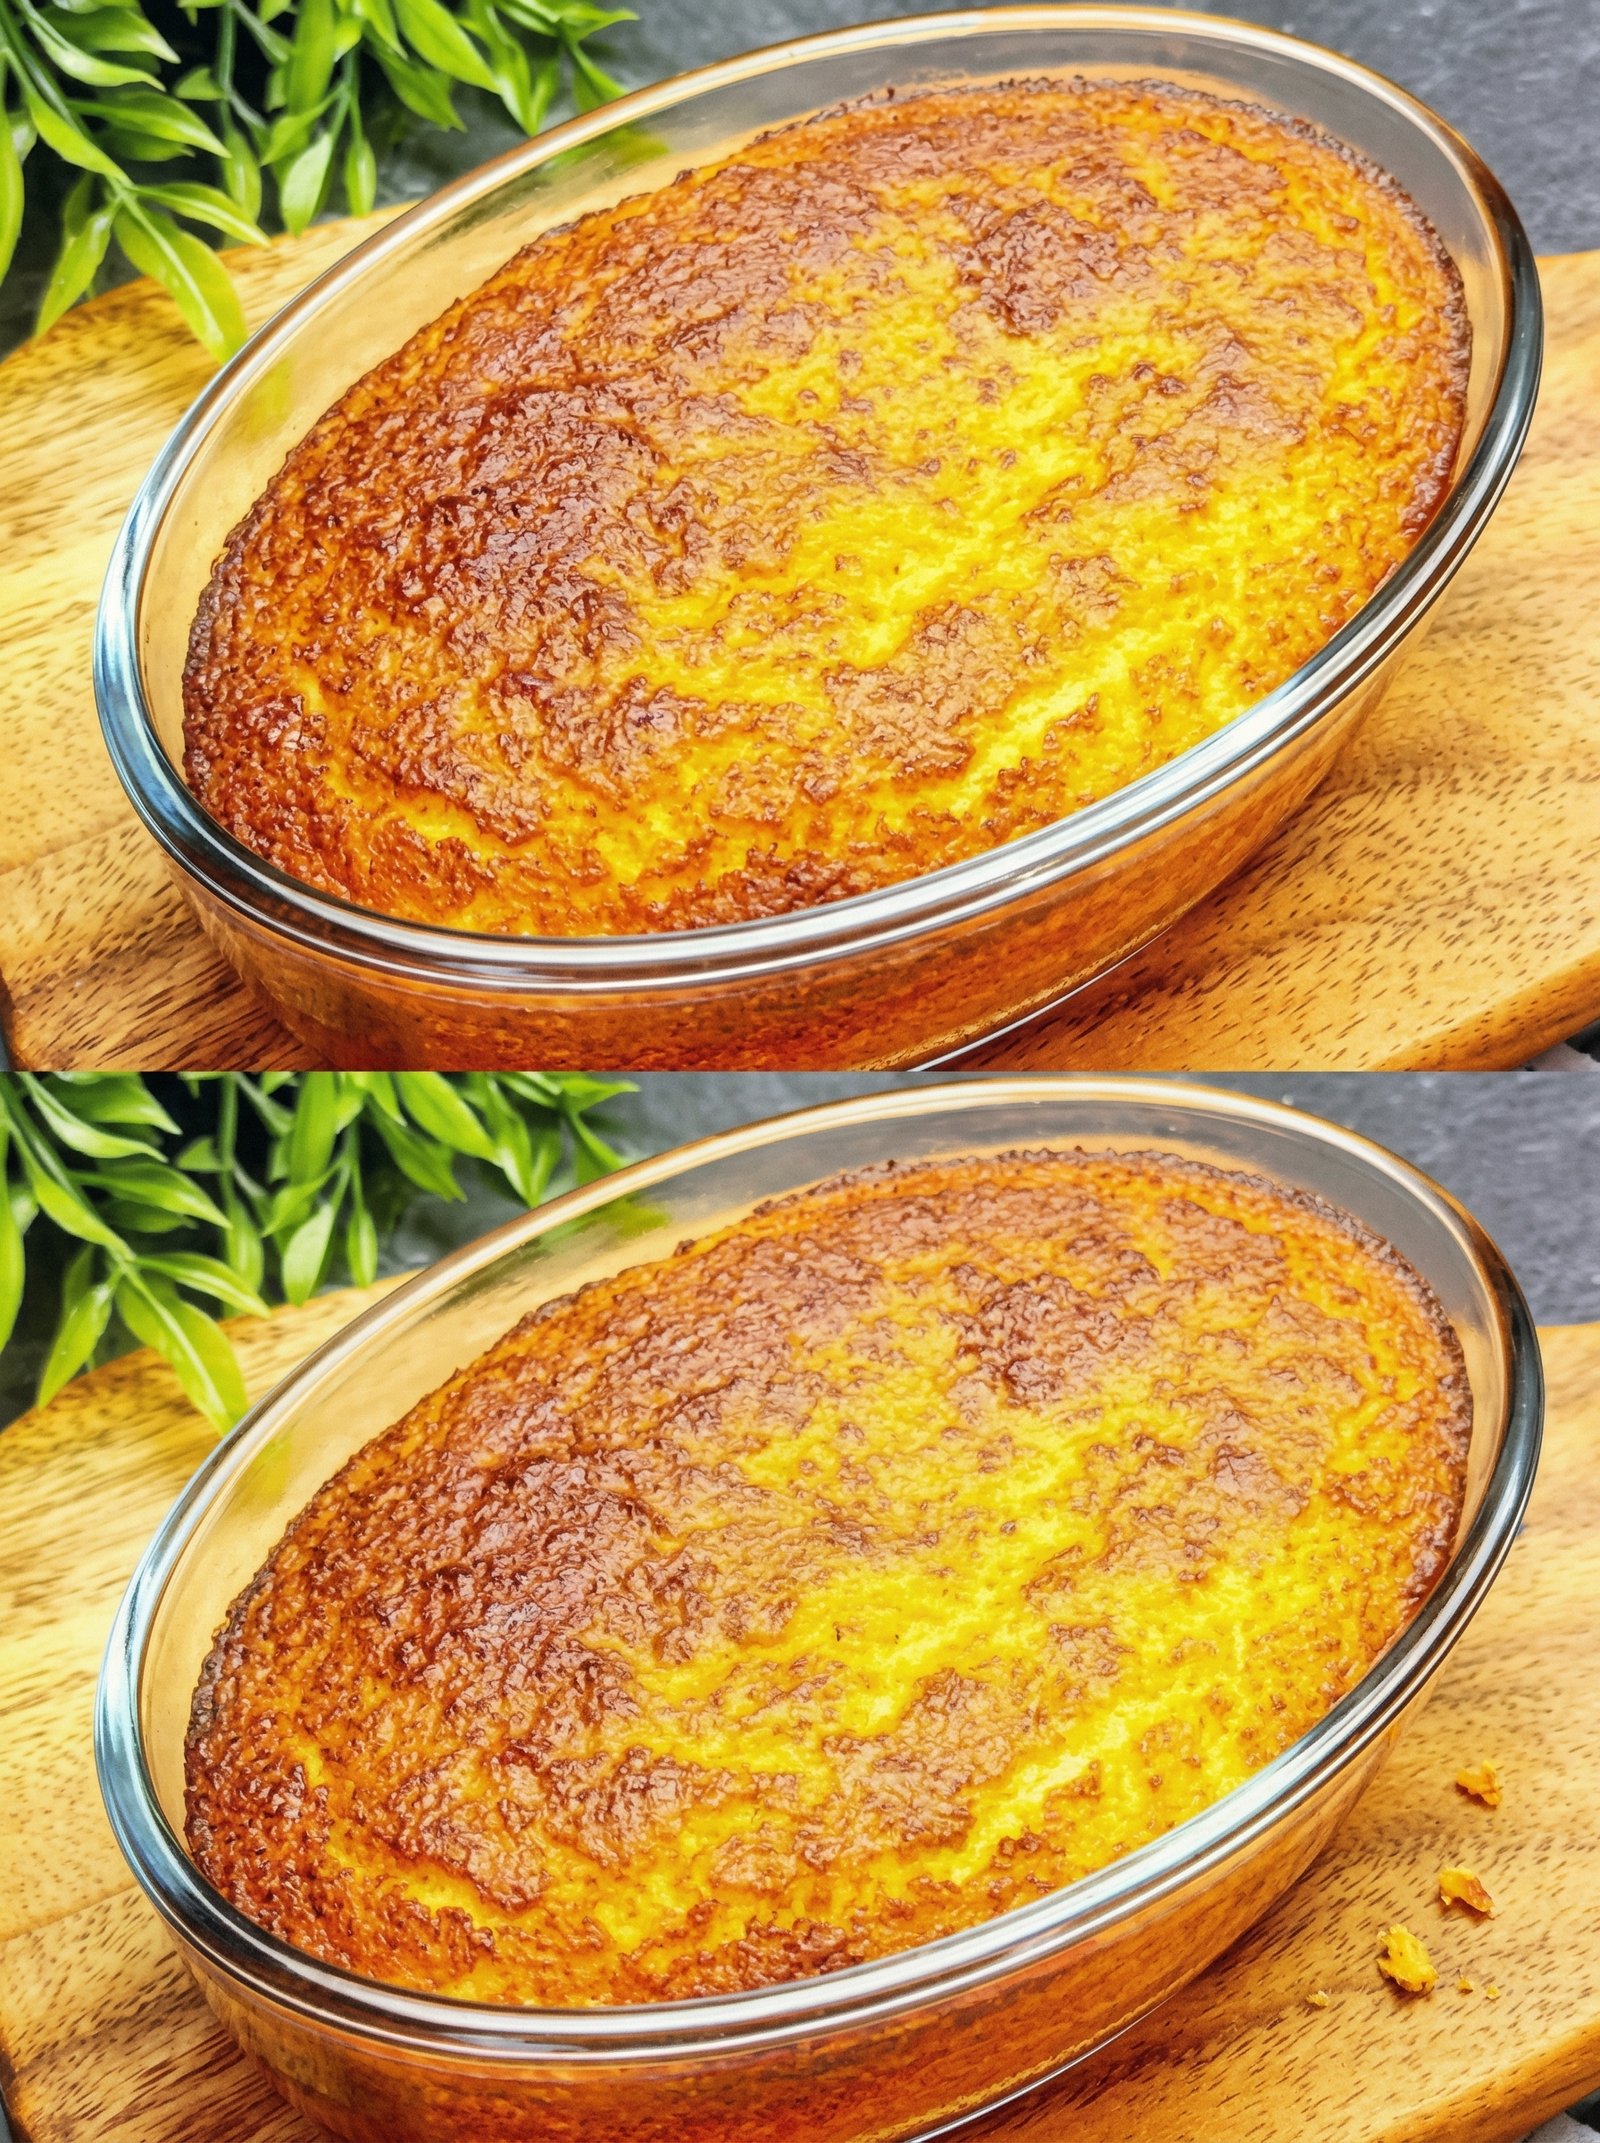
Bake: Place the dish in the center of the oven and bake for 35 to 40 minutes. The top should develop a deep, toasted golden-brown color as seen in the image.
-
Check for Doneness: Insert a toothpick into the center; it should come out clean or with just a few dry crumbs.
-
Cooling: Allow the cake to cool in the dish for at least 20 minutes. This step is crucial as it allows the coconut structure to set, making it easier to slice.
Questions & Answers
Q: Can I use coconut flour instead of shredded coconut?
-
A: It is not recommended. Coconut flour is significantly more absorbent than shredded coconut and would make the cake very dry. This recipe specifically uses shredded coconut to provide the necessary structure without flour.
Q: Why does the top look so dark?
-
A: Shredded coconut contains natural oils that toast quickly under high heat. This creates a caramelized, “crunchy” crust that adds a wonderful depth of flavor to the dessert.
Q: How should I store this cake?
-
A: Due to the moisture from the coconut milk and eggs, it is best stored in an airtight container in the refrigerator for up to 5 days. It can be served chilled or slightly warmed.
Q: Is this recipe suitable for weight management programs?
-
A: Yes. By using unsweetened coconut and a sugar-free sweetener, this becomes a very low-impact dessert option for those tracking their intake or following a specific program.


 Important: This is not a cure for conditions like diabetes, high cholesterol, or anemia.
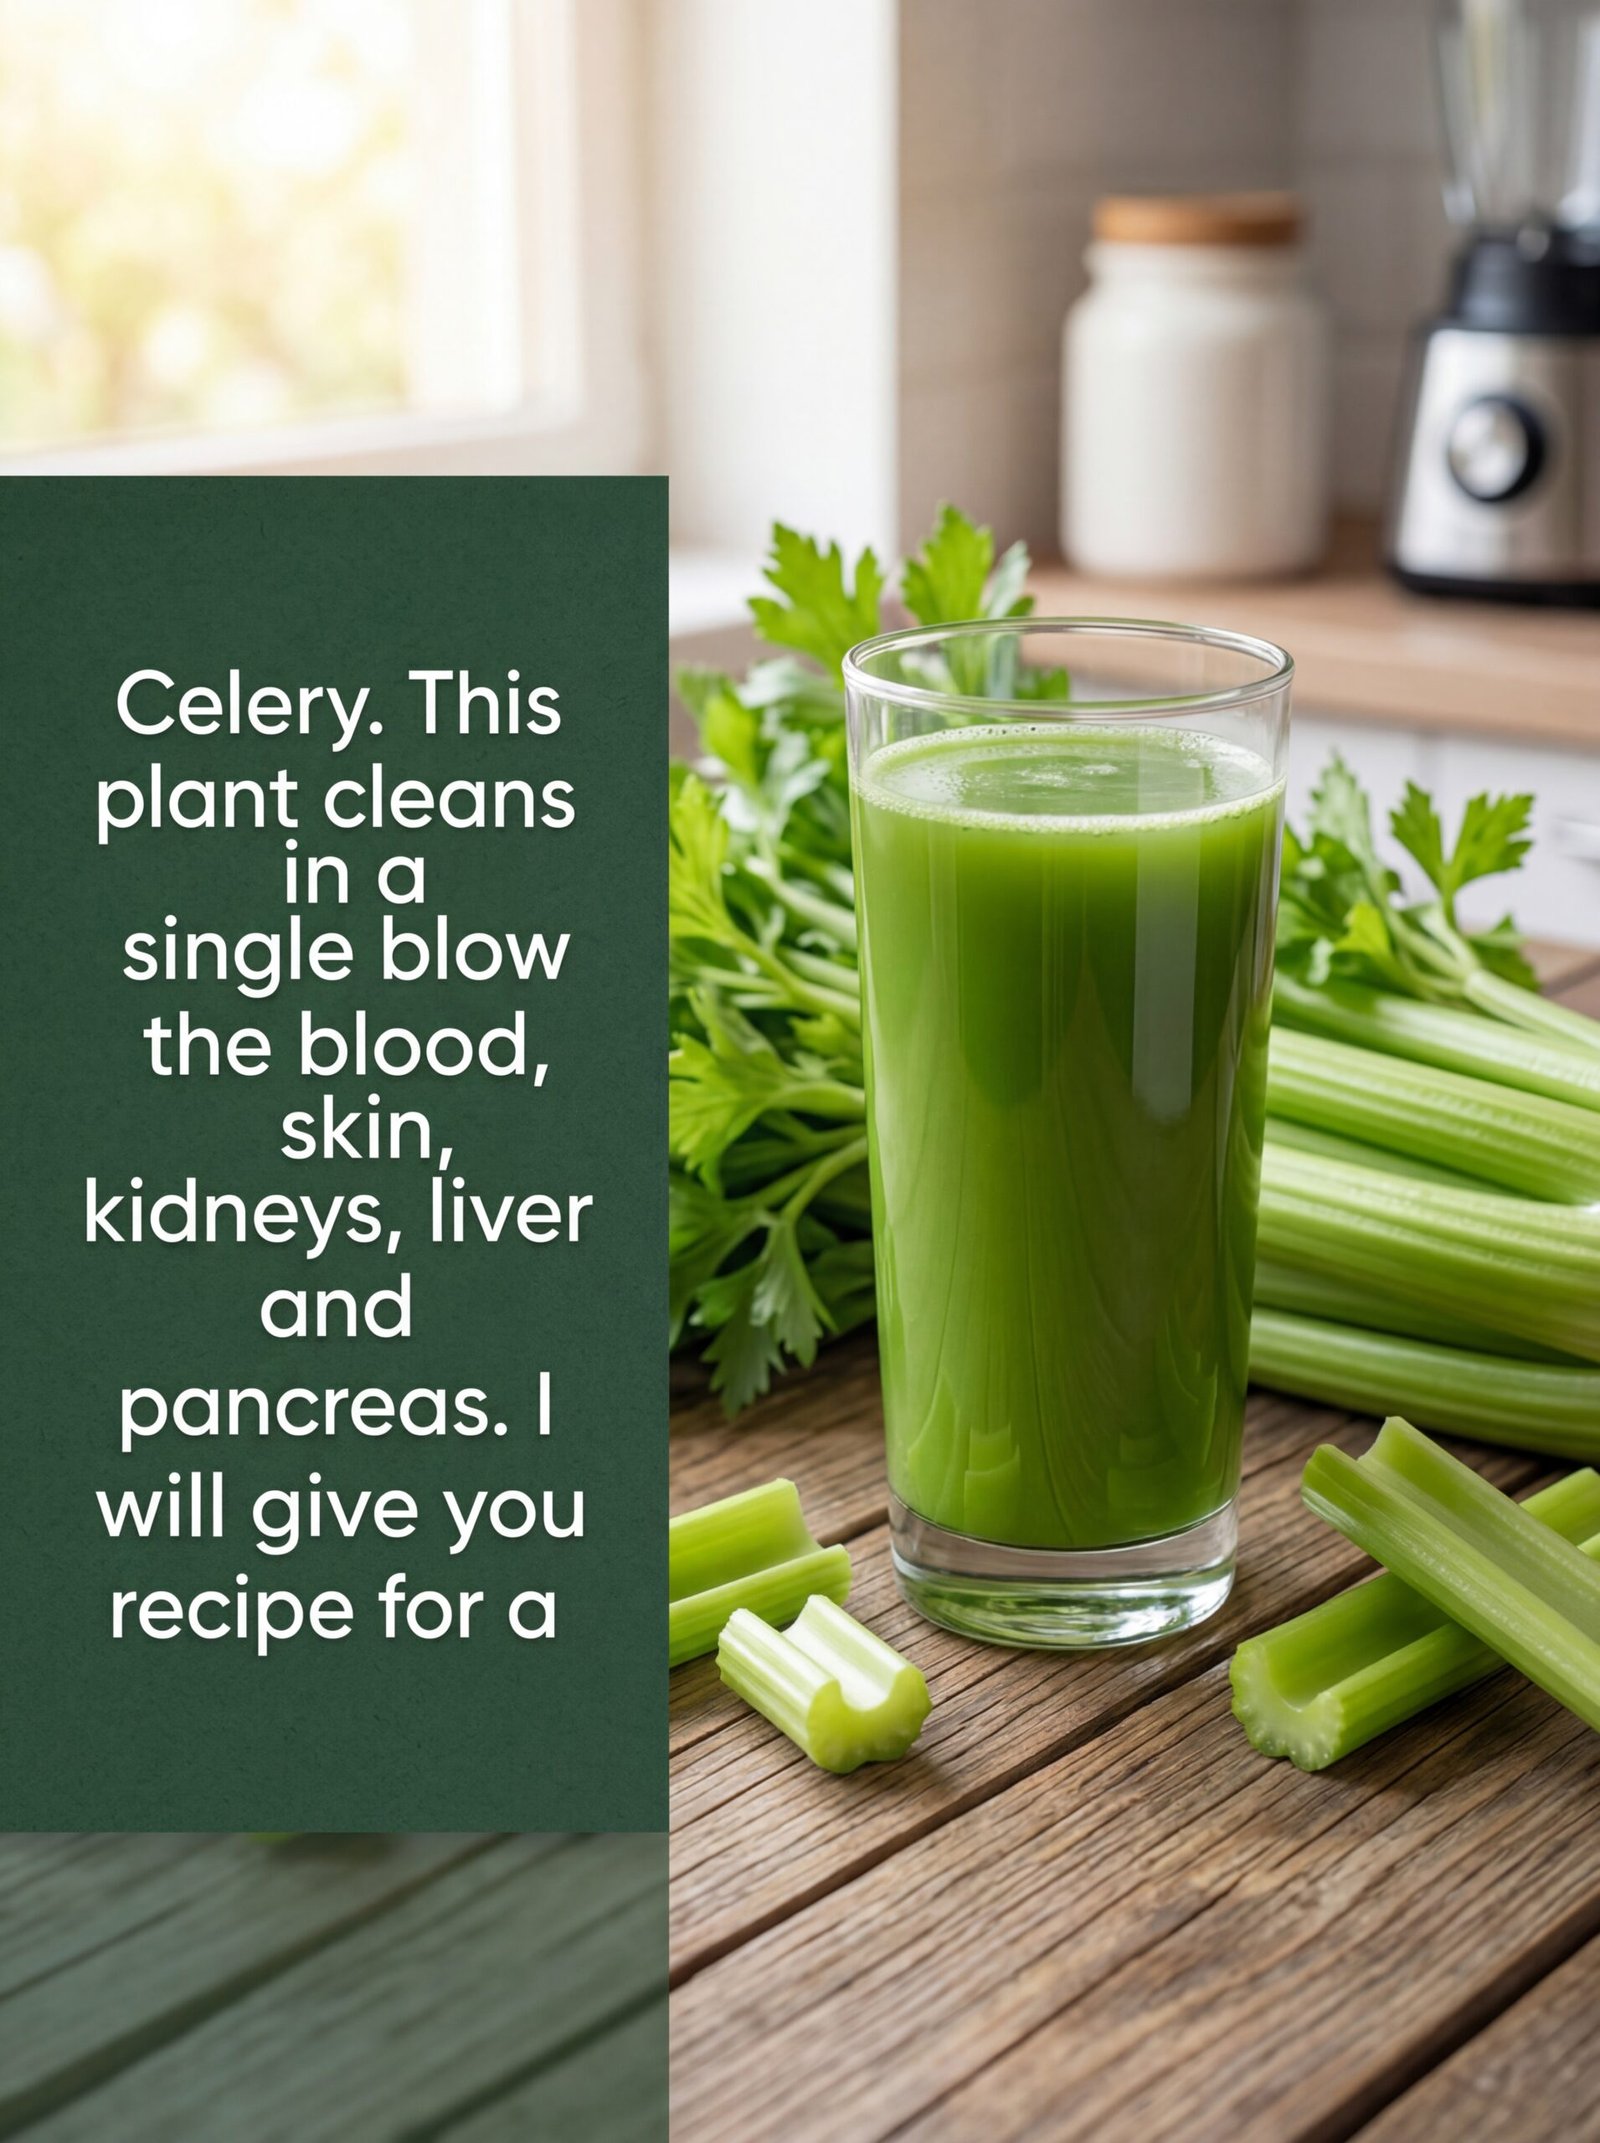
 Supports hydration
 Does NOT detox organs
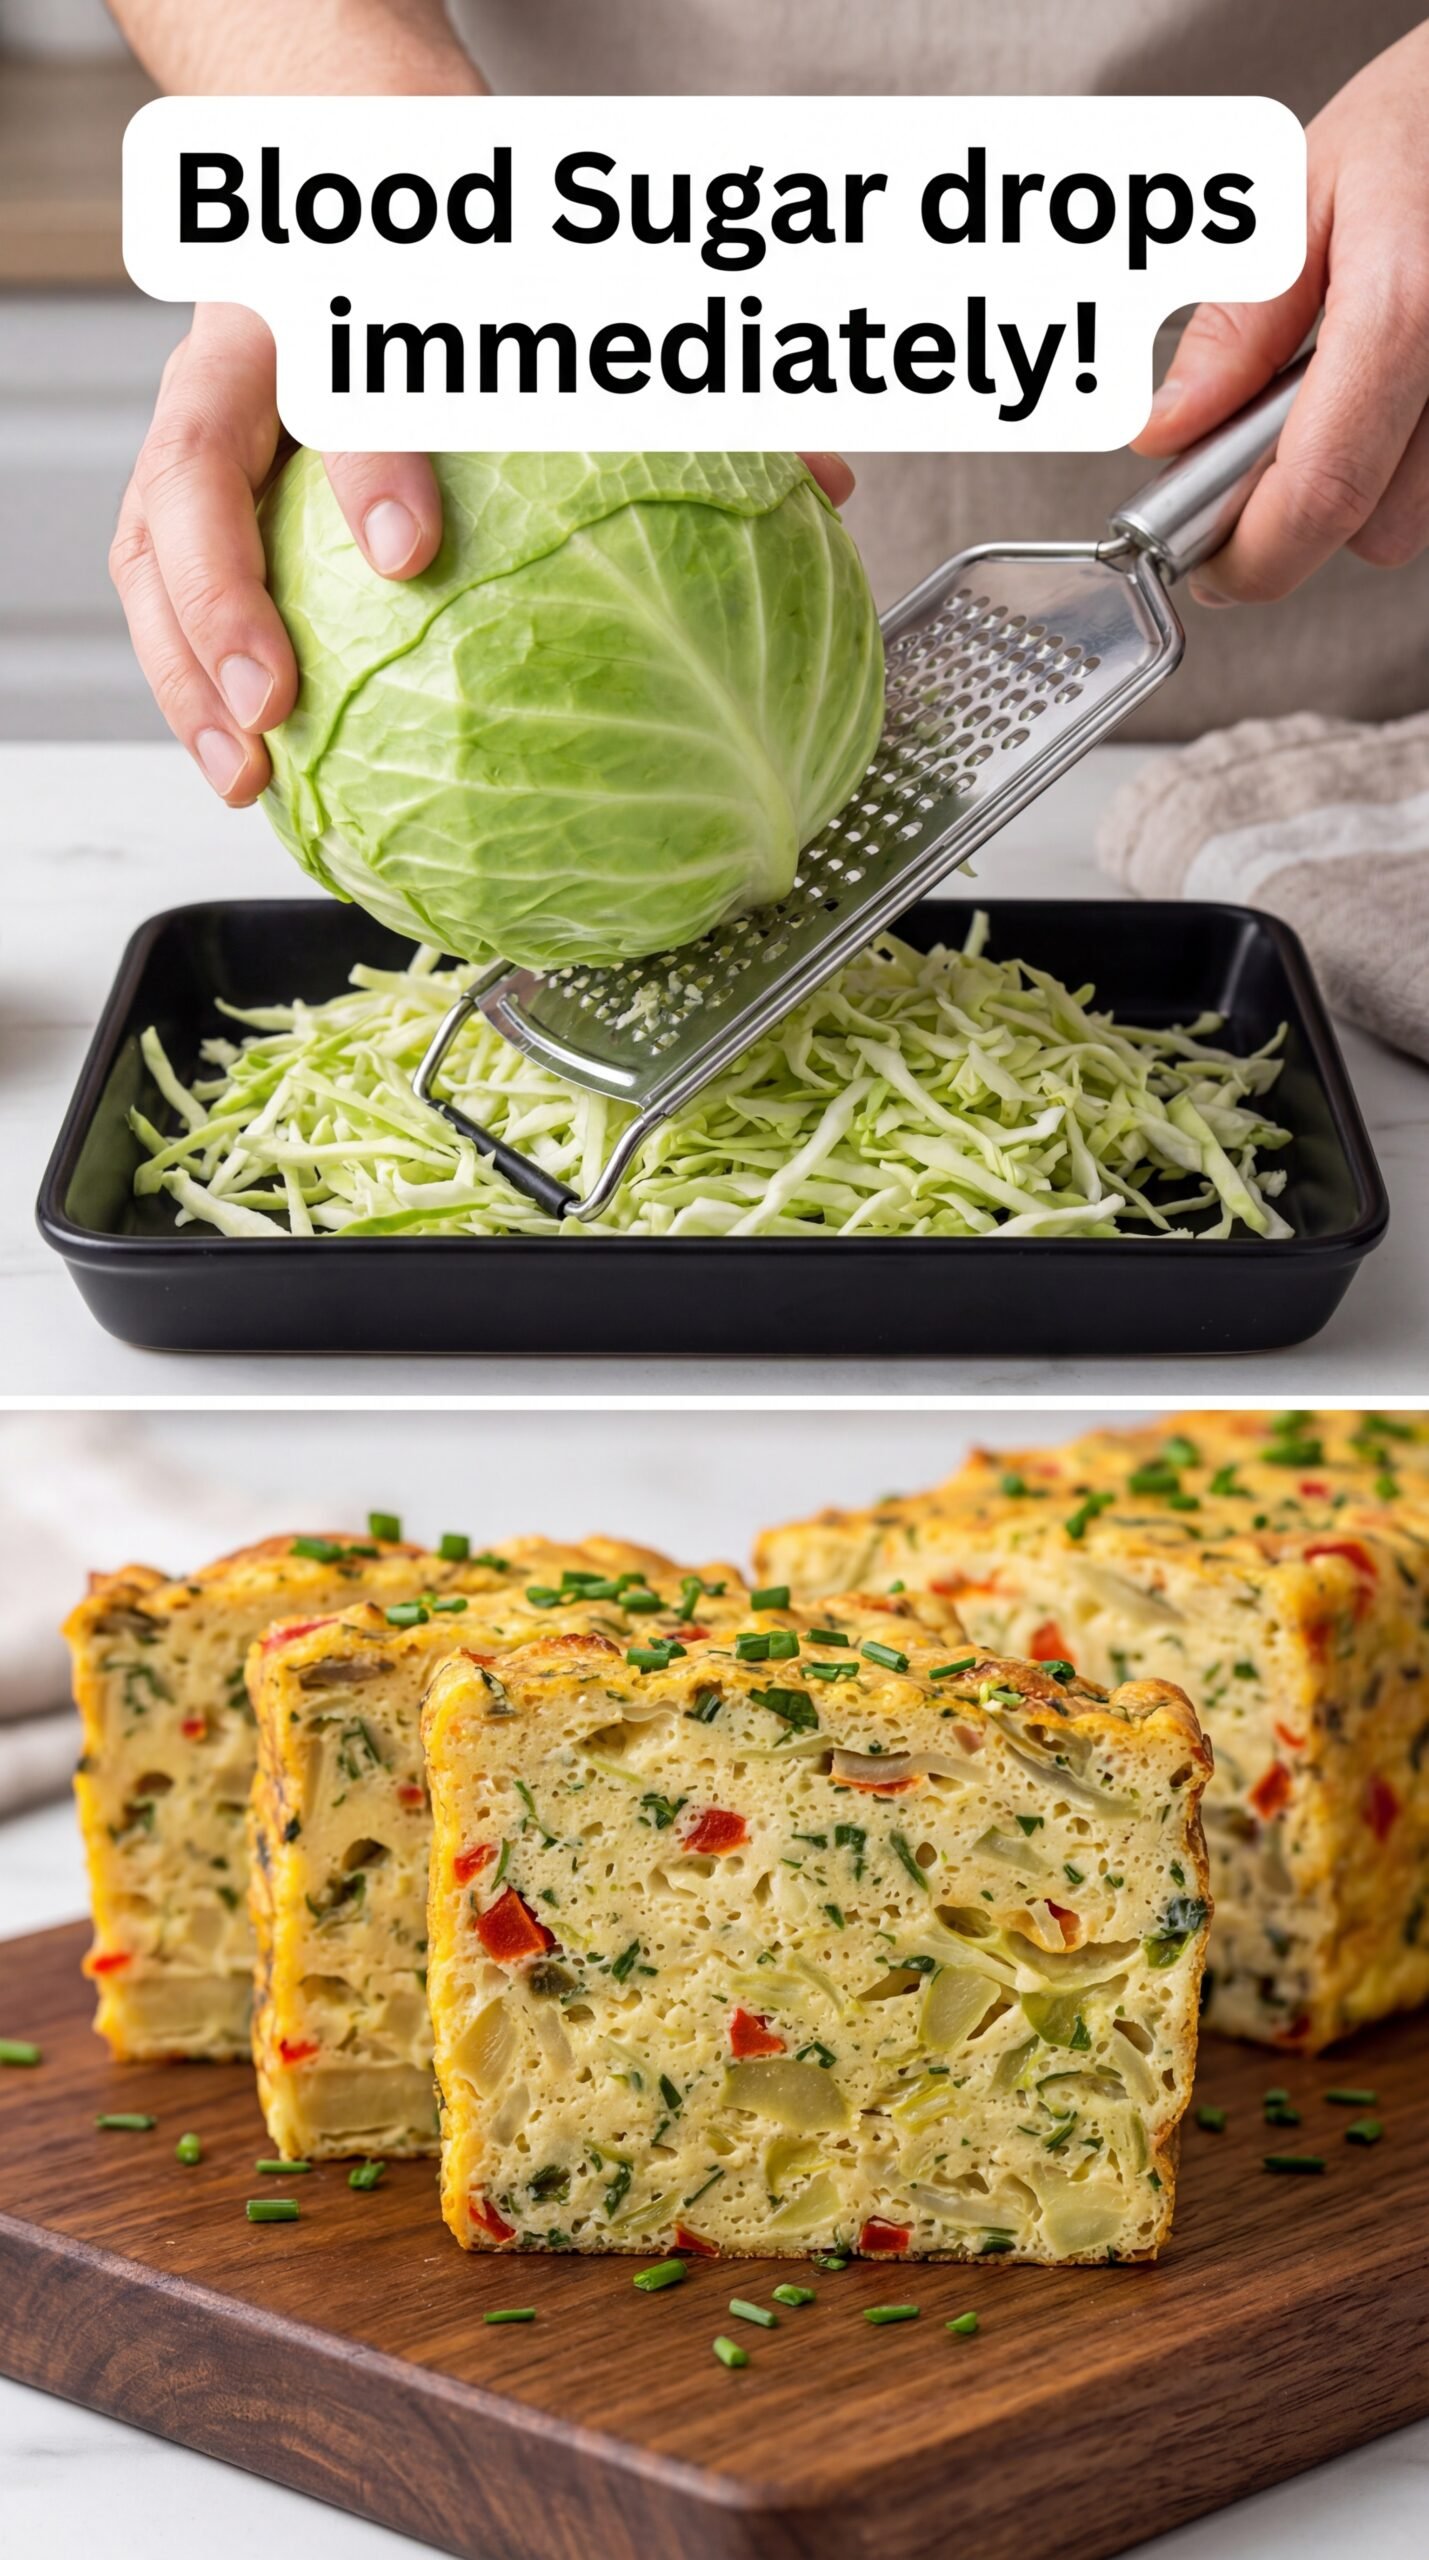


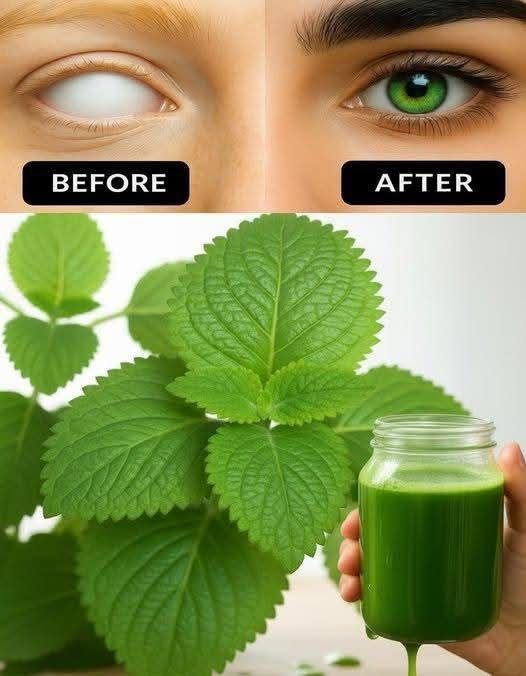
 Wash the herbs
 Prepare the ingredients.
 Blend
Blend Strain (optional)
 Serve
Serve Eye health support
 Immune support
 Anti-inflammatory properties
 Heart health
 Digestive support