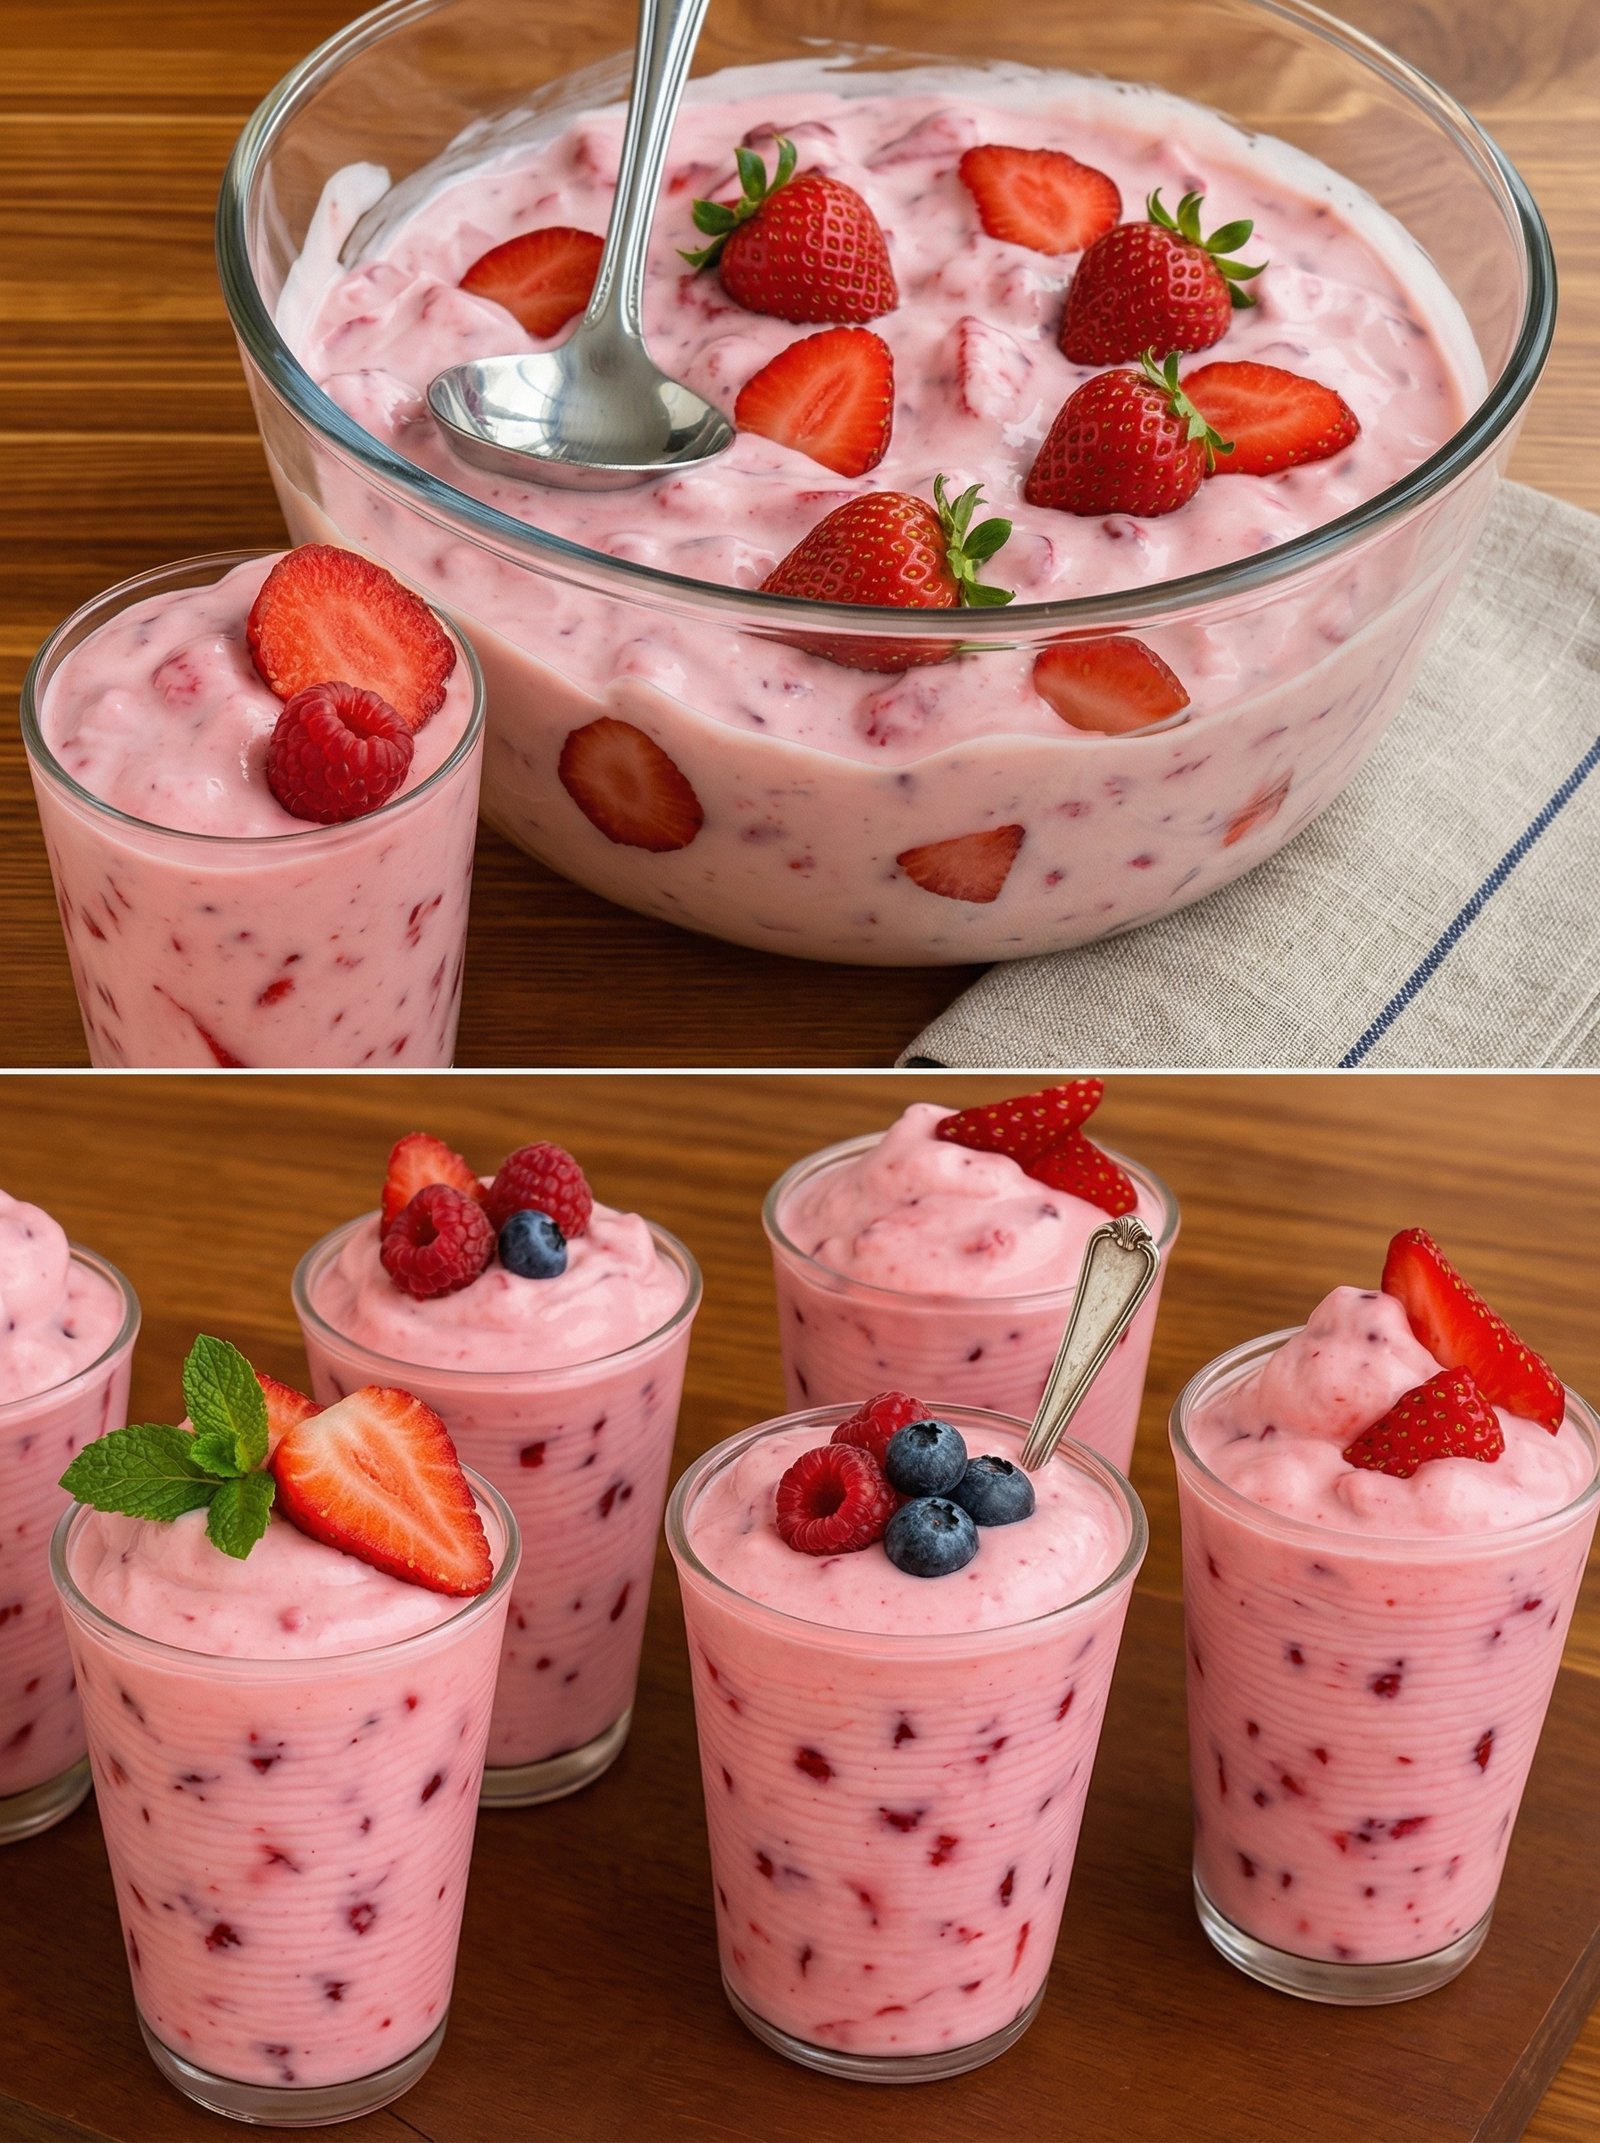
Creamy Berry Whipped Delight 🍓🍨
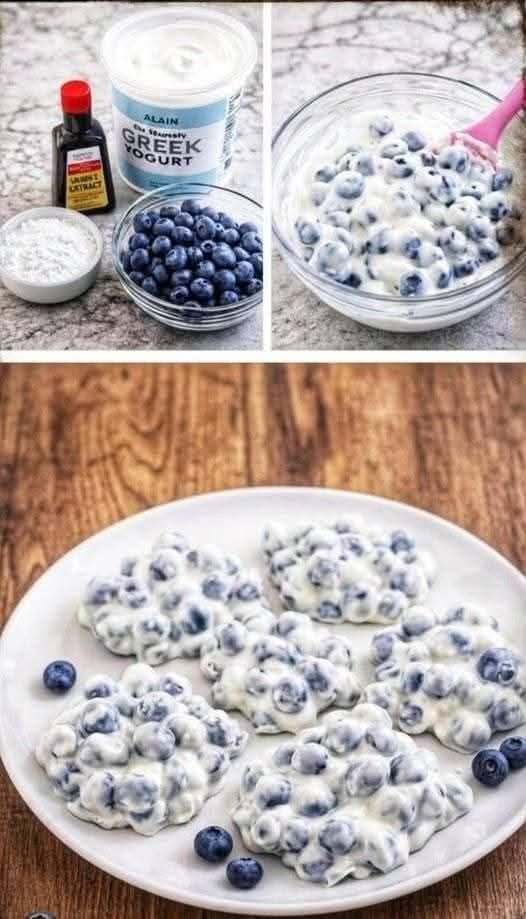
This light and airy dessert is a celebration of fresh berries. It has a soft, mousse-like texture that is incredibly refreshing. Whether served in a large family-style bowl or individual glasses, it is a beautiful treat for any occasion.
🛒 Ingredients
-
Fresh Strawberries: 2 cups (hulled and chopped) 🍓
-
Mixed Berries: 1 cup raspberries and blueberries (optional) 🫐
-
Heavy Whipping Cream: 2 cups (chilled) 🥛
-
Greek Yogurt: 1 cup (Vanilla or Plain) 🍦
-
Sweetener: 3–4 tbsp honey, maple syrup, or powdered sugar (adjust to taste) 🍯
-
Vanilla Extract: 1 tsp 🥥
-
Fresh Mint: For garnish 🌿
👩🍳 Instructions
-
Prep the Berries ➡️ Wash all berries and pat them dry. Take 1 cup of the strawberries and mash them with a fork or pulse them in a blender to create a chunky puree. Slice the remaining berries for folding in. 🍓🥣
-
Whip the Cream ➡️ In a large chilled bowl, pour in the heavy whipping cream and vanilla extract. Use an electric mixer to beat until stiff peaks form. ➡️🥛☁️
-
Fold in the Base ➡️ In a separate bowl, whisk together the Greek yogurt and your choice of sweetener until smooth. Gently fold the yogurt mixture into the whipped cream using a spatula. 🥣⚖️
-
Add the Fruit ➡️ Slowly fold in the strawberry puree and the sliced fresh berries. Be careful not to over-mix so the cream stays fluffy and you get beautiful pink swirls. 🍓🌀
-
Chill ➡️ Transfer the mixture into serving glasses or a large glass bowl. Place in the refrigerator for at least 1 hour to set and allow the flavors to combine. ❄️⏳
-
Garnish and Serve ➡️ Just before serving, top with extra fresh berries and a sprig of fresh mint. 🍨✨
❓ Q&A Section
Q: Can I make this a low-fat version? A: ➡️ You can use a light whipped topping instead of heavy cream and fat-free Greek yogurt. However, the texture will be slightly less stable and more airy than the original recipe. 🍦📉
Q: Why did my whipped cream turn runny? A: ➡️ This usually happens if the cream wasn’t cold enough or if it was over-mixed after the yogurt and berries were added. Always keep your cream in the fridge until the very second you use it! ❄️🥛
Q: Can I use frozen berries? A: ➡️ Yes, but make sure to thaw them completely and drain all excess liquid before mashing or folding them in. If they are too wet, they will thin out the cream. 🍓💧
Q: How long does this dessert stay fresh? A: ➡️ This is best enjoyed within 24 hours of making it. After that, the berries may release juices that can make the whipped cream soften. ⏳🛍️
💡 Tips for Success
-
Chilled Tools: For the fastest and fluffiest whipped cream, place your metal bowl and beaters in the freezer for 10 minutes before you start! 🧊⚒️
-
Texture: If you want an even thicker texture, you can fold in ½ cup of softened cream cheese to the yogurt mixture before combining with the whipped cream. 🧀✨


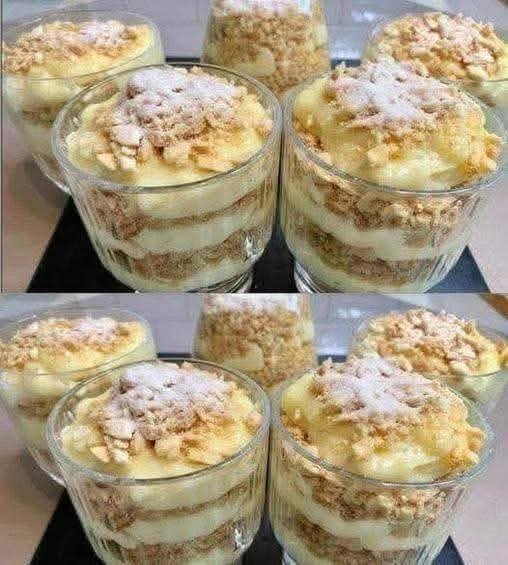
 Famous Magnolia Banana Pudding Recipe
 Expert Tips & Notes
 Nutritional Info (Per 1/2 Cup Serving)
 Benefits
 Common Q&A


 DIABETIC-FRIENDLY ZUCCHINI BITES
 INGREDIENTS (Makes 18–20 bites)
 INSTRUCTIONS
 Prepare the Zucchini
 Mix the batter.
 Shape the Bites
 Bake
Bake Serve
Serve Air-fryer version