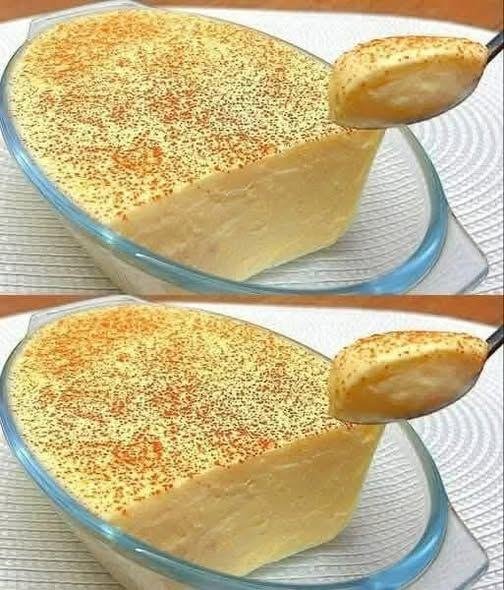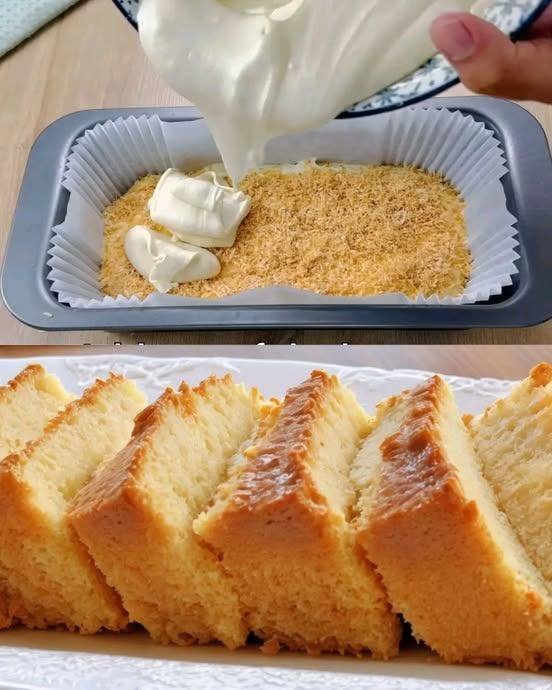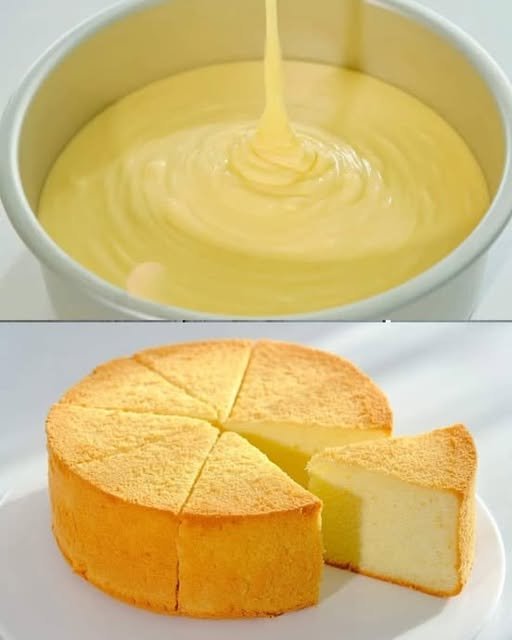
Cloud-Like Basic Chiffon Cake
Ultra-Soft • Light as Air • Delicate Crumb
Prep Time: 20 minutes
Bake Time: 50–60 minutes
Pan Size: 7-inch (18 cm) chiffon tube pan or round pan
Yield: 6–8 slices
Ingredients
Egg Base
-
5 large eggs, cold, separated into yolks and whites
-
50 g milk, at room temperature
-
50 g vegetable oil (or any neutral-flavored oil)
-
84 g cake flour, sifted
-
20 g granulated sugar (for egg yolks)
-
2 g salt
-
1 teaspoon vanilla extract
Meringue
-
5 egg whites
-
50 g granulated sugar
-
2 ml lemon juice (or ¼ teaspoon cream of tartar)
Step-by-Step Instructions
1. Prepare the Egg Yolk Batter
Place the egg yolks into a large mixing bowl. Add the 20 g sugar, salt, and vanilla extract.
Whisk until the mixture looks smooth, pale, and well blended.
Slowly pour in the milk and vegetable oil. Whisk steadily until everything combines into a glossy, slightly thick mixture.
Sift the cake flour directly into the bowl. Using a whisk or spatula, gently mix in a zigzag or “Z” motion until the batter is smooth and free of lumps.
Mix only until combined to keep the texture light.
2. Whip the Egg Whites (Meringue)
In a separate clean bowl, add the egg whites and lemon juice.
Using an electric mixer on medium speed, beat until the whites become foamy and bubbly.
Add the sugar gradually in three portions, beating between each addition.
Increase to medium-high speed and continue beating until stiff peaks form.
When you lift the beaters, the peaks should stand upright and look glossy.
3. Combine the Batter Gently
Add about one-third of the whipped egg whites to the yolk batter. Fold gently with a spatula to loosen the mixture.
Pour the lightened yolk batter into the remaining egg whites.
Using a gentle folding motion, combine everything:
-
Cut through the center
-
Scrape the bottom
-
Lift and fold over
Continue until the batter looks evenly blended with no white streaks.
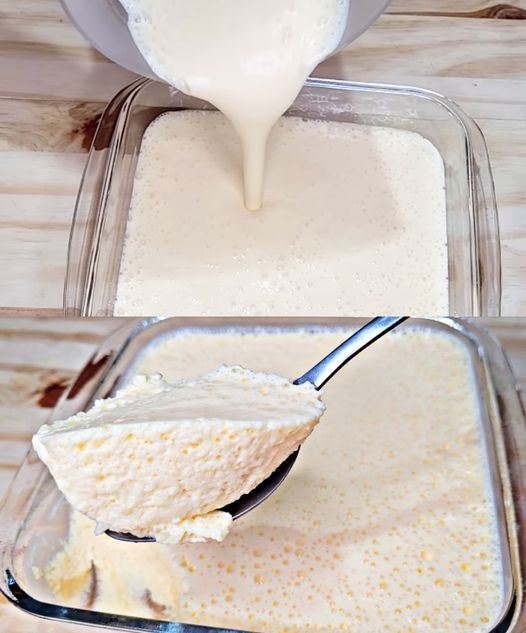
4. Bake the Cake
Pour the batter into an ungreased 7-inch chiffon pan or round pan.
Lightly tap the pan on the counter 2–3 times to release large air bubbles.
Place the pan on the middle rack of a preheated oven.
Bake at 150°C (300°F) for 50–60 minutes, until:
-
The top turns light golden
-
The surface springs back gently when touched
5. Cool the Cake Properly
Once baked, remove the pan from the oven and immediately turn it upside down on a wire rack or bottle neck.
Allow the cake to cool fully in this position for 1–2 hours.
This helps the cake keep its airy structure.
When completely cool, run a thin knife around the edges and gently release the cake.
Helpful Baking Tips
-
Pan Choice: Leave the pan ungreased so the batter can rise evenly.
-
Clean Equipment: Make sure bowls and beaters are completely clean for the best meringue volume.
-
Sugar Control: Adding sugar slowly helps create a smooth, stable foam.
-
Flour Substitute:
If cake flour is unavailable:-
Measure 84 g all-purpose flour
-
Remove 1½ tablespoons
-
Replace with 1½ tablespoons cornstarch
-
Sift well before using
-
Texture & Flavor
This chiffon cake is:
-
Soft and airy
-
Lightly sweet
-
Moist without being heavy
-
Perfect on its own or with fruit, whipped cream, or a light glaze