Introduction
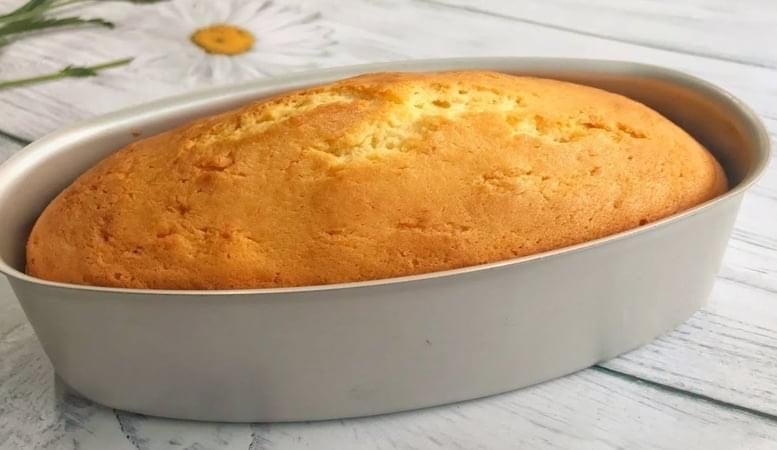
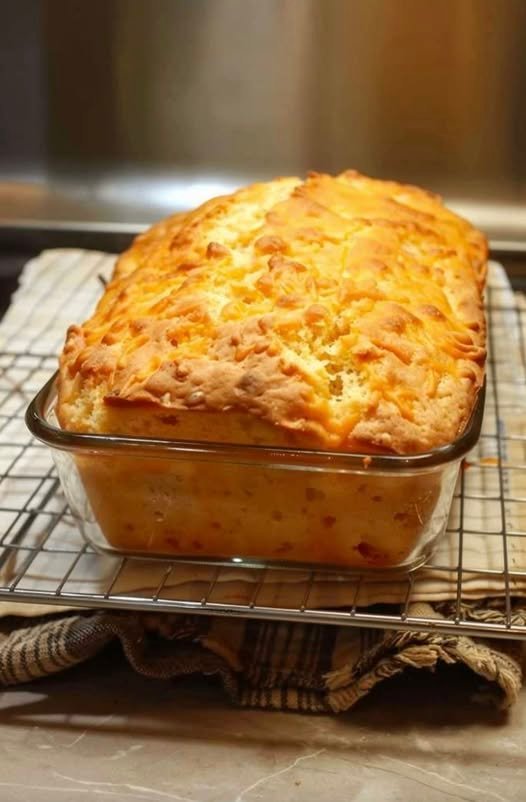
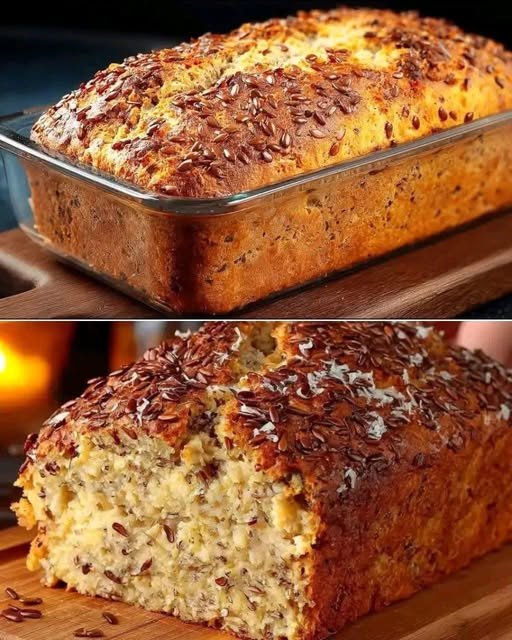
This wholesome homemade bread is soft, moist, and packed with texture. Topped with crunchy seeds, it combines a golden crust with a flavorful and slightly nutty interior. Perfect for breakfast, snacks, or as a side to savory dishes, this bread is both nutritious and delicious.
Ingredients
2 cups all-purpose flour (or whole wheat for a healthier version)
1 cup plain yogurt (adds moisture and softness)
2 large eggs
½ cup vegetable oil or melted butter
½ cup sugar (can reduce for a less sweet loaf)
1 ½ teaspoons baking powder
½ teaspoon baking soda
¼ teaspoon salt
1 teaspoon vanilla extract
½ cup grated coconut or desiccated coconut (optional, for extra flavor)
3 tablespoons flaxseeds (plus extra for topping)
2 ripe bananas, mashed (optional but adds natural sweetness and moisture)
Instructions
Preheat the oven to 180°C (350°F). Grease a loaf pan and line it with parchment paper.
In a bowl, mix the flour, baking powder, baking soda, salt, and flaxseeds.
In another bowl, whisk together the eggs, sugar, yogurt, oil, vanilla, and mashed bananas.
Gradually fold the wet ingredients into the dry ingredients until just combined. Do not overmix.
Pour the batter into the prepared loaf pan and sprinkle extra flaxseeds on top.
Bake for 40–50 minutes or until a toothpick inserted in the center comes out clean.
Allow the bread to cool before slicing.
How to Make
Prepare your dry and wet mixes separately.
Combine gently to avoid overdeveloping gluten, which keeps the bread soft.
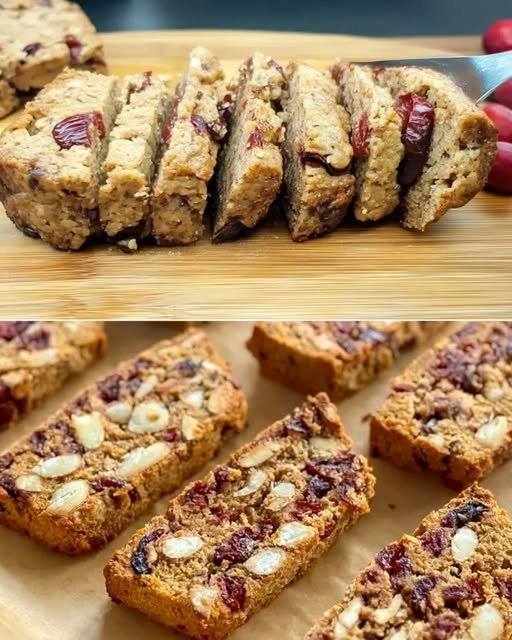
Use flaxseeds generously for a crunchy topping and a nutty bite inside.
Bake until golden brown and fragrant, then let rest before serving.
Variation
Nutty Touch: Add walnuts, almonds, or sunflower seeds.
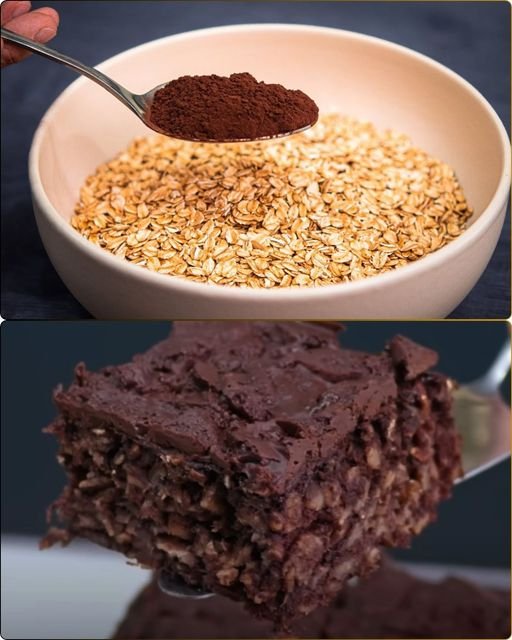
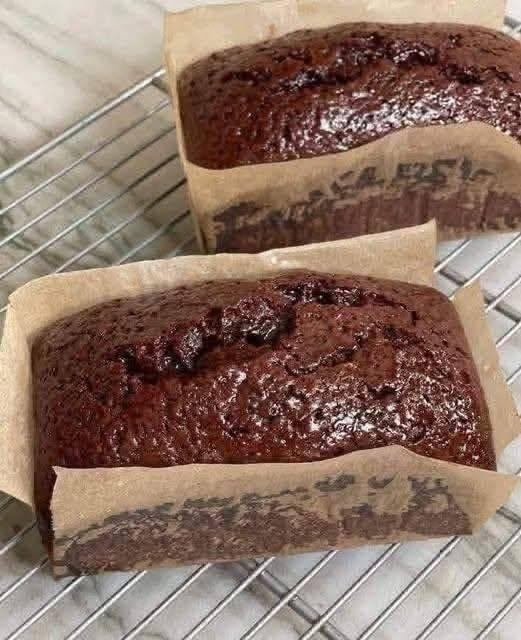
Chocolate Twist: Mix in chocolate chips for a dessert-style loaf.
Citrus Flavor: Add orange or lemon zest for freshness.
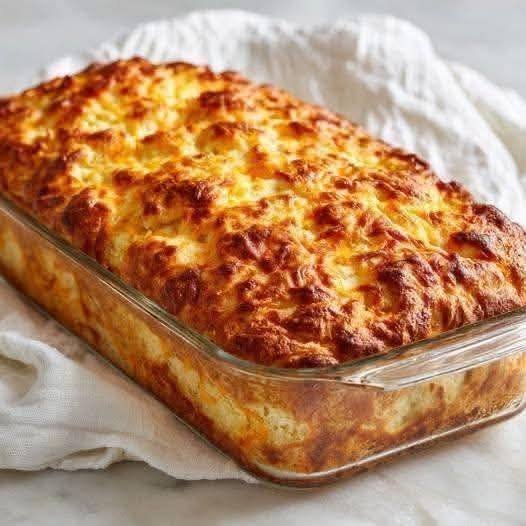
Savory Option: Reduce sugar and add grated cheese and herbs instead.
Tips
Use ripe bananas if included; they naturally sweeten and moisten the bread.
For extra crunch, toast the flaxseeds before mixing.
Store in an airtight container; it stays moist for up to 3 days.
Can be frozen in slices for quick snacks.
Conclusion
This seed-topped loaf bread is versatile, healthy, and satisfying. Whether enjoyed plain, with a spread of butter, or paired with tea and coffee, it brings comfort and flavor to any table.
Would you like me to make this in a health-focused version (like low-sugar, high-fiber bread) or keep it as a sweet snack loaf?