🍫 Keto 3-Ingredient Double Chocolate Mousse
This decadent dessert provides a luxurious, silky texture with a deep chocolate punch, all while keeping the net carbs to just 4g per serving.
-
Servings: 4
-
Prep Time: 10 minutes
-
Chill Time: 1 hour
-
Total Time: 1 hour 10 minutes
-
Diet: Keto, Low-Carb, Sugar-Free, WW-friendly
📝 Ingredients
Base Mousse
-
1 cup heavy whipping cream
-
½ cup sugar-free keto chocolate chips (dark or milk chocolate)
-
2 tbsp powdered erythritol (or preferred keto sweetener)
For the “Double Chocolate” Effect
-
1 tbsp unsweetened cocoa powder OR 2 tbsp shaved keto chocolate
👩🍳 Detailed Instructions
-
Melt the Chocolate: Place the keto chocolate chips in a microwave-safe bowl. Heat for 20–30 seconds at a time, stirring between intervals until smooth. Set aside to cool for 1–2 minutes (this prevents the heat from melting the whipped cream).
-
Whip the Cream: In a separate large bowl, combine the heavy whipping cream and powdered sweetener. Using a hand mixer, beat until stiff peaks form (about 2–3 minutes).
-
Combine: Slowly drizzle the slightly cooled melted chocolate into the whipped cream while mixing on a low speed to maintain the airy volume.
-
Add the Double Chocolate: Gently fold in your cocoa powder or chocolate shavings to create that deeper, layered chocolate flavor.
-
Chill: Spoon the mixture into serving glasses or ramekins. Refrigerate for at least 1 hour to allow the mousse to set and the flavors to develop.
-
Garnish and Serve: Top with extra chocolate curls, a dusting of cocoa, or a few fresh raspberries before serving.
💡 Pro-Tips for Success
-
Troubleshooting: If the chocolate seizes (becomes grainy) when melting, stir in 1 teaspoon of warm cream until it smooths out.
-
Texture Control: For a denser, truffle-like mousse, reduce the heavy cream to ¾ cup. For a lighter, fluffier mousse, ensure your cream is very cold before whipping.
-
Storage: Keep in an airtight container in the fridge for up to 3–4 days.
📊 Nutrition Facts (Per Serving)
| Calories | Fat | Net Carbs | Fiber | Protein | Sugar |
| 210 | 20g | 4g | 2g | 3g | 0g |


 Tips:
Tips:
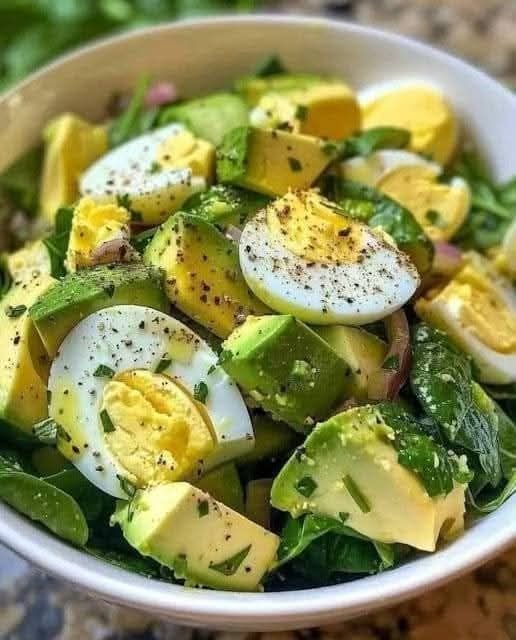
 AVOCADO AND SPINACH EGG SALAD