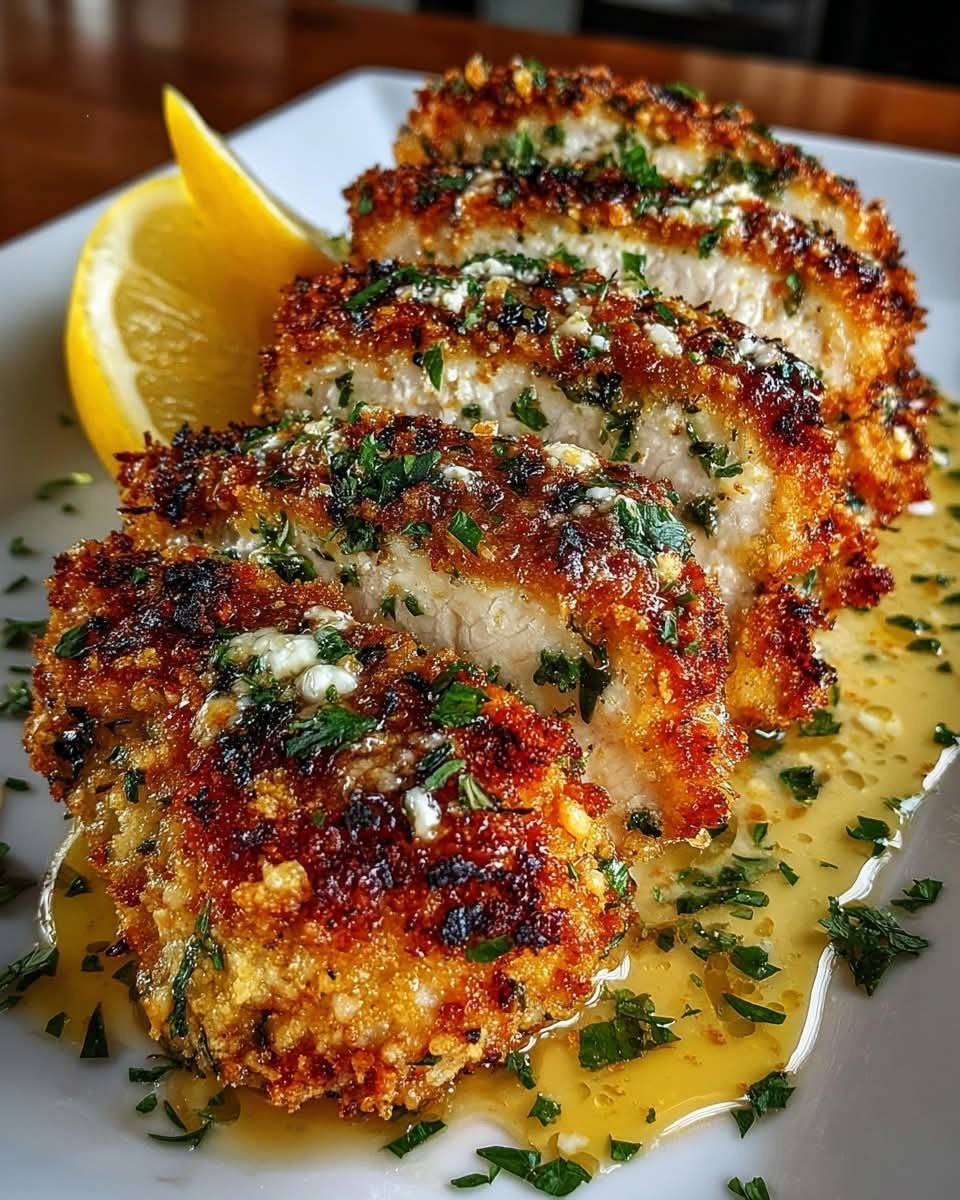
Mediterranean Four Cheese Mushroom Toasts
Mediterranean Four Cheese Mushroom Toasts are the kind of dish that feel elegant but are surprisingly easy to pull together. Earthy mushrooms are sautéed in olive oil with garlic and herbs until golden and deeply savory, then piled onto crisp toasted bread and finished with a rich blend of four cheeses. The result is creamy, melty, and full of umami, balanced by Mediterranean herbs and a touch of brightness. These toasts work beautifully as an appetizer, a light lunch, or even a cozy meatless dinner paired with a salad. They’re comforting without being heavy and impressive without being fussy, making them perfect for both casual gatherings and quiet nights at home.
Prep time: 15 minutes
Cook time: 25 minutes
Total time: 40 minutes
Serves: 4
Ingredients
For the Mushroom Topping
2 tablespoons extra virgin olive oil
1 tablespoon unsalted butter
12 ounces mushrooms, sliced (cremini, button, or mixed)
1 small shallot, finely chopped
3 garlic cloves, minced
1 teaspoon dried thyme
½ teaspoon dried oregano
Salt and black pepper to taste
For the Four Cheese Mixture
½ cup shredded mozzarella
½ cup shredded fontina or provolone
⅓ cup grated Parmesan
⅓ cup crumbled feta
For the Toasts
4 to 6 slices rustic bread or sourdough
Olive oil for brushing
For Finishing
Fresh parsley or thyme, chopped
Optional drizzle of honey or balsamic glaze
Instructions
Preheat the oven to 400°F (200°C). Arrange bread slices on a baking sheet and lightly brush both sides with olive oil.
Toast the bread in the oven for 8 to 10 minutes, flipping once, until crisp and lightly golden. Set aside.
Heat olive oil and butter together in a large skillet over medium heat. Once melted and hot, add the mushrooms in an even layer.
Let the mushrooms cook undisturbed for 4 to 5 minutes to develop a golden sear. Stir and continue cooking until they release moisture and become deeply browned.
Add the chopped shallot and cook for 2 minutes until softened. Stir in the garlic, thyme, oregano, salt, and pepper, and cook for 30 seconds until fragrant.
Remove the skillet from heat and allow the mushrooms to cool slightly. This helps prevent the cheese from becoming greasy.
In a bowl, combine mozzarella, fontina, Parmesan, and feta. Mix gently to distribute evenly.
Spoon the mushroom mixture generously over each toasted bread slice, spreading it evenly. Top with the four cheese blend.
Return the toasts to the oven and bake for 8 to 10 minutes, until the cheese is fully melted and bubbly. For extra color, broil for 1 to 2 minutes at the end.
Remove from the oven, sprinkle with fresh herbs, and finish with a light drizzle of honey or balsamic glaze if desired. Serve warm.
Tips
Use a mix of mushroom varieties for deeper flavor and texture.
Avoid overcrowding the pan so mushrooms brown instead of steaming.
Let mushrooms sit before stirring to build caramelization.
Slightly cooling mushrooms prevents oily cheese melt.
Grate cheeses fresh for smoother melting.
Use sturdy bread that can hold the toppings without getting soggy.
Toast bread first to keep the base crisp.
Balance salty cheeses with a touch of sweetness if desired.
Taste mushrooms before assembling and adjust seasoning.
Serve immediately for the best texture and flavor.
Variations
Add sautéed spinach to the mushroom mixture for extra greens.
Use goat cheese instead of feta for tangier notes.
Add crushed red chili flakes for gentle heat.
Swap bread for naan or flatbread slices.
Include sun-dried tomatoes for Mediterranean sweetness.
Add a splash of white wine to mushrooms for depth.
Top with arugula after baking for freshness.
Use truffle oil sparingly for an indulgent finish.
Make mini toasts for party appetizers.
Add chopped olives for briny contrast.
Q&A
Can I make these ahead of time?
You can prepare the mushroom mixture ahead, but assemble and bake just before serving.
What mushrooms work best?
Cremini or a mix of wild mushrooms provide the best flavor.
Can I make this gluten free?
Yes, use gluten free bread.
How do I prevent soggy toasts?
Always toast the bread before adding toppings.
Can I reduce the cheese?
Yes, use smaller amounts while keeping the same blend.
Are these good for brunch?
Absolutely, they pair well with eggs or salad.
Can I freeze them?
Freezing is not recommended due to texture changes.
What herbs work best?
Thyme, parsley, and oregano complement mushrooms well.
Can I add protein?
A poached egg on top works beautifully.
What pairs well as a side?
A lemony green salad or roasted vegetables.
Nutrition
(Per Serving, Approximate)
Calories: 380
Protein: 16g
Carbohydrates: 32g
Fat: 22g
Fiber: 4g
Sugar: 4g
Conclusion
Mediterranean Four Cheese Mushroom Toasts are a celebration of simple ingredients done right. Crispy bread, savory mushrooms, and a creamy, melty cheese blend come together in a way that feels comforting yet refined. Whether served as an appetizer, a light meal, or a shared plate with friends, these toasts deliver rich flavor, satisfying texture, and plenty of Mediterranean charm. Once you make them, they’re likely to become a repeat favorite in your kitchen.


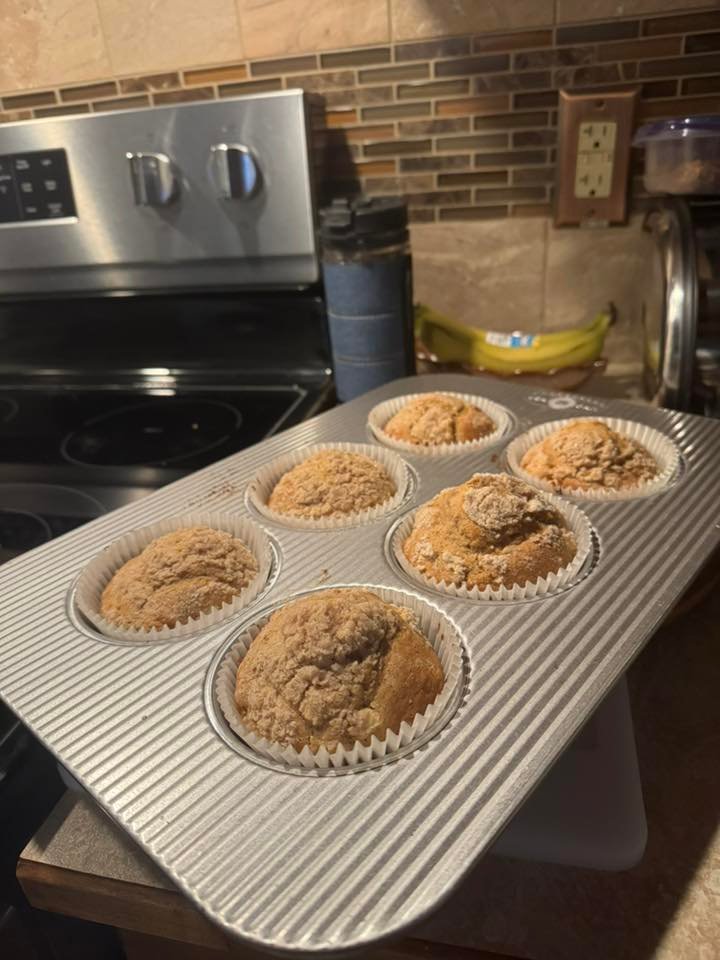
 Healthy No-Sugar Cinnamon Apple Muffins
 Description
 Ingredients
 Instructions
 Notes
Notes Tips for Best Results
 Servings
 Nutritional Info (Approx. per muffin)
 Health Benefits
 Q & A
Q & A
 Zucchini Corn Fritters
 Nutritional Info (Per Serving – Approx.)
 Health Benefits