Cobb Salad with the Best Dressing
Why You’ll Love This Cobb Salad
Perfect as a meal or side: Filling enough to be the star of the show, but versatile as a side dish.
Quick and fresh: Just 25 minutes of prep and minimal cooking.
Bold flavors: Smoky bacon, creamy blue cheese, and tangy balsamic dressing.
Great for gatherings: A showstopper presentation on a large platter.
Cobb Salad Ingredients
This Cobb Salad serves about 6 people as a side salad—or 3-4 as a light main dish. Here’s what you’ll need:
For the Salad:
6 oz bacon (about 6 slices), chopped and browned
1 medium head romaine lettuce (approx. 5 cups), chopped, rinsed, and dried
2 cooked chicken breasts, sliced or diced (see note below)
2 hard-boiled eggs, peeled and quartered
1 large avocado, sliced
1 cup cherry tomatoes, halved
½ cup red onion, thinly sliced
½ cup crumbled blue cheese (or feta if you prefer)
2 tablespoons parsley, finely chopped (for garnish)
For the Cobb Salad Dressing:
3 tablespoons balsamic vinegar
1 tablespoon Dijon mustard
1 garlic clove, finely minced or pressed
⅓ cup extra virgin olive oil
¼ teaspoon salt
⅛ teaspoon black pepper
Instructions: How to Make the Best Cobb Salad
Step 1: Prepare the Protein
Cook the bacon until golden and crispy. You can bake it, air fry it, or sauté it in a skillet.
While the bacon cooks, boil the eggs. Once done, chill them in ice water, then peel and quarter.
Tip: Use rotisserie chicken or grilled chicken breasts for a time-saving shortcut.
Step 2: Prep the Base
Chop and rinse the romaine lettuce, then spin dry or pat dry with paper towels.
Arrange the lettuce on a large shallow serving platter or salad bowl.
Step 3: Assemble the Salad
Create beautiful rows of ingredients:
Sliced chicken
Quartered eggs
Avocado slices
Halved cherry tomatoes
Sliced red onions
Crumbled blue cheese
Crispy bacon
Sprinkle the salad with freshly chopped parsley for color and flavor.
Step 4: Make the Dressing
In a mason jar or bowl, combine the balsamic vinegar, Dijon mustard, garlic, olive oil, salt, and pepper.
Shake vigorously (or whisk) until emulsified.
Step 5: Serve It Up
Drizzle the dressing over the salad just before serving, or let guests dress their plates to taste.
Serve immediately for best texture and freshness.
Cobb Salad Variations
Feel free to make it your own! Try these ideas:
Swap chicken for grilled shrimp or turkey.
Use ranch or blue cheese dressing instead of balsamic.
Add croutons for an extra crunch.
Include cucumber or corn for even more veggie goodness.
Storage Tips
If making ahead, store ingredients separately and assemble just before serving.
Dressing can be made 3 days in advance and kept refrigerated.
Avoid cutting the avocado until ready to serve to prevent browning.
FAQs About Cobb Salad
Q: Can I make this salad ahead of time?
Yes! Just prep all the ingredients and store them separately. Assemble just before serving for the best texture.
Q: What’s the best substitute for blue cheese?
Feta or goat cheese works well if you prefer a milder flavor.
Q: Is this Cobb Salad gluten-free?
Yes, all ingredients are naturally gluten-free—but double-check your mustard and balsamic labels to be sure.
More Fresh Recipes You’ll Love
Greek Chicken Salad with Tzatziki Dressing
Southwest Quinoa Salad
Homemade Caesar Salad with Garlic Croutons
Caprese Pasta Salad with Pesto
Final Thoughts
This Cobb Salad is proof that salads don’t have to be boring. With its medley of colors, textures, and bold flavors, it’s as much a feast for the eyes as it is for the taste buds. Whether you’re hosting a lunch, meal-prepping for the week, or just craving something fresh, this salad brings serious satisfaction every time.Meta Title & Description


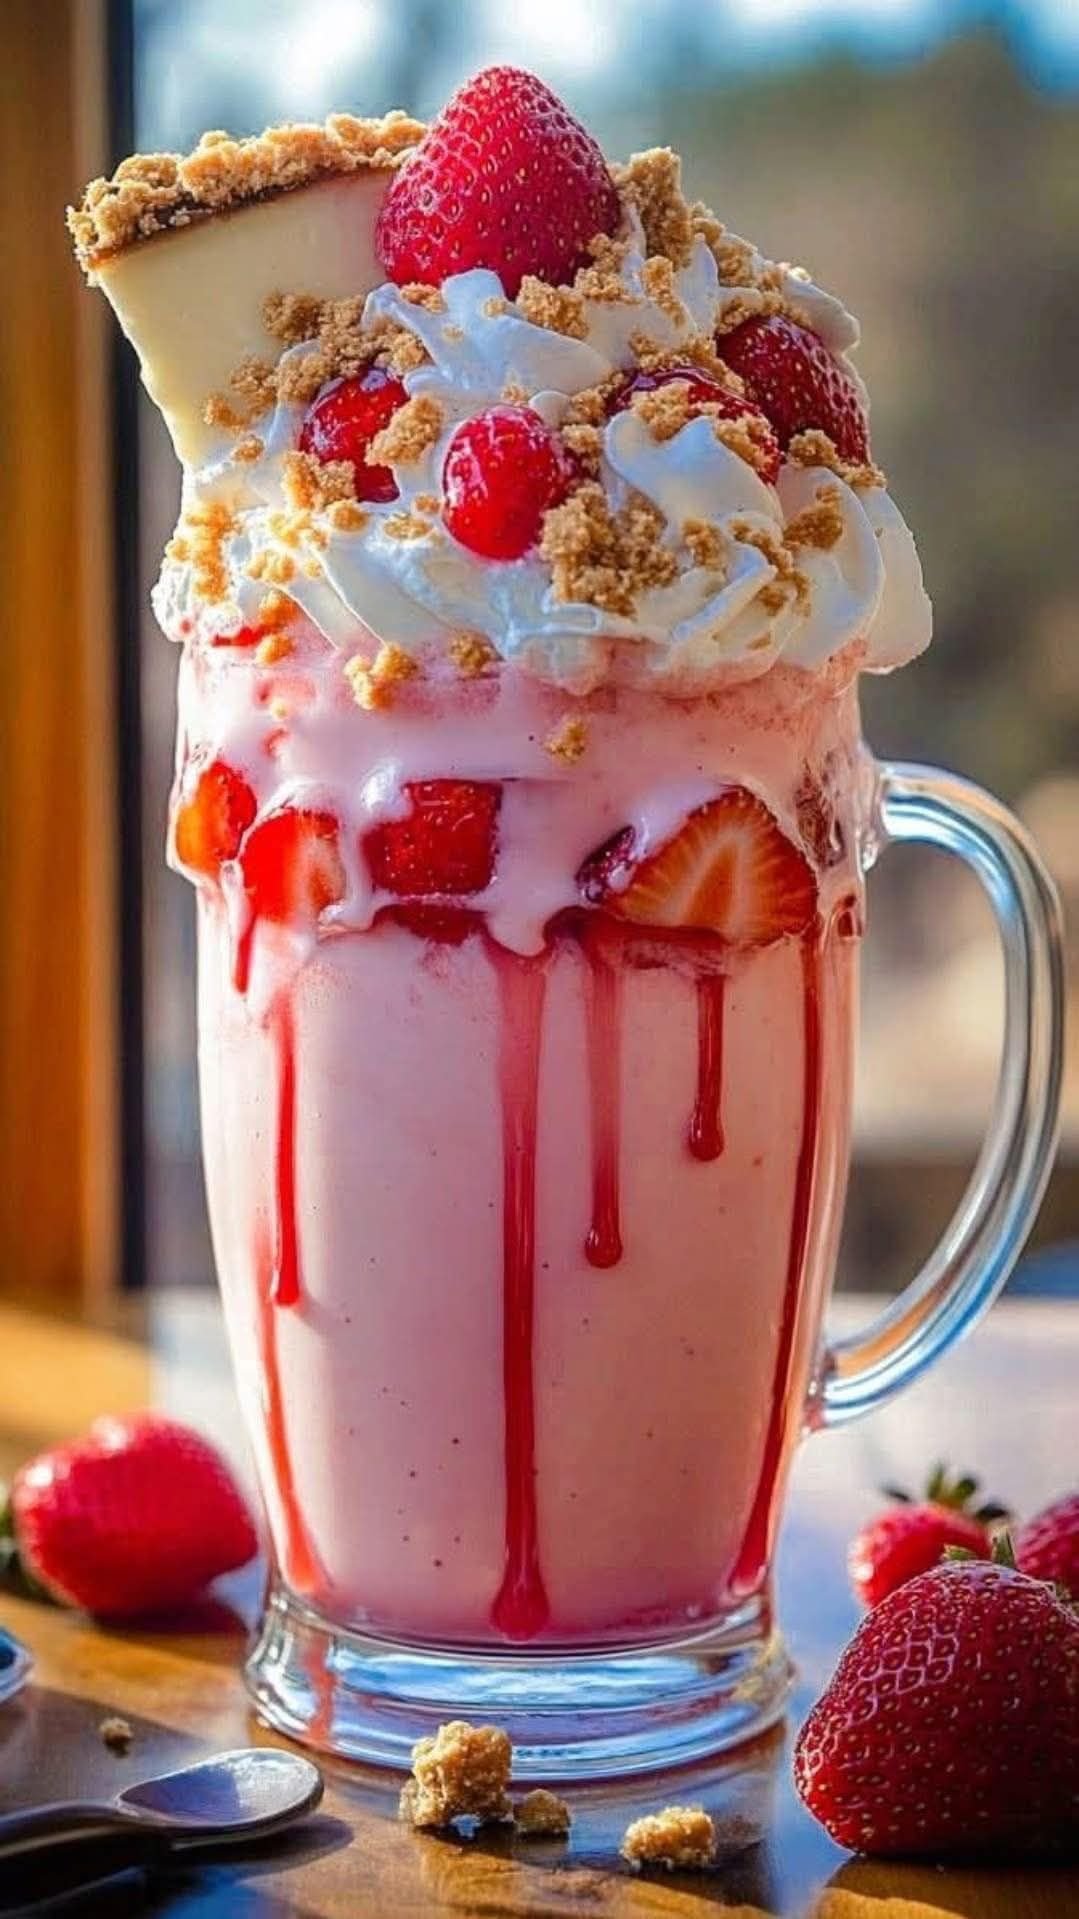
 Strawberry Mousse
 Ingredients
 Instructions
 Servings
 Notes
Notes Tips for Perfect Strawberry Mousse
 Nutritional Information (Approx. per serving)
 Health Benefits
 Q & A
Q & A


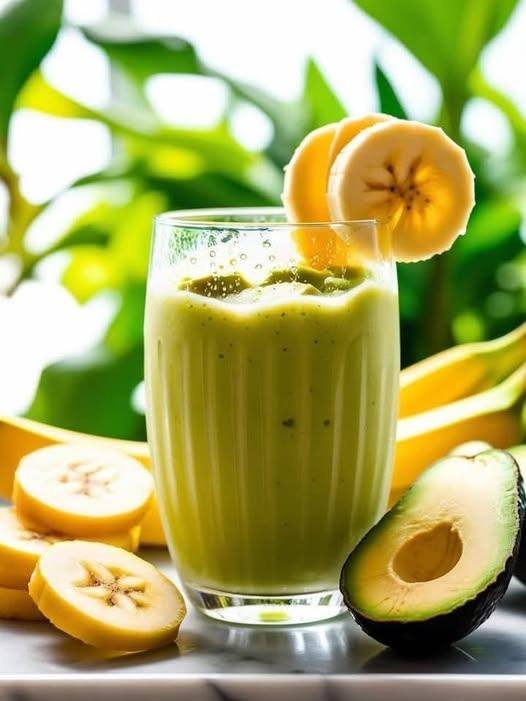
 Creamy Avocado Banana Smoothie
 Ingredients
 Recipe Overview
 Instructions
 Nutritional Info (Per 2-tablespoon serving)
 Benefits of This Jam